This article was co-authored by Andrea Beaulieu. Andrea Beaulieu is a Professional Tailor, Fashion Designer, and the Owner of MOORE, a Brooklyn, New York based storefront and apparel workshop for gender-neutral, contemporary streetwear as well as custom-tailored products. Andrea has over 20 years in the fashion design and marketing industries and specializes in pattern making, draping, and the construction of garments. She holds a BS in Fashion Design and Merchandising from the University of North Carolina at Greensboro.
wikiHow marks an article as reader-approved once it receives enough positive feedback. This article received 12 testimonials and 90% of readers who voted found it helpful, earning it our reader-approved status.
This article has been viewed 436,826 times.
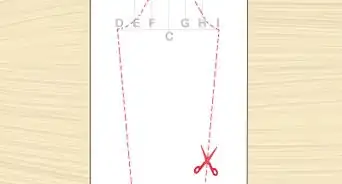
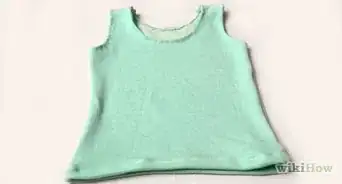
As long as you know how to operate a sewing machine, you can sew your own shirt. If you've never sewn a shirt before, though, it might be easiest to start with a basic t-shirt. Work from a pattern or draft your own to begin the process.
Steps
Creating the Perfect Pattern
-
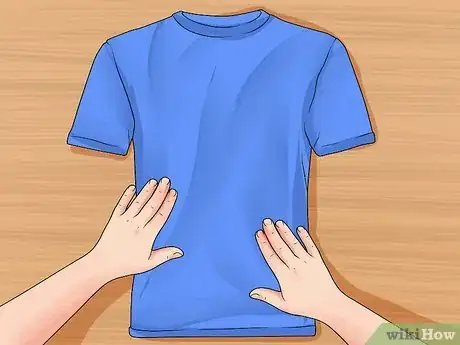
1Find a shirt that fits well. The easiest way to draft your own shirt pattern will be to copy the shape of an existing shirt that fits well.
- While this tutorial only covers t-shirt drafting and construction, you can follow the same basic steps to help draft patterns for other shirt styles.
-
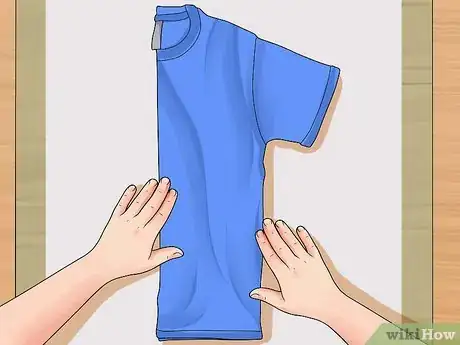
2Fold the shirt in half. Fold the shirt in half vertically, keeping the front sides out. Lay the halved shirt over a large sheet of paper.
- Ideally, you should place the paper over thick cardboard before placing the shirt on top. The cardboard will provide a stiff enough work surface to trace over. Moreover, you'll need to stick pins into the paper, and doing so will be easier to accomplish with cardboard backing.
Advertisement -
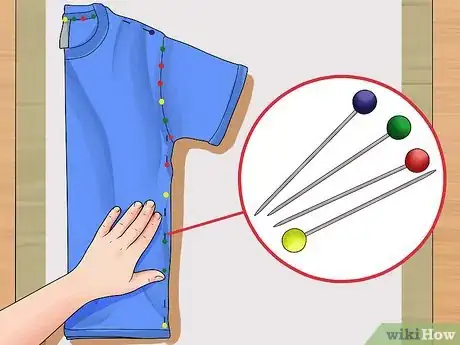
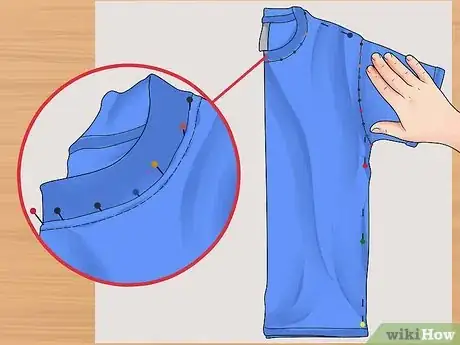
3Pin along the back outline. Pin along the perimeter of the shirt, paying special attention to the back neckline seam beneath the collar and the sleeve seam.[1]
- The pins you insert along the shoulder seam, sides, and bottom hem do not need to be precise since their main purpose is to hold the shirt down.
- For the sleeve seam, stick the pins straight down through the seam and into the paper. Space the pins no further than 1 inch (2.5 cm) apart.
- For the back neckline, stick the pins straight down through the seam connecting the back neckline to its collar. Space the pins 1 inch (2.5 cm) apart.
-
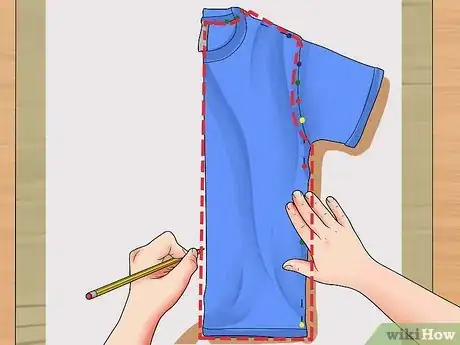
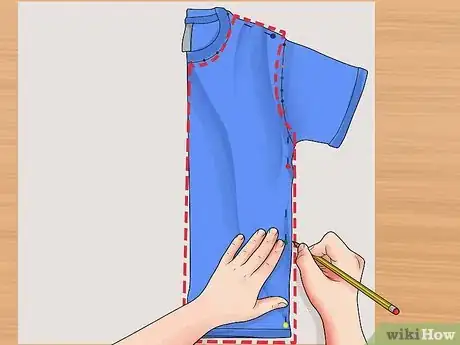
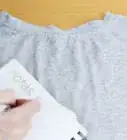
4Trace the outline. Use a pencil to lightly trace around the entire outline of the shirt.
- Trace along the shoulder, sides, and bottom of the pinned shirt.
- After tracing these elements, lift away the shirt and find the holes marking the sleeve seam and neckline seam. Trace along these holes to complete the outline for the back pattern piece.
-
5Pin along the front outline. Move the folded shirt over to a fresh piece of paper, pinning along the front outline instead of the back.
- Follow the same steps used for the shirt back to place the pins along the perimeter and sleeves of the shirt front.
- The front neckline is usually deeper than the back. To mark it out, place the pins beneath the front portion of the neckline, just beneath the collar. Keep them 1 inch (2.5 cm) apart and straight down.
-
6Trace the outline. Trace along the front outline just as you traced along the back outline.
- Lightly trace the shoulder, sides, and bottom with pencil while the shirt remains pinned in place.
- Remove the shirt and trace along the pin marks of the neckline and sleeve to complete the front outline.
-
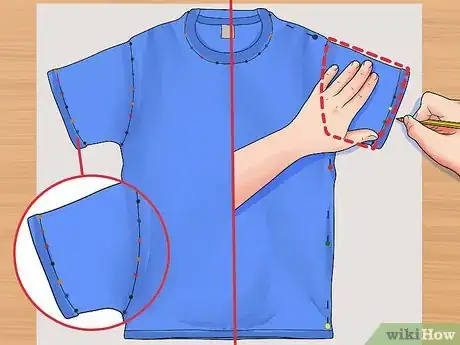
7Pin and trace around the sleeve. Unfold the shirt. Flatten out one sleeve and pin it to clean paper. Trace around the outline.
- As before, insert the pins straight through the connecting seam.
- Trace around the top, bottom, and outer edge of the sleeve with the sleeve still in place.
- Remove the shirt from the paper and trace along the pin-marked seam to complete the outline.
-
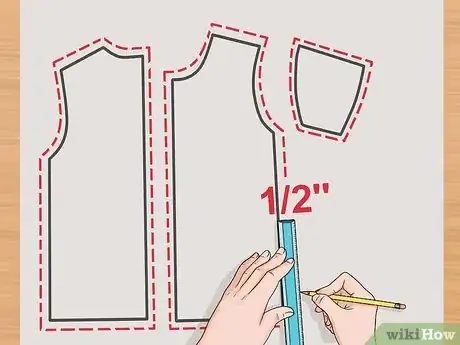
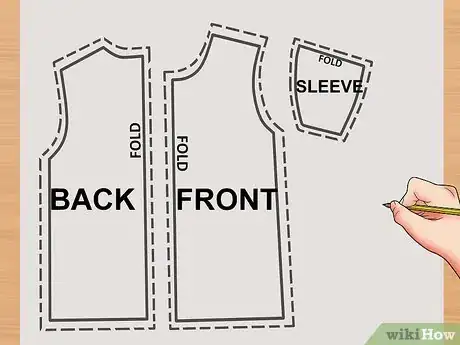
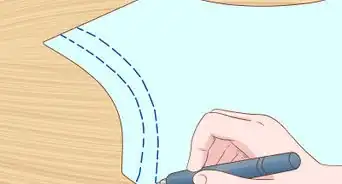
8Add seam allowances to each piece. Use a flexible ruler and pencil to carefully draw another outline around the current perimeter of each piece. This secondary outline will be the seam allowance.
- You can choose a seam allowance amount you feel comfortable with, but as a general rule, using a 1/2 inch (1.25 cm) seam allowance should give you plenty of room to work with.[2]
-
9Mark the pieces. Label each piece by part (back body, front body, and sleeve). Mark the fold line of each piece, as well.
- The fold line of the front and back body pieces will be the straight, folded edge of your original shirt.
- The fold line of the sleeve will be the straight top edge of the sleeve.
-
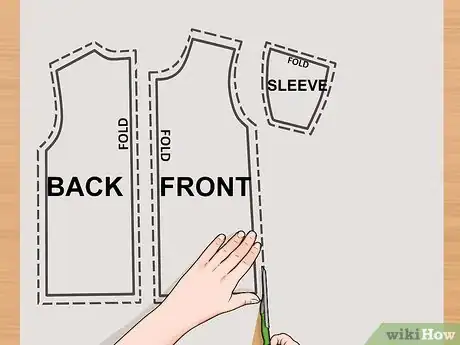
10Cut and match the pieces. Carefully cut around each pattern piece outline. When finished, verify that the pattern pieces match one another.
- When you place the open sides of the front and back pieces together, the shoulders and armholes should match up.
- When you place the sleeve over the armhole of either main body piece, the actual measurement (not the seam allowance) should also match up.
Preparing the Material
-
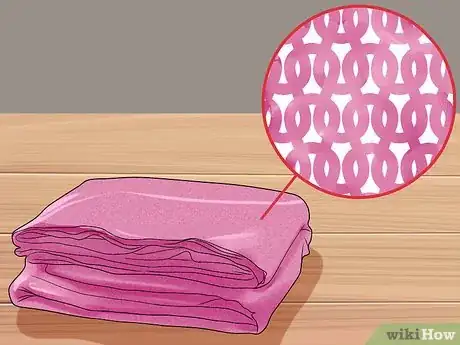
1Choose an appropriate material. Most t-shirts are made with knit fabric, but you may wish to choose a knit fabric with a fairly low amount of stretch to make the sewing process easier.
- As a general rule, though, it will be easiest to duplicate the fit of the original shirt you drafted your pattern from if you use a material similar in construction and weight.
-
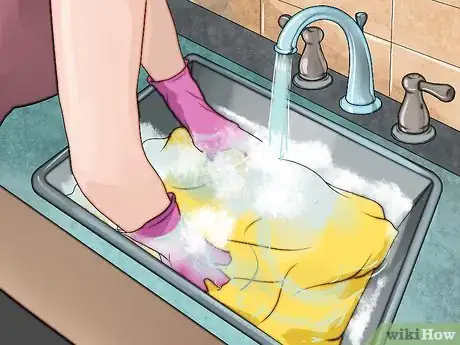
2Wash the fabric. Wash and dry the material as you usually would before you do anything else with it.
- By washing the fabric first, you can pre-shrink it and set the dye. As a result, the pattern pieces you cut out and sew together should be more accurately sized.
-
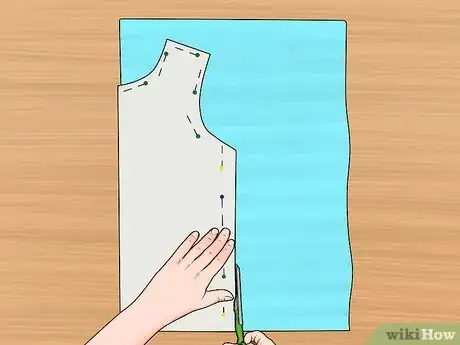
3Cut the pattern pieces out. Fold the material in half and place your pattern pieces on top. Pin the pattern down, trace around it, and cut around each piece.
- Fold the material in half with the right-sides facing in, and keep the fabric as flat as possible when you lay it out.
- Match the fold of the fabric to each "fold" mark on your pattern pieces.
- When pinning the pattern pieces in place, pin straight through both layers of material. Trace around the entire outline with fabric pencil, then cut along the outline without unpinning the pattern.
- After cutting out the material, you can unpin and remove the paper pattern pieces.
Preparing the Ribbing
-
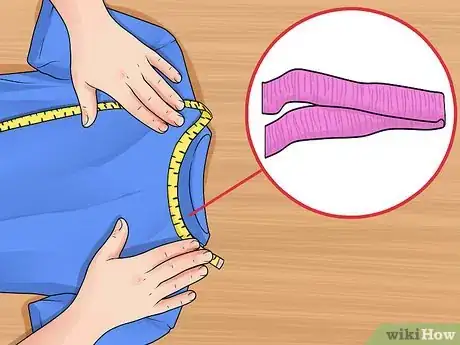
1Cut a length of ribbing for the collar. Measure the full neckline of your shirt with a flexible ruler or measuring tape. Subtract 4 inches (10 cm) from this measurement, then cut a piece of ribbing to that length.[3]
- Ribbing is is a type of knit fabric with vertical ribs. You can technically use non-ribbed knits for your collar, but ribbing is generally preferred since it has an even greater amount of elasticity.
- Cut the width of the ribbing to double the amount of your final collar width.
- The vertical ribs should run parallel to the width of the collar and perpendicular to the length of the collar.
-
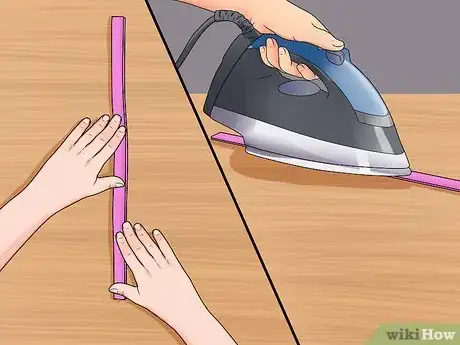
2Fold and press the ribbing. Fold the ribbing in half lengthwise, then use an iron to press the fold.
- Note that the right-sides should be facing as you do this.
-
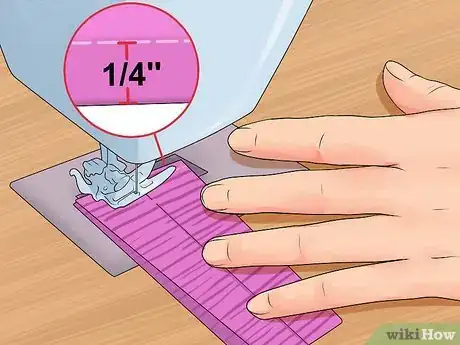
3Stitch the ribbing closed. Fold the ribbing in half crosswise. Stitch the width ends of the strip together, using a 1/4-inch (6-mm) seam allowance.
Sewing the Shirt
-
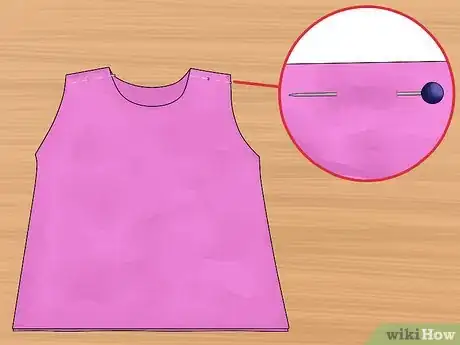
1Pin the body pieces together. Place the front and back body pieces together, right-sides facing inward. Pin around the shoulders only.
-
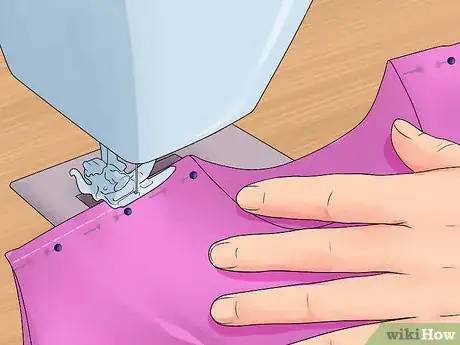
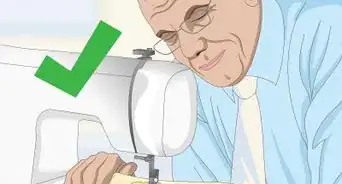
2Sew the shoulders. Stitch straight across one shoulder seam. Cut the thread, then stitch straight across the other shoulder seam.
- You should be able to use a standard straight stitch on your sewing machine for this.
- Follow the seam allowance you marked out on your pattern pieces. If you've been following this tutorial exactly, the seam allowance will be 1/2 inch (1.25 cm).
-
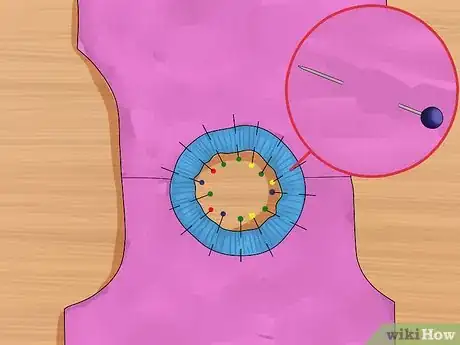
3Pin the ribbing to the neckline. Open the shirt and lay it flat at the shoulders, right-sides facing down. Place the ribbed collar over the neckline opening and pin it in place.
- Point the raw side of the collar toward the neckline and keep it above the shirt material. Pin it to the center back of the shirt and the center front.
- The collar will be smaller than the neckline opening, so you'll need to gently stretch the collar as you pin it down to the rest of the neckline. Try to keep the ribbing evenly spaced.
-
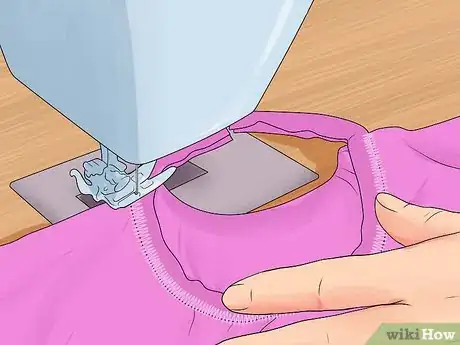
4Stitch the ribbing. Using a zigzag stitch, sew along the raw edge of the collar, using a 1/4 inch (6 mm) seam allowance.
- You must use a zigzag stitch instead of a straight stitch; otherwise, the thread won't be able to stretch with the collar as you pull the finished garment over your head.
- Use your hands to gently stretch the ribbing as you sew it onto the shirt. Keep it somewhat taut so that no folds form in the connecting fabric.
-
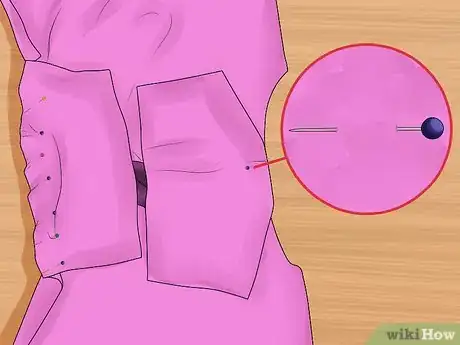
5Pin the sleeves to the armholes. Keep the shirt open and flat at the shoulder, but flip it over so that the right-side faces up. Position the sleeves right-side down and pin in place.[4]
- Position the rounded portion of the sleeve against the rounded portion of the armhole. Pin the middle of both curves together.
- Gradually position and pin the rest of the sleeve curve to the rest of the armhole, working on one side at a time.
- Repeat this process for both sleeves.
-
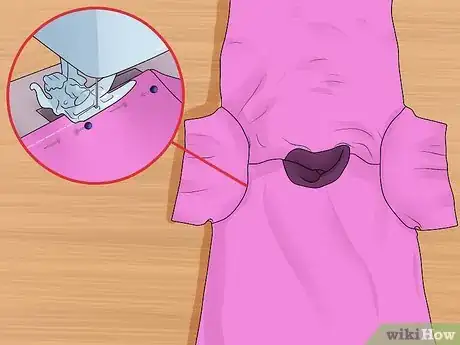
6Sew the sleeves. With the right-sides facing down, sew a straight stitch along both sleeves, connecting them to the armholes in the process.
- The seam allowance should match the seam allowance you marked on your original pattern. If you're following this tutorial exactly, the amount should be 1/2 inch (1.25 cm).
-
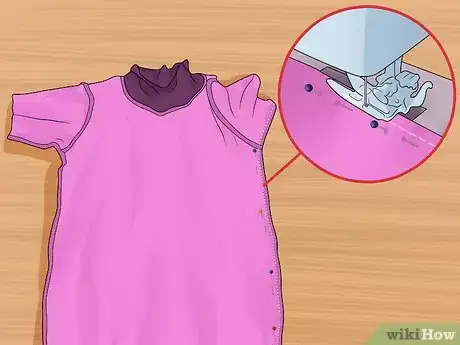
7Stitch down both sides. Fold the shirt with its right-sides facing. Sew a straight stitch down the entire right side of the shirt, working from the tip of the underarm seam straight down to the bottom opening. Repeat on the left side of the shirt when finished.
- Pin down the sleeves and sides before stitching them together; otherwise, the material may shift as you work.
- Follow the seam allowance you marked on your original pattern. For this tutorial, the seam allowance is 1/2 inch (1.25 cm).
-
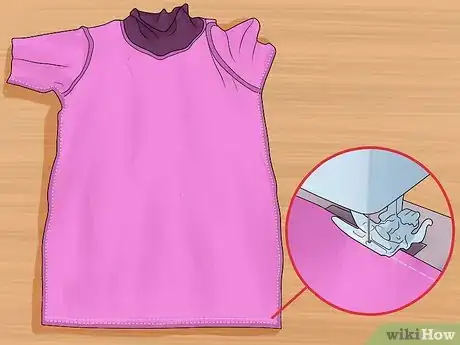
8Fold and sew a bottom hem. With the right-sides still facing, fold the bottom edge up according to your original seam allowance. Pin or press the fold in place, then stitch around the opening.
- Make sure that you only stitch the hem in place. Do not sew the front and back sides of the shirt together.
- Most knits are fray-resistant, so you may not need to sew a bottom hem. Doing so can create a neater appearance, though.
-
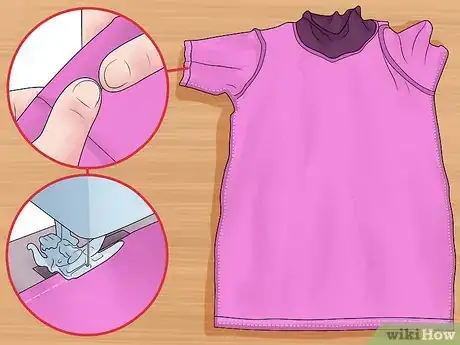
9Fold and sew sleeve hems. With the right-sides facing, fold up the edge of each sleeve opening according to your original seam allowance. Pin or press the fold, then stitch along the opening.
- Like the bottom edge, you must stitch around the opening to avoid sewing the front and back together.
- You may not need to hem the sleeves if the material is fray-resistant, but they'll look neater if you do.
-
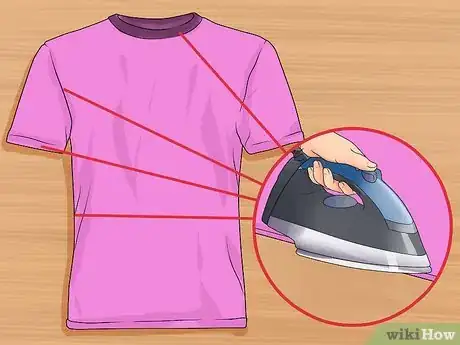
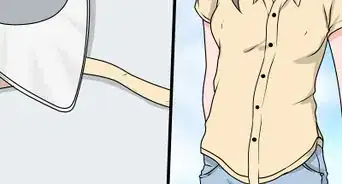
10Iron the seams. Turn the shirt right-side out again. Use an iron to flatten all the seam.
- This includes the seams along the collar, shoulders, sleeves, and sides. You may also wish to press the hems, if you did not do so before sewing them in place.
-
11Try on the shirt. At this point, the shirt should be finished and ready to wear.
Community Q&A
-
QuestionCan I sew this by hand?
 Community AnswerYes, but it will be more time consuming than if you sew it by machine.
 -
QuestionHow can I know which is the left and which is the right sleeve?
 Form voltronCommunity AnswerThe two sleeve pieces are the same until you sew them onto the shirt. You cut them out from the same shape, so left and right are identical.
 -
QuestionDo I need to wash the fabric first?
 Community AnswerNo, but it is better if you do, because you want to make sure that it will not shrink afterwards.
Things You'll Need
- Existing t-shirt
- Pencil
- Fabric pencil
- Cardboard
- Plain paper (plain newsprint, drafting paper, brown package paper, etc.)
- Straight pins
- Scissors
- Fabric scissors, fabric shears, or rotary fabric cutter
- 1 to 2 yds (1 to 2 m) knit fabric
- 1/4 yd (1/4 m) knit ribbing
- Sewing machine
- Coordinating sewing thread
- Iron
- Ironing board
References
- ↑ http://mellysews.com/2011/07/tutorial-making-your-own-patterns-boys.html
- ↑ Andrea Beaulieu. Professional Tailor & Fashion Designer. Expert Interview. 8 May 2020.
- ↑ http://www.itsalwaysautumn.com/2013/07/26/the-easy-tee-simplest-womens-t-shirt-ever.html
- ↑ http://mellysews.com/2013/02/how-to-sew-a-t-shirt.html
About This Article
To sew a shirt, start by pinning the shoulders of the body pieces together with the right side facing inwards. Next, use a straight stitch to sew along both shoulders before opening up the shirt with the right side facing down, pinning the ribbing to the neckline, and sewing it in place with a zigzag stitch. Flip the shirt over, then pin the sleeves to the armholes right side facing down and stitch them with a straight stitch. Finally, sew down both sides of the shirt and add hems to the bottom and sleeves. For tips on how to design a shirt pattern and how to choose the best material to use, read on!
