This article was co-authored by Lois Wade. Lois Wade has 45 years of experience in crafts including sewing, crochet, needlepoint, cross-stitch, drawing, and paper crafts. She has been contributing to craft articles on wikiHow since 2007.
This article has been viewed 379,998 times.
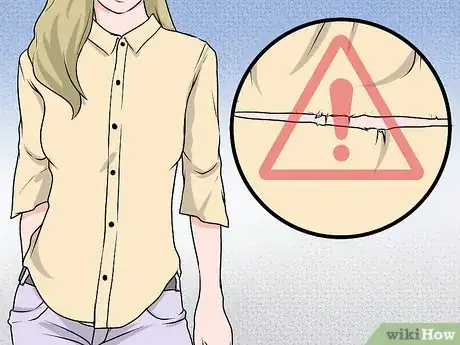
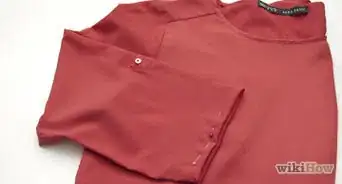
Shirts rarely come in a one-size-fits all. Even if the shirt fits you around the chest, waist, and shoulders, there is no guarantee that it will be the right length. Fortunately, shortening and hemming shirts is quite easy. How you go about doing it, however, will differ depending on the style of shirt you are altering as well as the material.
Steps
Hemming a T-Shirt
-
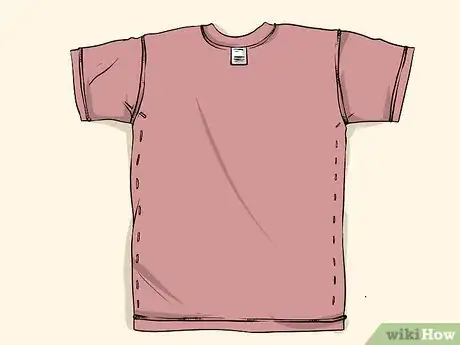
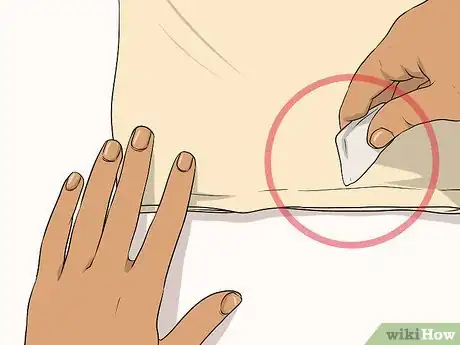
1Turn your shirt inside out. If you don't already know how short you want to cut your shirt, put it on, and make a mark on it where you want the new hem to be. You can use a dressmaker's chalk, dressmaker's pen, or even a sewing pin for this. Take the shirt off when you are done, and keep it turned inside out.
- This may also work on other shirts made from stretchy material. It is not recommended for shirts made out of woven material, such as linen, due to fraying.
-
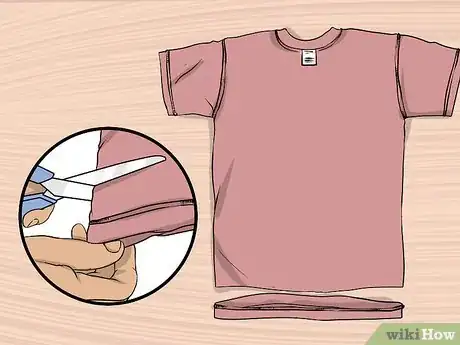
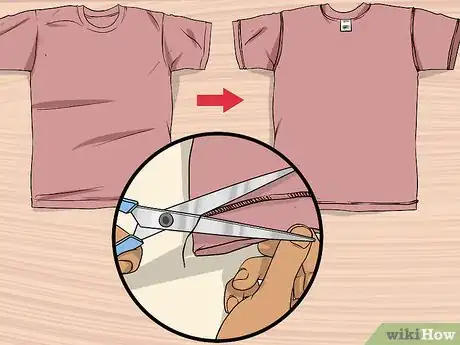
2Cut your shirt ½ inch (1.27 centimeters) longer than you want it to be. If you want to be extra neat, draw a line using a dressmaker's chalk or pen first, so you will know where to cut. Use a ruler to measure up from the bottom edge of the shirt as you draw the line. This will ensure that the shirt will be the same length all around.Advertisement
-
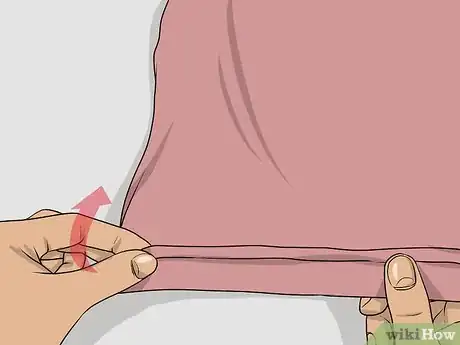
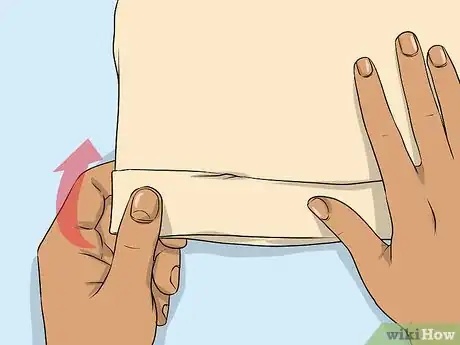
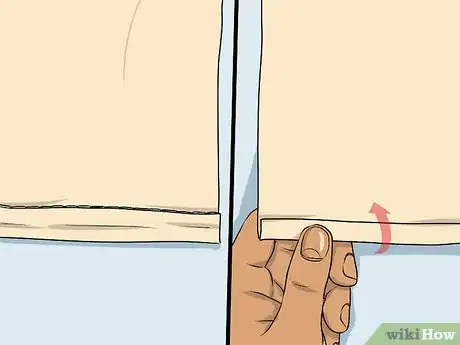
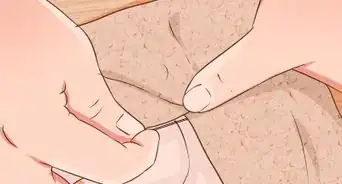
3Fold the hem up by ½ inch (1.27 centimeters). This will be the inside of your hem. Your shirt should now be the exact length you want it to be. You don't have to double-fold or finish the raw edge, because T-shirt material does not fray much, if at all. If you want a nicer finish on the inside, then you can serge the raw edge, but it is not necessary.
-
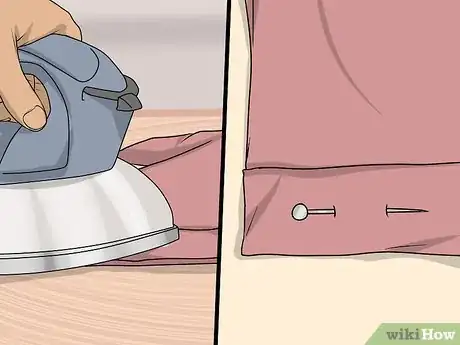
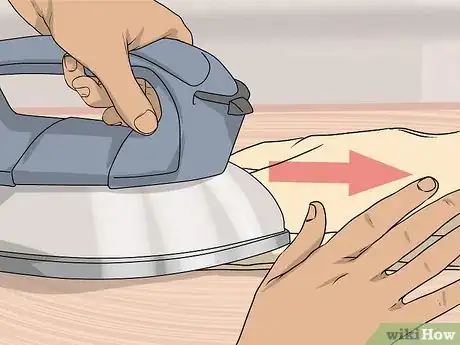
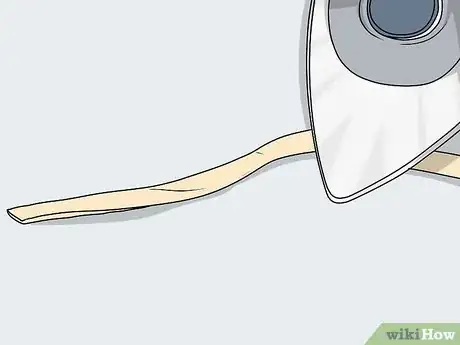
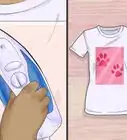
4Press the hem flat with an iron. Make sure that you use a heat setting that is safe for the material your shirt is made out of. This will give your shirt a nice, crisp edge all along the bottom.
-
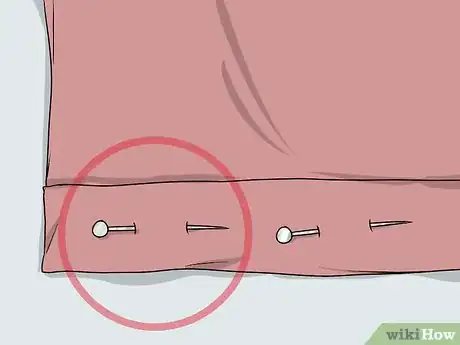
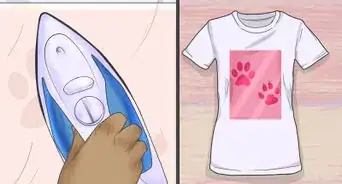
5Secure the hem with sewing pins. If you do not own a sewing machine, or if you do not know how to sew, slip some iron-on hem tape into the hem first. The results will be stiffer, but at least you won't have to do any sewing.
-
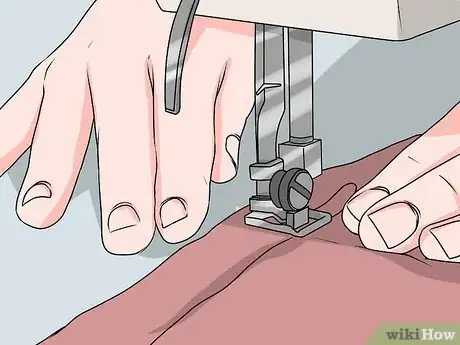
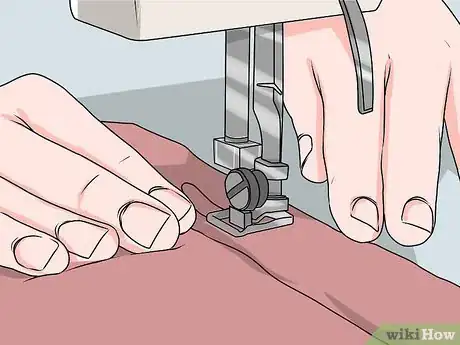
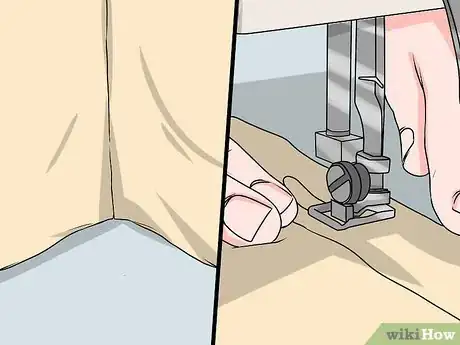
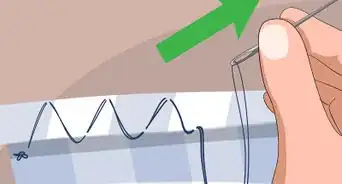
6Sew as close to the raw edge as you can using a zigzag stitch or a stretch stitch. Use a color that matches your shirt, and remove the pins as you sew. For a more professional finish, you can use a double-pointed needle. Alternatively, you can sew a second line right beneath the first one; this only works with the stretch-stitch, however.
- If you are using iron-on hem tape, simply iron over the hem following the instructions on the package.
- Be sure to sew back and forth over the start and end of your sewing a few times to prevent unraveling.
- Try to start sewing at one of the side seams. This will help conceal the start and end of your sewing better.
Expert AnswerQWhen asked, "What are some skills to practice when you're first learning how to hem?"
Lois Wade has 45 years of experience in crafts including sewing, crochet, needlepoint, cross-stitch, drawing, and paper crafts. She has been contributing to craft articles on wikiHow since 2007.wikiHow Crafts Expert
 EXPERT ADVICEAnswer from Lois Wade:
DIY crafting and sewing expert, Lois Wade, responded: "You want to take evenly sized stitches, spaced close enough together so that your hemmed edge has no sags, puckers or gaps. If hemming a curved edge, you'll find that you need to either gather the sewn edge more closely, or loosen it somewhat in order to allow the hemmed edge to lay flat when sewn."
-
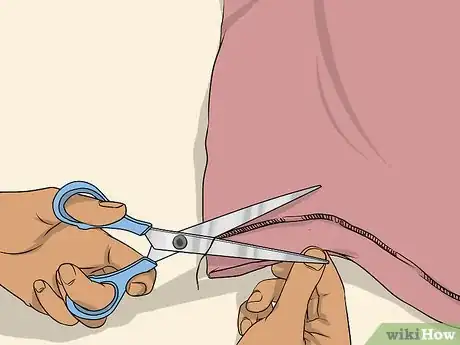
7Snip off any excess or loose threads. Your shirt is now ready to wear!
Hemming a T-Shirt Using the Original Hem
-
1Figure out how short you want your shirt to be, and make a mark on the outside of the shirt. If you want to, you can put the shirt on to determine the new length. Keep in mind that your shirt will be about ½ to 1 inch (1.27 to 2.54 centimeters) longer, depending on how wide the original hem is.
-
2Use a dressmaker's chalk or pen to draw a line all around the shirt at an even distance from the bottom edge. Spread the shirt out on a flat, even surface, right-side-out. Use a ruler to measure up from the bottom edge of the shirt every so often. This will ensure that your shirt is the same length all the way around.[1]
- If you can't find a dressmaker's chalk or pen, you can make the line using sewing pins instead; just be careful not to pin both sides of the shirt together.
-
3Fold the hem up until the bottom edge touches the line that you drew. Keep folding your way all around the shirt. It should now be a little shorter than before.
- You are still folding on the outside of the shirt. Do not fold the hem on the inside.
-
4Sew around shirt, as close to the selvage edge as you can. Use the zigzag stitch or the stretch stitch on your sewing machine. Make sure that your thread color closely matches your shirt.[2]
-
5Fold hem back down, and tuck the excess fabric inside the shirt, away from the bottom of the hem. Keep your shirt right-side-out. You should now see the original hem, the hem's original stitching, and your new "seam" just above it.
-
6Press the hem with an iron. Focus on the new seam you made. This will flatten it, and make the bottom of your shirt smoother. If you'd like, you an secure the hem with sewing pins, although this is not necessary.
-
7Top stitch as close to your seam as possible. Anywhere between ⅛ to 3/16-inch (3.2 to 4.3 millimeters) away will be plenty.[3] Use a stretch stitch for this step, and be sure to go back and forth over the start and end of your sewing a few times to prevent unraveling.
- Start sewing from one of the side seams. This will help hide the start and end of your sewing better.
- If you secured your hem with sewing pins, be sure to pull them out as you sew.
-
8Turn the shirt inside-out and cut the excess material away. Try to cut as close to your stitching as you can. Discard the excess material, or save it for another project. When you are done, go back over your shirt and snip off any excess or loose threads.
-
9Turn shirt right-side-out. Your shirt is now ready to wear.
Hemming a Button-Up Shirt
-
1Figure out how long you want your shirt to be, and make a mark ½ inch (1.27 centimeters) below it. If you need to, put your shirt on first. You are making the shirt longer, because you will be folding the hem twice to conceal the raw edges and prevent fraying.
- This method may work with other non-button-up shirts made from woven material, such as tunics and peasant blouses.
-
2Use a dressmaker's chalk or pen to draw a line all around bottom of shirt, using the mark as a guide. Spread your shirt out on a flat surface in front of you, with the inside facing you. Draw a line along the bottom edge of the shirt. Use a ruler to measure up from the bottom edge of the shirt to the line that you are drawing. This will ensure that the line is an even distance from the bottom edge of the shirt. Most button-up shirts have a curved hem, so your line should curve as well.[4]
- If you want your shirt to have a flat bottom, simply draw a line straight across the bottom of the shirt. Align it with the shortest part of the shirt, usually at the side seams.
-
3Draw another line ½ inch (1.27 centimeters) below it, and cut along that second line.[5] When you are done, you should have a shorter shirt, with a line drawn all along the bottom edge.
-
4Fold the bottom edge of the shirt upwards, using the first line that you drew as a guide. You are folding the hem up by ½ inch (1.27 centimeters), so the first line that you drew should now be inside the hem, right along the crease.[6]
-
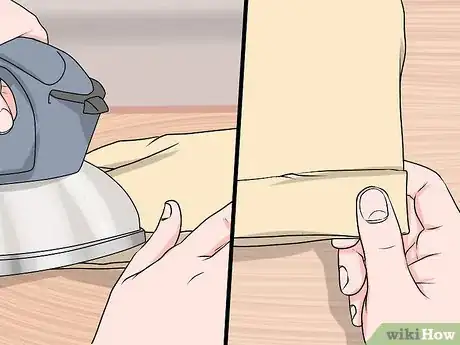
5Press the hem flat with an iron. Make sure that you are using a heat setting that is suitable for the material you are working with.
-
6Fold hem up by another ½ inch (1.27 centimeters) again, and press it flat with an iron. This will give you a clean, professional-looking hem. The raw edges should now be concealed inside the hem.[7]
-
7Secure the hem with sewing pins, then sew as close to top edge of hem as you can using a straight stitch. An easy way to do this is to align the edge of the sewing machine's foot with the bottom edge of the shirt. Remove pins as you sew, and be sure to use a thread color that matches the fabric of your shirt.
- Remember to sew back and forth over the start and end of your sewing. If your shirt is not a button-up shirt, start sewing at one of the side seams. This will conceal the beginning and ending of your sewing better.
-
8Snip off any excess or loose bits of thread. Your shirt is now ready to wear!
Hemming a Button-Up Shirt Using Bias Tape
-
1Get some single-fold bias tape that closely matches the color of your shirt. If you can't find a matching color, choose a neutral color that is a similar shade. For example, if you have a dark blue shirt, and you can't find any dark blue bias tape, get black bias tape. If you have a light blue shirt, and can't find any matching bias tape, get some light grey bias tape instead.
- This method works great on shirts that you are sewing from scratch!
-
2Cut your shirt a little bit longer than you want it to be. How much longer you cut it depends on the width of your bias tape. This will typically be about ½ inch (1.27 centimeters).
-
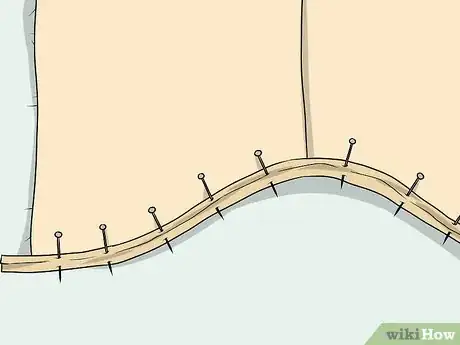
3Unfold one edge of the tape, and pin it to the bottom edge of your shirt. Make sure that you are pinning the right side of the bias tape to the right side of the shirt. You will eventually be folding the bias tape inside the shirt.[8]
- Leave about 1 inch (2.54 centimeters) of extra bias tape to either side of the shirt.[9]
-
4Sew the bias tape to your shirt using a straight stitch. Use the crease along the bottom fold of the bias tape as a guide.
-
5Fold the bias tape to the inside of your shirt. Fold the bias tape down first, then fold it inside your shirt. The raw edges should now be under the bias tape. The bias tape also should not be visible from the outside. The seam between the bias tape and the shirt will be right along the bottom edge of the shirt.[10]
-
6Press the hem flat with an iron. Use a heat setting that is suitable for the material you are working with. Each fabric will require a different heat setting.
-
7Tuck the excess bias tape into the hem, and press it flat with an iron. If you'd like, you can clip the corner of the bias tape first to reduce bulk.[11]
-
8Secure everything in place with sewing pins, then sew the bias tape down using a straight stitch. Sew with the inside of the shirt facing you, so that you can get as close to the top edge of the bias tape as possible. Use a bobbin thread that matches your shirt color, and a sewing thread that matches your bias tape color.[12]
- Remember to sew back and forth a few times at the start and end of the shirt.
- Pull out the pins as you go.
-
9Give the shirt hem a final press, and snip off any excess or loose threads. Your shirt is now ready to wear!
Community Q&A
-
QuestionWhat is matching thread?
 CraftsmartTop AnswererThread that's the same color of the fabric. If the fabric is multicolored, choose one of the colors or go for a neutral color like white or black.
 -
QuestionCan I do any of these by hand?
 Community AnswerYes. Simply follow the article, then use the techniques described in How to Hand Sew a Hem. You can also use iron-on hem tape, although the results may be a little stiffer. If you are working with stretchy material, remember to keep your stitching loose.
 -
QuestionHow do you sew a stretch stitch?
 Community AnswerStitches such as a zigzag stick are stretch stitches, which as the name suggests, can stretch. If you sew a straight stitch, it will not stretch and the elastic won’t work as well.
Warnings
- Be careful when sewing and pulling out the pins so that you don't prick your finger.⧼thumbs_response⧽
Things You'll Need
Hemming a T-Shirt
- T-shirt
- Fabric scissors
- Sewing pins
- Iron
- Sewing machine (or iron-on hem tape)
- Mathing thread (not needed if using iron-on hem tape)
- Ruler (recommended)
- Dressmaker's chalk or pen (recommended)
Hemming a T-Shirt Using the Original Hem
- T-shirt
- Fabric scissors
- Sewing pins (optional)
- Iron
- Sewing machine
- Mathing thread
- Ruler (recommended)
- Dressmaker's chalk or pen (recommended)
Hemming a Button-Up Shirt
- Button-up shirt
- Fabric scissors
- Sewing pins
- Iron
- Sewing machine
- Mathing thread
- Ruler
- Dressmaker's chalk or pen
Hemming a Button-Up Shirt Using Bias Tape
- Button-up shirt
- Single-fold bias tape
- Fabric scissors
- Sewing pins
- Iron
- Sewing machine
- Matching thread
- Ruler
- Dressmaker's chalk or pen
References
- ↑ https://www.youtube.com/watch?v=lQ3V7-YeO6o
- ↑ https://www.youtube.com/watch?v=lQ3V7-YeO6o
- ↑ https://www.youtube.com/watch?v=lQ3V7-YeO6o
- ↑ https://www.youtube.com/watch?v=lfynGEsynwU
- ↑ https://www.youtube.com/watch?v=lfynGEsynwU
- ↑ https://www.youtube.com/watch?v=lfynGEsynwU
- ↑ https://www.youtube.com/watch?v=lfynGEsynwU
- ↑ http://www.craftsy.com/blog/2014/08/sewing-curved-shirt-hems/
- ↑ http://www.craftsy.com/blog/2014/08/sewing-curved-shirt-hems/
About This Article
To hem a t-shirt, cut your shirt 1/2 an inch longer than you want it to be. Turn your shirt inside-out and fold the hem up so it’s the exact length you want it. Iron the hem so it’s flat, then sew with a sewing machine. For advice on how to hem a button up, or use a shirt’s original hem, read on!
