This article was co-authored by wikiHow staff writer, Darlene Antonelli, MA. Darlene Antonelli is a Technology Writer and Editor for wikiHow. Darlene has experience teaching college courses, writing technology-related articles, and working hands-on in the technology field. She earned an MA in Writing from Rowan University in 2012 and wrote her thesis on online communities and the personalities curated in such communities.
This article has been viewed 9,927 times.
Learn more...
Autodesk Revit is a Windows-only building modeling application used by architects, landscape artists, engineers, plumbers, and structural mechanics. If you're planning a new building or construction project, you can add, remove, and move floors and walls by dragging a few lines. This wikiHow will show you how to add floors in Revit.
Steps
-
1Open your project in Revit. You can either open the program and then open your project by going toFile > Open or you can right-click your project file in your file explorer.[1]
-
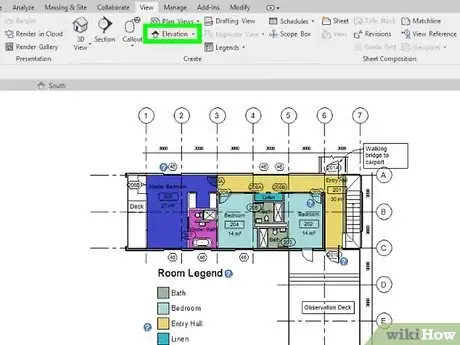
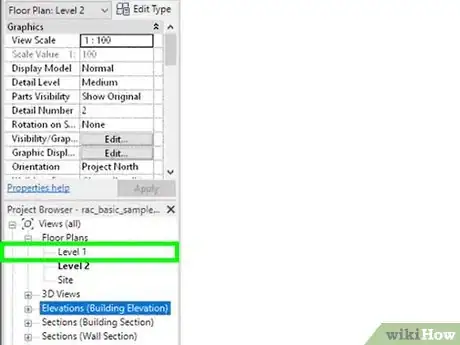
2Select an elevation view to add levels to. You'll see a list of all your different views in a panel on the left side of the screen.Advertisement
-
3Click Level. You'll see this in the "Structure" tab on the right side of the application window in the "Datum" grouping.
-
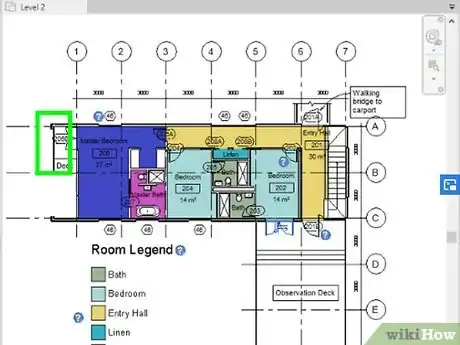
4Click your drawing area to start a line. You should see the elevation listed next to the line as you draw it.[2]
-
5Click when the line is complete. As you move your mouse horizontally across your drawing space, you'll see the line appear behind your cursor.
References
About This Article
1. Open your project in Revit.
2. Select an elevation view to add levels to.
3. Click Level.
4. Drag and drop your cursor in your drawing area to draw a line.


