This article was co-authored by wikiHow staff writer, Nicole Levine, MFA. Nicole Levine is a Technology Writer and Editor for wikiHow. She has more than 20 years of experience creating technical documentation and leading support teams at major web hosting and software companies. Nicole also holds an MFA in Creative Writing from Portland State University and teaches composition, fiction-writing, and zine-making at various institutions.
The wikiHow Tech Team also followed the article's instructions and verified that they work.
This article has been viewed 7,973,043 times.
Learn more...
This wikiHow teaches you how to make a PDF smaller using a PC or Mac. Adobe, the developers of the PDF file format, provide a free web-based tool that makes it super easy to compress PDFs into smaller files. If you're using a Mac, you can skip the upload and use the Preview app to shrink your file. Or, if you have the professional version of Adobe Acrobat DC, you can use its PDF optimizer to produce a smaller file. All of these apps reduce PDF file sizes by decreasing image and (sometimes) text quality, so keep that in mind when compressing your files.
Steps
Using Adobe's Online PDF Compressor
-
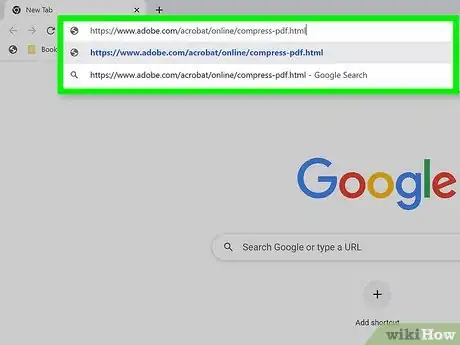
1Go to https://www.adobe.com/acrobat/online/compress-pdf.html. Adobe offers a free online PDF-compression tool that's great for reducing PDF file sizes.
-
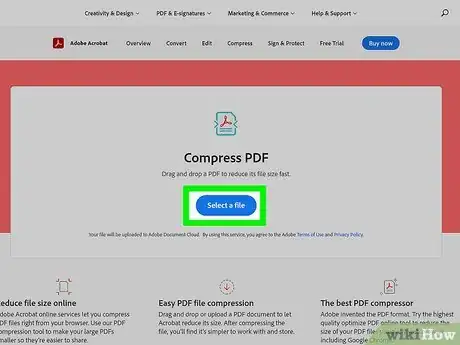
2Click the Select a file button. This opens your computer's file browser.
- Alternatively, you can drag the PDF file to the button to begin uploading the file.
Advertisement -
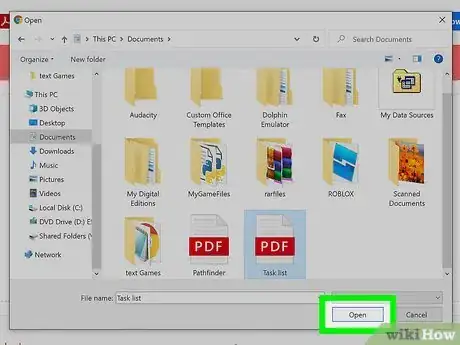
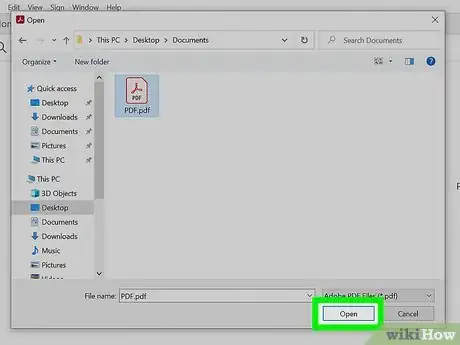
3Select your PDF file and click Open. This uploads your PDF to the server.
-
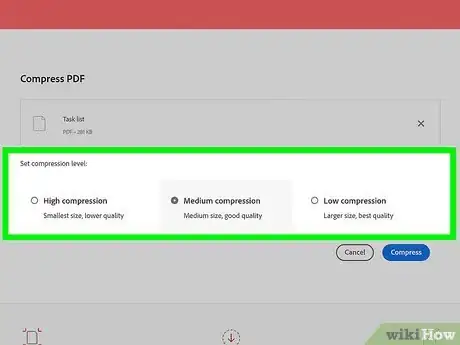
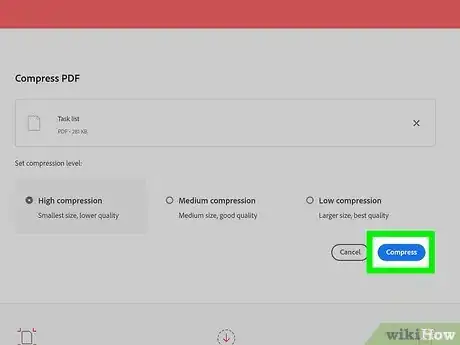
4Select a compression level. The level you select determines how much the file will be compressed, which in turn determines the file's new size.
- The default option, Medium compression, is a good option for files containing images and text. The image quality may reduce a bit to make the file smaller, but the quality will still be pretty good.
- If you want to make the smallest PDF possible, select High compression. This option will definitely reduce the quality of the file, and images won't look too good. But if you're not concerned about image quality and you need a much smaller file, this is the option for you.
- Low compression compresses the file by just a small amount, preserving the quality of images and other details. The file size will reduce slightly, but not by much.
-
5Click the Compress button. This starts the compression process. When the compression is complete, you'll see a success message, as well as the size of the newly-compressed file alongside its previous size.
-
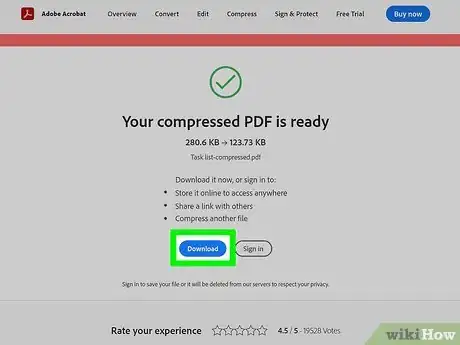
6Click Download to save the compressed file. This saves the smaller version of your PDF to your computer.
Using Preview on Mac
-
1Open a PDF in the Preview app. You can do this by double-clicking the PDF. If it opens in a different app, close that app, right-click the PDF, select Open with, and select Preview.
-
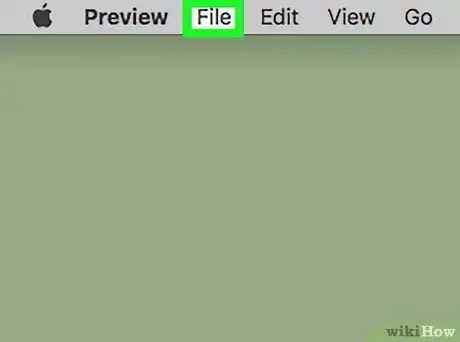
2Click the File menu. It's in the menu bar at the top of the screen.
-
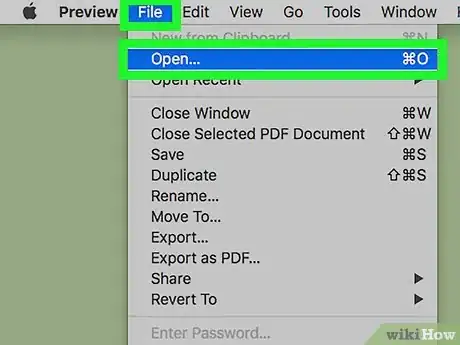
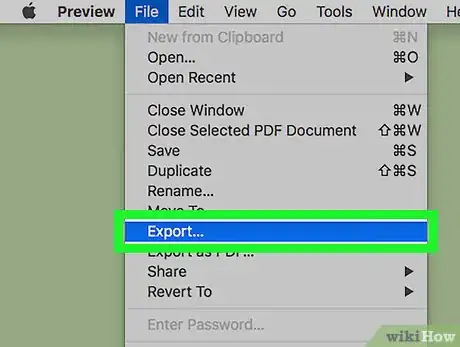
3Click Export… on the menu. Make sure you select Export and not Export as PDF.[1]
-
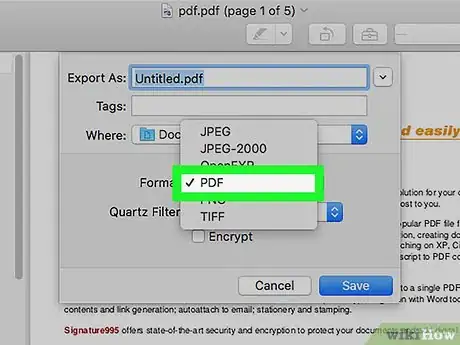
4Click the "Format" menu and select PDF. If this option is already selected, you can skip this step.
-
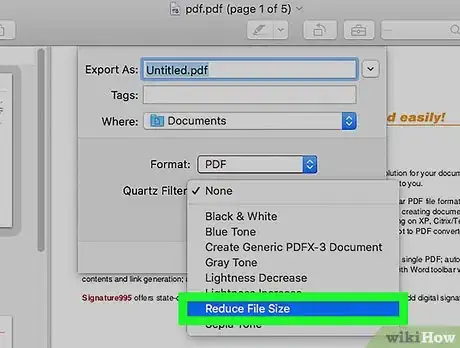
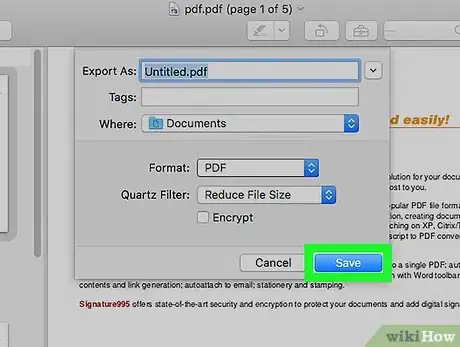
5Click the "Quartz Filter" menu and select Reduce File Size. This reduces the overall file size.
- Reducing the file size can degrade the quality of the PDF, especially if there are images.
- If you still want to keep the larger version of the PDF as an original, you can save this smaller version with a different name. Just type the word "smaller" just before the ".pdf" in the file name at the top of the window.
-
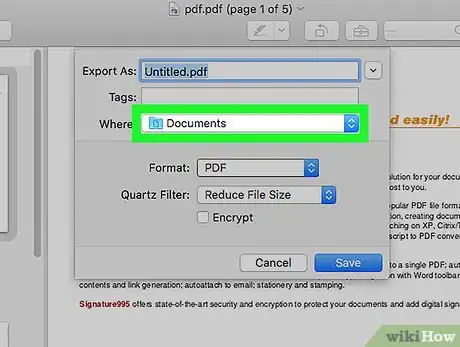
6Select a location in which to save the PDF.
-
7Click the Save button. This saves the new smaller version of your PDF.
Using Adobe Acrobat Pro
-
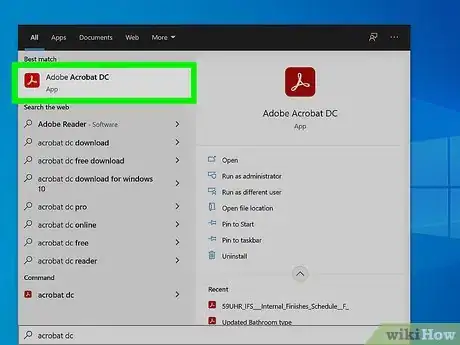
1Open Adobe Acrobat Pro. If you want to reduce the size of a PDF without sacrificing much quality, you can use Adobe Acrobat Pro. If you have Acrobat Pro, you'll find it in your Windows Start menu or on your Mac's Launchpad.
- If you don't have the paid version of Adobe Acrobat Pro, you can sign up for a free trial or try Adobe's free online PDF compressor.
-
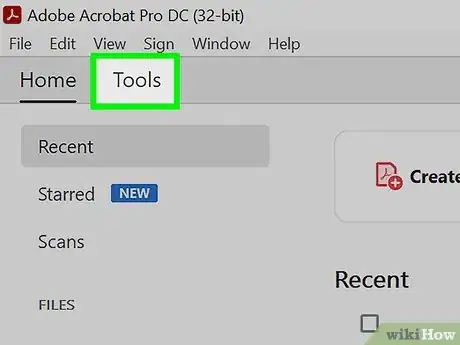
2Click the Tools tab. It's at the top of Acrobat.[2]
-
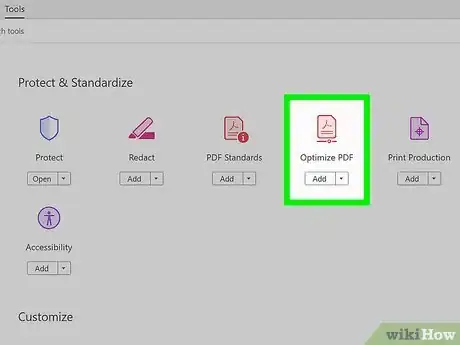
3Click Optimize PDF. You'll see this red file icon under the "Protect and Standardize" header.
-
4Select the PDF you want to shrink. This opens the PDF in Acrobat.
-
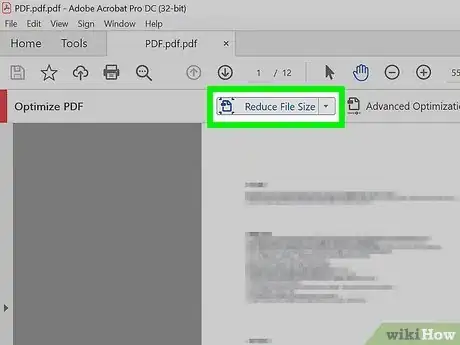
5Click either Reduce File Size. This option is in the toolbar that's just above your PDF.
- Depending on your version of Acrobat, you may see an option called Compress PDF instead. Click that if you see it.
-
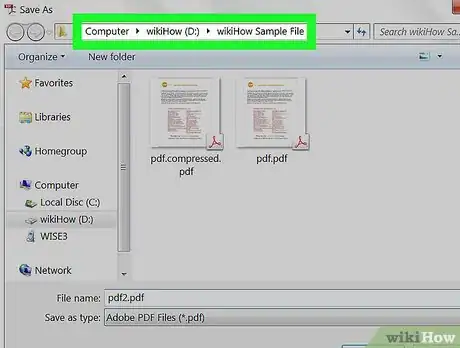
6Select a location in which to save the image. You can also give the PDF a new name if you'd like.
-
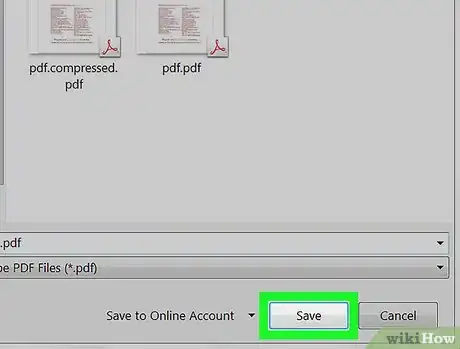
7Click Save. The smaller PDF is now saved to your computer.
Community Q&A
-
QuestionHow do I reduce the file size without using third party software?
 Community AnswerUsing the 'Reduce File Size' option does not greatly reduce the size. If you need to make it much smaller, use the "EXPORT TO" option to convert the PDF to a JPEG or any other image. Once it is an image, use the "PRINT TO PDF" option to send it back to PDF format. It will be much smaller. Be aware that some quality will be sacrificed.
 -
QuestionHow do I reduce a scanned PDF file to 1 MB or less for uploading?
 Community AnswerIt is difficult to achieve a specific target. Try using a website such as miniimagesvideos.com/pdf ; you can run multiple iterations on this website. The size will be dependent on the scanned images size/quality.
 -
QuestionHow do I reduce the file size without using third party software?
 Community AnswerIf you are using a Windows computer, go to the picture in the file explorer and choose edit, usually a choice in the menu after you right click the mouse on a Windows platform. This should take you into the Paint program where you can reduce the size.
wikiHow Video: How to Reduce PDF File Size
References
About This Article
1. Go to https://www.adobe.com/acrobat/online/compress-pdf.html.
2. Drag the PDF to the "Select a file" box.
3. Select a compression level.
4. Click Compress.
5. Click Download.
