X
wikiHow is a “wiki,” similar to Wikipedia, which means that many of our articles are co-written by multiple authors. To create this article, volunteer authors worked to edit and improve it over time.
This article has been viewed 13,739 times.
Learn more...
Google Inbox is an application that was developed by Google to make sending and organizing email easier than ever. There are a ton of new features added, which make it even easier to keep yourself up-to-date with all of the different ways to respond to emails. You can even mark emails as “Done” so that you know you have seen and have responded to them. You can get this done using the Inbox app for your smartphone or by visiting the Inbox website on your computer.
Steps
Method 1
Method 1 of 2:
Marking Emails as Done via the Inbox App
-
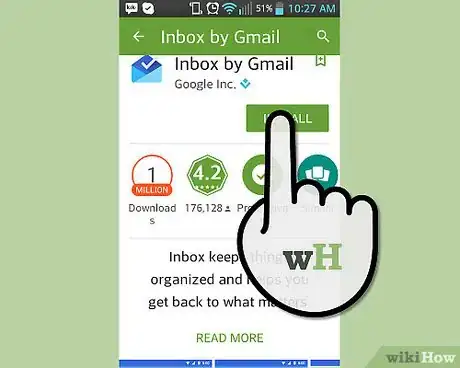
1Launch Google Inbox. Locate the Inbox app on your device; it's the blue-colored envelope. Tap on the application to open.
- If you don't have Inbox yet, you can download and install it from your device's dedicated app store (iTunes App Store for iOS users and Google Play Store for Android).
-
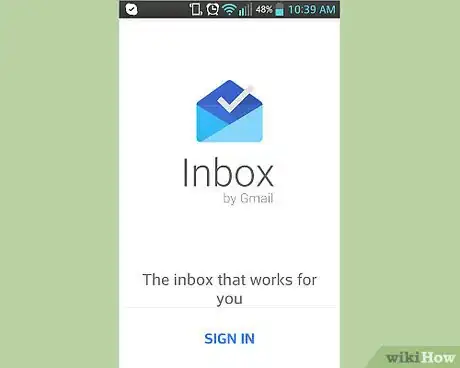
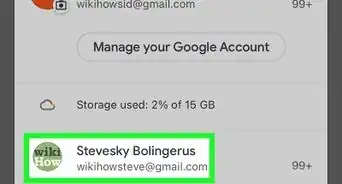
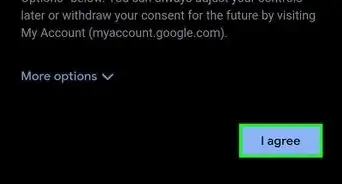
2Log into Google Inbox. If you had logged out of your previous Inbox session, or if this is the first time you've accessed the app, you will be asked to log in. Use your Gmail login details to access your account.Advertisement
-
3Select emails to mark as done. If you want to mark your emails as done, you must first select them. Go through and find the emails you want to mark as done, and tap and hold the email to select it.
- You can do this with as many emails as you need.
-
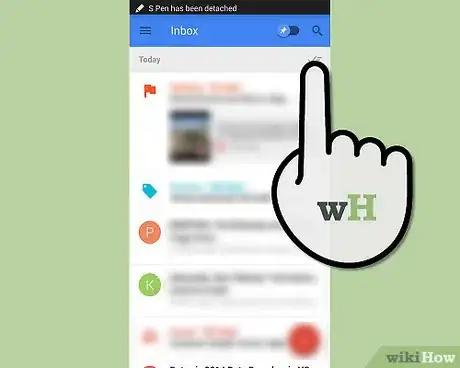
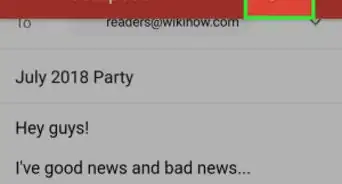
4Tap the checkmark at the top of the screen. The emails will be marked as done and will slide off your screen, giving you more room and organization in your inbox.
Advertisement
Method 2
Method 2 of 2:
Marking Emails as Done via Inbox Website
-
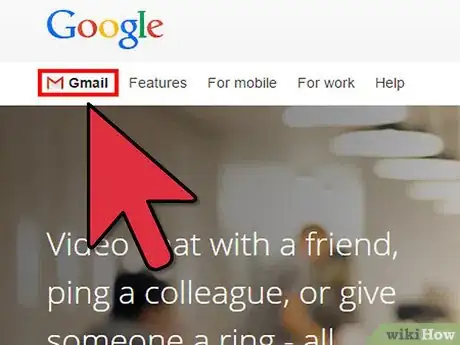
1Visit Inbox. On your computer's web browser, head to the website.
-
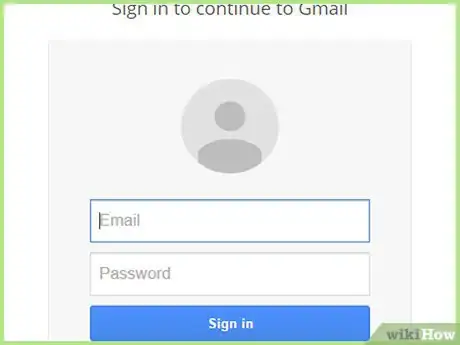
2Log into your account. You can log into your account by looking for the field at the top of the screen that asks for your Google email address and password. Click inside each box and enter your information, then click the “Log in” button.
-
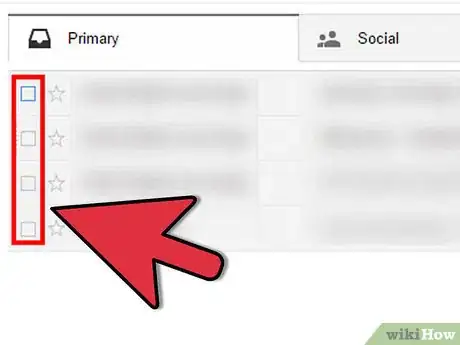
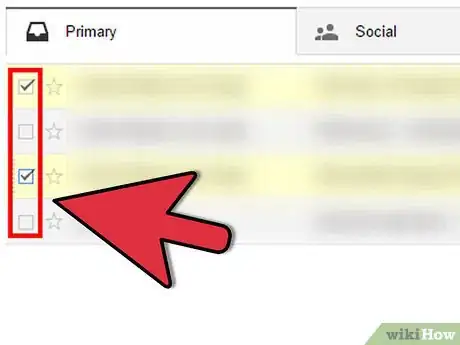
3Select the emails to mark as done. Look through your email list and hover over the emails you want to mark as done. Notice when you hover, a checkbox appears to the left. Click on it to select the email.
- You can select as many emails as you want.
-
4Click the checkmark at the top of the screen. Notice how the emails shift off your inbox. This means that you have successfully marked your emails as done.
Advertisement
About This Article
Advertisement
