X
wikiHow is a “wiki,” similar to Wikipedia, which means that many of our articles are co-written by multiple authors. To create this article, 17 people, some anonymous, worked to edit and improve it over time.
This article has been viewed 71,617 times.
Learn more...
Move something heavy a short distance using little more than a piece of rope, a stick and something large to attach to. It is useful for moving or removing the stumps of garden shrubs.
Steps
-
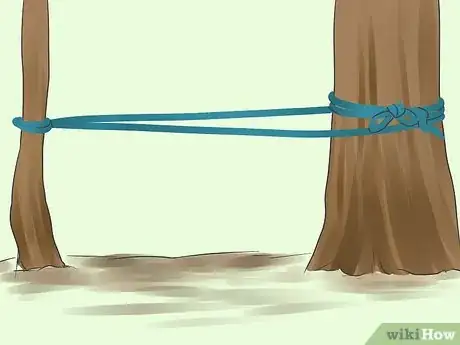
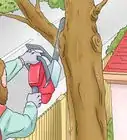
1Wrap the rope around the object to be moved and a large immovable object in one continuous loop. The strength of the rope should be proportionate to the amount of pull that you wish to achieve. The rope can be wrapped more than once and a double or greater wrap is best.
- A tree makes a good immovable object to use as an anchor because many trees have rough bark. This means that the rope will not easily slip on the bark and removes the need for skillfully made knots. A simple reef knot, perhaps with a loop so that it is easily undone, will be sufficient. If either object is slippery, the knots used should be designed to be easy to undo and be placed so that they do not slip up or down either one of the objects.
- As you make the loop, it is a good idea to wrap it more than once around the object to be moved, overlapping the rope on itself as you do so. This grips the object firmly. When removing shrubs, start low on the plant but not right at the base. This will give some leverage to stress the roots. If you go too high, the plant will give as you tighten and you will not exert maximum force on the roots.
-
2Choose a strong stick that is long enough to reach nearly twice from the middle of the loop to a firm place such as the ground. A smooth strong metal pole is good but any strong stick can be used.Advertisement
-
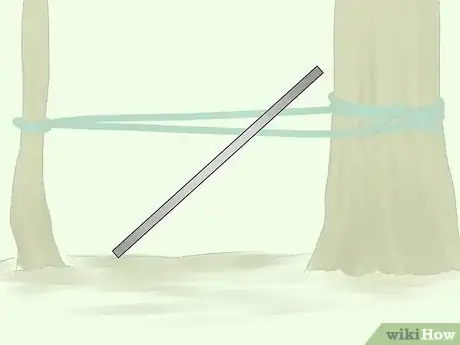
3Insert the stiff stick or pole in the middle of the loop.
-
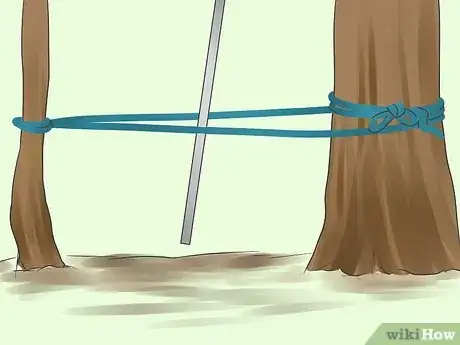
4Adjust the stick so that one end can be rested on the ground or other firm place. This means that more of the stick is on one side of the rope than it is on the other.
-
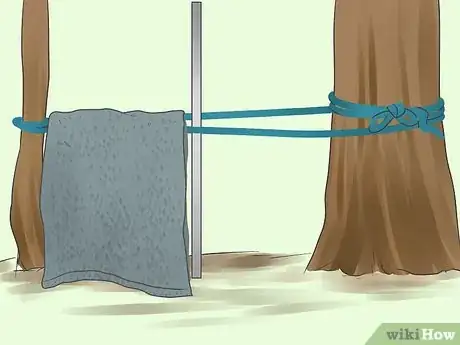
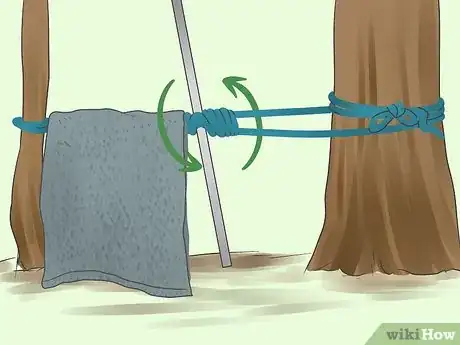
5Place a blanket or other item with a large surface area across the rope. If the rope breaks, this will absorb some of the energy of the rope as it snaps back along its length and reduce the risk of you being hit by it.
-
6Twist the stick around and around so that it twists the rope around itself. The stick is kept at an angle (of around 30 degrees) to the line of the rope as you do this, allowing the longer end to avoid hitting the ground. The rope will begin to shorten and pull your object towards the anchor. Keep rotating until you have pulled the object as far as you need or the shortening rope will allow.
- If you need a rest, the stick can be set at right angles to the rope and positioned against the ground. A slippery 'stick' such as the steel pole shown in the pictures is convenient. As you start twisting, it is easy to slide it through and position it to rest securely. When the lift is under tension, it can spin the stick hard and fast. Be careful to make sure that the stick is secure before releasing hold of it.
- Twisting in this way can generate large forces between the object and anchor allowing quite heavy objects to be moved. If your rope is weak it may break. Stop if the fibres of the rope start to creak heavily or to break. A double rope helps to provide you with more warning of possible trouble. One strand of the rope is likely to be under more stress than the other and will creak or fray before the other.
- Quite large roots and other objects can be removed by this method but it will need to be set up repeatedly if the root is too large to move by hand.
Advertisement
Warnings
- The "stick" needs to be as strong and rigid as possible without fear of breaking under pressure. If the stick breaks while you are twisting it, there is a significant chance of it breaking in a jagged fashion. The combination of this break and the spinning motion caused by the tension can severely injure you.⧼thumbs_response⧽
- Be very careful to secure the stick when you have the rope under tension before letting go of it. A spinning stick could hit you and injure you.⧼thumbs_response⧽
Advertisement
Things You'll Need
- Rope
- Stick
- Blanket or other heavy duty sheet of soft material
- Helmet with visor (some protection from snapping ropes)
- Gloves (optional but convenient and safer)
References
- Drawings of parts of the windlass setup and knots
- Related Spanish Windlass knot
- Showing use in boat building [1]
About This Article
Advertisement
