X
wikiHow is a “wiki,” similar to Wikipedia, which means that many of our articles are co-written by multiple authors. To create this article, 32 people, some anonymous, worked to edit and improve it over time.
This article has been viewed 396,895 times.
Learn more...
If you've ever wanted to add a touch of fire to your images, Photoshop is a great place to go. We'll show you a few ways to get the look you want. It's easy to do, and fun to play with.
Steps
Method 1
Method 1 of 3:
The Basics
-
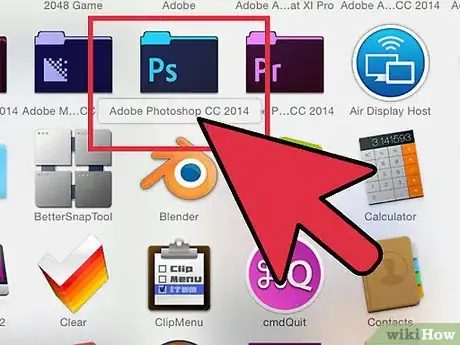
1Open Adobe Photoshop. Set the background color to black, and the foreground color to orange.
-
2Create a new document. Set it to whatever size you desire, and in the Background Contents: popup, select Background Color. Click OK.Advertisement
-
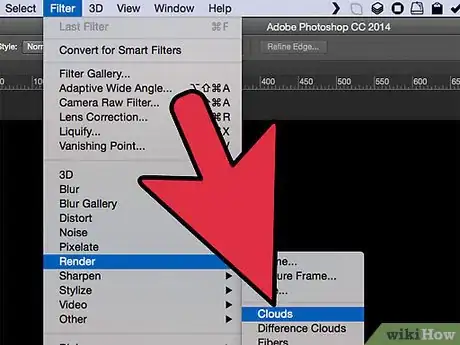
3Render clouds. From the '"Filters'" on the top toolbar and go down to '"Render"' and select Clouds.
-
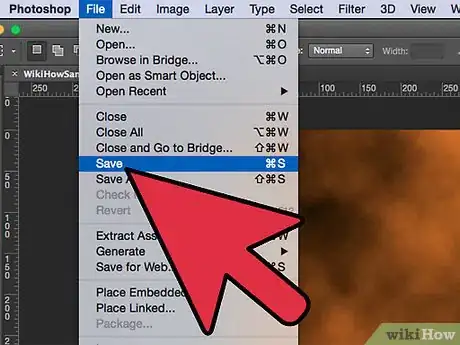
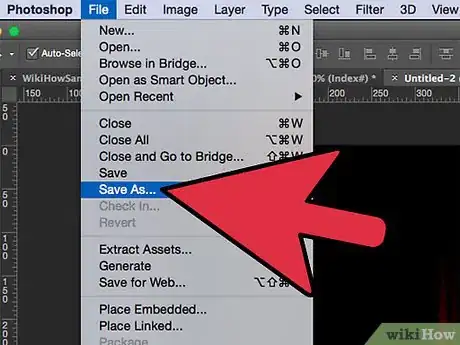
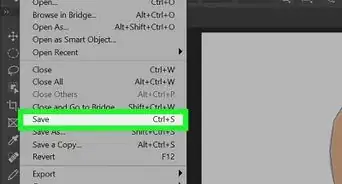
4Save your fire. This filter will render gaussian clouds with the foreground and background colors. Using different colors can lead to some interesting effects.
- Ready for more? Check out the Advanced method below.
Advertisement
Method 2
Method 2 of 3:
Adding Fire To Text
-
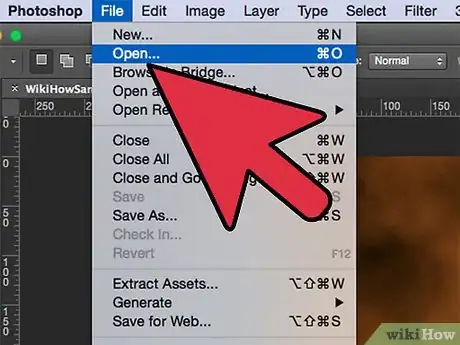
1Open a document with a text layer, or create a new one. For this example, we used a simple black background with the word "FIRE!" in Arial Black on a second layer. It's important that the text be on a different layer than the background.
- If you're using an existing document, work with a copy of the original.
-
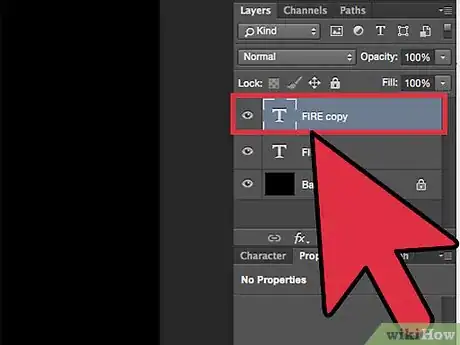
2Duplicate the text. Drag the original text layer to the New Layer icon at the bottom of the Layers window.
-
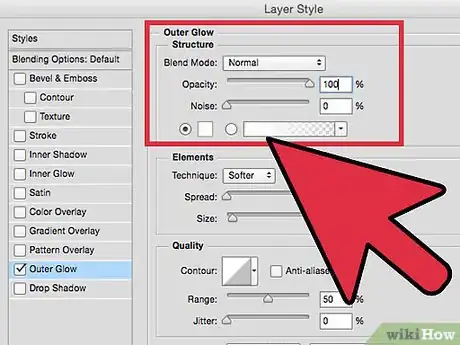
3Add Outer Glow. Once duplicated, click on the Fx menu at the bottom of the Layers menu, and select Outer Glow. In the resulting Layer Style window, change the glow color from yellow to white, and Opacity to 100%, as shown:
- Click the OK button. Your image should now look like this:
-
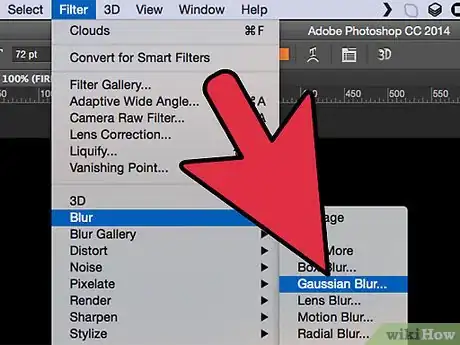
4Apply Gaussian Blur. From the Filter menu, select Blur > Gaussian Blur... Photoshop will prompt you with a warning that this action will rasterize the type layer, and that you will not be able to edit the actual text if you proceed. OK the warning, and set the blur so that it looks something like this:
- Note that if your text layer is larger or smaller than our example, the actual Radius setting will vary. The example was done using 72pt type.
-
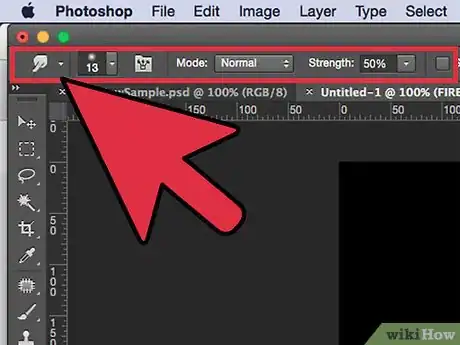
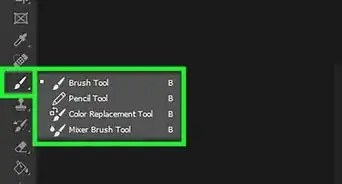
5Set up the Smudge tool. Click on the Smudge tool (below the Gradient tool), then click on the brush settings at the top of the window. In the resulting smudge tool adjustment window, use these settings:
- With these settings, you're going to "draw" the fire. As with any kind of brush work in Photoshop or other graphics applications, the use of a tablet is recommended.
-
6Create the flames. Using the smudge tool, brush from the letters outward, to give the appearance of flames. Short, quick strokes will give you the best result, and if you're using a brush, vary the thickness by pressure. Your fire should look as shown:
- When done, duplicate the smudged layer.
-
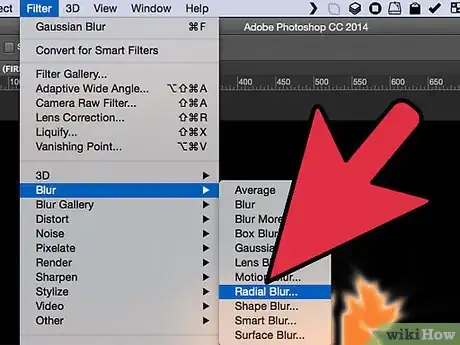
7Apply radial blur. From the Filter menu, select Blur > Radial Blur..., and in the resulting window make the following settings:
- While subtle, this will give your fire an additional burst of energy
-
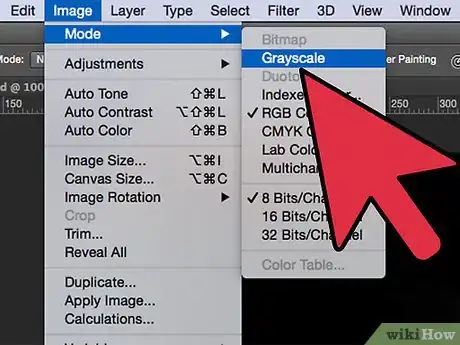
8Make your image grayscale. From the Image menu, select Grayscale. Once again, Photoshop will issue a warning that this will flatten the image, and can have an effect on your image. Click the Flatten button to continue.
-
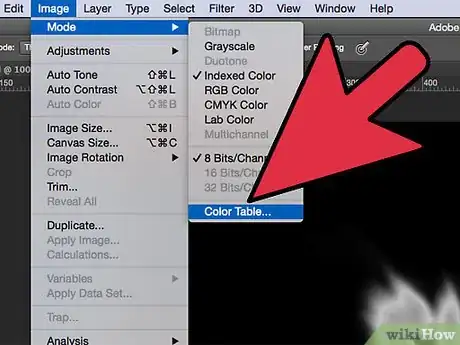
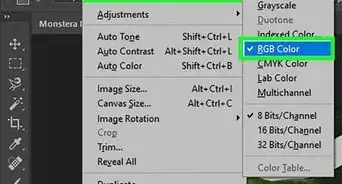
9Convert to Indexed Color. From the Image menu, select Mode > Indexed Color. Following that, from the same menu, select Color Table.
- From the menu at the top of the Color Table window, select Black Body.
-
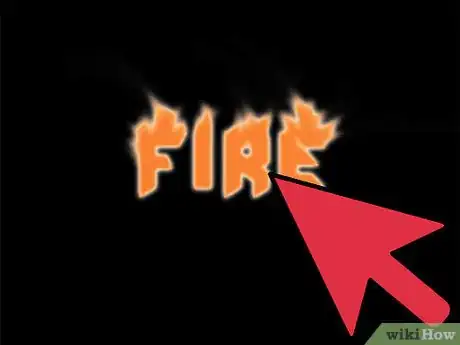
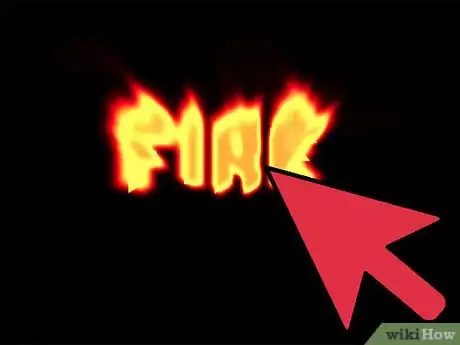
10Congratulations, you have made fire! Your image should look something like this:
Advertisement
Method 3
Method 3 of 3:
Liquid Fire
-
1Open Adobe Photoshop. Set the foreground color to white, and the background color to black. A quick way to do this is to press the D key (for Default colors), and the X key (swapping the foreground and background colors).
-
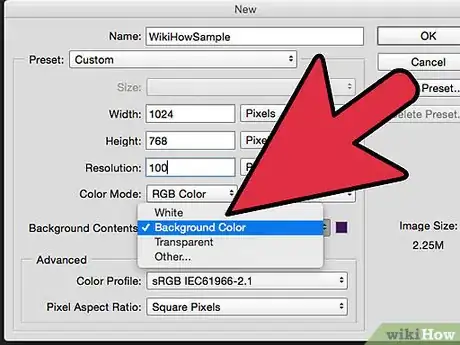
2Create a new Photoshop image. As with the above method, set the background content to be Background Color.
-
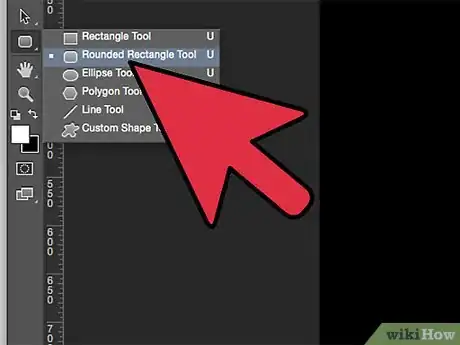
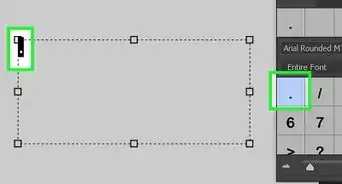
3Create a Rounded Rectangle by clicking on the shape tool in the task bar on the left hand side. Draw a squarish shape in the middle of the image.
-
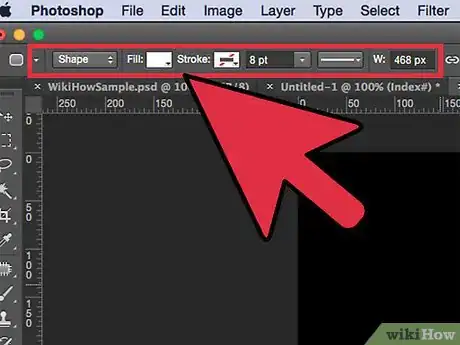
4Set the attributes of the shape. At the top of the window, select Fill, and choose white. Select the Line attribute, and set it to none, as shown.
-
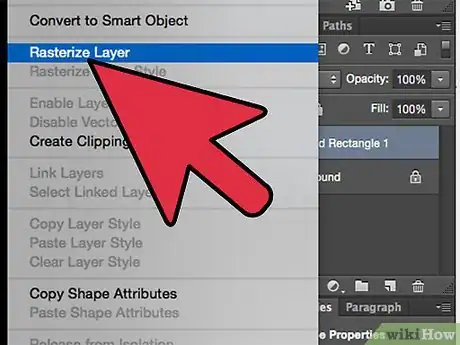
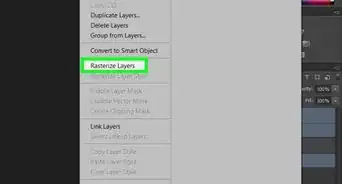
5Rasterize the layer. Right-click on the name of the new shape layer (Rounded Rectangle 1, by default), and select Rasterize Layer from the contextual menu.
-
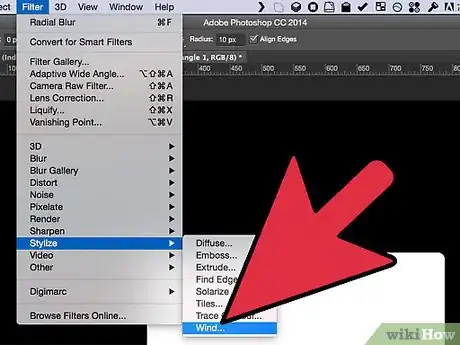
6Add wind. Ensure the shape layer is still selected. From the Filter menu, select Stylize, and then then Wind.
-
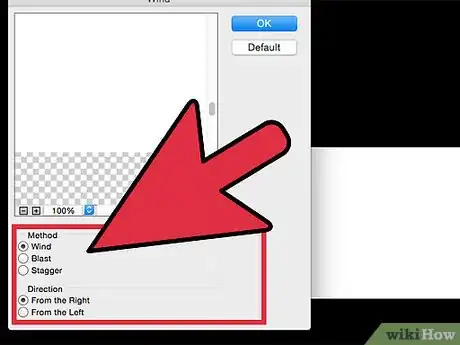
7Adjust the Wind settings. Choose the following settings in the Wind window: Wind and From the Right, then click OK.
-
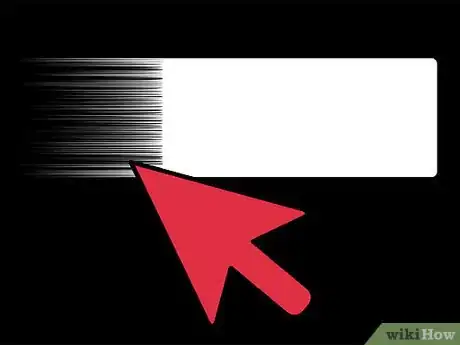
8Press Command + F (PC: Ctrl + F twice. This adds to the Wind effect. Your rectangle should look something like this:
-
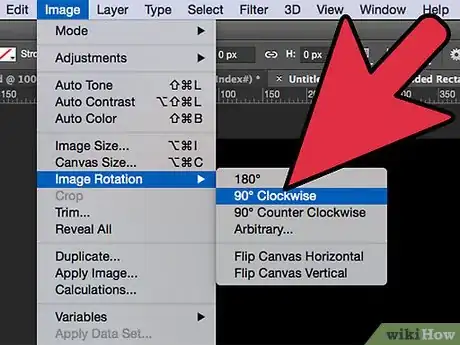
9Rotate the image. Click on the Image menu, then Image Rotation, then 90° CW.
-
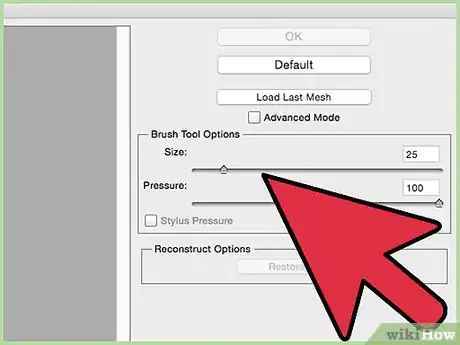
10From the Filter menu, select Liquify. A window will open. Set the brush size to about 25, initially, then click and drag on the lines made by the wind to distort them into what a flame may look like. Vary the brush size for a more realistic flame look. Once you have done this, click OK.
-
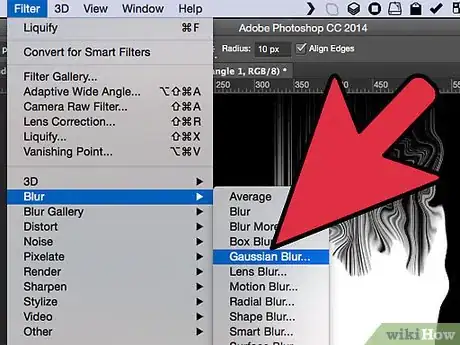
11Blur the image. Click on Filter, then Blur, then Gaussian Blur, and set the radius to 1 pixel.
- Duplicate the layer twice. You can do this either by dragging the first layer onto the New Layer icon at the bottom of the Layers window, or by pressing Command + J (PC: Ctrl + J) twice.
- Make the top 2 layers invisible by clicking on the eye next to them.
-
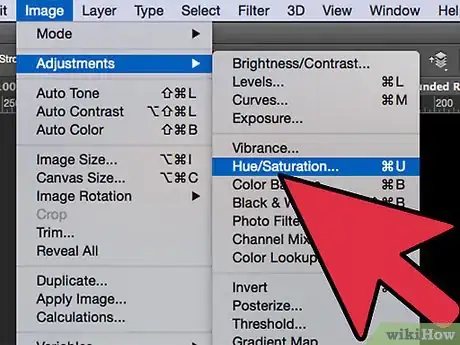
12Click on the original (bottom) rectangle layer. From the Adjustments window, select the Hue/Saturation icon.
-
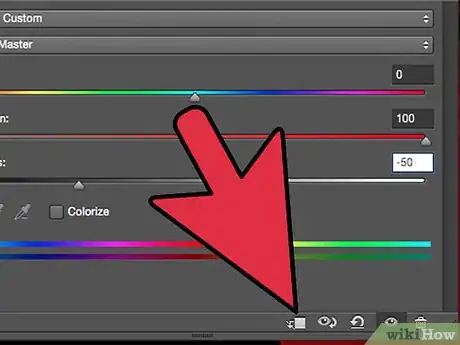
13Make the Hue/Saturation layer a clipping layer. Click on the clipping layer icon at the bottom of the Adjustments window. This will limit the effects of the Hue/Saturation layer to only the layer directly below it.
-
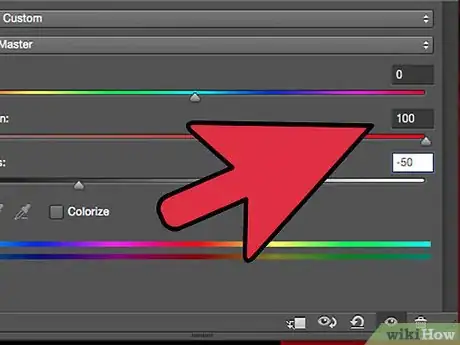
14Set the Hue/Saturation levels as shown in the above image. Be sure to enable the Colorize checkbox first. Hue is set to 0, Saturation to 100, and Lightness to -50, giving you a rich red color. It should look like this:
-
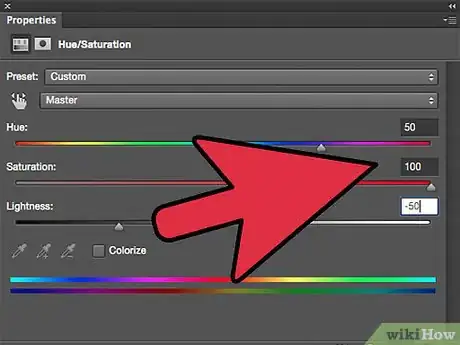
15Turn the top layer back on. Add another Hue/Saturation adjustment layer as before, and set the clipping as you did with the bottom layer. Change the properties of the top adjustment layer to Hue: 50, Saturation: 100, Lightness: -50. This will make it a yellow color.
-
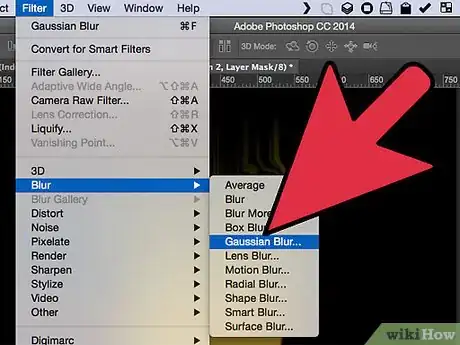
16Select the remaining white shape (middle layer). Click on Filter, then Blur, then Gaussian Blur. Set the radius to 7 pixels. Your image should look something like this, at this point:
-
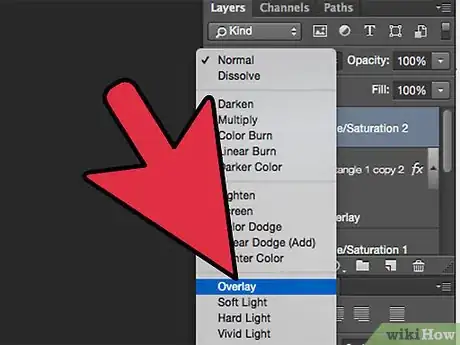
17Change the overlay method. Select the top Layer and change the layer type by clicking in the drop-down menu that usually reads Normal and select Overlay.
-
18Congratulate yourself! The work is done, and your masterpiece is completed!
Advertisement
About This Article
Advertisement




-Step-9-Version-2.webp)


