This article was co-authored by Nikia Londy. Nikia Londy is a Hair Augmentation Specialist and the Founder and CEO of Intriguing Hair, a one-stop solution for women from all ethnicities wanting to purchase high-quality human hair extensions, hairpieces, and wigs. With over 16 years of experience, she specializes in artificial hair integrations, hair extensions, hair loss, hairpieces and wigs, and non-surgical hair replacement. Nikia holds a BA in Organizational Leadership from Charter Oak State College and received her Cosmetology Certification from Blaine Beauty School. She is also a member of the American Hair Loss Council.
There are 26 references cited in this article, which can be found at the bottom of the page.
This article has been viewed 27,469 times.
If you wear a wig, it’s important to find a method to keep it firmly in place. Whether you’re worried about a windy day or an accidental tug on your hair, there are several methods you can use to secure your wig more firmly to your head. A wig grip is an easy, popular solution that allows you to take your wig on and off throughout the day. Wig tape and wig adhesive are very secure, but are more complicated to remove. Silicone takes the most up-front work to sew into the wig, but once it is attached it offers the lowest-maintenance option for keeping your wig firmly in place.
Steps
Wearing a Wig Grip
-
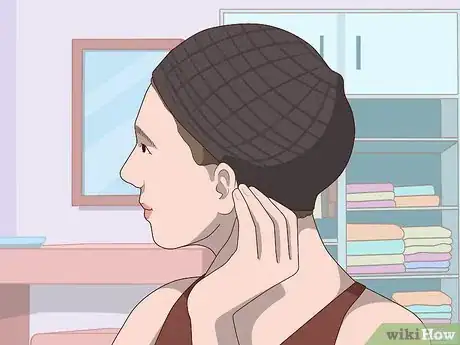
1Secure your hair using a wig cap if your hair is on the longer side.[1] Style your hair in a small bun or braids and cover it with a wig cap. Apply gel to your hair before styling it to help smooth down baby hairs or flyaways. Align the front of the cap with your natural hairline, then pull it on so the back rests on the ridge of your neck.
- Wig grips work well for people with or without hair.[2] Many people who don’t have hair prefer to wear a cap to prevent direct contact between their scalp and the wig, to cut down on itchiness.
-
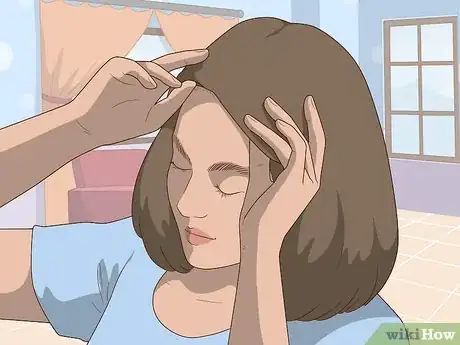
2Pull shorter, finer hair back into a low bun or braid. You can also wear a wig grip without a wig cap. If your hair is short or fine, you can simply pull it back into a bun or small braid at the nape of your neck.[3]
- Smooth back any flyaways or baby hairs with gel or hairspray.
Advertisement -
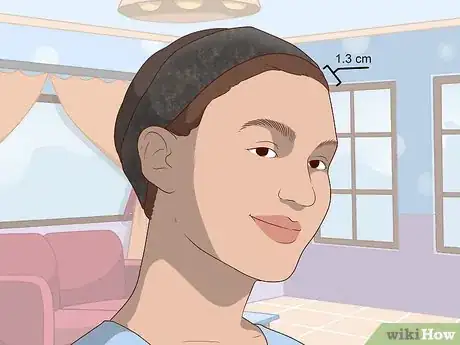
3Position the wig grip 1⁄2 inch (1.3 cm) back from your natural hairline. Tuck the grip behind your ears, as well. A wig grip resembles a headband and is typically made of double-sided velvet to grip your hair or skin on one side and the wig on the other.[4]
- There are also wig grips made from gel which have a pebbled texture on one side to prevent slippage. If you have a gel wig grip, position it so the textured side faces your head.
-
4Use the velcro tabs to fasten the wig grip to your head.[5] Place the velcro clasp behind your head, at the nape of your neck. You want the wig band to feel secure, but not tight.[6]
- Wig bands are often helpful for people who get headaches after wearing a wig all day. The band redistributes the weight of the wig and is good for relieving pressure.
- If you have a small head, you might have a long piece of extra fabric at the back of your neck once you’ve fastened the velcro. Tuck it in underneath the rest of the wig grip so it doesn’t get in the way when you put on the wig.[7]
-
5Put on your wig so it lines up with the wig grip. Hold the wig with both hands so the back of the wig is facing you. Tilt your head forward, line up the front of the wig with your natural hairline, and pull it on.[8]
- You’ll be able to tell that the wig grip isn’t lined up if you shake your head a bit and the wig starts to slide off.
-
6Shake your head from side to side to ensure your wig grip isn’t loose. If your wig wiggles back and forth across your head, then the wig grip isn’t quite tight enough. If this is the case, remove your wig, tighten the velcro fasteners, and repeat the process.[9]
- Wig grips are a great option if you plan to take your wig on and off throughout the day, since there’s no glue or adhesive involved.
Using Wig Tape
-
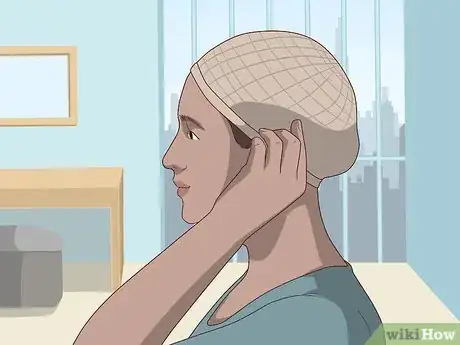
1Put on a wig cap to prevent itchiness or to secure your hair. Pull your own hair back into braids or a low bun. Align the front of the cap with your natural hairline, then pull it back over your head so it reaches the nape of your neck.
- Wig tape is an option for those with and without bio hair (hair that’s growing on your own head).[10] Both types of people use wig caps, which can either protect your scalp from a scratchy wig lining or keep your bio hair in place.
-
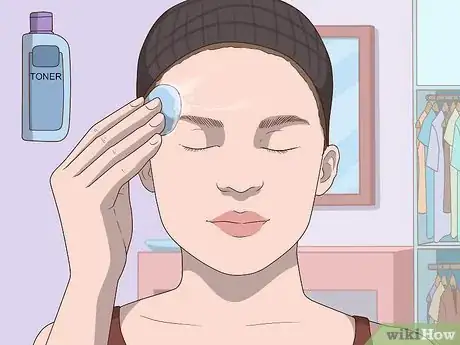
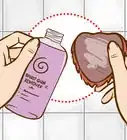
2Clean your forehead near your hairline. Use rubbing alcohol, toner, or astringent to clean your skin. Wipe a cotton ball that’s been soaked in cleaning solution across your forehead to remove any oil, sweat, or makeup.[11]
- This will allow the tape to adhere better to your skin.
-
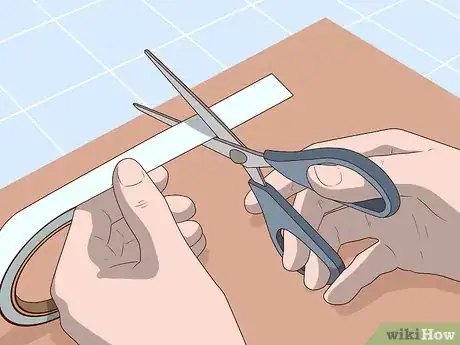
3Cut 6 to 10 pieces of wig tape, each about 1 inch (2.5 cm) long. Wig tape often comes packaged in a roll. Use scissors to cut it into several smaller pieces that will be easier to apply along your hairline.[12]
- Wig tape can also come packaged in pre-cut strips, in which case there’s no need to cut it into smaller pieces.
-
4Apply the strips so they cover most of your hairline. Start in the middle of your forehead and work down either side, applying the strips so they are evenly spaced. Press the sticky side against your skin, while leaving the outer backing on.[13]
- Do not apply the tape over your real hair. It can rip out your hairs when removed, which is painful.
- You can also try using just two pieces of tape, one on either side of the part, for a fairly secure but easier-to-remove option.
-
5Peel off the tape backing to reveal the tape’s sticky surface. Once you’ve applied all the strips of tape, you can begin to remove the outer backings. Peel each backing off gently with your fingers.[14]
-
6Put the wig on gently, without pressing down. Hold the wig with both hands, with the back of the wig facing you. Tilt your head forward and line up the front of the wig with your natural hairline. Then, pull on your wig.[15]
- Keep from putting pressure on the wig, so that it doesn’t attach to the tape before you’ve positioned it correctly on your head.
-
7Adjust the wig so its hairline is aligned with your natural hairline. Use your hands to shift the wig slightly forwards and backwards to make sure the two hairlines match up. As you move the wig around on your head, keep from pressing down, which will secure the wig in place before it’s been correctly positioned.[16]
- Inspect near both ears to double-check that the wig is properly positioned.
-
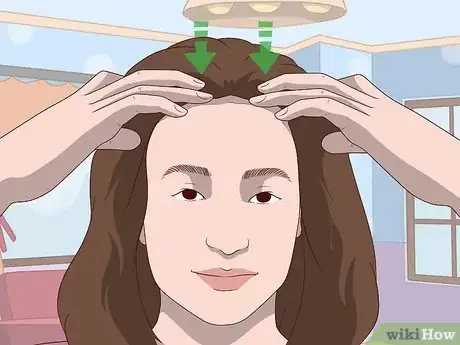
8Press firmly on the tape with your fingertips to secure your wig in place. The heat from your fingertips will help activate the adhesive in the wig tape and secure the wig more firmly to your scalp. Make sure you’ve pressed along the entire edge of the wig that’s positioned on top of the tape.[17]
-
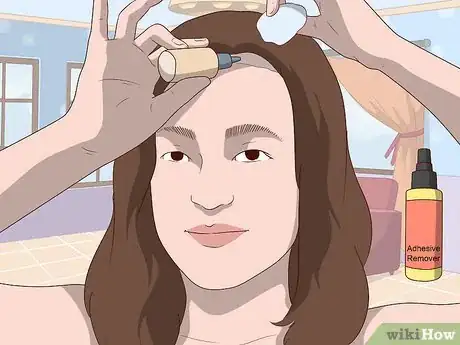
9Loosen the tape with adhesive remover to take off the wig. Dunk a cotton swab into a wig-specific adhesive remover. Lift the front edge of the wig gently, and rub the cotton swab against the sticky tape. It will start to loosen. Apply more remover to the cotton swab and continue rubbing until the wig can be gently lifted off your head.[18]
- Never pull hard on the lace when you lift it up, which could damage the wig front.
- In a pinch, you can use rubbing alcohol instead of adhesive remover.
Sticking with Wig Adhesive
-
1Place a wig cap on your head to cover your hair or reduce scratchiness. Wig glue can be used by those with and without hair. Either way, it’s usually best to begin by putting on a wig cap, which can keep your own hair in place or protect your scalp from an itchy wig lining.
- If you have longer hair, make sure the flyaways are tucked away into the cap or secured with gel or hairspray. You want to avoid errant hairs falling into the glue and getting stuck.
-
2Wipe your forehead near your hairline with cleaning solution. Clean the area where you’re planning to apply the glue with toner, rubbing alcohol, or astringent. Using a cotton ball, wipe your cleaning solution across your forehead to remove any makeup, oil, or sweat.[19]
- This allows the glue to better stick to your skin.
-
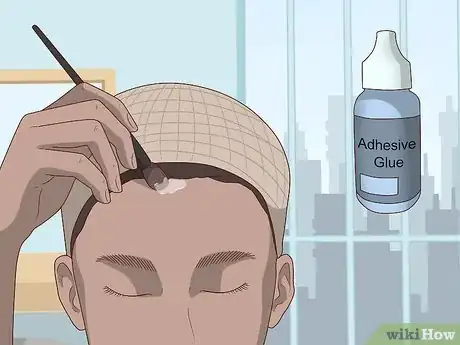
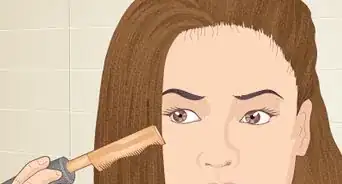
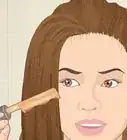
3Brush the adhesive in a thin line along your hairline. Using a clean makeup brush, apply the glue in a thin line on your forehead right next to your hairline. Go from ear to ear. Make sure it’s spread in an even layer across your skin.[20]
- If you don’t want to get glue on a makeup brush, you can also apply directly from the glue bottle to your skin. It may be more difficult to achieve an even layer of glue with this method, however.
-
4Wait for the glue to dry for 3 minutes. The glue needs a few minutes to set and become tacky before you start putting on the wig.[21] You should be using a soft bond adhesive for this method, which dries after a few minutes.
- Hard bond adhesives dry almost immediately and should almost always be used by professional hairdressers.[22]
-
5Put on your wig, then press down firmly along the hairline. As you put your wig on your head, keep from pressing down until you’ve positioned the wig exactly how you want it. Double-check that the wig’s hairline is aligned with your natural hairline.[23]
-
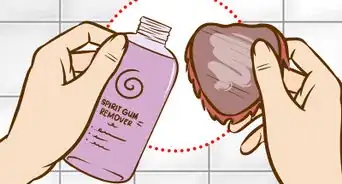
6Spray wig adhesive remover along your hairline and massage it in. Spray wig adhesive remover along the hairline of your wig and massage it in gently with your fingers. Be patient during this process—you don’t want to pull too hard and damage the lace or your skin. Continue spraying the remover and massaging until you can gently life the wig from your scalp.[24]
- It’s best to pin hair back before you start the removal process, which will keep the wig hairs from getting caught in the glue.
Sewing in a Silicone Sheet
-
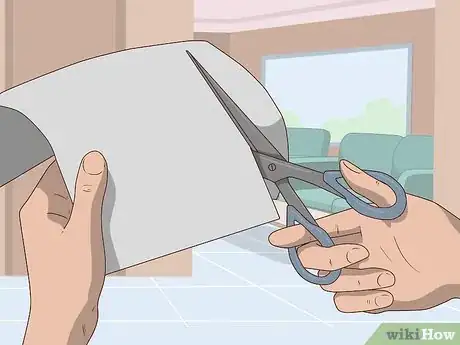
1Cut the silicone sheet into strips that fit your wig. You can cut the silicone into any shapes you like, but a basic set includes a piece for the nape of your neck, a piece for the front near the hairline, and two tabs that go behind your ears.[25]
- Some silicone sheet kits come with pre-cut pieces of silicon, in which case you can skip this step.
- You can purchase silicone sheets online or at your local wig shop.
-
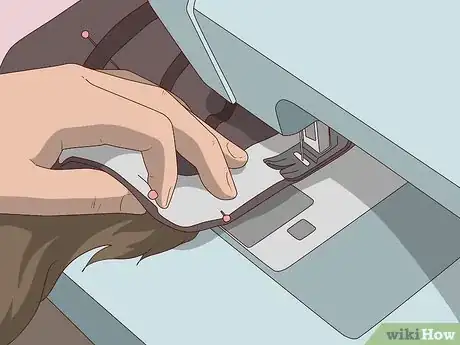
2Pin 1 strip of silicone into the wig lining using 3 or 4 sewing pins. Using your fingers, position the silicone strip in the correct spot on the wig lining. Then, holding the strip steady with one hand, use the other to secure it in place with several evenly-spaced sewing pins.[26]
- If you have a wig stand, turn your wig inside-out and place it onto the stand. This will make it easier to pin the silicone strip in the correct position.
-
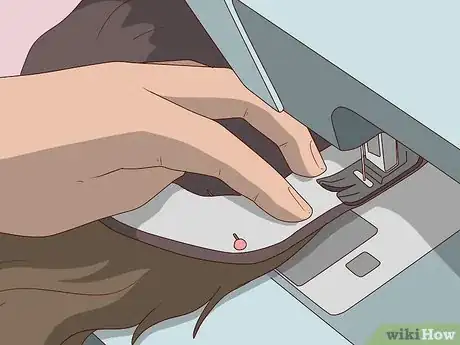
3Sew a strip into the front of the wig using small stitches. Using a needle and thread, pick a point along the edge of the silicone strip and work your way around until you’ve stitched the entire outline. Double-check that you have the anti-slip surface pointing towards your skin when you sew it in.[27]
- You will have to hand-sew because a sewing machine can’t sew through silicone.
- If you’re not a confident seamstress, you may want to brush up on your sewing skills before attempting this method. If you tear your wig while sewing, you could permanently damage it.
- Remove the sewing pins once the silicone strip is sewn into the lining.
-
4Repeat this process with each strip until the wig lining is covered. Use small, neat stitches that run evenly around the edge of the silicone strip. Once you’ve pinned the strips in place, it will be easier to sew them into the wig lining if you remove the wig from the wig stand.[28]
-
5Put on the wig and align its hairline with your natural hairline. Silicone creates a gentle suction, which will keeps your wig secure. The silicone also offers a good place to apply tape to the lining of your wig (since it’s easier to pull tape off silicone than fragile lace), if you would like additional security.[29]
- Silicone never stretches out and will last the entire lifespan of your wig, making it an economical choice.
- Silicone is not a particularly breathable material, so if it’s a hot day your head may get sweaty.
Expert Q&A
-
QuestionHow do you secure a wig without glue?
 Nikia LondyNikia Londy is a Hair Augmentation Specialist and the Founder and CEO of Intriguing Hair, a one-stop solution for women from all ethnicities wanting to purchase high-quality human hair extensions, hairpieces, and wigs. With over 16 years of experience, she specializes in artificial hair integrations, hair extensions, hair loss, hairpieces and wigs, and non-surgical hair replacement. Nikia holds a BA in Organizational Leadership from Charter Oak State College and received her Cosmetology Certification from Blaine Beauty School. She is also a member of the American Hair Loss Council.
Hair Augmentation Specialist If you've got your own hair, use some metal wig clips to clip into the sides of the wig and hold it in place. They're really cheap and effective—you can even sew them into your wig if you'd like!
 -
QuestionHow do I keep my wig from sliding back?
 Nikia LondyNikia Londy is a Hair Augmentation Specialist and the Founder and CEO of Intriguing Hair, a one-stop solution for women from all ethnicities wanting to purchase high-quality human hair extensions, hairpieces, and wigs. With over 16 years of experience, she specializes in artificial hair integrations, hair extensions, hair loss, hairpieces and wigs, and non-surgical hair replacement. Nikia holds a BA in Organizational Leadership from Charter Oak State College and received her Cosmetology Certification from Blaine Beauty School. She is also a member of the American Hair Loss Council.
Hair Augmentation Specialist Double-sided tape can work in a pinch! If you don't have any hair of your own, you can always use glue to stick your wig down and hold it firmly in place.
 -
QuestionHow do you hide long hair under a wig cap?
 Nikia LondyNikia Londy is a Hair Augmentation Specialist and the Founder and CEO of Intriguing Hair, a one-stop solution for women from all ethnicities wanting to purchase high-quality human hair extensions, hairpieces, and wigs. With over 16 years of experience, she specializes in artificial hair integrations, hair extensions, hair loss, hairpieces and wigs, and non-surgical hair replacement. Nikia holds a BA in Organizational Leadership from Charter Oak State College and received her Cosmetology Certification from Blaine Beauty School. She is also a member of the American Hair Loss Council.
Hair Augmentation Specialist Braiding and bobby pins can help! Braid your hair and wrap it around your head in a swirl shape, holding it in place with bobby pins. Then, slide on a wig cap that covers your whole head (from your forehead to the top of your neck). Place your wig on top your wig cap, and you should be good to go!
References
- ↑ Nikia Londy. Hair Augmentation Specialist. Expert Interview. 7 October 2021.
- ↑ Nikia Londy. Hair Augmentation Specialist. Expert Interview. 7 October 2021.
- ↑ https://youtu.be/eHZK90SO0Bg?t=5
- ↑ https://youtu.be/eHZK90SO0Bg?t=81
- ↑ Nikia Londy. Hair Augmentation Specialist. Expert Interview. 7 October 2021.
- ↑ https://youtu.be/eHZK90SO0Bg?t=77
- ↑ https://youtu.be/6-ZQQqSrpsw?t=174
- ↑ https://youtu.be/eHZK90SO0Bg?t=128
- ↑ https://ultimatelooks.com/blogs/news/the-expert-guide-on-how-to-secure-a-wig
- ↑ Nikia Londy. Hair Augmentation Specialist. Expert Interview. 7 October 2021.
- ↑ https://youtu.be/gUjfT47bVTw?t=22
- ↑ https://youtu.be/gUjfT47bVTw?t=74
- ↑ https://youtu.be/gUjfT47bVTw?t=38
- ↑ https://youtu.be/gUjfT47bVTw?t=87
- ↑ https://youtu.be/8zx_mqZLnwM?t=234
- ↑ https://youtu.be/gUjfT47bVTw?t=115
- ↑ https://youtu.be/8zx_mqZLnwM?t=279
- ↑ https://youtu.be/8zx_mqZLnwM?t=393
- ↑ https://youtu.be/gUjfT47bVTw?t=320
- ↑ https://youtu.be/gUjfT47bVTw?t=325
- ↑ https://youtu.be/gUjfT47bVTw?t=349/
- ↑ https://walkertapeco.com/category-spotlight-hard-bond-adhesives/
- ↑ https://youtu.be/gUjfT47bVTw?t=367
- ↑ https://youtu.be/0TDTaAB2u2A?t=21
- ↑ https://youtu.be/1rFWjQXU6MI?t=84
- ↑ https://youtu.be/1rFWjQXU6MI?t=85
- ↑ https://youtu.be/1rFWjQXU6MI?t=151
- ↑ https://youtu.be/1rFWjQXU6MI?t=166
- ↑ https://www.simplywigs.co.uk/blog/3-ways-secure-wig/


