This article was co-authored by wikiHow Staff. Our trained team of editors and researchers validate articles for accuracy and comprehensiveness. wikiHow's Content Management Team carefully monitors the work from our editorial staff to ensure that each article is backed by trusted research and meets our high quality standards.
There are 9 references cited in this article, which can be found at the bottom of the page.
wikiHow marks an article as reader-approved once it receives enough positive feedback. In this case, 90% of readers who voted found the article helpful, earning it our reader-approved status.
This article has been viewed 269,112 times.
Learn more...
Torch down roofing consists of modified bitumen, which is similar to asphalt. As long as it is installed correctly, bitumen prevents moisture build-up without needing constant maintenance. Apply the bitumen by melting it over fiberglass mesh with a propane torch. Using a propane torch can be dangerous, so always wear protective gear and keep a fire extinguisher nearby.
Steps
Cleaning and Insulating the Roof
-
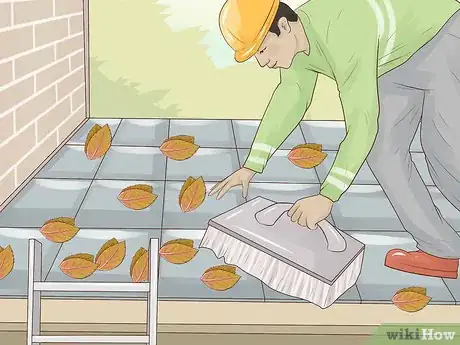
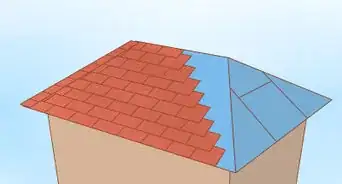
1Sweep the roof clean of debris. Use a hard-bristled brush or leaf blower to remove as much dirt as possible. Get rid of all rocks, twigs, leaves, and other debris. If you notice stubborn debris, especially in cracks and around flashing, try scraping it off with a metal roof scraper.[1]
- Any leftover debris can prevent the torch down roofing membrane from forming a waterproof seal, so make sure you remove it all before working on the roof.
- Stay safe while on the roof. Climb up on a secure ladder with stabilizers that hook onto the roof’s edge. Have someone else nearby in case you need help.
-
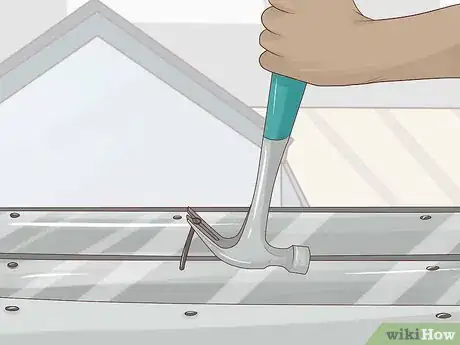
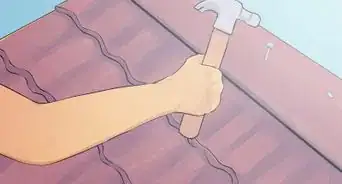
2Remove the old flashing with a hammer. The old flashing hanging off the side of the roof needs to be removed so the new bitumen membrane seals correctly. The flashing is held in place by nails, so locate the nails then use the claw end of a hammer to pry them out.[2]Advertisement
-
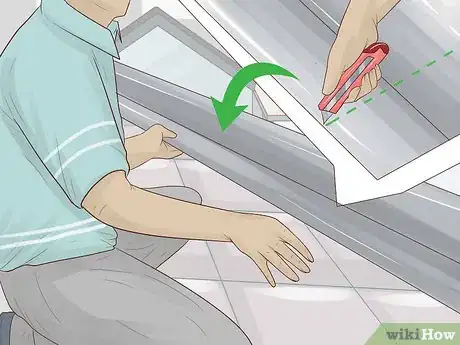
3Flashing is an important part of waterproofing your roof, so take the time to replace it. You may be able to reuse newer, undamaged flashing, but usually replacing all the pieces at the same time is easier.
- If the flashing is stuck under an old bitumen membrane, you may need to slice through the bitumen with a utility knife.
-
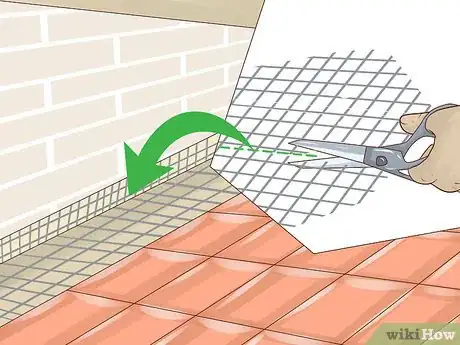
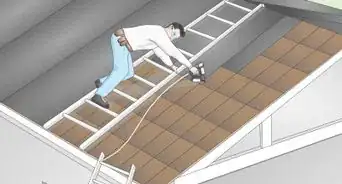
4Lay fiberglass mesh over the roof and cut it to length. You can install the mesh over old roofing material or insulation. Spread the mesh pieces side by side, overlapping them by about 3⁄8 in (0.95 cm). Then, use a utility knife or scissors to trim away the excess so the mesh fits tightly against the roof.[3]
- The mesh is available at many home improvement stores. You may wish to measure your roof’s size first to ensure you purchase enough.
- You can also use extra-heavy roofing felt. It will have the same effect as the fiberglass, giving the torch down material a surface to bind to.
-
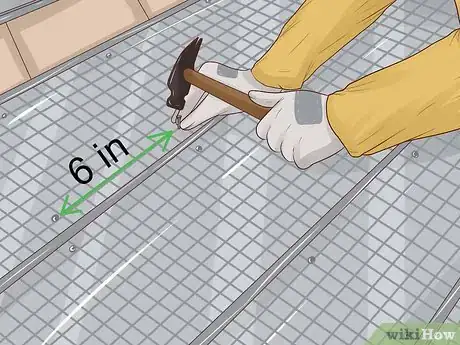
5Attach the mesh with nails about every 6 in (15 cm). Use a nail gun to secure the mesh with cap nails. Add 3 rows of nails for each piece of mesh. Start a row of nails along the top and bottom edges of the mesh. Place the third row across the mesh’s middle. Space the nails about {{convert|6|in|cm|abbr=on} apart.[4]
- Make sure the nails hold the mesh securely and tightly to the roof so that water can’t leak through it.
Installing Drip Edge Flashing
-
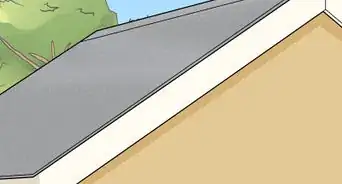
1Place drip edge flashing on the roof. Use the flashing to cover the outside edges of your roof. Knowing the roof’s size can help you get the correct flashing length. If the roof’s edges are longer than the flashing available for purchase, you can connect separate pieces together.
- Check the labeling before choosing the flashing. Get wide flashing designed for use on flat roofs.[5]
-
2Cut the flashing to size with tin snips. Use a marker to note where the flashing extends beyond the roof. Trim through them, then place them back on the roof to make sure they are the correct size.[6]
-
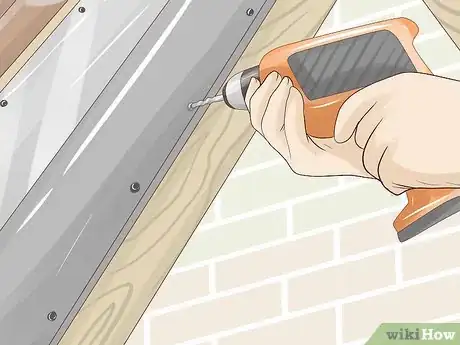
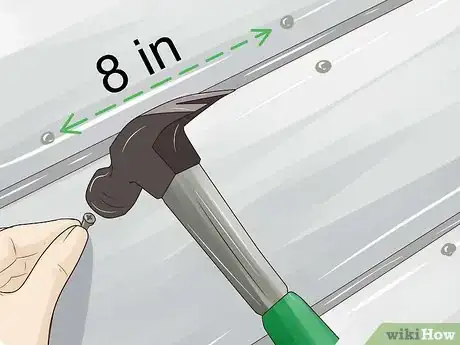
3Attach the flashing with roofing nails placed every 8 in (20 cm). Use galvanized nails since they are more resistant to water damage than regular nails. Choose nails that are long enough to penetrate the flashing and any roofing material already underneath it. Secure the flashing with nails placed about 1 in (2.5 cm) from the roof’s edge.[7]
- A good nail length to use is 1 1⁄2 in (3.8 cm). Depending on your roof, you may need longer nails.
-
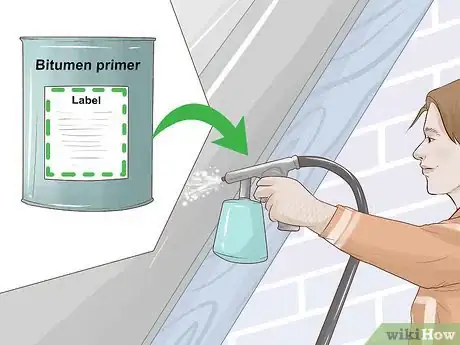
4Spray the flashing with a bitumen primer. Check the label on the primer before purchasing it. Make sure you choose something compatible with torch down roofing. To apply the primer, hold the spray nozzle about 6 in (15 cm) above the flashing. Move the nozzle across the flashing to coat them in an even, opaque layer of primer.[8]
- You will also find liquid primers. Read the manufacturer’s mixing instructions on the can, then use a brush to paint the primer over the flashing.
Melting Bitumen Rolls
-
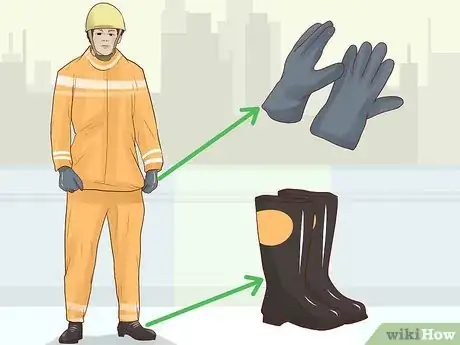
1Wear heavy duty gloves and work boots. Installing the torch down roofing involves flames and melted asphalt. You will need to use your gloves and boots on occasion to roll or press down on the bitumen sheets as they bubble. Choose heat-resistant gloves and boots made of a material like Kevlar.[9]
- Also cover up with long-sleeved clothing to reduce the chances of an accident.
-
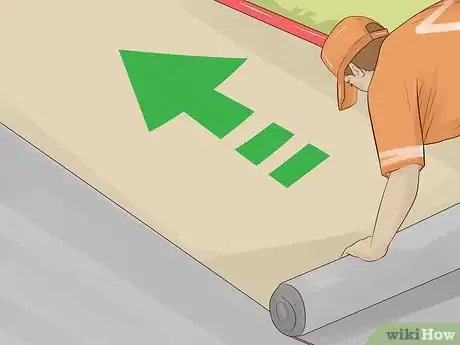
2Roll modified bitumen roofing sheets over the entire roof. Bitumen roofing rolls can be large and heavy, so get help carrying them up to the roof if necessary. Start at 1 end of the roof and unroll the bitumen to the other end. Repeat this with each roll until the roof is covered, overlapping each sheet by about 3⁄8 in (0.95 cm).[10]
- Let the sheets overhang the roof’s edges by at least 2 in (5.1 cm).
- If you know which way your roof slopes, roll the sheets in the direction of the slope. No flat roof is 100% level, but the slope isn’t always noticeable.
- Make sure the sheets lay flat against the roof. Smooth out any bubbles or creases. Push the sheets as close together as possible.
-
3Cut the bitumen sheets to length with a sharp utility knife. Plan on letting the sheets overhang the roof’s edges by about 2 in (5.1 cm). You will need the excess material later to waterproof the roof. Hold the sheets steady, carefully slicing across them until they fit your roof.[11]
- Also cut the sheets to fit around fixtures like chimneys. To do this, roll the sheet up to the obstruction, then carefully use a utility knife to cut a hole in the bitumen roll. Then, continue rolling the sheet forward.
- To handle walls, unroll the bitumen sheet until you reach the wall. Cut the sheet so it ends at the wall, leaving an extra 2 in (5.1 cm).
- The bitumen sheets need to overhang the flashing by about 1⁄2 in (1.3 cm).
-
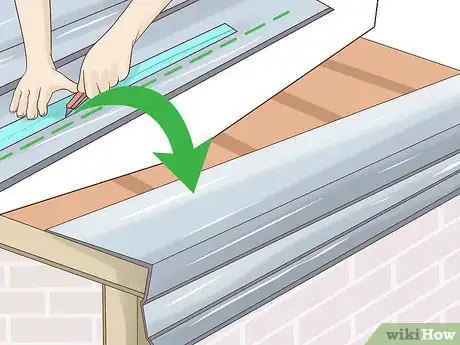
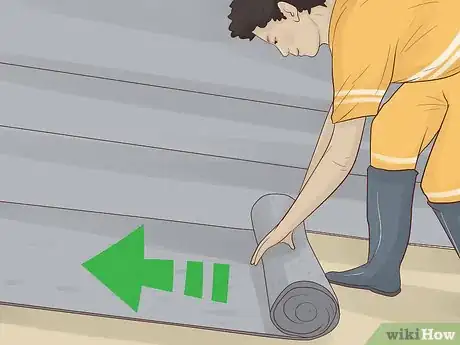
4Reroll the bitumen sheet to expose the fiberglass mesh underneath it. Start with a sheet roll on 1 end of the roof. Curl it back until it is in the middle of the roof, exposing the fiberglass mesh. Leave the remaining sheets unfurled for now.[12]
-
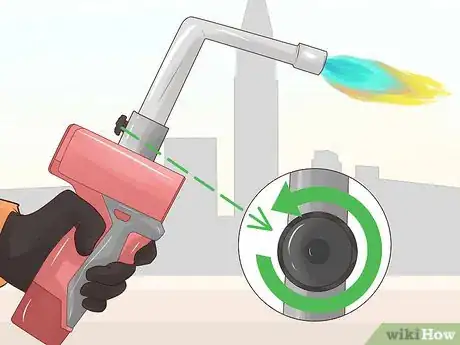
5Ignite a propane torch with a spark igniter. Turn the torch’s nozzle to adjust the flame. A good flame is concentrated, meaning it looks relatively thin and doesn’t extend very far from the nozzle. It will be mostly blue with a white tip close to the nozzle.[13]
- Be very careful with the flame. Blue flames are hotter than red ones, so the torch can cause a lot of damage if you point it in the wrong direction.
- Keep a fire extinguisher on the roof in case of an emergency.
-
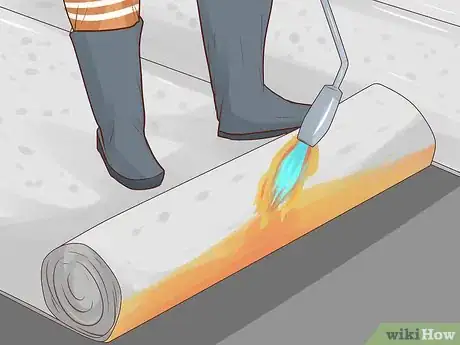
6Heat the bitumen sheet and roll it forward as it melts. Position the blue tip of the flame against the roll. Move the torch slowly back and forth along the roll to heat it evenly. Watch the bitumen carefully, since it needs to be unrolled as soon as it begins to bubble. Use your foot to push the melting roll towards the end of the roof.[14]
- Check the bitumen often as you unroll it. The lower layers in the roll need to be heated as well, so make sure they are bubbling before unrolling the bitumen.
- Heating the bitumen too much will turn it to liquid, preventing you from unrolling it. If you don’t heat it enough, it won’t melt and adhere to the fiberglass mesh.
-
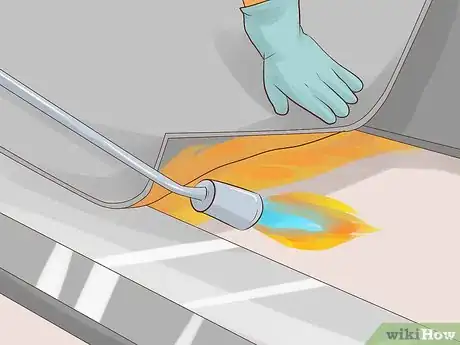
7Press down on the end of the bitumen to bind it to the flashing. Lightly heat the flashing and the end of the roofing sheet, enough to begin melting the bitumen. Step on the end of the sheet, pressing down hard to force the melted bitumen into the gap between the flashing and the roof.[15]
- Make sure the flashing can’t move at all. If you notice a gap in the bitumen seal, water will trickle down into your roof. This will lead to damage over time.
-
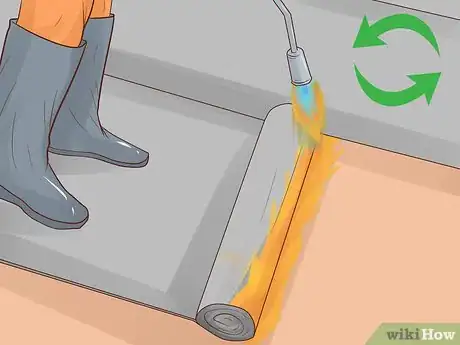
8Repeat heating and spreading the remaining bitumen sheets. Start with the opposite end of the sheet you sealed. Once that is sealed, roll up the sheet next to it and repeat the process. To get a better seal, position the next sheet so it slightly overlaps the one you melted. Make sure the sheets are pushed close together.
- Spend extra time heating the edges of subsequent sheets. After melting them, push down on them with your glove in order to create a better seal.
- For walls and other tough areas, push down on the melted sheet with your gloved hand to form a better seal. The bitumen will ooze out a little, filling in any gaps.
Community Q&A
-
QuestionDo I have to remove the existing torch on a roof that is not that old?
 Community AnswerYes, always remove the old material first.
 -
QuestionI have torch on underlay, how is this fitted - is it torched on bitumen side down?
 Community AnswerYes.
 -
QuestionCan torch down roofing be installed over felt?
 Community AnswerIt is best to use #75 glass base underlayment. Secure it with roofing nails and then apply the torch down. Priming the underlayment is not needed.
Warnings
- Operating a propane torch is very dangerous! Your roof can catch fire if you overheat the bitumen. Always keep a fire extinguisher nearby.⧼thumbs_response⧽
- Have a friend work with you. This will protect you against both ladder and flame accidents.⧼thumbs_response⧽
Things You'll Need
- Modified bitumen rolls
- Fiberglass mesh sheets
- Propane torch
- Metal flashing
- Tin snips
- Nail gun
- Nails
- Utility knife
- Safety glasses
- Safety gloves
- Heavy boots
- Fire extinguisher
References
- ↑ https://www.roofingfelt.org/installing.html
- ↑ https://www.bhg.com/home-improvement/exteriors/roofs/how-to-install-modified-bitumen-roofing/
- ↑ https://www.roofingfelt.org/installing.html
- ↑ https://www.bhg.com/home-improvement/exteriors/roofs/how-to-install-modified-bitumen-roofing/
- ↑ https://www.youtube.com/watch?v=BpOaKJ3njYc&feature=youtu.be&t=152
- ↑ https://www.youtube.com/watch?v=c6nvkXPAMmE&feature=youtu.be&t=306
- ↑ https://www.bhg.com/home-improvement/exteriors/roofs/how-to-apply-underlayment/
- ↑ https://www.bhg.com/home-improvement/exteriors/roofs/how-to-install-modified-bitumen-roofing/
- ↑ https://www.bhg.com/home-improvement/exteriors/roofs/how-to-install-modified-bitumen-roofing/
- ↑ https://www.bhg.com/home-improvement/exteriors/roofs/how-to-install-modified-bitumen-roofing/
- ↑ https://www.youtube.com/watch?v=7TgTzYGe3L4&feature=youtu.be&t=216
- ↑ https://www.youtube.com/watch?v=YKkqAtkdczs&feature=youtu.be&t=134
- ↑ https://www.bhg.com/home-improvement/exteriors/roofs/how-to-install-modified-bitumen-roofing/
- ↑ https://www.youtube.com/watch?v=YKkqAtkdczs&feature=youtu.be&t=163
- ↑ https://www.youtube.com/watch?v=YKkqAtkdczs&feature=youtu.be&t=243
About This Article
Torch down roofing contains modified bitumen, which prevents moisture from building up without constant maintenance. Installing torch down roofing can be a bit tricky and dangerous so only do it yourself if you have experience installing roofing. First, you’ll need to remove the old flashing with a claw hammer, attach fiberglass mesh over your roof and drip edge flashing around the edges. Then, spray it with bitumen primer. After that, roll your bitumen roofing sheets over your roof and cut them to length. Before you heat them, make sure you’re wearing heavy duty work gloves and boots to protect you from the flames and melted asphalt. To stick the sheets to your roof, unroll them, heat the bottom with a propane torch as you roll them back, and press down against the roof. For more tips, including how to attach the flashing to your roof, read on!
