This article was medically reviewed by Luba Lee, FNP-BC, MS. Luba Lee, FNP-BC is a Board-Certified Family Nurse Practitioner (FNP) and educator in Tennessee with over a decade of clinical experience. Luba has certifications in Pediatric Advanced Life Support (PALS), Emergency Medicine, Advanced Cardiac Life Support (ACLS), Team Building, and Critical Care Nursing. She received her Master of Science in Nursing (MSN) from the University of Tennessee in 2006.
There are 10 references cited in this article, which can be found at the bottom of the page.
This article has been viewed 47,401 times.
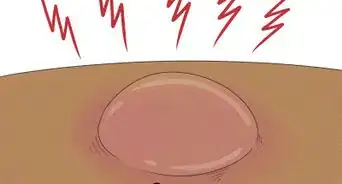
Blisters typically heal on their own within 3 to 7 days, but it can be hard to deal with them for this long. Since picking at a blister may cause an infection and lengthen the healing time, your best bet for getting rid of blisters fast is to leave them alone and let them heal. However, you can drain your blisters if the fluid buildup is causing pain. There are also a few home remedies that you can try to speed up your blister healing time. As with any injury, watch for signs of an infection and call your healthcare provider if you notice any.
Steps
Promoting Quick Healing with Basic First Aid
-
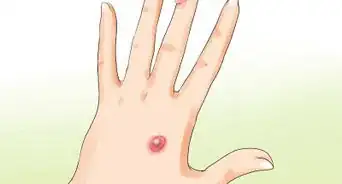
1Try not to pop the blister or peel away skin if it’s still intact. The blister may pop on its own or it might heal without popping. Resist the urge to pick at the blister with your fingers or to apply pressure to it. Forcing the blister to pop can introduce bacteria into the wound, which may lead to an infection.[1]
Tip: The puffed up skin covering the wound acts like a natural bandage, so you might not need to bandage the blister at all if you can resist the urge to pop it.
-
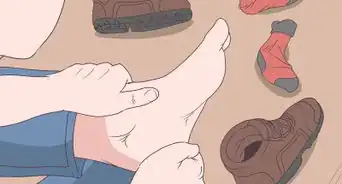
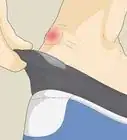
2Pad the blister with a donut-shaped bandage if it’s on your foot. If the blister is somewhere that you apply pressure to regularly, such as on the bottom or side of your foot, then applying a donut-shaped bandage can help. Position the donut-shaped bandage around the blister so that it will reduce the pressure on it.[2]
- You can find padded, donut-shaped blisters in the first aid section of a drug or grocery store.
Advertisement -
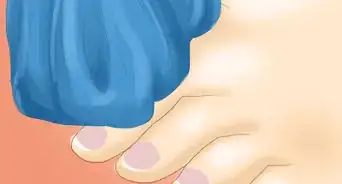
3Cover the blister with a dry, sterile bandage if it bursts on its own. If the blister does pop, allow the fluid to drain from it. Then, loosely cover the blister with a piece of sterile gauze and secure the gauze with a band-aid. This will help to keep the blister clean and dry. Change the bandage daily or any time it gets wet.[3]
-
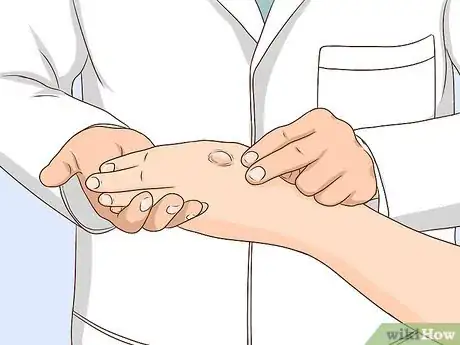
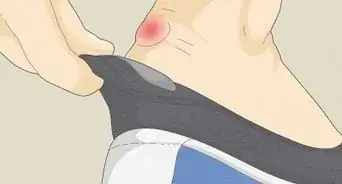
4Call your doctor if you notice any signs of an infection. It’s important to check the blister every day and watch it for signs of an infection. These signs may include any of the following:[4]
- Green or yellow pus
- Redness or increased redness
- Heat
- Swelling
- Pain
- Fever
Draining a Painful Blister to Increase Comfort
-
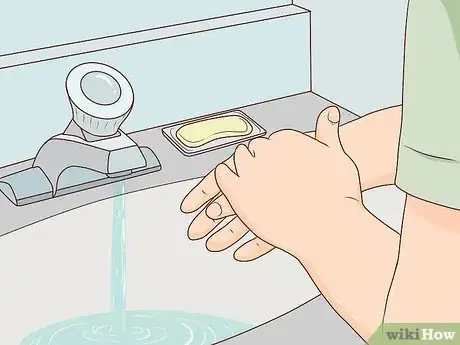
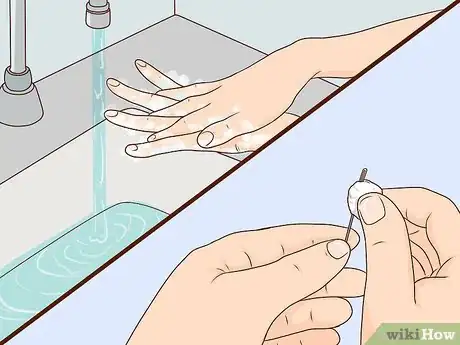
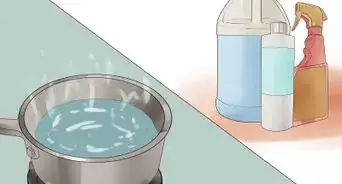
1Wash your hands and sterilize a needle with rubbing alcohol. If you need to relieve the pressure on a blister, you can puncture it with a small, sterile needle. Wash your hands first to avoid introducing bacteria into the wound. Then, get the smallest needle you can find, and wipe it with a cotton ball soaked in rubbing alcohol to sterilize it.[5]
- A small sewing needle or pin works fine for puncturing a blister.
- Make sure to lather your hands with soap for 20 seconds and rinse them thoroughly. Then, dry your hands off with a clean towel or paper towel.
-
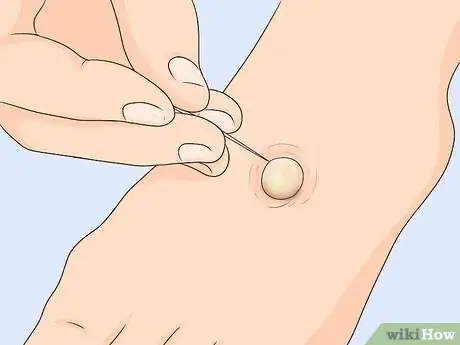
2Insert the sterile needle into the edge of the blister and let the fluid drain. Find a spot near the edge of the blister. Don’t poke the needle into the center of the blister. Then, insert the needle into the blister about 0.5 cm (0.20 in) or just enough to make a small hole. Let the fluid drain out as you do this.[6]
- If the blister is large, then you might need to make 2 to 3 holes to drain it.
- If there’s a lot of fluid, wipe it away with a cotton ball or piece of cotton gauze. If needed, you can also apply gentle pressure to the blister with a cotton ball or piece of gauze to help the blister drain.
-
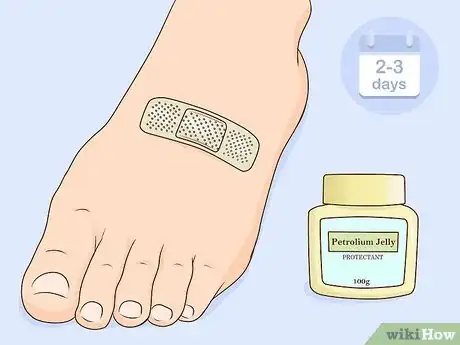
3Cover the blister with petroleum jelly and a bandage for 2-3 days. After the fluid has drained out of the blister, apply enough petroleum jelly to the blister to cover it entirely and then cover it with a piece of cotton gauze or a band-aid. Leave the petroleum jelly and bandage in place for 2 to 3 days. The petroleum jelly will soften up the skin while protecting it, and it may also help to speed up the healing process.[7]
- You can apply the petroleum jelly with your fingertips or use a cotton swab.
-
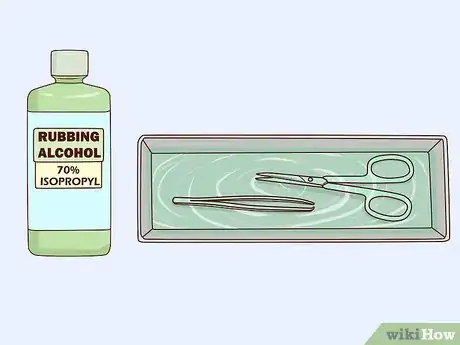
4Sterilize a pair of scissors and tweezers by dipping them in rubbing alcohol. You can sterilize a small pair of scissors and tweezers by dipping them into a cup of rubbing alcohol. Make sure to fully submerge the scissor blades and tips of the tweezers. Then, place the scissors and tweezers on a clean paper towel and let the alcohol dry completely before using them.[8]
- Rubbing alcohol dries quickly, so your scissors and tweezers should be ready to use within a few minutes.
-
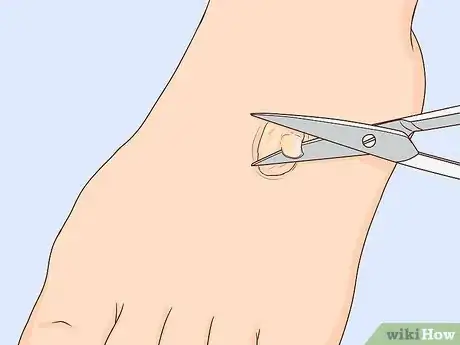
5Cut away the dead skin with the sterilized scissors and tweezers. Remove the bandage and use the tweezers to gently pull back the edge of the skin. Then, use the scissors to cut away the dead skin covering the blister wound. This skin will look white or yellowish. Sever the dead skin completely and throw it away.
- Be careful not to cut too close to your living skin or you will hurt yourself. Only cut the skin that you’re sure is dead. You can pinch it first to see if there’s any feeling in it.
Tip: Make sure to check the blister daily to check for any signs of an infection. If you notice, redness, swelling, pain, or pus, then it might be infected. See your doctor if this happens.
-
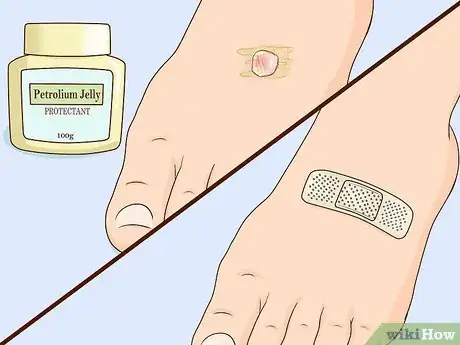
6Reapply the petroleum jelly and bandage to continue protecting the area. You can apply more petroleum jelly to the area underneath the dead skin after you cut it off. Then, apply a clean bandage to the area to promote healing in this area.[9]
- Do not cut away the skin again. After 2 to 3 days, the skin should be healed and you can remove the bandage.
Speeding up Healing Time with Home Remedies
-
1Follow a healthy diet that provides adequate protein. Nutrition plays an important role in wound healing, so following a healthy diet may help your blister to heal faster. It is especially important to eat enough protein to allow your body to regenerate itself, so include plenty of protein-rich foods in your diet, such as:[10]
- Meat, such as beef, chicken, and pork
- Fish, such as salmon, tuna, and shrimp
- Eggs
- Dairy products, such as milk, cheese, and yogurt
- Tofu
- Beans and legumes
- Nuts and seeds
-
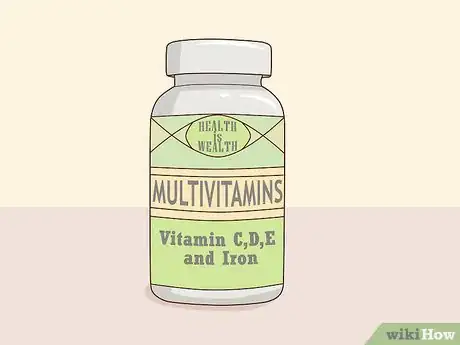
2Take a daily multivitamin with vitamins A, C, and E. A daily multivitamin can provide nutritional insurance and certain vitamins may also help to promote wound healing. Vitamins A, C, and E are especially important for wound healing, so make sure they’re included in your daily multivitamin.[11] You can also get vitamins A, C, and E from the foods you eat.
- Foods high in vitamin A include sweet potatoes, beef liver, spinach, carrots, cantaloupe, pumpkin, and mangoes.[12]
- Foods high in vitamin C include oranges, broccoli, peppers, cauliflower, kale, sweet potato, brussels sprouts, strawberries, guava, papaya, and kiwi.[13]
- Foods high in vitamin E include avocado, red bell peppers, sunflower seeds, mangoes, pumpkin, asparagus, peanut butter, and wheat germ.[14]
-
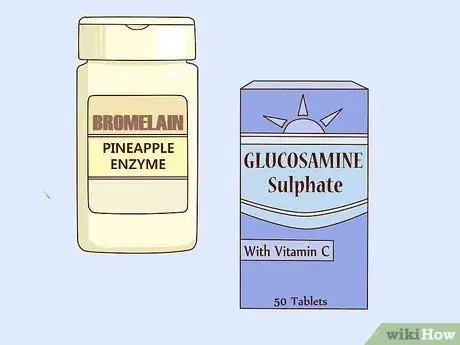
3Try glucosamine and bromelain if you frequently get blisters. These supplementary nutrients have also been shown to provide some benefit to wound-healing rates. If blisters are a common problem for you, then you might consider taking 1 or both of these supplements to speed up your healing.[15]
- Make sure to check the manufacturer’s instructions for how to use these supplements.
- Ask your doctor before taking either of these supplements, especially if you are already taking a prescription medication.
-
4Soak or coat your blisters in green tea. Green tea has been shown to promote faster healing, so it might be worth giving your blisters a soak to speed up their healing time. Brew a cup of regular strength green tea and let it cool to room temperature. Then, either dip your blistered hands or feet into the tea, or dip a cotton ball into the tea and dab it onto your blisters.[16]
- If you soak your blisters, keep them submerged for 5 to 10 minutes.
Tip: Keep in mind that the green tea might sting a little. Make sure that it is room temperature or cooler before applying it to your blisters.
References
- ↑ https://www.nhsinform.scot/illnesses-and-conditions/injuries/skin-injuries/blisters
- ↑ https://www.uofmhealth.org/health-library/aa2967
- ↑ https://www.nhsinform.scot/illnesses-and-conditions/injuries/skin-injuries/blisters
- ↑ https://my.clevelandclinic.org/health/diseases/16787-blisters
- ↑ https://www.aad.org/public/skin-hair-nails/injured-skin/blisters
- ↑ https://www.aad.org/public/skin-hair-nails/injured-skin/blisters
- ↑ https://www.uofmhealth.org/health-library/aa2967
- ↑ https://www.uofmhealth.org/health-library/aa2967
- ↑ https://myhealth.alberta.ca/Health/aftercareinformation/pages/conditions.aspx?hwid=abj9925
- ↑ https://www.uofmhealth.org/health-library/abs1199
- ↑ https://www.ncbi.nlm.nih.gov/pubmed/14653765
- ↑ https://ods.od.nih.gov/factsheets/VitaminC-HealthProfessional/#h3
- ↑ https://ods.od.nih.gov/factsheets/VitaminC-HealthProfessional/#h3
- ↑ https://ods.od.nih.gov/factsheets/VitaminE-HealthProfessional/#h3
- ↑ https://www.ncbi.nlm.nih.gov/pubmed/14653765
- ↑ https://www.ncbi.nlm.nih.gov/pubmed/23459184












Medical Disclaimer
The content of this article is not intended to be a substitute for professional medical advice, examination, diagnosis, or treatment. You should always contact your doctor or other qualified healthcare professional before starting, changing, or stopping any kind of health treatment.
Read More...