This article was co-authored by Laura Marusinec, MD. Dr. Marusinec is a board certified Pediatrician at the Children's Hospital of Wisconsin, where she is on the Clinical Practice Council. She received her M.D. from the Medical College of Wisconsin School of Medicine in 1995 and completed her residency at the Medical College of Wisconsin in Pediatrics in 1998. She is a member of the American Medical Writers Association and the Society for Pediatric Urgent Care.
There are 13 references cited in this article, which can be found at the bottom of the page.
wikiHow marks an article as reader-approved once it receives enough positive feedback. In this case, 84% of readers who voted found the article helpful, earning it our reader-approved status.
This article has been viewed 428,471 times.
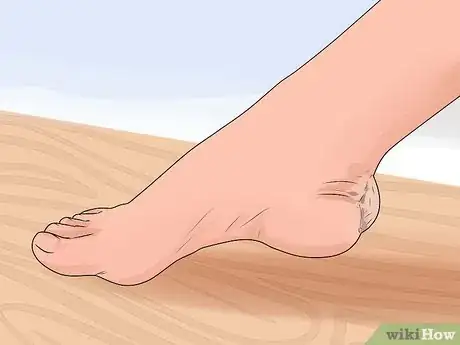
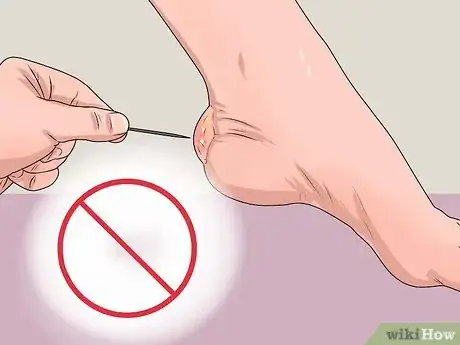
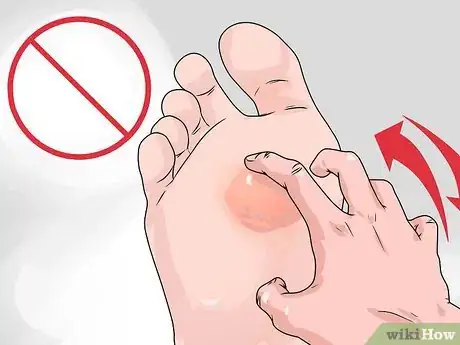
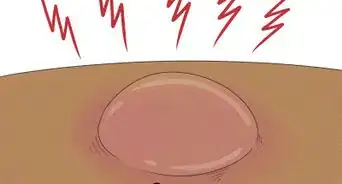
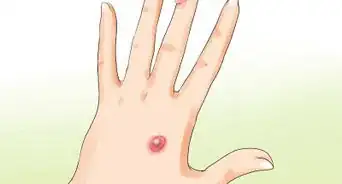
Blisters occur when the upper layer of your skin (the epidermis) detaches from the lower layers of skin. This is often due to friction or heat, although some skin conditions or other medical ailments can cause blisters too. The space between the skin layers fills with a fluid called serum, creating the water-balloon effect of a blister.[1] Blisters heal best when they are not burst or drained, because the layer of unbroken skin may help keep bacteria out of the wound and prevent infection.[2] Unfortunately, sometimes blisters burst regardless. A blister that has popped, burst, or torn open can be messy and painful and requires some extra care to prevent infection. Fortunately, there are some easy steps you can take to initially care for your burst blister and then monitor it to make sure it heals up properly.
Steps
Treating a Burst Blister
-
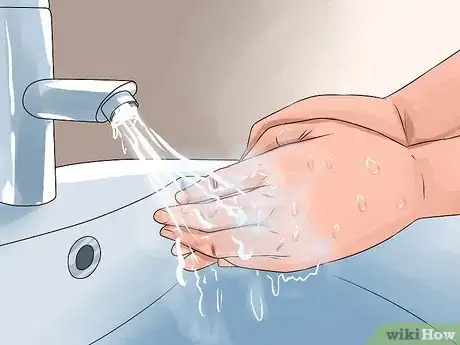
1Wash your hands thoroughly. Use a mild soap and warm water to wash your hands before touching the blister site. Wash your hands for 15-20 seconds.
- This will help prevent the spread of germs, which could cause an infection in the blister area.
-
2Wash the area thoroughly with gentle soap and water. Don’t scrub the blister; this could tear the skin further.[3]
- Do not use alcohol, iodine, or hydrogen peroxide, as these can irritate the exposed skin.[4]
Advertisement -
3Allow the blister to dry. Let it air dry, if possible, or blot gently with a towel. Don’t rub the blister area with a towel, as this could tear the skin.[5]
-
4Leave the skin flap intact. The skin flap that formed the top of the blister may eventually come off, but will still help protect the raw skin underneath while it heals. If possible, leave it intact, and smooth it down over the raw skin underneath.[6]
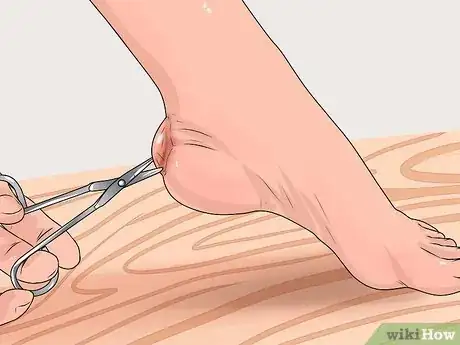
- If the blister has torn, or if there is dirt under the skin flap, you may need to trim it away to prevent infection and keep it from ripping further and damaging healthy skin.
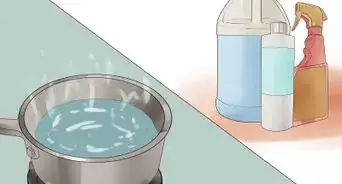
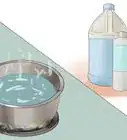
- First, wash the area thoroughly. Then, disinfect a pair of small scissors (nail or first aid scissors work best for this) using rubbing alcohol. (You can also sterilize scissors by placing them in boiling water for 20 minutes, or holding them over an open flame until the metal turns red, and then letting them cool.)[7]
- Carefully clip away the dead skin. Don't clip too close to the healthy skin. It is better to leave a bit of excess than risk further injury to your skin.[8]
-
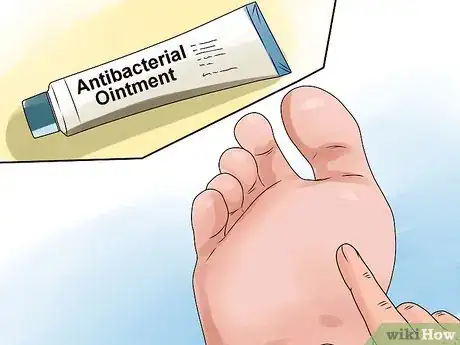
5Apply an antibacterial ointment or cream to the area. This will help prevent infection, which is the biggest risk with burst blisters.[9]
- Common over-the-counter antibacterial ointments and creams include Neosporin and “triple antibiotic ointment,” both of which contain neomycin, polymyxin, and bacitracin.[10]
-
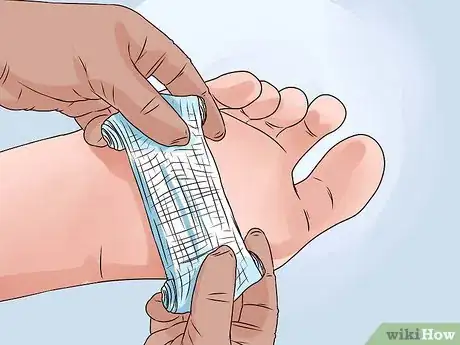
6Apply a clean bandage over the blister. For smaller blisters, a regular bandage should work fine, but for larger blisters, you may need to use a nonstick gauze pad held in place with first aid tape.[11]
-
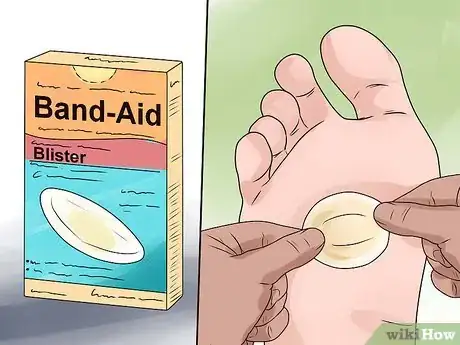
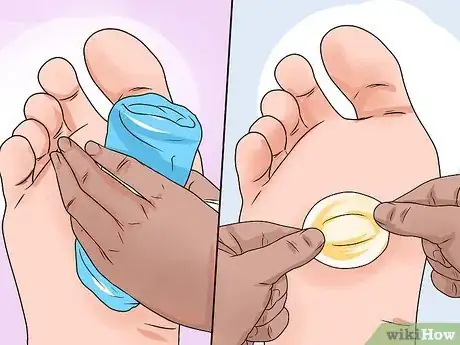
7Use a special bandage for a raw or especially painful blister. If the skin over the blister has come away, or if the blister is on your foot or another sensitive area, you may want to use a special bandage designed for blisters.
- There are numerous brands of special blister cushion bandages that are padded to protect delicate skin.
- You can also use moleskin on blisters. Moleskin is a soft, felt-like substance that often has an adhesive backing. Cut two pieces of moleskin slightly larger than your blister. Cut a circle roughly the size of your blister in one of the pieces. Apply this piece over the blister, positioning it so that the “window” is directly over the blister. Apply the second piece of moleskin on top of the first.[14]
- Resist the urge to use a liquid bandage like New-Skin. These are more suited to cuts or lacerations, and could cause further irritation or infection if used on a blister.[15]
- When in doubt, ask your pharmacist or call your doctor for a specific recommendation.
Providing Ongoing Care for a Burst Blister
-
1Change the bandage on your blister frequently. You should change the bandage daily, or anytime it becomes wet or soiled. Each time you change the bandage, gently wash and dry the area, and reapply antibiotic ointment to the site.[16]
- Continue to bandage the blister until the skin has healed completely.
-
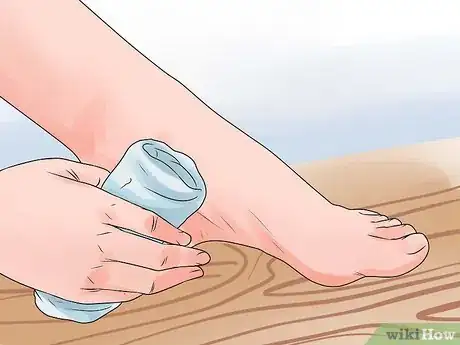
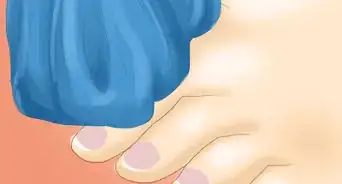
2Manage itching caused by a healing blister. It is common for a blister to itch as it heals, especially if it is allowed to dry out, but it is important not to scratch it and risk further skin damage. Keeping the area cool and wet is one way to decrease itching. Soak a clean cloth in ice water, and apply it to the site, or soak the area in a tub of cool water.[17]
- Be sure to clean the area, reapply antibiotic cream and bandage it again afterwards.
- If the skin around the bandage becomes red, bumpy, or itchy, you may have an allergy to the adhesive in the bandage (or the bandage itself). Try a different brand, or try nonstick sterile gauze pads and medical tape. You can apply hydrocortisone 1% ointment to the irritated skin around the blister to help with itching, but don’t apply it to the blister itself.
-
3Remove the skin flap once the wound is no longer sore. Once the skin underneath the blister has had a chance to heal and is no longer tender, you can safely trim away the skin flap over it using a pair of clean, sanitized scissors.[18]
-
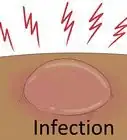
4Watch for signs of infection. Open blisters can become infected easily, so pay close attention to them as they heal. If you notice any signs of infection, or if your blister isn't beginning to recover within a few days, seek medical attention. Signs of infection include:
- Increased pain around the blister.
- Swelling, redness, or warmth near the blister.
- Red streaks on your skin heading away from the blister; this is a sign of blood poisoning.
- Pus draining from the blister.
- A fever.
-
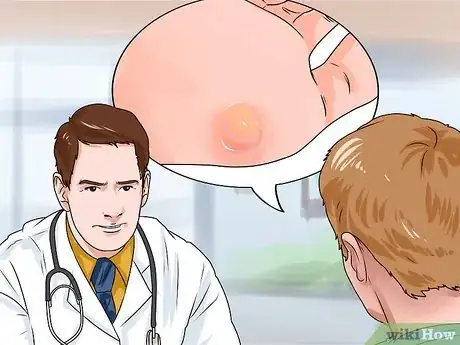
5Seek medical attention for blisters. Many blisters will heal naturally on their own, given a little time. However, there are some cases in which you should see your doctor for a blister as soon as possible. You should seek prompt medical attention if your blisters:[19]
- Are infected (see the previous step for signs of infection)
- Are causing a lot of pain
- Keep returning
- Occur in unusual places, such as the inside of the mouth or on the eyelids
- Are the result of burns, including sunburn or scalding
- Are the result of an allergic reaction (for example, to an insect bite)
Preventing Blisters
-
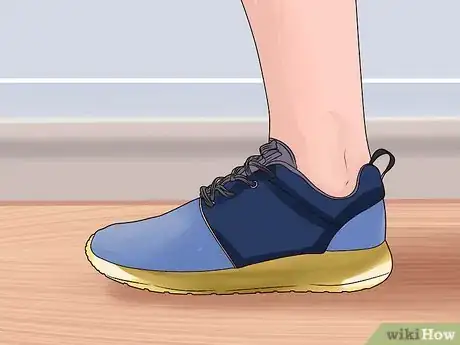
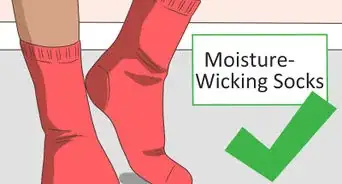
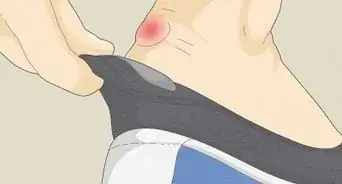
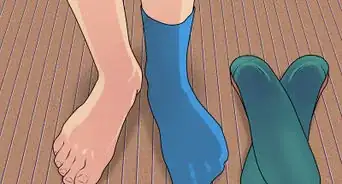
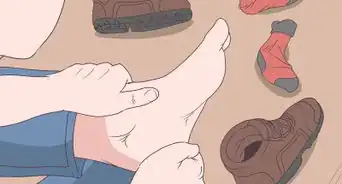
1Wear shoes that fit. Friction is a very common cause of blisters, especially on the feet. Wearing properly fitted shoes will help reduce your likelihood of developing blisters on your feet.
- You can also attach moleskin or special blister prevention tape to the inside of your shoes’ heels, where rubbing often occurs.[20]
-
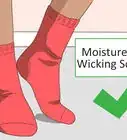
2
-
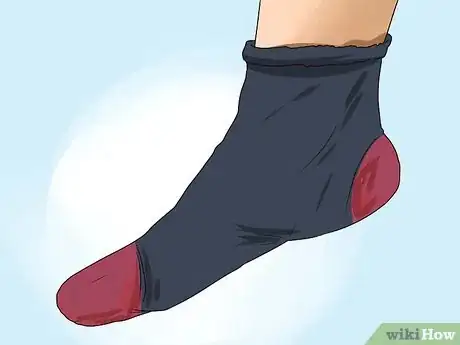
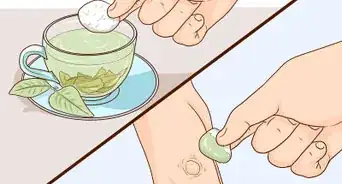
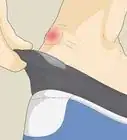
3Keep skin dry. Blisters are more likely to form on the moist skin. You may be able to find a gel or “friction block stick” to apply to areas that are likely to form blisters. These products can help keep skin dry and prevent rubbing.
- Try dusting the insides of your shoes and socks with a talc-free baby or foot powder. Avoid talcum powder, since some studies, show it may be a carcinogen. Some powders also have odor-killing agents in them.[24]
- You can also try a foot spray to help reduce sweating.
-
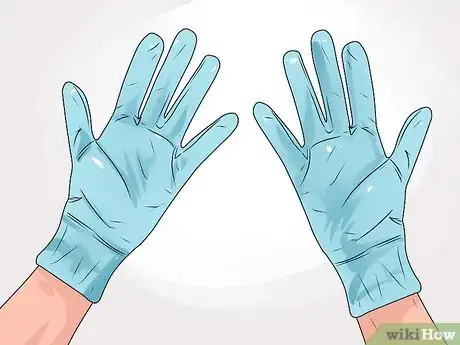
4Wear gloves. Wearing gloves, especially during manual labor such as manufacturing, gardening, or construction, will help prevent the development of blisters on your hands.[25]
- You should also wear gloves while doing activities such as weight-lifting, which can also cause blisters on the hands.
-
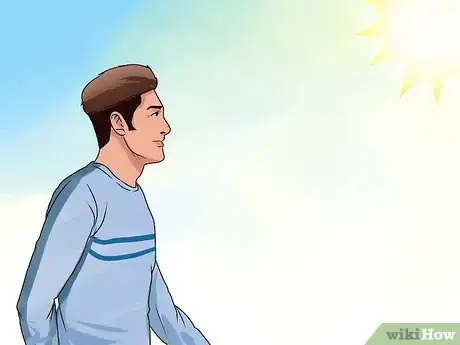
5Stay sun-smart. Severe sunburns can also cause blisters. Protect yourself in the sun by wearing protective clothing, hats, and sunscreen lotion.
References
- ↑ http://www.nhs.uk/Conditions/Blisters/Pages/Causes.aspx
- ↑ http://www.mayoclinic.org/first-aid/first-aid-blisters/basics/art-20056691
- ↑ http://www.mayoclinic.org/first-aid/first-aid-blisters/basics/art-20056691
- ↑ http://www.webmd.com/first-aid/tc/broken-blisters-home-treatment-topic-overview
- ↑ http://www.nhs.uk/Conditions/Blisters/Pages/Treatment.aspx
- ↑ http://www.nhs.uk/Conditions/Blisters/Pages/Treatment.aspx
- ↑ http://www.thesurvivaldoctor.com/2014/01/13/sterilize/
- ↑ http://www.sportsmd.com/foot-ankle-injuries/proper-care-management-blisters/
- ↑ http://www.nhs.uk/Conditions/Blisters/Pages/Treatment.aspx
- ↑ http://www.nlm.nih.gov/medlineplus/druginfo/meds/a601098.html
- ↑ http://www.nhs.uk/Conditions/Blisters/Pages/Treatment.aspx
- ↑ http://www.nhs.uk/Conditions/Blisters/Pages/Treatment.aspx
- ↑ http://www.ncbi.nlm.nih.gov/pubmed/3555355
- ↑ http://www.sportsmd.com/foot-ankle-injuries/proper-care-management-blisters/
- ↑ http://www.nlm.nih.gov/medlineplus/ency/patientinstructions/000497.htm
- ↑ http://www.webmd.com/skin-problems-and-treatments/tc/blisters-home-treatment
- ↑ http://www.webmd.com/skin-problems-and-treatments/tc/blisters-home-treatment
- ↑ http://www.sportsmd.com/foot-ankle-injuries/proper-care-management-blisters/
- ↑ http://www.nhs.uk/Conditions/Blisters/Pages/Treatment.aspx
- ↑ http://www.mayoclinic.org/first-aid/first-aid-blisters/basics/art-20056691
- ↑ http://www.nhs.uk/Conditions/Blisters/Pages/Prevention.aspx
- ↑ http://www.mayoclinic.org/first-aid/first-aid-blisters/basics/art-20056691
- ↑ http://www.nhs.uk/Conditions/Blisters/Pages/Prevention.aspx
- ↑ http://www.mayoclinic.org/first-aid/first-aid-blisters/basics/art-20056691
- ↑ http://www.mayoclinic.org/first-aid/first-aid-blisters/basics/art-20056691
- ↑ https://www.aad.org/dermatology-a-to-z/for-kids/about-skin/skin-cancer/treating-sunburn
- ↑ http://hospitals.unm.edu/burn/classification.shtml
About This Article
To care for a burst blister, start by washing your hands so you don't spread germs to the area and cause an infection. Then, gently wash the area with soap and water to clean it. When you're finished, allow the blister to air dry, or gently blot it with a towel. Once it's dry, apply an antibacterial ointment and put a clean bandage over it. Change the bandage daily or whenever it gets wet or dirty. For tips on alleviating itching while your blister heals, scroll down.







Medical Disclaimer
The content of this article is not intended to be a substitute for professional medical advice, examination, diagnosis, or treatment. You should always contact your doctor or other qualified healthcare professional before starting, changing, or stopping any kind of health treatment.
Read More...