This article was medically reviewed by Luba Lee, FNP-BC, MS and by wikiHow staff writer, Hannah Madden. Luba Lee, FNP-BC is a Board-Certified Family Nurse Practitioner (FNP) and educator in Tennessee with over a decade of clinical experience. Luba has certifications in Pediatric Advanced Life Support (PALS), Emergency Medicine, Advanced Cardiac Life Support (ACLS), Team Building, and Critical Care Nursing. She received her Master of Science in Nursing (MSN) from the University of Tennessee in 2006.
There are 10 references cited in this article, which can be found at the bottom of the page.
This article has been viewed 26,450 times.
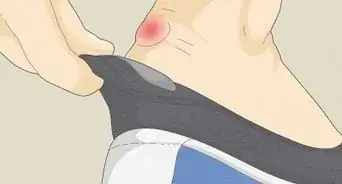
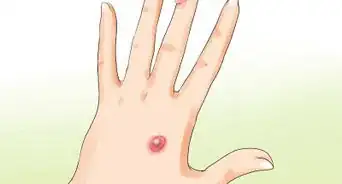
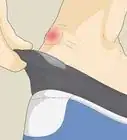
Blisters on your heel can be painful, but they're very common. They're typically created by friction from your shoes rubbing against your skin, and ill-fitting or brand-new shoes are most often to blame. If you’ve gotten a blister on your heel, try covering it with a bandage, adding padding to your shoes, and preventing them by breaking in shoes before you wear them. In extreme cases, you can pop and drain the blister on your own by sanitizing the area and using a sewing needle.
Steps
Relieving Pain and Irritation
-
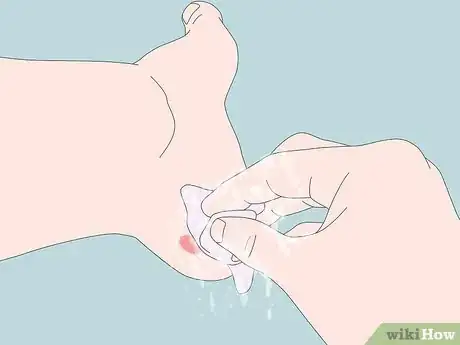
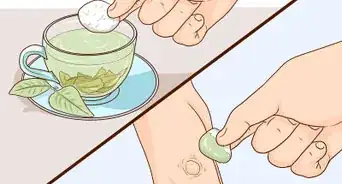
1Wash the blister with soapy water. Combine warm water and antibacterial soap in a bowl and mix it until it’s sudsy. Use a soft washcloth to gently wipe your blister to remove any bacteria that may be on the surface. Be careful not to apply too much pressure while cleaning so you don’t pop the blister. Pat the area dry with a soft, clean towel.[1]
- You may also rinse the blister with a saline solution to help disinfect it better.
-
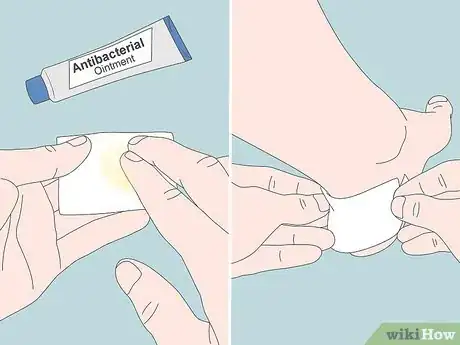
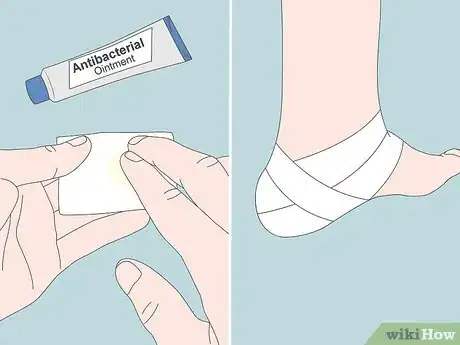
2Cover the blister with a bandage moistened with antibacterial ointment. Rub the gauze pad on the bandage with antibacterial ointment or petroleum jelly to help the blister moist so it’s less likely to get infected. Press the bandage firmly against the blister so it’s completely covered.[2]
- Wash your hands with soap and water before touching your blister.
Tip: Change the bandage daily to reduce your risk of getting an infection.
Advertisement -
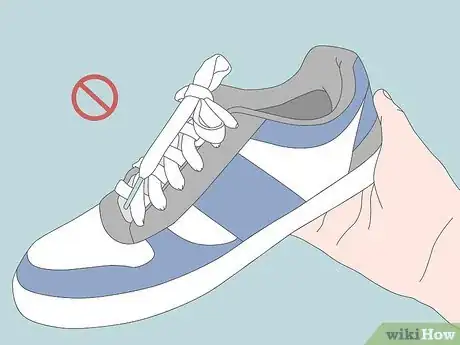
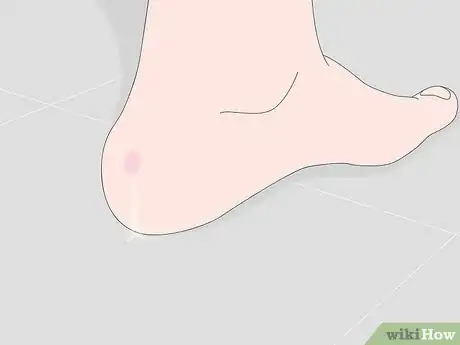
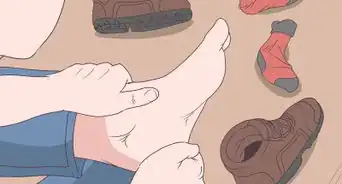
3Avoid wearing the shoes that gave you the blister. Often, a blister on the heel is caused by a pair of shoes that don’t fit well or haven’t been broken in yet. If you can, do not wear the shoes that caused your blister until it is healed up. Try to wear loose slippers so you don’t irritate or reinjure your heel. Wearing the shoes that gave you your blister could make it worse or cause it to pop.[3]
- Only wear new shoes for a few hours at a time until they’re broken in. This will limit the amount of blisters you get.
-
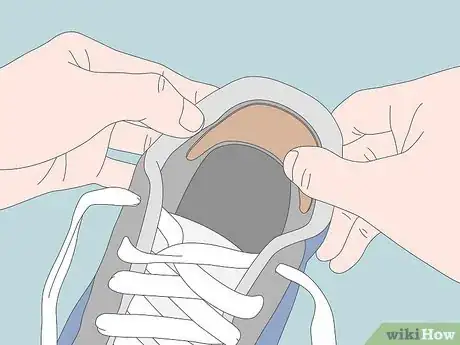
4Add moleskin to the back of your shoes. Moleskin is a thin cotton fabric with an adhesive on the back that is most often used to prevent blisters. If your shoes are rubbing on your heel where the blister is, add moleskin to the back of them to pad them and prevent friction. Cut a piece of moleskin twice the size of your blister and stick it to the inside of your shoe. Leave it on until your blister is healed or your shoes are broken in.[4]
- You can find moleskin at most home goods or sporting goods stores.
-
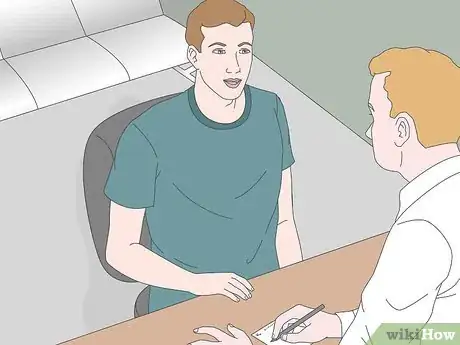
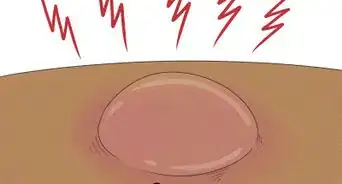
5Seek medical attention if your blister becomes infected. If your blister feels hot and is filled with a green or yellow pus, or is extremely painful and hasn’t healed up after 1 week, it may be infected. Set up a doctor’s visit to confirm whether or not you need medical treatment. Your doctor will drain your blister and prescribe you antibiotics to kill the infection.[5]
Warning: If you have diabetes or poor circulation, your blisters are more prone to infection.
Draining the Blister
-
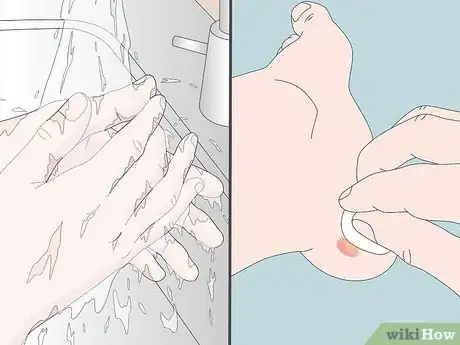
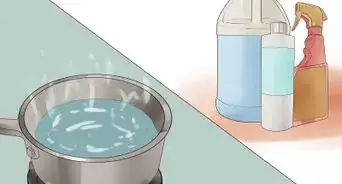
1Wash your hands and the blister with antibacterial soap. If your blister is causing you an extreme amount of pain and it is not infected, you can pop the blister on your own. It is important to disinfect the area and your hands before working on your blister. Use antibacterial soap and warm water to clean your hands and the area around the blister.[6]
- Put soap and warm water on a clean towel and wipe it over your blister if you cannot lift your foot up to the sink.
-
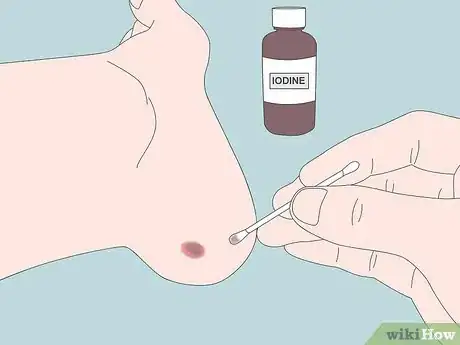
2Swab iodine over the blister. Iodine is a sterilizer that will kill any bacteria leftover. Swipe a small amount of iodine over your blister to make sure the area is entirely clean. Leave the iodine on the area of the blister until you are done draining it.[7]
- You can buy iodine at most drug stores.
-
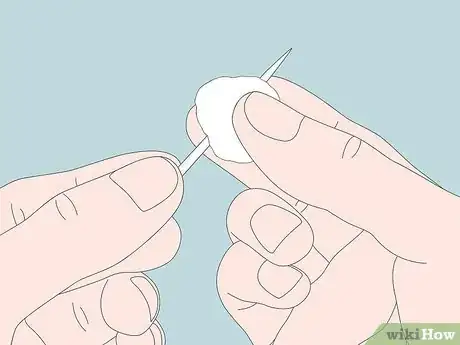
3Sterilize a sewing needle with an alcohol swab. Choose a large sewing needle that is new and sharp. Use a rubbing alcohol wipe or dab some rubbing alcohol onto a cotton ball and swipe it over the needle. Sterilize the entire needle, even the area that you will be holding onto.[8]
- Rubbing alcohol can be found at most drug stores.
- You can find sewing needles at most home goods stores.
-
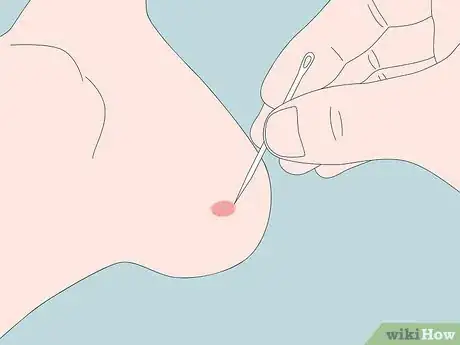
4Puncture the blister several times near its edge. Use the sharp end of the needle to poke 2 to 4 holes into the outside of your blister. Do not poke holes into the top of the blister or move the needle around inside of your blister. Leave the skin on the top of the blister intact.[9]
- Be very gentle as you insert the needle into your blister. Try not to disturb it too much.
-
5Let the fluid drain out of the blister but leave the skin intact. Let the clear fluid in the blister drain out of the holes you have made. Use a clean cloth to catch any fluid that comes out. Apply gentle pressure on the blister if you need to push more fluid out, but do not rip or tear the skin that is covering the blister.[10]
Warning: If the fluid is green or yellow, your blister could be infected. Seek medical treatment.
-
6Apply an antibacterial ointment and cover it with a bandage. Your blister will be more prone to infection now that it is popped. Spread a thin layer of antibacterial ointment over the blister and cover it with a bandage. Change the bandage each day and check your blister for infection.[11]
Preventing Blisters on Your Heel
-
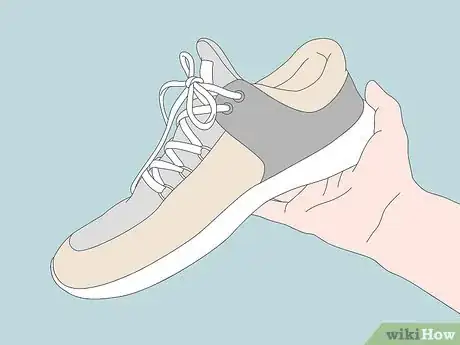
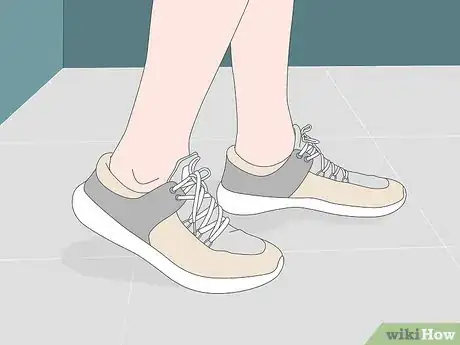
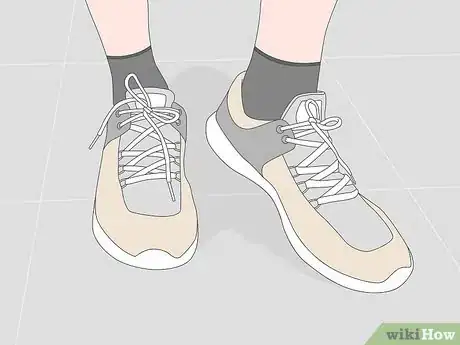
1Purchase shoes that fit you well. Shoes that are too big or too small could be causing blisters by creating unnecessary friction on your heels. Make sure you know your shoe size and try on any shoes before you buy them to make sure they are comfortable. If the shoes are sliding off of your feet as you walk or your toes feel cramped in them, they are probably the wrong size.[12]
- Many shoe stores will measure your feet for you so that you know what your shoe size is.
-
2Break shoes in before you wear them long-term. A new pair of shoes can wreak havoc on your heels. If you just bought a pair of running, hiking, or work shoes, wear them around your house for a day or two before wearing them to exercise or work in. Start by wearing them for 1 hour and gradually work up to a whole day until your shoes feel comfortable. You can take your shoes off if you start to get a blister, and your shoes will start to flex naturally with your feet instead of rubbing painfully against your heels.[13]
-
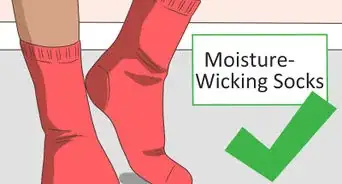
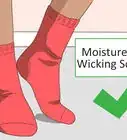
3Wear nylon socks instead of cotton if your feet sweat a lot. Cotton socks are popular, but they also absorb a lot of sweat and moisture. If you get blisters on your heels a lot, consider switching to nylon socks that wick away moisture instead. Nylon socks are especially helpful for athletes who sweat a lot.[14]
- You can find nylon socks at most retail or sporting goods stores.
-
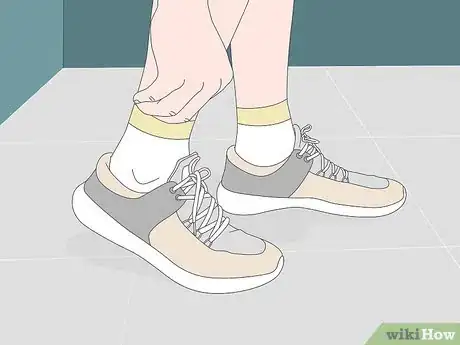
4Put on 2 pairs of thin socks for extra cushion. If you still find yourself getting blisters on your heels, try wearing 2 socks on each foot. The socks will rub against each other instead of creating friction on your heels. Wear thin socks so you can still fit into your shoes.[15]
-
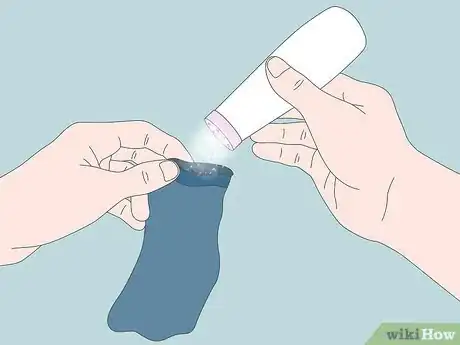
5Use talcum powder in your socks to absorb sweat. If you sweat a lot, you may consider putting a powder in your shoes to absorb the sweat. Sweat rubs against your skin creating friction which can lead to blisters. Talcum powder, foot powder, and even corn starch can help to reduce this friction. Sprinkle a generous amount of talcum powder into your socks before you put them on.[16]
- You can find talcum powder at most drug stores.
Tip: Talcum powder also helps prevent fungus, such as athlete's foot.
Warnings
- Seek medical attention if your blister feels hot, turns red, or has yellow or green pus inside of it.⧼thumbs_response⧽
- Keep yourself hydrated, eat a well-balanced diet, and get a lot of rest to help promote faster healing.⧼thumbs_response⧽
References
- ↑ https://www.drugs.com/cg/blister-aftercare-instructions.html
- ↑ https://www.nhs.uk/conditions/blisters/
- ↑ https://www.health.harvard.edu/a_to_z/friction-blisters-a-to-z
- ↑ https://www.aad.org/public/everyday-care/injured-skin/burns/prevent-treat-blisters
- ↑ https://www.nhs.uk/conditions/blisters/
- ↑ https://patient.info/foot-care/foot-blisters
- ↑ https://health.clevelandclinic.org/5-ways-to-avoid-blisters-and-the-best-ways-treat-them/
- ↑ https://www.healthlinkbc.ca/health-topics/aa2967
- ↑ https://www.healthlinkbc.ca/health-topics/aa2967
- ↑ http://kidsclinic.pediatricweb.com/Is-Your-Child-Sick/Is-Your-Child-Sick/Blisters
- ↑ https://health.clevelandclinic.org/5-ways-to-avoid-blisters-and-the-best-ways-treat-them/
- ↑ https://www.health.harvard.edu/a_to_z/friction-blisters-a-to-z
- ↑ https://www.nhs.uk/conditions/blisters/
- ↑ https://greatist.com/fitness/runners-guide-prevent-treat-blisters#_noHeaderPrefixedContent
- ↑ https://www.drugs.com/cg/blister-aftercare-instructions.html
- ↑ https://www.nhs.uk/conditions/blisters/









Medical Disclaimer
The content of this article is not intended to be a substitute for professional medical advice, examination, diagnosis, or treatment. You should always contact your doctor or other qualified healthcare professional before starting, changing, or stopping any kind of health treatment.
Read More...