This article was co-authored by Essie Karimi. Essie Karimi is a Professional Tailor and the Owner of Sew Fit Tailoring & Alterations, a sewing shop that has been operating for over 40 years. Essie specializes in tailoring, alterations, sewing, repairs, and redesign. Essie works on a variety of clothing types, including wedding dresses, formal wear, casual wear, sportswear, swimwear, and uniforms.
This article has been viewed 63,210 times.
A gusset is diamond-shaped piece that is crucial for fitted pants. Having a gusset helps to prevent unsightly bunching around the crotch area. You can add a gusset while you are in the process of making a new pair of pants, or you can add a gusset to an existing pair of pants by ripping out the crotch seams. Either way, adding a gusset will help to improve the fit and comfort of your pants.
Steps
Creating the Gusset
-
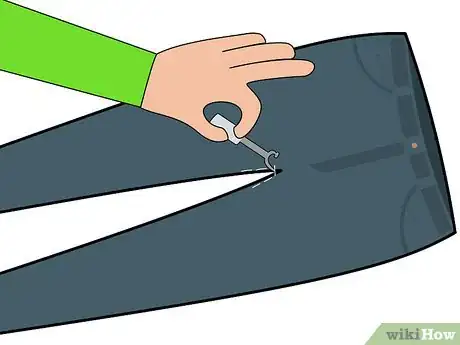
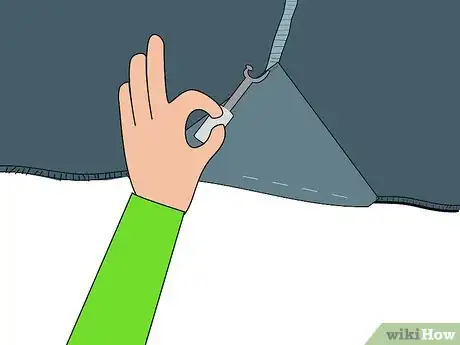
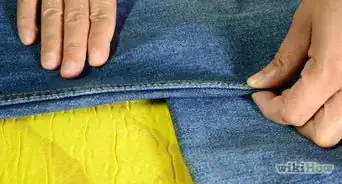
1Open up the seam of your pants (optional). If you are adding a gusset to finished pants, then you will need to open up the seam to make room for the gusset. Use a seam ripper to open up the seams around the crotch area. Seam rippers look like a two pronged fork with two different sized prongs. Use the long point of the seam ripper to catch stitches and the blade in the center of the two prongs will cut the seam.
- You may need to go over the area with the seam ripper a few times to cut all the stitches open.
- Adding a gusset to an existing pair of pants may be necessary if they are too tight in the crotch and you want to make more room, or if the fit is a bit off.[1]
- If you are making a pair of pants from a pattern, then the pattern will indicate how to cut the pants with allowances for a gusset. In this case you will not need to worry about opening up a seam. Just follow your pattern’s instructions for cutting the pants pieces.
-
2Determine the length and width needed. If you are using a pattern, then there will be a gusset pattern for you to use to determine the size of your gusset. Cut out this piece and pin it onto your fabric. Then cut the fabric along the edge of the gusset pattern.
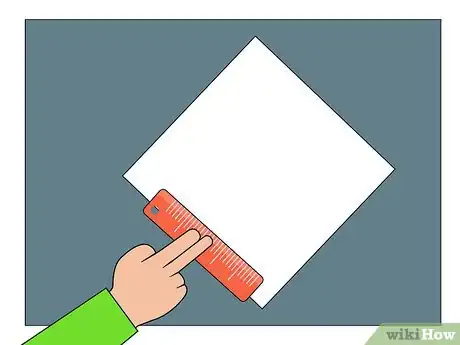
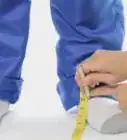
- If you do not have a pattern, then you will need to measure to determine how much space you will need. Have the person who will be wearing the pants put them on and then measure the gaps in the fabric between their legs and going from the front of the crotch to the back of the crotch.[2]
- Record your measurements and add a 1” seam (2.5 cm) allowance to each measurement. For example, if you decided that the gusset needed will be 3” (7.6 cm) by 1” (2.5 cm), then add 1” (2.5 cm) to each measurement for a total of 4” (10 cm) by 2” (5 cm).
- Gussets are small square or diamond-shaped pieces, so you will likely only need a piece that is about 4” to 5” (10 cm to 12.7 cm) long and 2” to 3” (5 cm to 7.6 cm) wide. Square gussets are best cut on the straight grain of the fabric, which will mean all your seams will be on the straight grain, ad the gusset itself will have a little bias stretch front-to-back and side-to-side.
Advertisement -
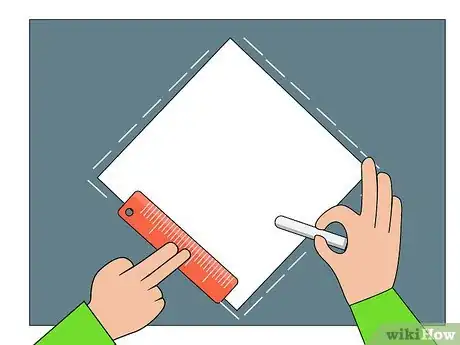
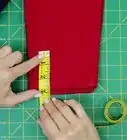
3Measure and mark your fabric. Measure and mark the points of your diamond shape with chalk using the measurements you have determined. Use a piece of chalk and a ruler to draw lines between the points of your diamond shape on the fabric.[3]
- Remember that you are using your measurements to determine the distance between each point of the diamond. The longest measurement will be from one point of the diamond to its opposite point and the shortest measurement will be from another point of the diamond to its opposite point.
-
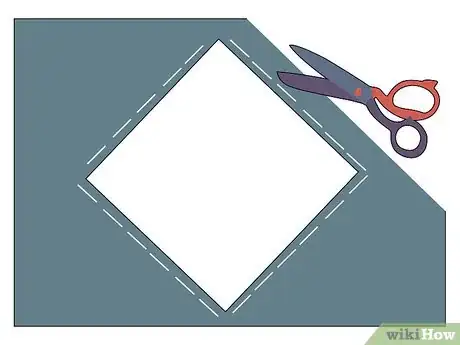
4Cut out the gusset. When you have finished measuring and drawing your diamond onto the fabric, cut out the gusset piece by cutting right along the edges you have drawn. Do not cut outside of or inside of the lines. Cut right along the lines and make your cuts as clean as possible.[4]
-
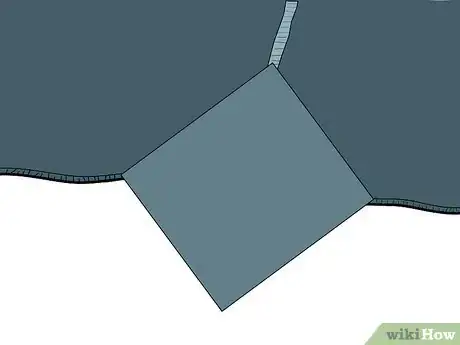
5Pin the gusset to the right side of the crotch opening. When you have finished cutting out your gusset piece, you will need to pin the gusset to the pants in the crotch area. Pin the gusset so that the right sides of the pants and gusset piece are facing each other. This will ensure that the seam will be hidden when you sew them.[5]
- Remember that the gusset’s longest part should go from the front to the back of the crotch.
Checking the Fit With a Baste Stitch
-
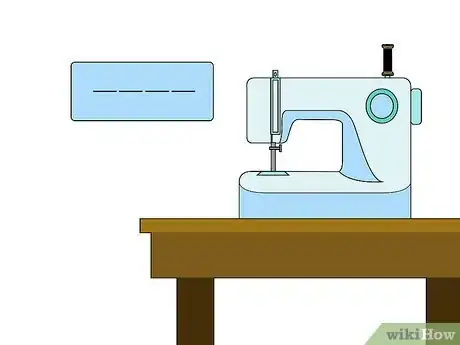
1Secure the gusset temporarily with a baste stitch. A baste stitch is a temporary stitch that you can use to check the fit of a garment before making the stitch permanent.[6] Using a baste stitch when you are adding the gusset will help to ensure an excellent fit in the crotch area of your pants. Set your sewing machine to the baste stitch setting and sew along the pinned edges of your gusset.
- Remove the pins as you sew.
-
2Have the person try on the pants. After you have added the baste stitch, have the person try on the pants. Look at how the pants fit and ask the person how they feel in the crotch area.
- If the gusset seems too large, then you can take it in a bit. If it seems too small, then you can take it out a bit. If the fit looks and feels good, then you can sew your permanent stitch over the baste stitch.
-
3Remove the gusset and adjust if necessary. If you want to adjust the gusset, then rip out the seam with a seam ripper. Baste stitches should come out easily.[7] Then, re-pin the gusset into the crotch with the desired fit in mind.
- For example, if you want the gusset to be a little looser, then you can pin the gusset into place with a ½” (1.3 cm) seam allowance rather than with a 1” (2.5 cm) seam allowance. If you want the gusset to be a little tighter, then you can pin the gusset with a 1 ½” (3.8 cm) seam allowance.
- After you have re-pinned your gusset, sew it into place again with a baste stitch, and have the person try on the pants again. If you are happy with the fit, then move on to sewing the gusset into place. If the fit is still off, then you can adjust the gusset again.
- Keep in mind that if the gusset piece is very ill fitting, then you may need to start over and measure and cut out a whole new piece.
Sewing the Gusset Into Place
-
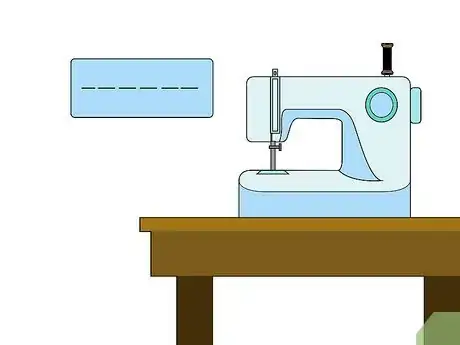
1Sew the gusset in place with a straight stitch. Set your sewing machine to the straight stitch setting. Then, begin to sew along the baste stitch you created. Sew directly over the baste stitch to ensure that you get the fit that you want. When you reach the end of the gusset, backstitch a couple of times to secure the stitching.
- To backstitch, press down on the lever on the side of your machine and hold it down for a few seconds. This will reverse the direction of your fabric. Then, release the lever and sew forward to the end again.
- Be careful not to sew over the edge of the gusset because this may lead to puckering. Sew right up to the edge of the gusset piece and do not go past it.[8]
-
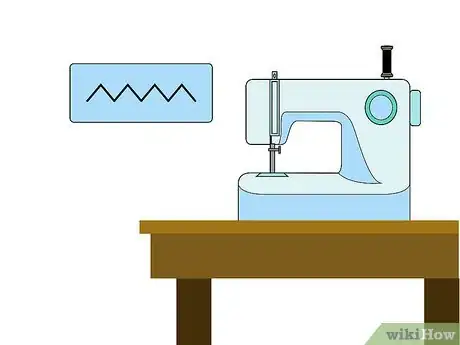
2Tack down the seams using a zigzag stitch (optional). When you are finished sewing the seam, your seam allowances will be sticking up. These will not be visible because they are inside of the pants, but they may cause chafing.[9] If desired, you can tack down these pieces by using a zigzag stitch. If you would like to tack down the pieces, then set your machine to the zigzag setting and sew over each seam allowance to tack it down.
- Keep your pants turned inside out while you are tacking down the seam allowances.
- Remember that this is optional, but it may increase the comfort of your pants.
-
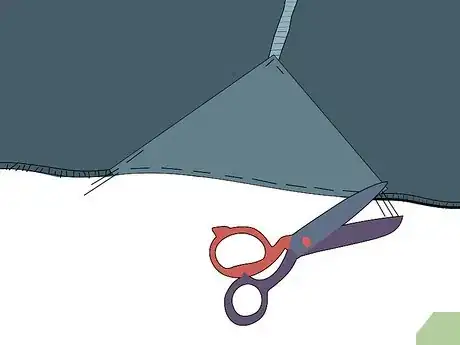
3Cut excess thread. When you are all finished sewing the gusset into place, use a pair of scissors to cut the excess thread around the gusset. Depending on the amount of sewing you did, you may have only a couple of strands or several strands to cut.
- After you finish cutting the excess thread, your gusset is ready to go! Finish sewing your pants if needed, or try them on if you only needed to add the gusset.
Things You’ll Need
- Pants that need a gusset
- Fabric for creating the gusset
- Seam ripper
- Ruler
- Chalk
- Scissors
- Sewing machine
- Thread
- Someone to try on the pants
References
- ↑ http://fashion-incubator.com/adding-a-gusset-to-pants-pt1/
- ↑ http://fashion-incubator.com/adding-a-gusset-to-pants-pt1/
- ↑ http://sewaholic.net/pacific-leggings-sewing-gusset/
- ↑ http://sewaholic.net/pacific-leggings-sewing-gusset/
- ↑ http://sewaholic.net/pacific-leggings-sewing-gusset/
- ↑ https://sew4home.com/tips-resources/sewing-tips-tricks/machine-basting-101
- ↑ https://sew4home.com/tips-resources/sewing-tips-tricks/machine-basting-101
- ↑ http://sewaholic.net/pacific-leggings-sewing-gusset/
- ↑ http://www.thelaststitch.com/2016/05/attaching-triangle-crotch-gusset-in/
