This article was co-authored by Alterations Express. Alterations Express is a salon-style alteration and tailoring house with walk-in service, spacious dressing rooms, fitting specialists, and an extraordinary team of tailors and seamstresses at 13 storefront locations. With over 70 years of experience, they specialize in guiding individuals through a professional fitting, evaluating an alteration project on the spot, express alterations, and immediately providing pricing for any alteration. Alterations Express has been featured on multiple websites such as TheKnot.com.
This article has been viewed 138,695 times.
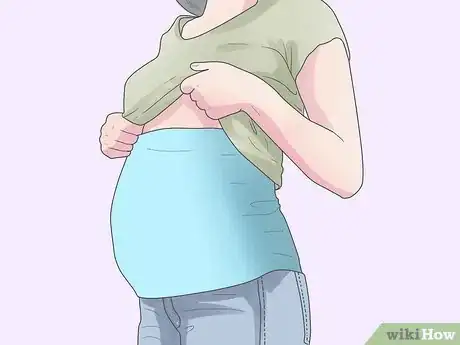
Maternity clothing helps you to be comfortable and look professional as your body changes during pregnancy. Maternity pants usually feature knit or stretchy fabric over the belly, so that they will expand as your stomach grows larger. It can be hard to find maternity pants that fit well in the hips, buttocks and thighs as well as the stomach. One way to ensure your maternity pants fit is to convert normal pants into maternity pants. If you do not have pants at home that you want to convert, then go to a thrift store and try on jeans or pants. You will spend less and find pants that have already been worn and stretched slightly. Find out how to make regular pants into maternity pants.
Steps
Cutting your Pants
-
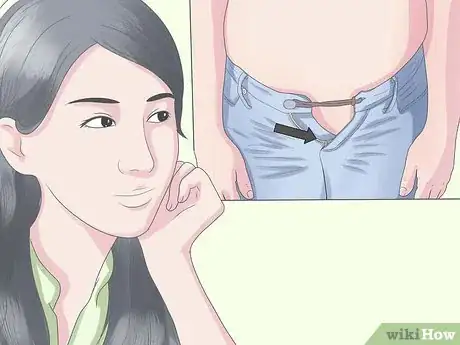
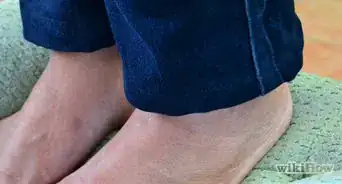
1Try on the jeans or pants that you want to use. Zip them up to the point at which they can comfortably close without pinching your belly.
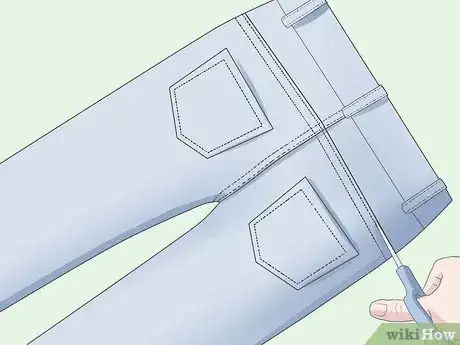
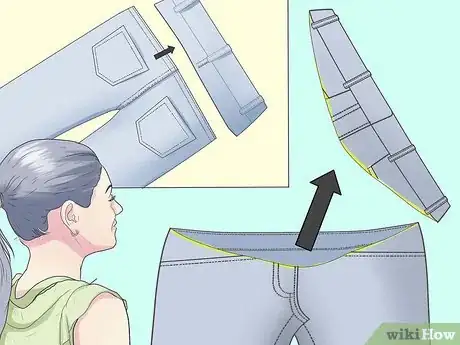
- You can also remove the old waistband entirely if you want to completely convert your pants. That way, you can add the new band a few inches lower to make room as your belly gets bigger.[1]
-
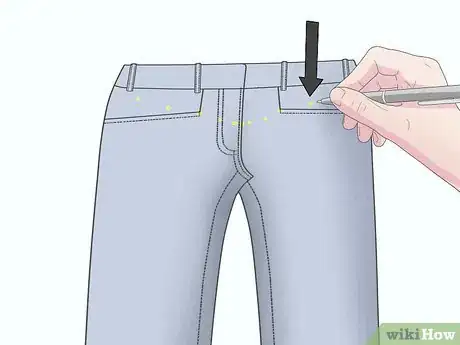
2Mark that point on the front of your pants with a fabric pen.Advertisement
-
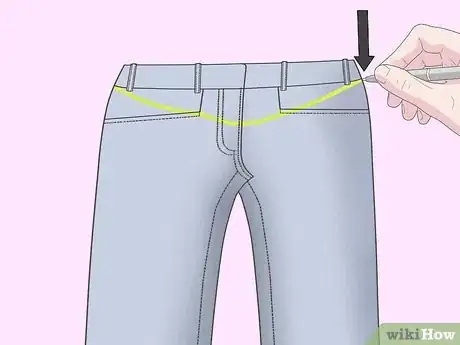
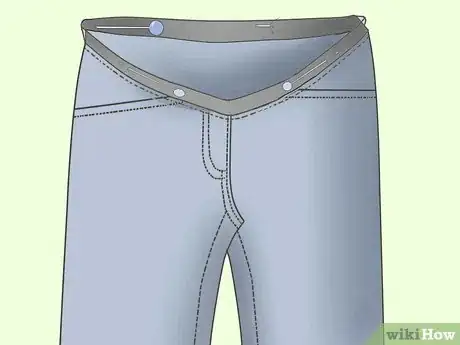
3Draw a curve that dips from just under your side belt loops down to the marked point on your zipper. You should have a very gentle curve that may cut through your front pockets.
-
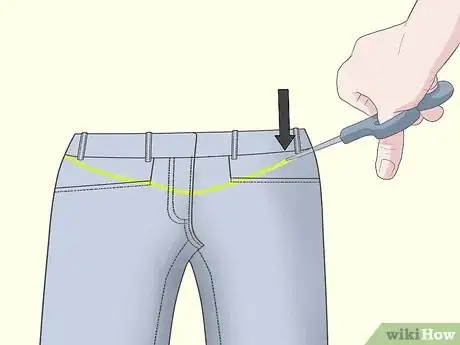
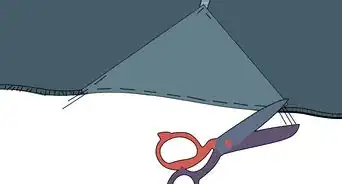
4Cut along the curve with fabric scissors, once you are satisfied that the curve is even on both sides.
-
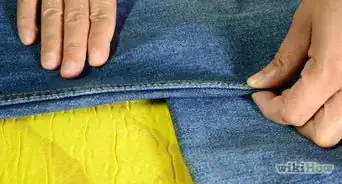
5Cut across the back of the pants, just under the belt loops. Your back pockets, if you have them, should stay intact.
-
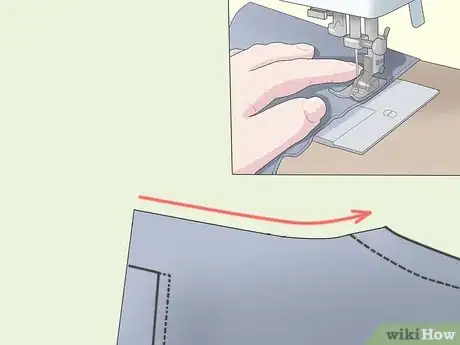
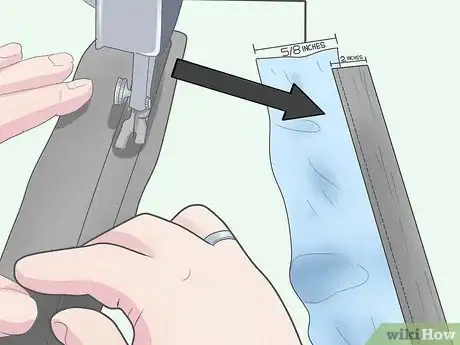
6Ready your sewing machine to stitch right below the cut you just made. This will prevent fraying. Load some thread that is the same color as your pants.
-
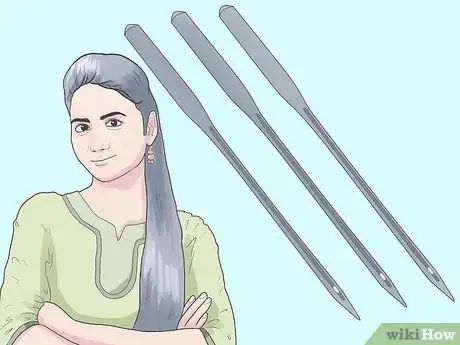
7If you are converting jeans, then consider using a size 100 jeans needle and very strong thread. Some craft stores sell thread that is specially made for sewing on denim.
-
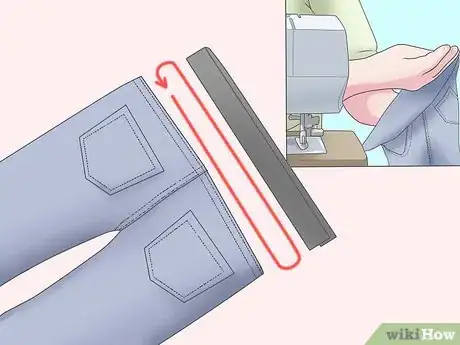
8Stitch once along the entire cut edge, using a straight stitch. Then, stitch 1 more time across the zipper and fly region.
Creating your Maternity Waist Band
-
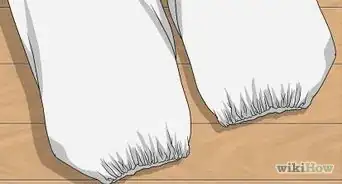
1Cut a long band of elastic. You should use elastic that is 2 inches (5 cm) or wider so that it does not dig into your belly.
- You can also get maternity panels online or at sewing stores.[2]
-
2Try on the pants again. Wrap the elastic around your waist, at top edge of your pants, where they meet your pelvic bones. Mark a length on the band that is comfortable and not too tight.
- Remember that you want the elastic to be tight enough to keep the pants on, but also allow a little room for growth.
-
3Pin the elastic band together at the point that you marked with your fabric pen. Cut off excess any excess elastic. Sew the ends of the elastic band together.
-
4Choose a 4-way stretch knit fabric or tight t-shirt to use for the section of the bands that will fit over your stomach. You may want to choose black, blue or another color to match your pants or a patterned fabric that will create some attractive contrast.
- You will need at least 1/4 of a yard for the fabric waistband. A Lycra/cotton blend will work well.
- If you buy a length of knit fabric, ensure that it is fairly elastic, so that it does not stretch too far. If you choose a t-shirt, find 1 that fits snugly over your belly. You can cut a horizontal section of the shirt to use as your waist band.
-
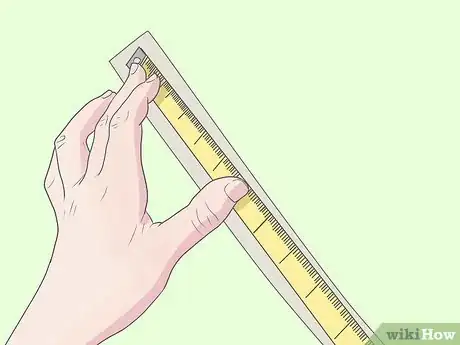
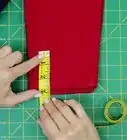
5Measure your elastic band with a fabric measuring tape. Subtract 2 inches (5 cm) from that measurement. This is your width measurement for your fabric waist band.
-
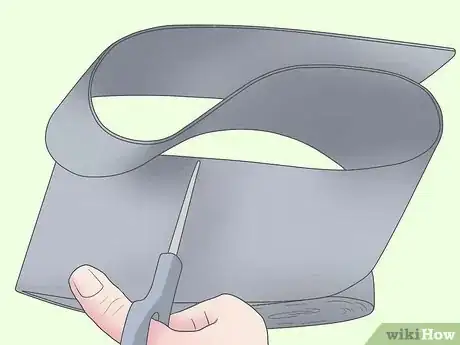
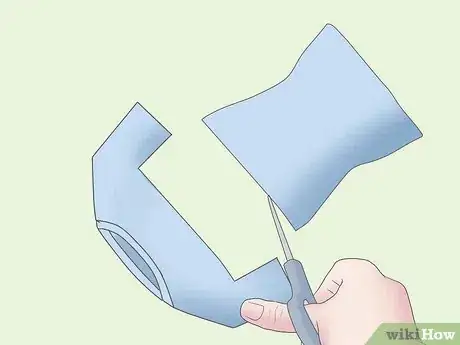
6Cut a length of knit or t-shirt material that is equal to the width measurement. Cut it so that it is between 14 and 17 inches (35.6 to 43.2 cm) tall. If you have a short torso, choose a 14 inch (35.6 cm) measurement, and use a longer measurement if you have a long torso.
-
7Pin the ends of the fabric together to form a loop, as if you are trying to make a tube top. Sew the side together on your sewing machine.
-
8Fold the fabric tube in half so that the back sides are touching. The new seam should be folded in half and you should have both rough edges at the bottom and the fold at the top.
-
9Measure a casing for your elastic. Depending upon the width of your elastic band, you will need to measure the width plus 5/8 inches (1.6 cm). For example, if you have a 2 inch (5 cm) elastic band, then measure 2 and 5/8 inches (6.6 cm) up from the rough edge.
-
10Mark the measurement with a fabric pen or piece of chalk. Mark the measurement around the entire fabric loop.
-
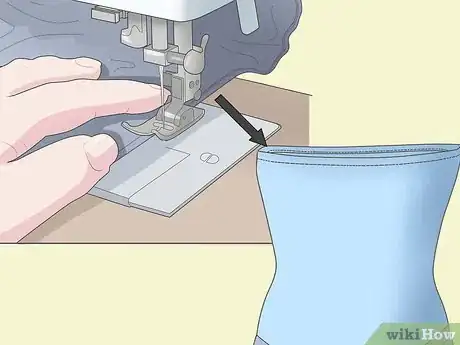
11Sew along that line using a zig zag stitch. This will allow you to stretch the fabric when you pull your pants on and off. You want to sew between 2 layers of folded fabric, but be sure not to sew through both sides of the loop.
-
12Insert your elastic loop into the bottom of the fabric loop. It should stop at the line you have just sewn.
-
13Sew a seam just below the elastic band around the entire tube. Use a zig zag stitch again. This will close your casing for the elastic band.
Sewing your Maternity Pants
-
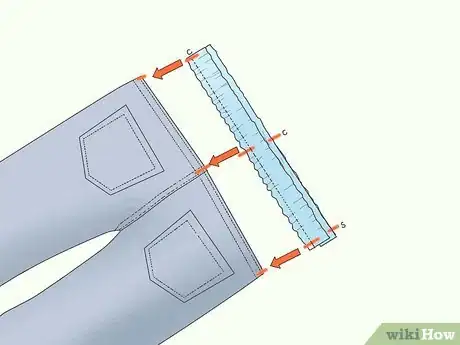
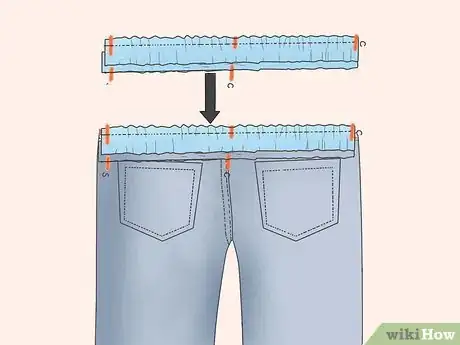
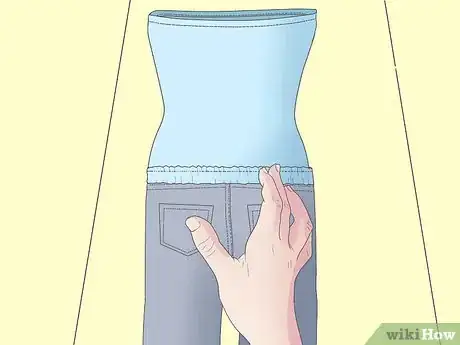
1Lay your pants out on a table. Fold the fabric loop so that it is inside out. Pull it over the top of the pants until the edges of the fabric tube and the pants meet.
-
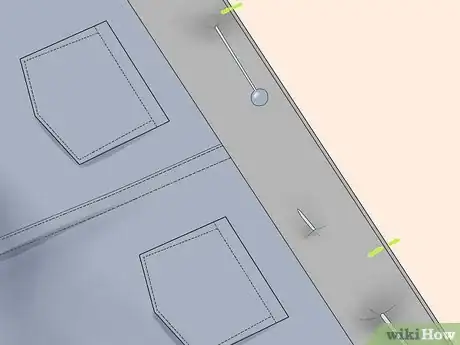
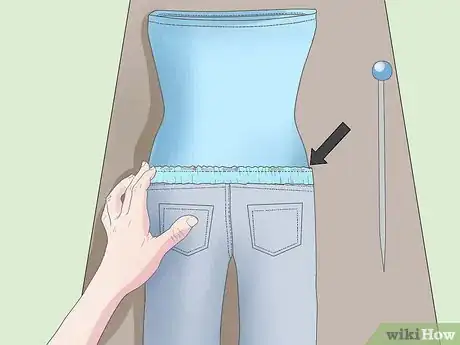
2Pin the edges together. The right, outside, sides should be touching.
-
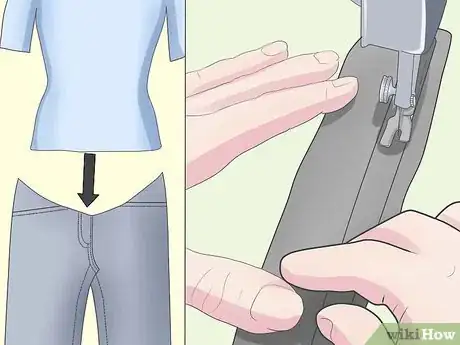
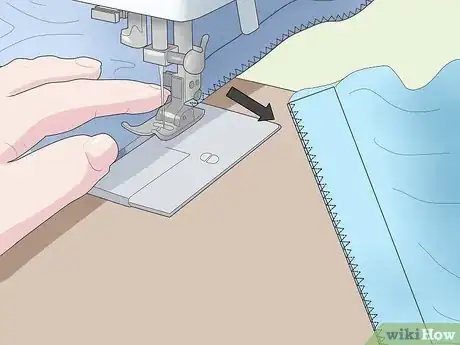
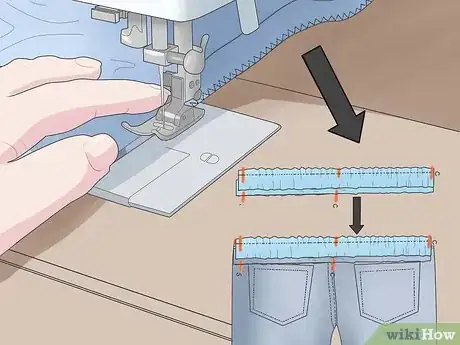
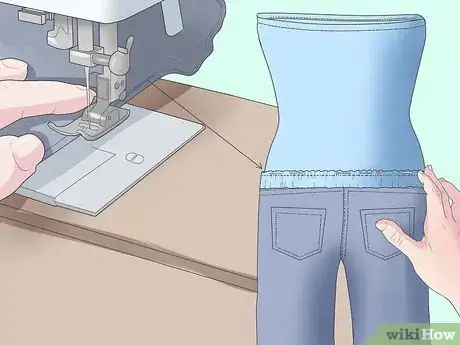
3Sew a seam through the fabric and pants at the top twice. Use a narrow zig zag stitch. You may also choose to serge the final seam to prevent fraying.
-
4Unfold the fabric and try on your homemade maternity pants. You can either wear them with the fabric tube extending up your belly or with it folded in half.
Community Q&A
-
QuestionWhy do maternity pants need a panel across the abdomen? Why not just have very low-cut pants?
 Community AnswerVery low-cut pants don't stay up very well. Your hips are the widest part of your body, so pants need to be relatively tight to stay up. This "tight" area tends to be right where a pregnant woman's already compressed bladder is. Full-panel pants stay up because of a band around the top of the belly, which is significantly narrower than the rest of the bump. This style can stay up without being as tight.
 -
QuestionHow do your pants stay up?
 Jen HallmanCommunity AnswerWhen I was pregnant, I used large safety pins to fasten jeans. Slip the safety pin in the hole and fasten the other side.
Warnings
- Beware that these changes to your pants are permanent. You can not undo the conversion at a later date. Choose pants that are inexpensive or that you know you will not want to use after your pregnancy.⧼thumbs_response⧽
Things You'll Need
- Sewing machine
- Used jeans or pants
- Old t-shirt or knit fabric
- Pins
- Fabric pen/chalk
- Fabric scissors
- Size 100 needle
- Thick thread
- Elastic band
- Fabric measuring tape
- Serger (optional)
References
- ↑ Alterations Express. Alteration, Tailoring, and Dry Cleaning Specialists. Expert Interview. 15 September 2021.
- ↑ Alterations Express. Alteration, Tailoring, and Dry Cleaning Specialists. Expert Interview. 15 September 2021.
- http://www.craftster.org/forum/index.php?topic=28377
