X
wikiHow is a “wiki,” similar to Wikipedia, which means that many of our articles are co-written by multiple authors. To create this article, volunteer authors worked to edit and improve it over time.
This article has been viewed 204,930 times.
Learn more...
This article will guide you on how to disable or delete your recent document list in Microsoft Word or Excel. This will give you little security and safety from other users who may use your PC. They will not guess or know which files you were working on. The procedure is very easy to follow and implement.
Steps
-
1Open your Microsoft Word or Excel and Click the "Office" icon.
-
2Click the "Word Options" button.Advertisement
-
3From the left menu, click "Advanced".
-
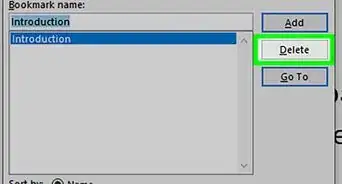
4Find the "Display" section. Here you can see the "Show the number of recent documents" option.
-
5Set the counter to 0.
-
6Click "OK".
-
7Now you can see the recent document list is empty.


Advertisement
Community Q&A
-
QuestionHow can I delete individual files?
 Community AnswerOpen all files, then hold the shift key and delete key until all of the files you want to delete have been selected.
Advertisement


About This Article
Advertisement