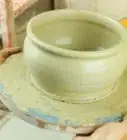
This article was co-authored by Joy Cho and by wikiHow staff writer, Christopher M. Osborne, PhD. Joy Cho is the Founder and Creative Director of the lifestyle brand and design studio, Oh Joy!, founded in 2005 and based in Los Angeles, California. She has authored six books and consulted for creative businesses around the world. Joy has lectured on business, leadership, and entrepreneurship at conferences and companies such as AltSummit, Pinterest, Target, and Hallmark, while her home and studio have been featured in magazines such as House Beautiful, Parents, and Domino. She has also been named one of Time's 30 Most Influential People on the Internet multiple times and has the most followed account on Pinterest with more than 14 million followers.
There are 8 references cited in this article, which can be found at the bottom of the page.
This article has been viewed 26,682 times.
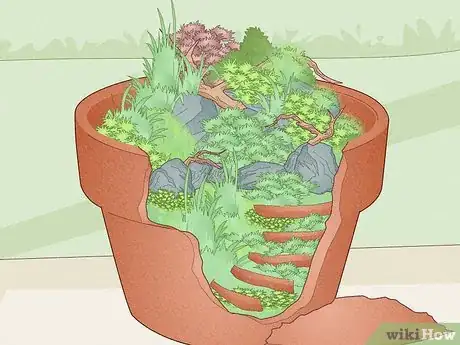
Terracotta pots are pretty sturdy until you start drilling or cutting into them, which is an issue if you’re looking to repurpose your pot into a tandoor oven, patio lantern, toad house, or fairy garden, among other crafty ideas. So, before you go at your pot with a saw or grinder, read on for answers to some of the key questions you might have. You’ll improve your odds of ending up with beautiful results instead of a pile of terracotta shards!
Steps
What tool should I use?
-
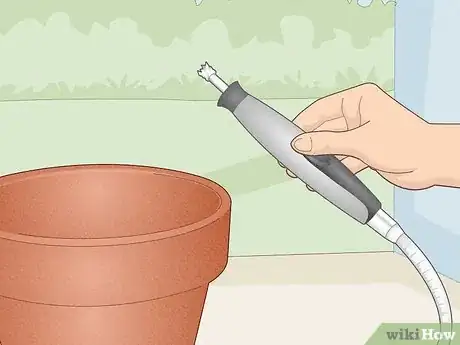
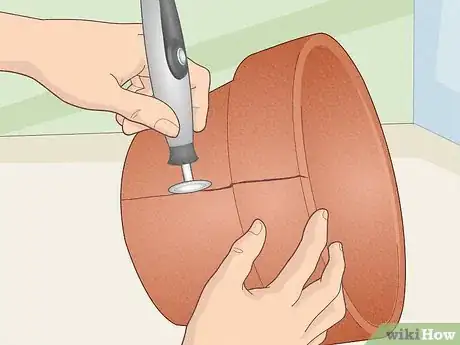
1Use a rotary saw (such as Dremel) to cut a smaller pot. It won’t cut through like butter, but it does the job! You’ll get the best results with the diamond cutting wheel attachment on your Dremel (or similar handheld rotary saw tool). Here are some tips to keep in mind:[1]
- Put on work gloves, eye protection, and a dust mask.
- Soak the pot in water for 20 minutes so it produces less dust. It’ll still be a dusty job, though, so work outside.
- Put the pot in a vise (securely, but without cracking it!) to stabilize it while cutting.
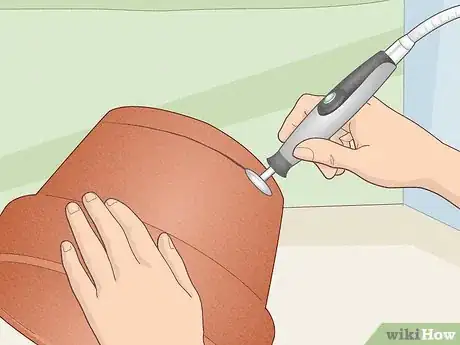
- Turn on the saw and lightly touch the spinning blade to the pot. Apply even pressure instead of trying to force the blade through the terracotta. Etch into and eventually through the material, then slowly move the blade along the cut line.
- Pour or squirt on more water every so often to keep the pot from overheating.
- Carefully sand down any jagged edges along the cut with an 80-grit sanding block.
-
2Opt for an angle grinder to cut a larger pot. The setup and cutting technique is pretty much identical to using a rotary saw, but an angle grinder is bigger and much more powerful! Be sure to put on your protective gear, soak the pot to cut down on the dust, etch through the terracotta with light pressure, and sand down jagged edges with a sanding block.[2]
- Unlike a rotary saw, which you can control with one hand, you’ll need to use both hands to keep an angle grinder steady. Secure the pot in a vise—without squeezing it too tightly—so you can keep both hands free to control the grinder.
- A diamond cutting wheel attachment works great, but a masonry blade also gets the job done.
- Angle grinders are loud, so it’s a good idea to put on ear protection as well.
Advertisement -
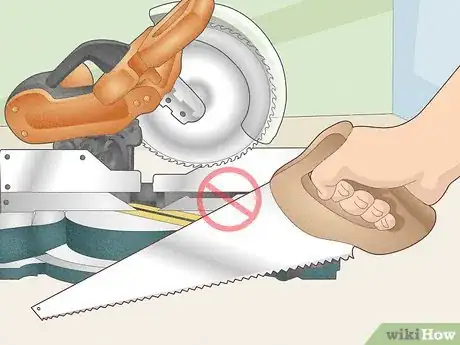
3Use a hacksaw with a carbide blade as a slower but effective alternative. If you have the time and stamina to cut the pot by hand, switch out your standard hacksaw blade for a carbide blade. This blade cuts with grit (more like sandpaper) rather than metal teeth. As when using power tools, soak the pot, put on safety gear, mark your cut, and put the pot in a vise for the best results. Cut with long, even, steady back-and-forth strokes, applying just enough pressure to etch away at the terracotta.[3]
- To replace a hacksaw blade, loosen the wingnut near the handle by turning it counterclockwise. Lift the old blade off of the 2 holding pins, then slide the new blade onto the pins. Twist clockwise to tighten the wingnut.
Can I engrave or carve out decorations?
-
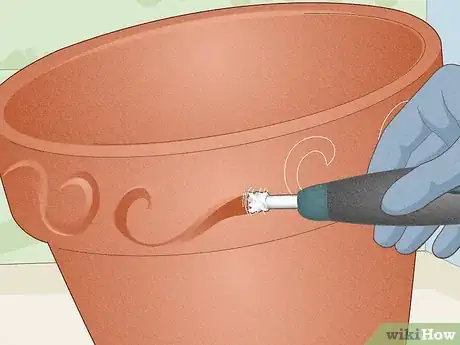
1You can make engravings with a handheld engraver. Clean and soak the pot, then use stencils (or just draw by hand) to apply the design(s) you want to engrave. Put on your safety gear—gloves, eye protection, and dust mask—and turn on the handheld engraver. Use the pencil-like tip to etch out the design to the depth you prefer. Wipe the dust away with a clean cloth.[7]
- As with handheld rotary saws, Dremel is a well-known brand but not your only option.
- Consider putting the pot in a vise to hold it steady while you work.
-
2Use a handheld engraver to carve all the way through terracotta as well. The only real difference here is that you want to keep working the handheld engraver’s tip into the terracotta until it punches through. Once it has, use both the end and the side of the engraving tip to continue carving out your decoration. The high-speed engraver tip helps to smooth out some of the jagged edges, but you may need to use sandpaper when you’re done.[8]
- This is a great way to create a jack-o-lantern effect with your terracotta pots!
References
- ↑ https://acraftymix.com/blog/cut-terracotta-pots-tree-planters/
- ↑ http://www.simplenick.com/2018/12/06/how-do-you-cut-flower-pots-when-building-a-tandoor/
- ↑ https://knockoffdecor.com/how-to-cut-pottery/
- ↑ https://knockoffdecor.com/how-to-cut-pottery/
- ↑ http://www.simplenick.com/2018/12/06/how-do-you-cut-flower-pots-when-building-a-tandoor/
- ↑ https://acraftymix.com/blog/cut-terracotta-pots-tree-planters/
- ↑ https://www.facebook.com/UKDremel/videos/654791445125577/
- ↑ https://us.dremel.com/en_US/projects/-/project-details/42309/terra-cotta-patio-lights
- ↑ https://www.sublimesucculents.com/how-to-drill-drainage-holes/



-Oven-Step-15.webp)


