This article was co-authored by Christine George. Christine George is a Master Hairstylist, Colorist, and Owner of Luxe Parlour, a premier boutique salon based in the Los Angeles, California area. Christine has over 23 years of hair styling and coloring experience. She specializes in customized haircuts, premium color services, balayage expertise, classic highlights, and color correction. She received her cosmetology degree from the Newberry School of Beauty.
wikiHow marks an article as reader-approved once it receives enough positive feedback. In this case, several readers have written to tell us that this article was helpful to them, earning it our reader-approved status.
This article has been viewed 917,670 times.
Curling short hair can be a challenge, as you may not have much hair to work with. You may want to curl your short hair for a special event or just to change up your hairstyle for the day. Before you curl your hair, make sure you prep it with styling spray, heat protectant, and a good brush. Then, curl it with a curling iron or a flat iron. If you do not have access to styling tools, bobby pins, pens and pencils will work just as well.
Steps
Prepping Your Hair for Heat Styling
-
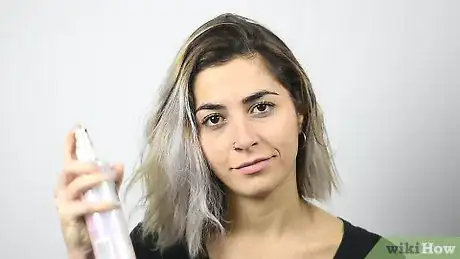
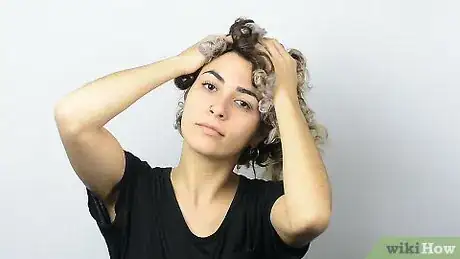
1Put texturizing spray on your dry hair. Start by putting a texturizing spray on your hair to give it more volume and body. This product will help your shorter hair hold the curls for a longer period of time. Apply the spray all over your hair. Run your fingers through your hair so the spray is evenly dispersed.p.first.gif}}
- A texturizing spray is a good option if you just washed your hair, as it adds hold.
- Look for texturizing spray at your local beauty supply store or online.
-
2Apply a heat protectant gel or spray and let it dry. Use heat protectant spray if you have fine hair, as the spray tends to add more volume. Get a heat protectant gel if you have thick hair. Apply the product all over your hair. It will ensure your hair stays shiny and undamaged when you curl it.[1]
- Buy heat protectant gel or spray at your local beauty supply store or online.
- Let the protectant sit for 1-2 minutes in your hair so it can dry.
Advertisement -
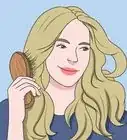
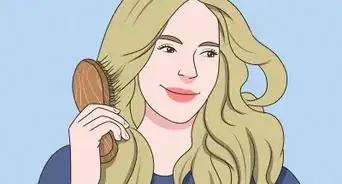
3Comb or brush your hair. Use a good comb or brush to gently brush your hair. Brush or comb from root to ends. This will help to distribute the heat protectant and ensure there are no knots in your hair.
- If you have fine hair and want to add volume, you can comb it out with a round brush.
-
4Clip up the top layer of your hair. Pull hair from either side of your head, just above your ears. Then, clip it up with a hair clip. This will make it easier for you to curl the bottom layer of your hair.[2]
- If your hair is very short, you may not have much of a top layer to clip up. If this is the case, skip this step.
Using a Curling Iron or a Flat Iron
-
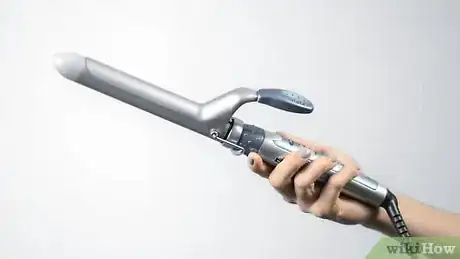
1Get a curling iron with a 1⁄2 inch (1.3 cm) wand. This will ensure the wand is large enough to give your hair short hair curls, but not too big for your hair. You can buy a curling iron online or at your local beauty supply store.[3]
-
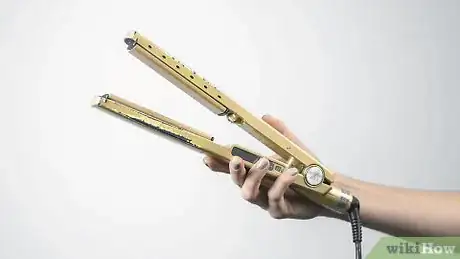
2Use a 1.25 inches (3.2 cm) flat iron. Look for a flat iron at your local beauty supply store or online.
-
3Take 3⁄4 to 1 inch (1.9 to 2.5 cm) of hair from behind your ear. Hold the curling iron in your dominant hand.
- If you have very short hair, you may only have less than 1 inch (2.5 cm) of hair that you can grab at one time. Try to take a small amount at the front of your hair as best you can.
-
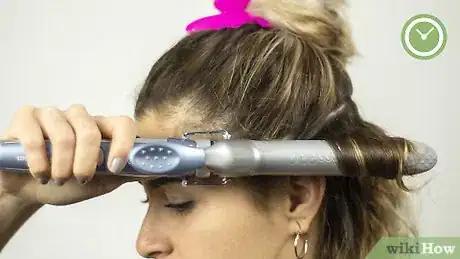
4Wrap the hair around the wand 1-2.5 times, away from your face. Carefully wrap the hair around the wand tightly, about 1⁄2 inch (1.3 cm) away from your roots.[4]
- If your hair is very short, you may only be able to wrap the hair around the wand once. You need to wrap your hair at least 1.5 times to create a C-curl. To make an S-curl, you need to wrap your hair 2.5 times around the wand.
-
5Hold the hair around the wand for 30 seconds for medium to thick hair. For unprocessed hair, set your temperature for 370-400 degrees. If you hair is color treated, you should not use a temperature above 390 degrees. Those with fine hair or double-processed hair should stick to a lower temperature between 350 and 370 degrees.
- If you have very fine hair, you can let the hair sit for 10-15 seconds.[5]
- You can count out loud so the hair has enough time to curl on the wand. You can also use a timer to make sure you hold your hair on the curling wand for long enough.
-
6Catch your hair as you release it and hold it in your hand for 3-5 seconds. Once the hair has sat around the wand for 30 seconds, you can slowly let go of the hair and pull the wand away. Cup the curled hair in your palm and hold it for 3-5 seconds to set the curl.[6]
-
7Alternate the curling direction of your hair. If you curled one piece away from your face, try curling the next section towards your face. Alternating the curling direction will give your hair more volume.
- Make sure you curl the same amount of hair in each section and that you alternate all the way around your hair for an even look.
-
8Curl the bottom layer from one side to the other. Continue curling your hair, taking 3⁄4 to 1 inch (1.9 to 2.5 cm) of hair at a time. Work from the front of your hair all the way around to the other side. Try to get the curls the same size and shape.[7]
-
9Repeat the same steps for the top layer of your hair. Release the hair that has been clipped and curl the top layer, curling 3⁄4 to 1 inch (1.9 to 2.5 cm) pieces of hair at a time. Make sure you catch and hold your curled hair so the curls stay in place.[8]
- Take your time when curling any very short pieces of hair at the front. Wrap the hair once around the wand, being careful not to burn your fingers.
- If you have very short pieces in the top layer, you can try curling them upwards, wrapping them once around the wand. This will add volume to the top layer. However, some consider this "bubble look" to be dated.
-
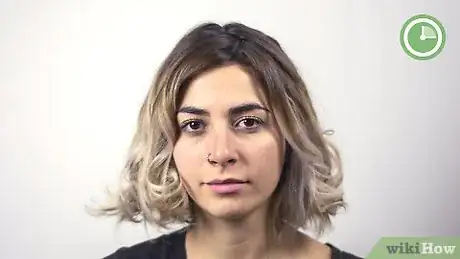
10Let your hair cool for 1-2 minutes. Once you have curled all your hair, let the curls sit and cool. Try not to touch them or move them around. This will help them to set.[9]
-
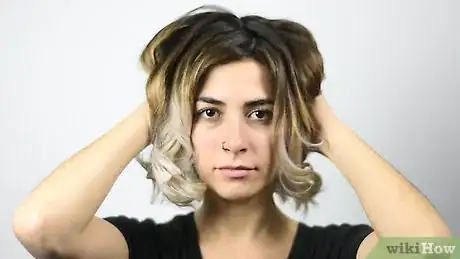
11Use your hands to make the curls a bit tousled. After your curled hair has cooled, take sections of your hair in your hands and lift them up in the hair. Then, shake them out with your hands. You can also toss the front of your hair to one side and run your hands through your hair. This will give the curls a more messy, natural look.[10]
- The best way to tousle your curls without ruining them is to slide your hands up into your roots and massage your scalp.
- Avoid using a brush or comb to mess up your hair, as this can pull out the curls.
-
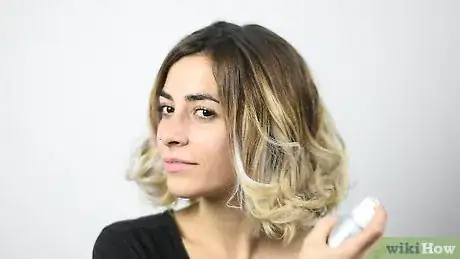
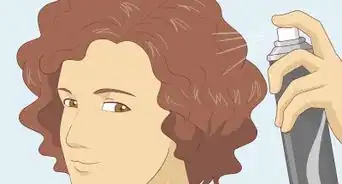
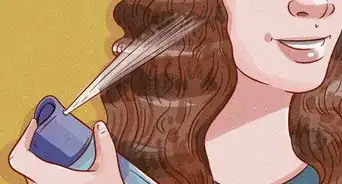
12Set your curls with hair spray. Set your curled short hair by applying hair spray to your entire head. Only use a small amount of hair spray so your curls do not dry too stiff or crunchy.[11]
- If you’d prefer to let your hair become more messy and natural looking throughout the day, you can skip putting hair spray on your curls.
Using Bobby Pins and a Tube-shaped Object
-
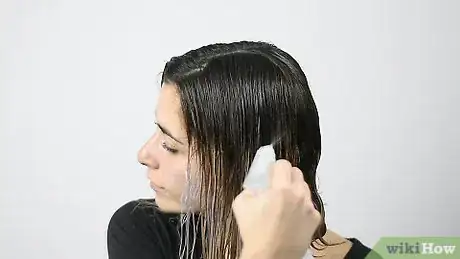
1Start with wet or damp hair. This method works great if you’ve just gotten out of the shower and your hair is still wet. You can also dampen your hair using a spray bottle filled with water. Having wet or damp hair will make it easier for the curls to hold.[12]
-
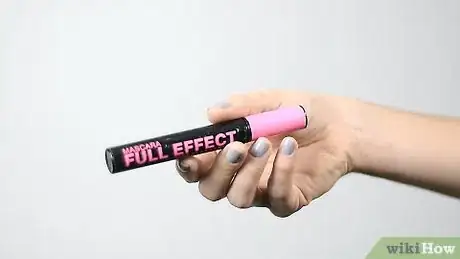
2Use a tube-shaped object you can wrap your hair around twice. You can use pens, pencils, or even a tube of mascara. Look for a tube-shaped object that is wide enough so you can wrap your hair around it twice, as this will give you nice looking curls.[13]
- You can test out the object by taking a piece of your hair and trying to wrap it around the object. If you can get the piece around your hair twice, you’re good to use it for this method.
- You can also use objects that are different width, such as a pen that is skinny and a tube of mascara that is wide. This will give you some variety and allow you to use the skinner object to curl pieces of hair that are shorter.
-
3Wrap 3⁄4 to 1 inch (1.9 to 2.5 cm) section of your hair around the object twice. Hold a section of your hair between your fingers. Take the object in your other hand and place it at the top of the piece of hair. Then, roll the object around your hair 2 times, wrapping it away from your face. Wrap it until the object sits just above your roots.[14]
- If you have very short hair, you only have a few inches to work with. Try to take up enough of a section of your hair that you can wrap it around the object at least once.
- Rolling your hair backwards, away from your face, will give your hair more volume.
-
4Pull out the object. Use your fingers to gently slide the object out from the wrapped hair. It should come out fairly easily.[15]
- As you pull the object out, use your other hand to keep the wrapped hair in place so it does not unravel.
-
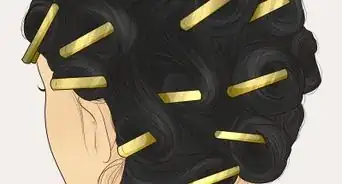
5Clip the curled hair in place with hair clips. Hold the curled hair in place with one hand and use the other hand to use hair clips to secure it. Put 1 to 2 hair clips across the curled hair so it stays in place.[16]
- Pincurl clips are a great option.
-
6Continue to curl the rest of your hair. Take another piece of hair and curl it using the same steps. If the piece of hair is shorter, use the skinner object to curl it, making sure your hair wraps around the object at least once.[17]
- To give your hair a more natural looking curl, try alternating the direction that you curl pieces of your hair. For example, if you wrapped a piece of hair around the object away from your face, you may wrap the next piece of hair towards your face.
-
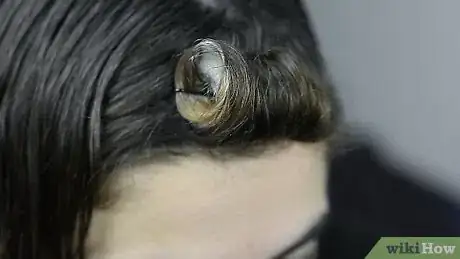
7Use your thumb and forefinger to curl your bangs, or smaller pieces in front. If you have short bangs that you want to curl or very short pieces of hair in the front, take the skinner of the objects you have on hand. Hold a piece of hair in one hand and then place the object at the ends of your hair. Keep the object in place with your thumb and forefinger as you roll it down your hair. Then, remove the object and pin the curled hair in place.[18]
- You may only be able to wrap the shorter pieces once around the object. This is fine, as it will still give your hair some curl.
- You can roll the shorter pieces away from your face, backwards, for more volume. You can roll the shorter pieces towards your face, forwards, if you want the curls to shape your face more. If you have bangs, however, this could create a dated look.
-
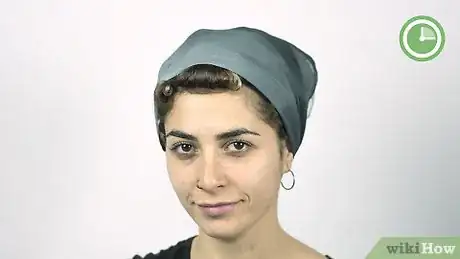
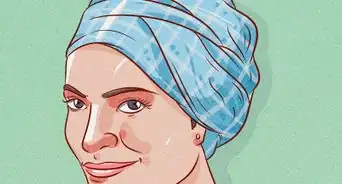
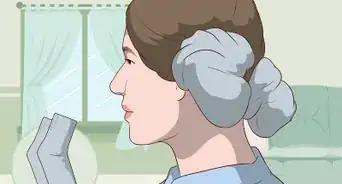
8Wrap your curled hair in a scarf. Once you have curled your entire head and secured the curls with hair clips, take a silk scarf and wrap it around your hair. Tie it at the back of your head so your curls are covered.[19]
- The scarf will help to prevent your hair from becoming frizzy when it dries.
- You can also use a shower cap if you do not have access to a scarf.
-
9Let your hair set for 2-4 hours or overnight. Because you are not using any heat with this method, you need to give your hair time to set naturally. Allow your hair to dry under the scarf for several hours or sleep with the scarf on so your hair can dry during the night.[20]
-
10Remove the hair clips and separate them with your hands. Once you have let your curls set, carefully remove the hair clips one at a time. Then, use your fingers to carefully separate them so they appear lightly tousled and natural looking. You can shake them lightly or run your fingers through them.[21]
- Do not brush or comb your curls, as this will flatten the curls.
-
11Set your curls with hair spray. Use hair spray all over your hair to secure the curls in place. Apply a small amount so your curls do not become too stiff or crunchy. Run your hands through your curls once more so they have a messy, natural look.
Community Q&A
-
QuestionWhat if I want beach waves and am not allowed to use a sock, pins or t-shirt?
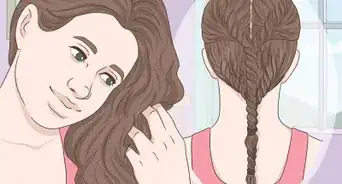
 Community AnswerPlace your hair in two braids and gently loosen them, spray with water and leave overnight. Take them out in the morning and run your fingers through your hair.
 -
QuestionHow do I curl my hair at night and have it stay that way?
 Community AnswerYou can use rollers and leave them overnight, and in the morning you can take them out.
 -
QuestionHow do I curl my own hair as a teenager?
 Community AnswerAge doesn't matter, but use a heatless method, it will be better for your hair. Even if you use oils that claim to protect your hair, heat will damage it in the long run.
Things You'll Need
Using a Curling Iron or a Flat Iron
- Texturizing spray
- Heat protectant spray or gel
- Brush or comb
- Hair clip
- Curling iron with a 3⁄4 to 1 inch (1.9 to 2.5 cm) wand
- 1.25 inches (3.2 cm) Flat iron
- Hair spray
Using Bobby Pins and a Tube-shaped Object
- Bobby pins
- Tube-shaped object like a pen, pencil, or mascara tube
- Scarf or shower cap
- Hair spray
References
- ↑ http://www.byrdie.com/how-to-curl-short-hair-tutorial/slide3
- ↑ http://www.byrdie.com/how-to-curl-short-hair-tutorial/slide3
- ↑ http://www.byrdie.com/how-to-curl-short-hair-tutorial/slide3
- ↑ http://www.byrdie.com/how-to-curl-short-hair-tutorial/slide4
- ↑ http://www.byrdie.com/how-to-curl-short-hair-tutorial/slide4
- ↑ http://www.byrdie.com/how-to-curl-short-hair-tutorial/slide4
- ↑ http://www.byrdie.com/how-to-curl-short-hair-tutorial/slide4
- ↑ http://www.byrdie.com/how-to-curl-short-hair-tutorial/slide4
- ↑ http://www.byrdie.com/how-to-curl-short-hair-tutorial/slide4
- ↑ https://www.youtube.com/watch?v=7UMZoB9ka7Q&feature=youtu.be&t=360
- ↑ https://www.allthingshair.com/en-us/hair-products/flat-iron/curl-short-hair-with-a-flat-iron/
- ↑ http://www.rookiemag.com/2015/02/short-hair/
- ↑ http://www.rookiemag.com/2015/02/short-hair/
- ↑ http://www.rookiemag.com/2015/02/short-hair/
- ↑ http://www.rookiemag.com/2015/02/short-hair/
- ↑ http://www.rookiemag.com/2015/02/short-hair/
- ↑ http://www.rookiemag.com/2015/02/short-hair/
- ↑ http://www.rookiemag.com/2015/02/short-hair/
- ↑ http://www.rookiemag.com/2015/02/short-hair/
- ↑ http://www.rookiemag.com/2015/02/short-hair/
- ↑ http://www.rookiemag.com/2015/02/short-hair/
- ↑ Christine George. Master Hair Stylist & Colorist. Expert Interview. 10 January 2020.
- ↑ Christine George. Master Hair Stylist & Colorist. Expert Interview. 10 January 2020.
- ↑ Christine George. Master Hair Stylist & Colorist. Expert Interview. 10 January 2020.
About This Article
To curl short hair, start by spraying your hair with a texturizing spray to help hold the curls for a longer period of time. Next, separate the top layer of your hair and clip it to the top of your head so you can curl the bottom section first. Then, wrap a ¾ to 1 inch section of hair around the barrel of a curling iron with a ½ inch wand. Release the hair from the curler after 30 seconds, then curl the rest of the bottom section. Finally, unclip and curl the top section of your hair, making sure to curl the same amount of hair each time for an even look. For more advice from our Beauty co-author, like how to curl your hair if you don’t have a curling iron, keep reading!
-Step-12-Version-4.webp)


-Step-12-Version-4.webp)
