wikiHow is a “wiki,” similar to Wikipedia, which means that many of our articles are co-written by multiple authors. To create this article, volunteer authors worked to edit and improve it over time.
The wikiHow Tech Team also followed the article's instructions and verified that they work.
This article has been viewed 57,364 times.
Learn more...
A background is a basic element of an image. Whether it’s of a plain or a more complex design, a background complements and lets the object on the foreground stand out and be viewed much better. In Adobe Photoshop, you can get creative and use different types of backgrounds to enhance your images. Creating a background, whether on a new image or an existing one, is simple and can be done in a few quick steps.
Steps
Creating a Background on a New Workspace
-
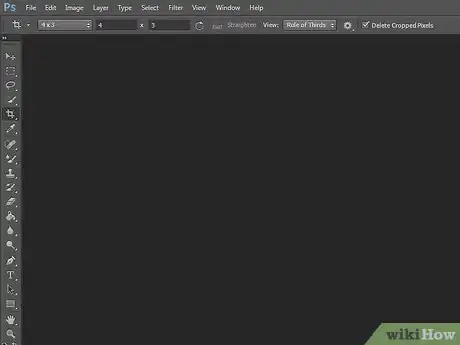
1Open Adobe Photoshop. Click on its desktop icon or launch it from the Program/Application list on your computer.
-
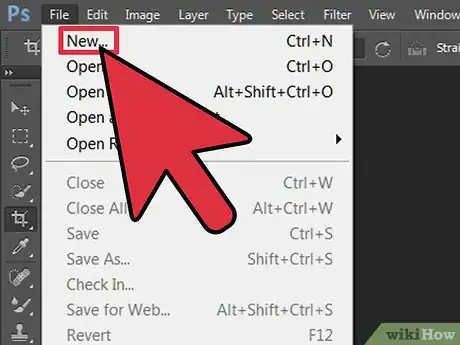
2Click on “File” at the top-left corner of the window. It’s along the menu bar. Select “New” to open the settings window for the new image workspace to be created.Advertisement
-
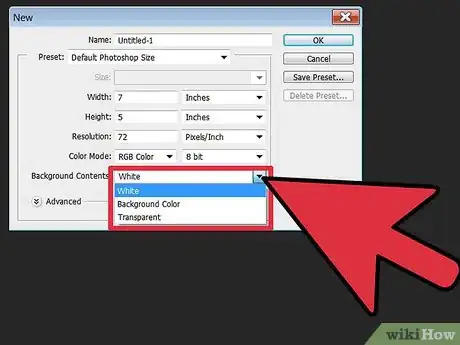
3Click the drop-down list beside “Background Contents.” Afterwards, select the background you want to use from list.
- “White” sets the workspace background to white.
- “Background color” sets the workspace background to the one selected on the color palette on the workspace menu at the left.
- “Transparent” sets the workspace background to transparent; this is ideal for creating GIF or PNG image formats.
-
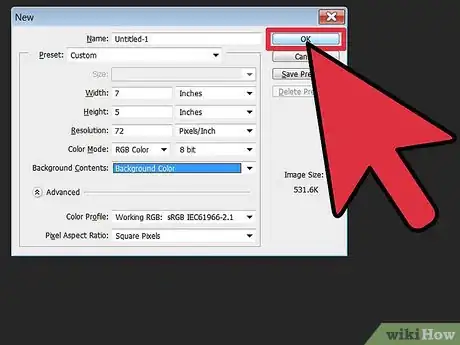
4Adjust the other options on the workspace settings window. For example, you can adjust the color and resolution.
- Click on “OK” once you’re done to create the workspace.
Creating a New Background for an Existing Image
-
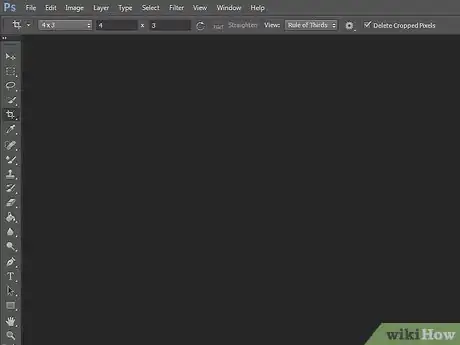
1Open Adobe Photoshop. Click on its desktop icon or launch it from the Program/Application list on your computer.
-
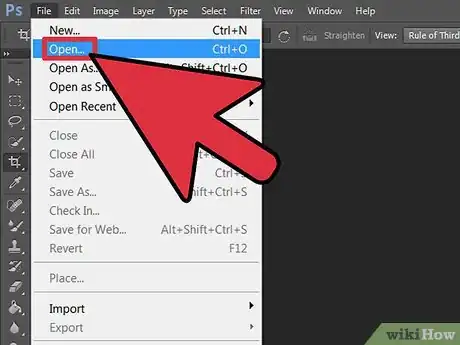
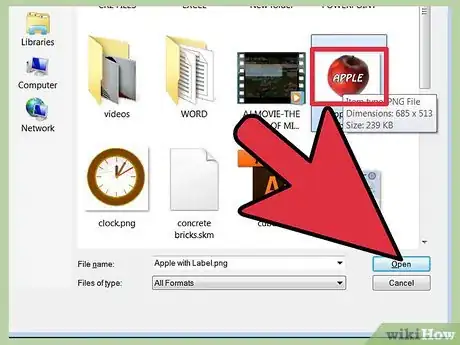
2Click on “File” at the top-left corner of the window. It’s along the menu bar. Select “Open” to open an existing image that you would like to edit.
-
3Navigate to the location of the file. Once you do, click on the “OK” button to confirm opening the image file on Photoshop.
-
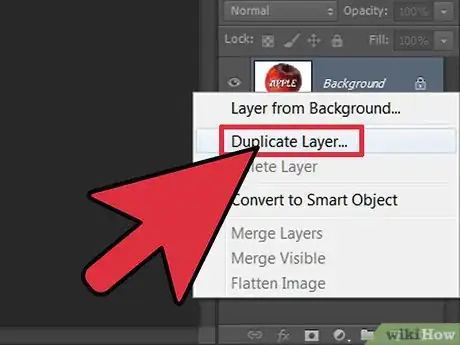
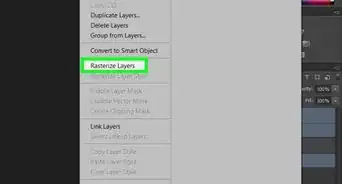
4Go to the Layer tab. It’s at the right side of the window. Right-click on the “Background” layer, and select “Duplicate Layer” from the pop-up menu to create a replicate of the original image.
-
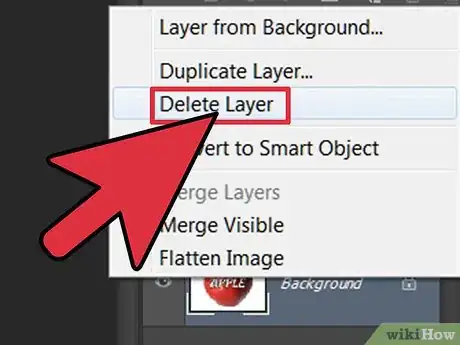
5Right-click on the original “Background” layer again. This is the one with a lock icon. This time, select “Delete Layer” to remove it.
-
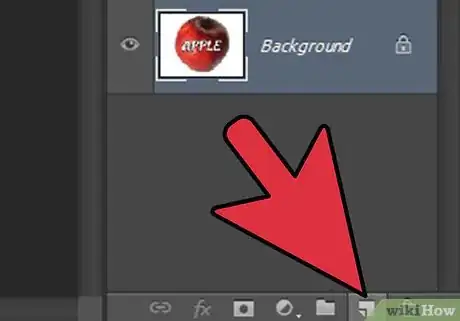
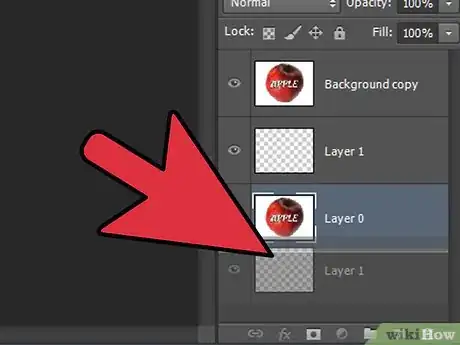
6Click on the “Create a new layer” button. It’s at the lower-right corner of the Layer tab. This will create a new layer on top of the duplicate “Background” layer.
-
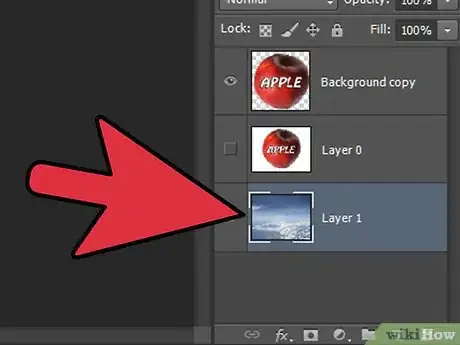
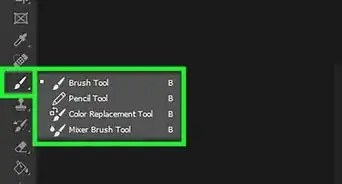
7Drag the newly created layer below the “Background.” Afterwards, start creating a new background either by using the Photoshop tools like Pen, Pencil, and Paint Brush, or by pasting another image onto it.
-
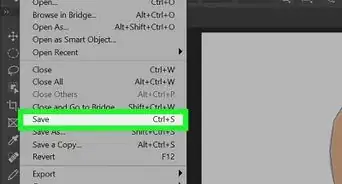
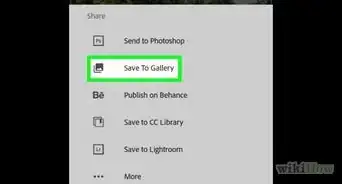
8Be sure to save. Click on “File,” and select “Save” to save the changes you made.
-
9Finished.




-Step-9-Version-2.webp)


