This article was co-authored by wikiHow Staff. Our trained team of editors and researchers validate articles for accuracy and comprehensiveness. wikiHow's Content Management Team carefully monitors the work from our editorial staff to ensure that each article is backed by trusted research and meets our high quality standards.
This article has been viewed 9,120 times.
Learn more...
Whether you’re on the road or your RV is parked outside your home, you’ll want to connect it to power to use appliances and charge the RV’s battery. Many campgrounds and all RV parks have power supply boxes with various electrical outlets that you can plug into. You can also plug your RV into a home electrical outlet. Either way, the process is pretty straightforward. Keep a few adapters with you in your RV, so you can connect to power anywhere you go!
Steps
Choosing an Adapter
-
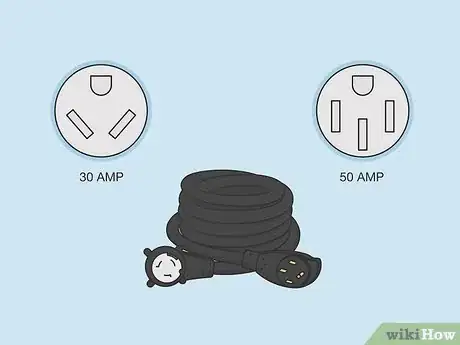
1Count the prongs on your RV’s power cable to see how many amps it is. A 30-amp power cord has 1 round prong and 2 angled flat prongs. A 50-amp power cable has 1 round prong and 3 straight flat prongs.[1]
- Knowing how many amps your RV’s power cord is meant for will allow you to determine if you need any adapters to connect it to a power source.
- RV electrical cables are usually located in a compartment on the lower backside somewhere on the outside of the RV or they are loose inside the RV and you have to plug them into the electrical outlet located on the outside of your RV.
-
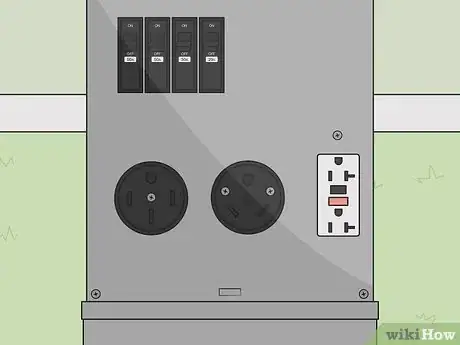
2Look at the available outlets to see what adapter you need. An outlet with 1 round hole and 2 slanted flat slots is for a 30-amp power cable and an outlet with 1 round hole and 3 straight flat slots is for a 50-amp power cable. The standard home electrical outlets that have 1 round hole and 2 straight flat slots are 15 or 20 amps.[2]
- Once you know what power outlets are available and what kind of power cable your RV has, you will know whether you can plug directly into the power supply or if you need an adapter.
- Most power supply boxes at campsites and RV parks have 2-3 different kinds of outlets available.
Advertisement -
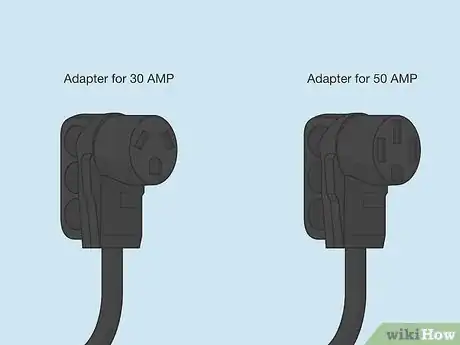
3Pick an adapter with a female end that matches your RV’s power cord. Use an adapter with 1 round hole and 2 slanted flat slots if your RV has a 30-amp power cable. Use an adapter with 1 round hole and 3 straight flat slots if it has a 50-amp power cable.[3]
- The female end is the end that you plug the power cord into.
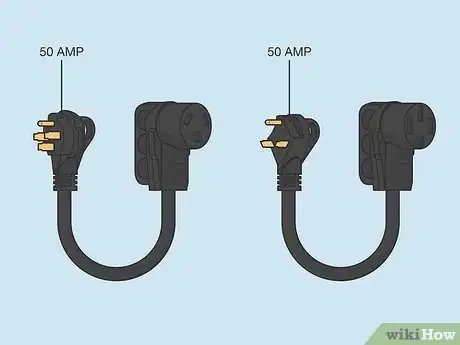
- You can purchase adapters made specifically for RVs that are called dogbone adapters. These consist of a short section of cable with different male and female ends. You can purchase dogbone adapters online or at an RV supply store.
-
4Select an adapter with a male end that matches the highest-amp outlet. Choose an adapter with a 1 round pin and 2 slanted flat pins if there is a 30-amp outlet available. Pick an adapter with 1 round pin and 3 straight flat pins if there is a 50-amp outlet available.[4]
- If you’re plugging into a standard home electrical outlet, use an adapter that has a male end with 1 round pin and 2 straight flat pins that is meant for 15- or 20-amp electrical outlets.
Plugging into a 30- or 50-Amp Power Supply
-
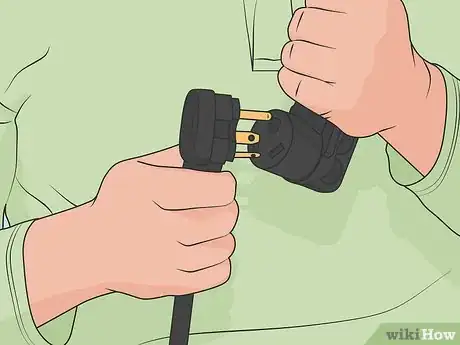
1Connect the appropriate dogbone adapter to your RV’s power cable. Pull your RV’s power cord out of the compartment that holds it on the outside of your RV. Plug the power cord into an adapter with the matching female piece, if your power cable doesn’t match the available outlets.[5]
- For example, if you have a 30-amp RV cable and the power supply box only has a 50-amp outlet, use a dogbone adapter that has a 30-amp female end to plug your RV power cord into and a 50-amp male end to plug into the power supply.
-
2Turn off all electricity in your RV before you connect it to the power box. Power off your RV’s electrical system and make sure that all electrical appliances inside your RV are switched off. This will help protect against electrical surges and other accidents.[6]
- Many RVs also have a built-in surge protector to protect their electrical systems against damaging electrical surges. If your RV doesn’t have one, consider getting one installed.
Tip: You can also use this method to plug your RV into a generator, if a power supply box is not available. Use a generator that is at least 3500 watts.[7]
-
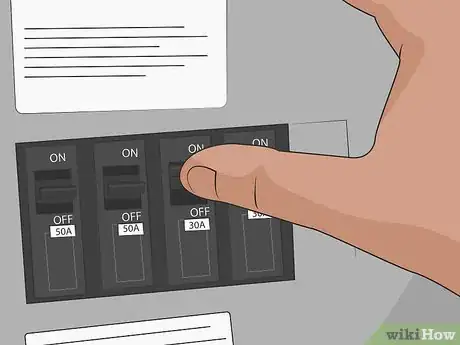
3Switch off the breaker at the power supply box before you plug your RV in. Locate the breaker switch on the power supply box. Flip it to the off position to cut off the power supply while you plug your RV in.[8]
- This is a safety precaution to protect against dangerous and damaging electrical surges when you plug in. Always plug your RV into a power supply with the electricity turned off.
-
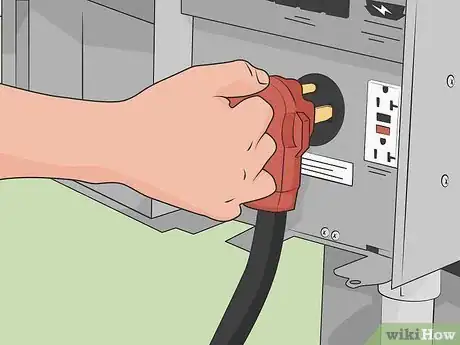
4Plug your RV power cable into the outlet on the power supply box. Push the prongs into the corresponding holes and slots in the outlet. Press the plug all the way in, so it sits flush against the outlet.[9]
- If you are using an adapter, double-check the connection between the RV power cable and the female end of the adapter after you plug the male end of the adapter into the power supply box.
-
5Flip the power supply breaker switch back on. Return the breaker on the power supply switch back to the on position to supply electricity to your RV. You now have electrical power to run everything in your RV![10]
- Plugging an RV into a power supply box at a campground, RV park, or elsewhere is known as connecting it to shore power. This will allow you to run all the electrical components in your RV as well as charge the RV’s battery.
Using a Home Electrical Outlet
-
1Plug your RV power cable into a dogbone adapter with a 15-amp male end. Choose a dogbone adapter with a 30-amp female end or a 50-amp female end, depending on what kind of power cable your RV has. A 30-amp power cable has 3 prongs and a 50-amp cable has 4 prongs.[11]
- You can purchase these adapters online or at an RV supply shop, if you don’t have one already. They cost about $15 USD.
Tip: If you’re shopping for an adapter online, you might have to select the type of male and female ends you want from an abbreviated list, where the one you want would appear like this: 15M/30F. The numbers mean the amps and the letters stand for male and female.
-
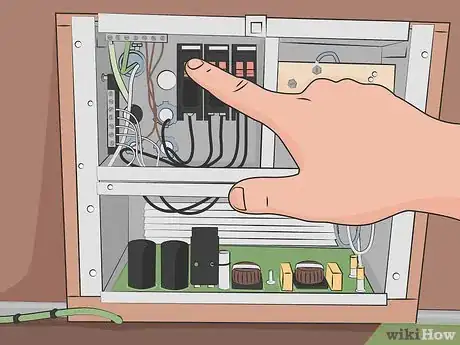
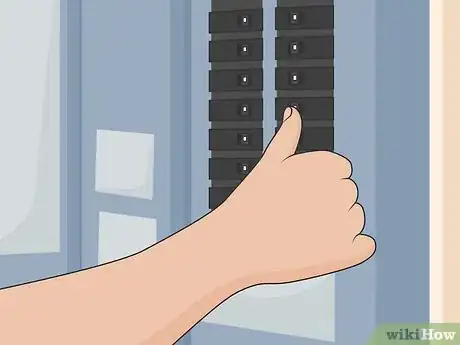
2Switch off your RV’s electrical systems and the home’s breaker. Turn off your RV so the battery isn’t running and make sure all the electrical appliances and systems inside your RV are turned off. Flip the switch on the home’s fuse box to cut off the electrical supply to the outlet you want to plug into.[12]
- This will keep you from tripping a breaker switch when you connect your RV to the home’s electrical outlet.
-
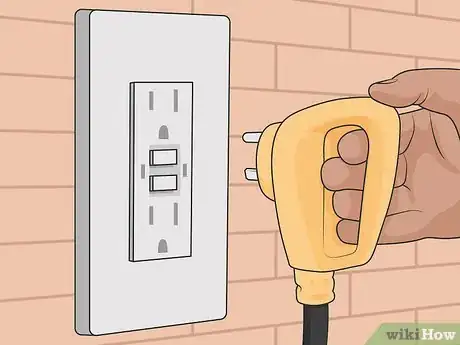
3Plug the RV’s power cable into the home electrical outlet. Stick the 15-amp male end of the dogbone adapter into an empty home electrical outlet. Make sure that the RV power cable is plugged all the way into the female end of the adapter.[13]
- It’s best to plug your RV into a home electrical outlet that isn’t being used for anything else. It’s even better if the outlet is on a breaker circuit all of its own, so you don’t end up causing the breaker to flip by using too much electricity at once.
- If the power cable and adapter don’t reach all the way to an electrical outlet, use a heavy-duty extension cord to connect them.
-
4Turn on the power supply to the outlet at the breaker. Flip the circuit breaker switch that corresponds to the outlet you plugged the RV into back to the on position. This will start supplying electricity to your RV.[14]
- Even if you don’t plan on using your RV while it’s parked outside your home or someone else's home, it’s a good idea to connect it to the power. That way the RV’s battery will charge while it’s in storage.
-
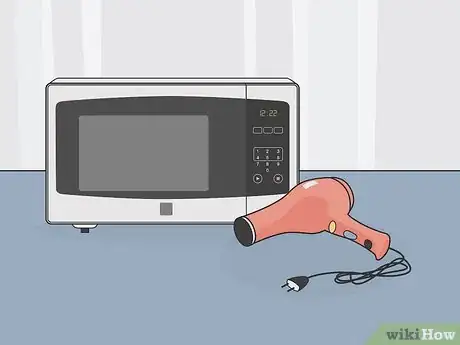
5Limit your use of appliances in the RV as much as possible. Go inside the home to use things like a hair dryer or a microwave, if possible. Using too many appliances at once or running appliances that require a lot of electricity will trip the home’s breaker and cut off the electrical supply to your RV.[15]
- For example, you definitely won’t be able to run the air conditioning system in your RV off a home electrical outlet.
Warnings
- Always treat all electrical wires and outlets as if they are live, even if you know you just turned them off. It’s best to exercise the utmost caution whenever you’re making any kind of electrical connection to avoid accidents.⧼thumbs_response⧽
Things You’ll Need
- Dogbone power cable adapter (optional)
References
- ↑ https://rvshare.com/blog/rv-electrical/
- ↑ https://www.outdoorsy.com/blog/rv-electricity-basics
- ↑ https://rvshare.com/blog/rv-electrical/
- ↑ https://rvshare.com/blog/rv-electrical/
- ↑ https://rvshare.com/blog/rv-electrical/
- ↑ https://rvshare.com/blog/rv-electrical/
- ↑ https://www.outdoorsy.com/blog/rv-electricity-basics
- ↑ https://rvshare.com/blog/rv-electrical/
- ↑ https://rvshare.com/blog/rv-electrical/
- ↑ https://rvshare.com/blog/rv-electrical/
- ↑ https://rvtailgatelife.com/plugging-rv-home-electric/
- ↑ https://rvshare.com/blog/rv-electrical/
- ↑ https://rvtailgatelife.com/plugging-rv-home-electric/
- ↑ https://rvtailgatelife.com/plugging-rv-home-electric/
- ↑ https://rvtailgatelife.com/plugging-rv-home-electric/
