X
wikiHow is a “wiki,” similar to Wikipedia, which means that many of our articles are co-written by multiple authors. To create this article, volunteer authors worked to edit and improve it over time.
This article has been viewed 21,285 times.
Learn more...
Many people use Adobe Photoshop for photo editing, but you may not realize how else you can use it. If you like to color, you can turn any line drawing (also known as line art) into a fun coloring project with Photoshop.
Steps
Method 1
Method 1 of 2:
Setting Up
-
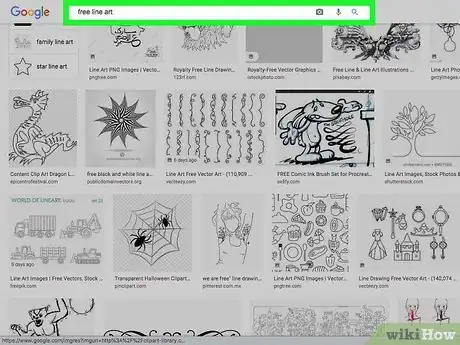
1Find the artwork that you want to color. There are many places online where you can locate free line art. Just use your search engine and search for "line art" or "lineart."
- If you have a particular interest, search for the line art and the topic. Such as "anime line art". Anime has fans all over the world and will have a lot of line art.
-
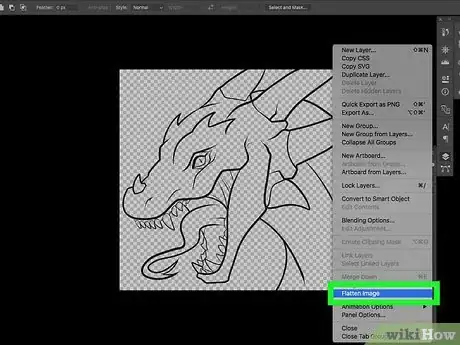
2Flatten your image if there is more than one layer.Advertisement
-
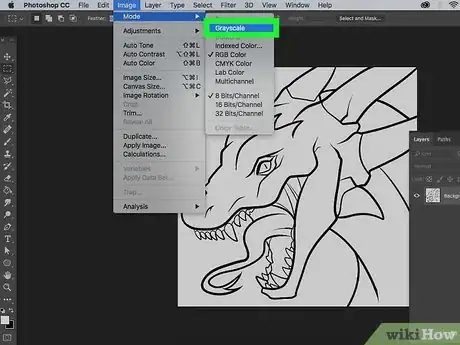
3Select Image >> Mode >> Grayscale.
-
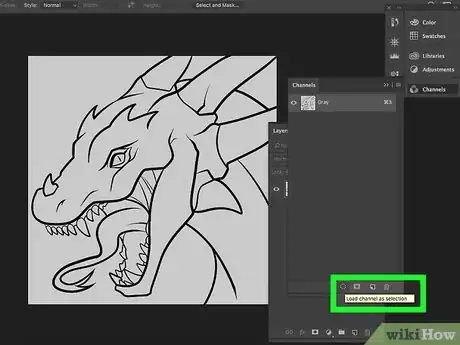
4Go to the "Channels" palette. Click the small icon at the bottom for "Load Channel as Selection".
-
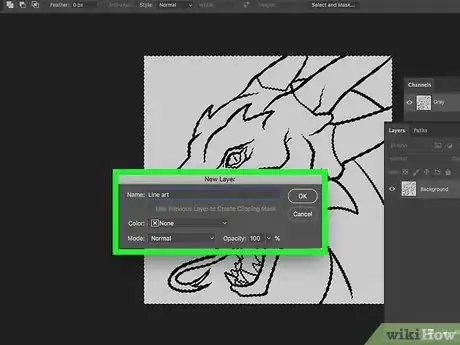
5Go back to the "Layers" palette and rename the background. You might choose 'Line art', for example. This has the dual purpose of changing the background to a layer and identifying the layer.
-
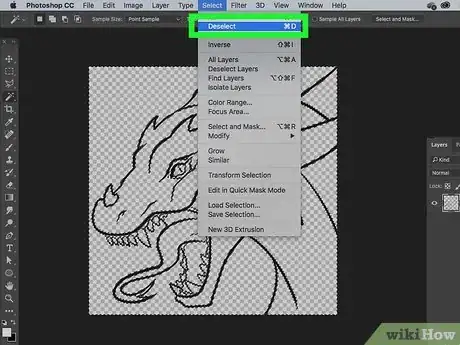
6Press Delete and then deselect (Ctrl+D).
-
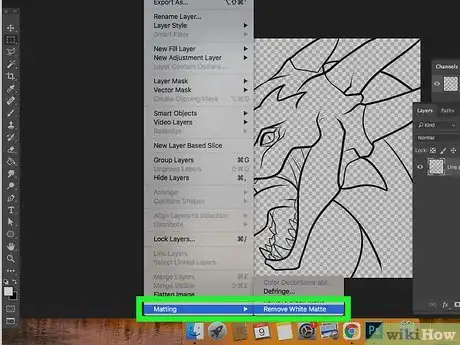
7Go to Layer >> Matting >> Remove White Matte.
-
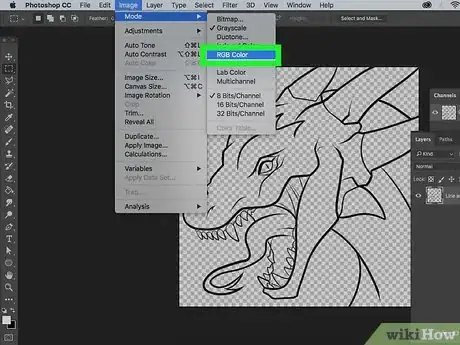
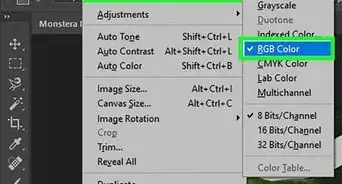
8Change the "Mode" of the image to RGB by going to Image >> Mode >> RGB Color.
-
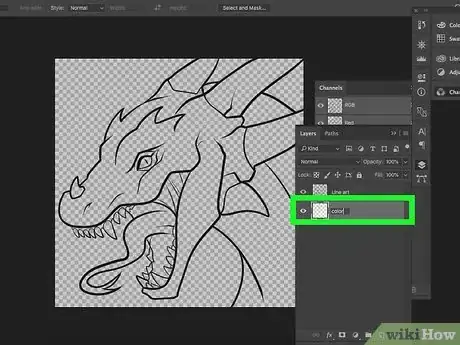
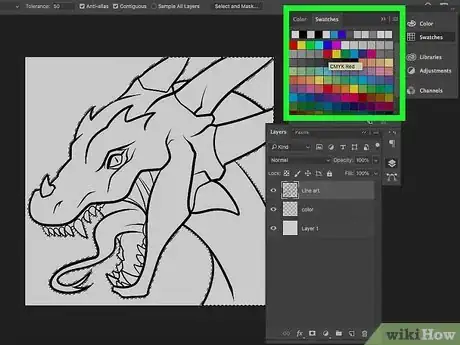
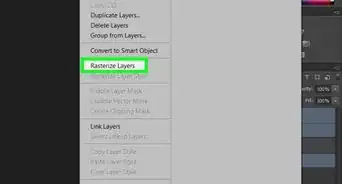
9Create a blank layer and move it beneath the line art layer. Name it "Color." Color is an arbitrary name simply meant to identify the use of the layer. If you have different naming conventions, feel free to use them.
-
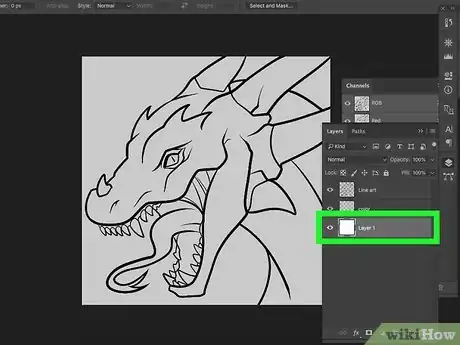
10Create another blank layer, and fill it with your chosen color. White is a good one, but any light color you choose to use will work.
Advertisement
Method 2
Method 2 of 2:
Keeping It Inside the Lines
-
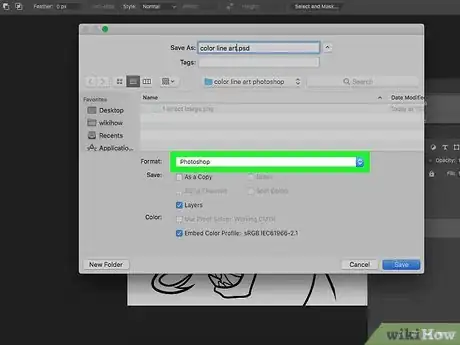
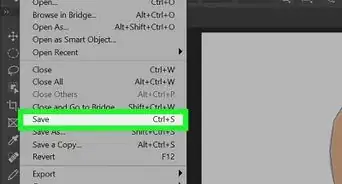
1Be sure to save the image in the native PSD format. This will preserve the layer structure.
-
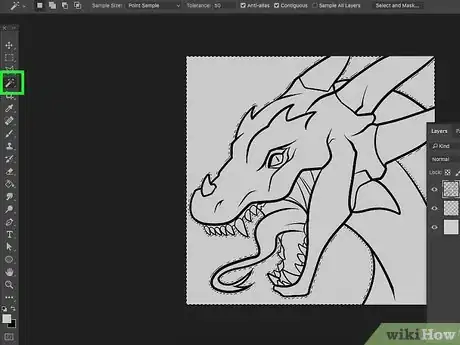
2Using a selection tool, like the "Magic Wand" or the "Quick Selection" tool, select as much of the area around line art.
-
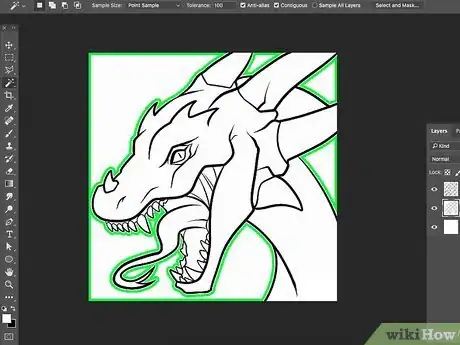
3Try to select as much of the image that is not the line art.
-
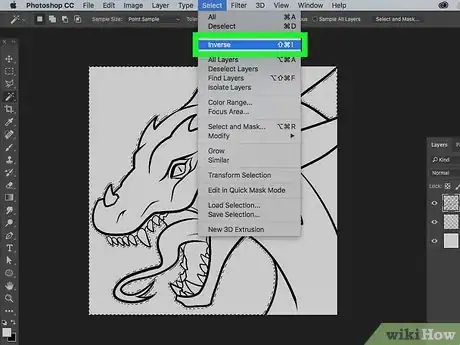
4Invert (⇧ Shift+Ctrl+I) the selection. What this has done is isolate the part that you are going to fill in.
-
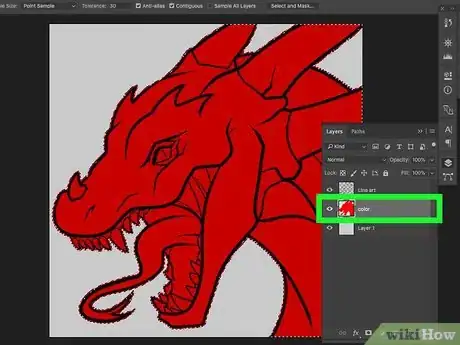
5Pick a fairly obnoxious (or primary), color. Red or yellow are good choices.
-
6Fill in the selection with the color you chose. Don't worry if you see pieces that didn't get selected. A large, hard brush is good for that.
-
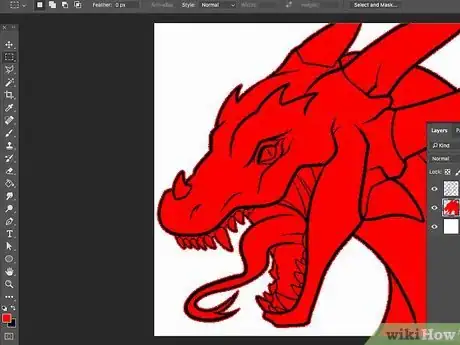
7Deselect everything when you’re done using the selection to simplify filling in your line art.
-
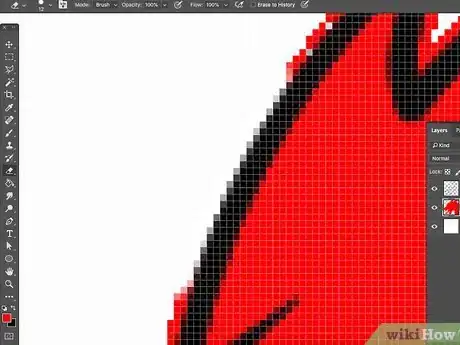
8Zoom in to see any spots that should, or shouldn't, be colored in. Clean up so that every part of the image that you will want to color is covered up with a color.
-
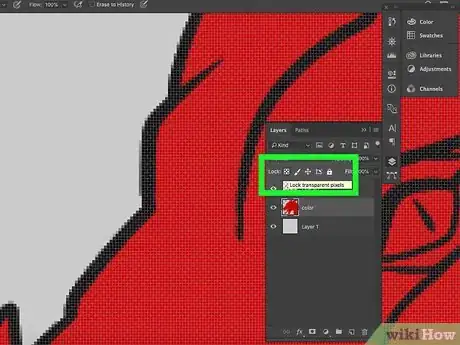
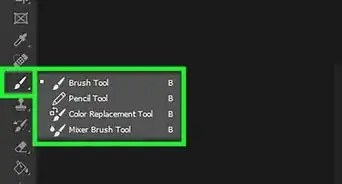
9Select the Lock transparent pixels icon in the "Layers" palette. This is what keeps you from coloring outside of the line art.
-
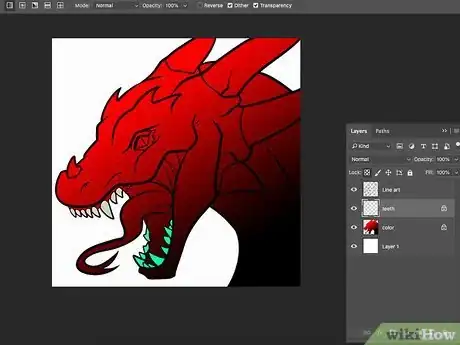
10Start coloring your line art.
- Be advised that you won't color outside of the line art, but this method will not keep you within the lines inside of the line art. For that, you need to make further selections.
Advertisement
About This Article
Advertisement





-Step-9-Version-2.webp)


