This article was co-authored by wikiHow staff writer, Darlene Antonelli, MA. Darlene Antonelli is a Technology Writer and Editor for wikiHow. Darlene has experience teaching college courses, writing technology-related articles, and working hands-on in the technology field. She earned an MA in Writing from Rowan University in 2012 and wrote her thesis on online communities and the personalities curated in such communities.
This article has been viewed 16,324 times.
Learn more...
Has your DJI Mavic Pro Controller lost its charge? While the Mavic Pro drone has its own charging system, you'll need to charge its remote controller separately. This wikiHow will teach you how to charge the Mavic Pro controller with any USB-A port or battery pack.
Steps
-
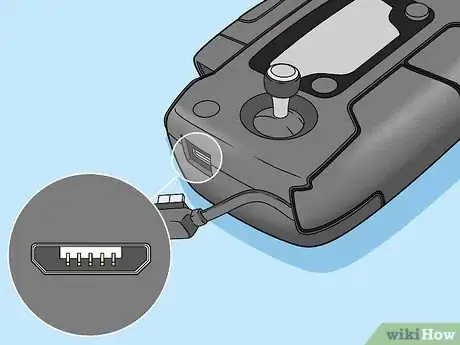
1Locate the micro-USB port on the controller. You'll see this port on the side of the controller, sometimes covered by a plug-in.[1]
- The cable that came with the controller is USB-A to micro-USB, but you should be able to use any USB-A to micro-USB cable.
-
2Plug the micro-USB end of your cable into the controller. This is the smaller end of the cable. [2]
- You will want to look at the port on the controller and line it up so you insert the cable correctly. You'll notice that the port on the controller is square and the cable plug-in is more like a rhombus, with slanted edges. Look inside the cable's plug-in shape for an idea of how to insert it into the port on the controller so it fits correctly.[3]
- Continuously inserting the plug into the port the wrong way will loosen the tongue inside the port and cause damage. You can mark the top of the cable with nail polish so you can easily recognize which way to insert the plug-in.
- You can also purchase a reversible USB cable and you shouldn't have any issues with plugging-in and charging your controller.
Advertisement -
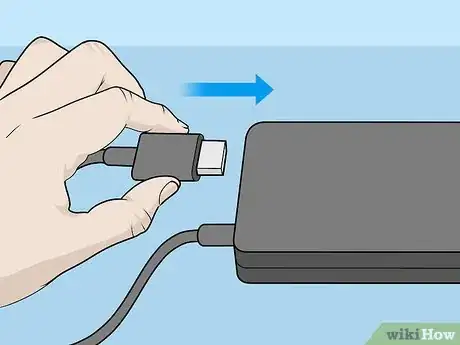
3Plug the USB-A end of your cable into the charger block. If you don't have the Mavic Pro Battery Charger, you can use any USB-A power bank or port (like the one on your laptop).
