Easily delete protected Windows files by making a quick change to folder permissions
X
wikiHow is a “wiki,” similar to Wikipedia, which means that many of our articles are co-written by multiple authors. To create this article, volunteer authors worked to edit and improve it over time.
This article has been viewed 28,410 times.
Learn more...
'TrustedInstaller' is a Windows security principal that prevents you from deleting important system files, such as the contents of 'C:\Windows'. Some of these files may grow up to several gigabytes, and you may have reasons for wanting to delete some, if you know what they do. Without permission, you're going to have a hard time, so you'll have to change our rights and transfer the ownership of the file/folder first.
Steps
-
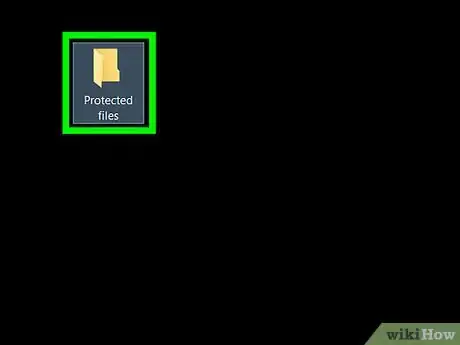
1Locate the protected file or folder you want to modify.
-
2Right-click it and select Properties. Now switch to the Security tab.Advertisement
-
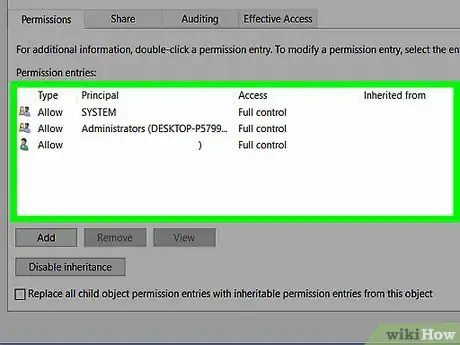
3Click Advanced and Change in the new window (top).
-
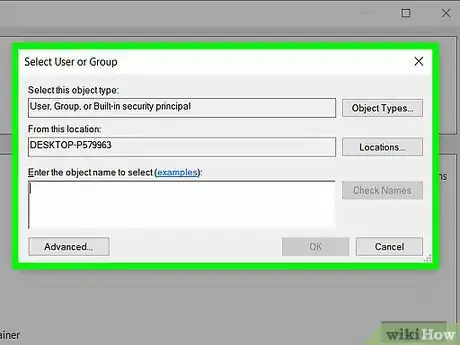
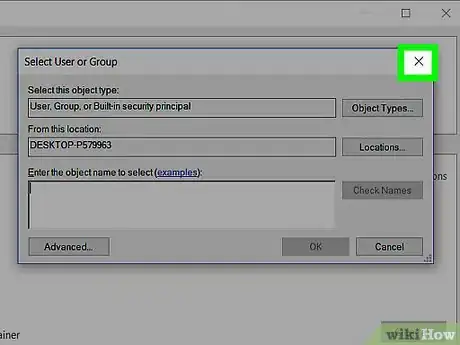
4Type Everyone into the bottom text box and confirm using the OK button.
- You should now be able to edit the permission entries for everyone.
-
5Create a new principal with your name by clicking Add.
-
6Put in your account name. Confirm the window and set everyone's access level to Full control.
-
7Confirm your changes by selecting Yes in the new window.
-
8Exit the Properties menu. Then you can make the changes you want to the main file.
Advertisement
Warnings
- Be cautious! Deleting the wrong files such as any of the boot files, your PC won't boot up again.⧼thumbs_response⧽
- Don't delete any files if you don't exactly know what you're doing and what the consequences are going to be!⧼thumbs_response⧽
Advertisement
About This Article
Advertisement
