This article was co-authored by wikiHow Staff. Our trained team of editors and researchers validate articles for accuracy and comprehensiveness. wikiHow's Content Management Team carefully monitors the work from our editorial staff to ensure that each article is backed by trusted research and meets our high quality standards.
wikiHow marks an article as reader-approved once it receives enough positive feedback. In this case, 88% of readers who voted found the article helpful, earning it our reader-approved status.
This article has been viewed 314,033 times.
Learn more...
If you want to increase your bird's quality of life, an aviary might be just what it needs! Aviary cages are much larger than normal bird cages and can be placed both indoors and outdoors. With a bit of planning and some effort, you can create a nice aviary for your birds that will keep them both happy and safe at all times.
Steps
Calculating Dimensions and Gathering Materials
-
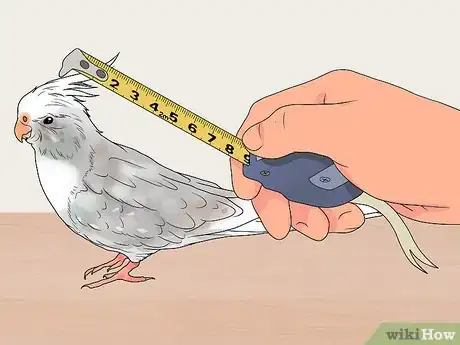
1Determine the size of your birds. Before you start your project, you need to know the size of your birds. This will affect how big your aviary will be, as well as the type of wire meshing appropriate for the birds' size.[1]
- Small birds are budgies, canaries, doves, finches, and lovebirds.
- Medium birds are cockatiels, conures, lories, parrotlets, and quakers.
- Large birds are African greys, amazons, caiques, cockatoos, and macaws.
- Extra-large birds are Moluccan cockatoos and Hyacinth, Gold, and Scarlet macaws.
-
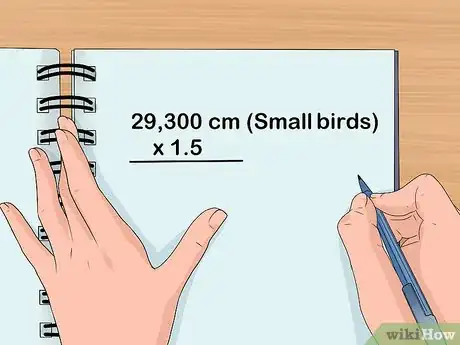
2Calculate the aviary’s volume based on the size and number of your birds. The minimum size of your cage is determined by the size of your bird. All of the dimensions below assume that just 1 bird is in the aviary. As a rule of thumb, multiply the recommended volume for your bird size by 1.5 for every additional bird.[2]
- Small birds: Width: 20 inches (51 cm); Depth: 24 inches (61 cm); Height: 24 inches (61 cm); Volume: 11,520 inches (29,300 cm).
- Medium birds: Width: 25 inches (64 cm); Depth: 32 inches (81 cm); Height: 35 inches (89 cm); Volume: 28,000 inches (71,000 cm).
- Large birds: Width: 35 inches (89 cm): Depth: 40 inches (100 cm): Height: 50 inches (130 cm); Volume: 70,000 inches (180,000 cm).
- Extra-large birds: Width: 40 inches (100 cm): Depth: 50 inches (130 cm): Height: 60 inches (150 cm); Volume: 120,000 inches (300,000 cm).
Advertisement -
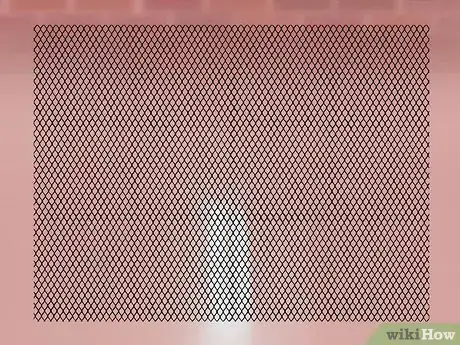
3Determine the appropriate wire mesh spacing and gauge. The type of wire mesh that goes over your aviary will depend on your birds' size. Always use stainless steel wire mesh and avoid galvanized wires. Galvanizing is commonly used when coating iron or steel with zinc.[3]
- Small birds need 1⁄2 inch (1.3 cm) spacing and 0.0787 inch (2.00 mm) diameter wiring.
- Medium birds need 5⁄8 to 3⁄4 inch (1.6 to 1.9 cm) spacing and 0.100 inch (2.5 mm) diameter wiring.
- Large birds need 3⁄4 to 1⁄2 inch (1.9 to 1.3 cm) spacing and 0.137 inch (3.5 mm) diameter wiring.
- Extra-large birds need 1 to 1.25 inch (2.5 to 3.2 cm) spacing and 0.196 inch (0.50 cm) diameter wiring.
-
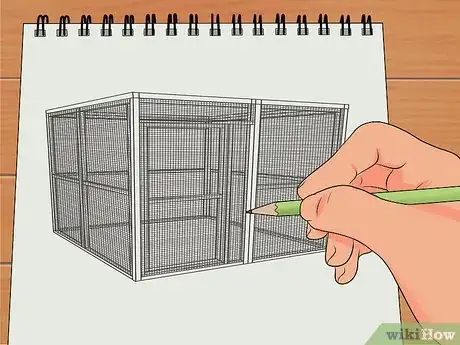
4Plan your frame design using a paper and pencil. To keep things as simple as possible, create your aviary from rectangular frame pieces of identical sizes and connect them together. For example, if you're building an aviary for a small bird, each frame piece is 24 inches (61 cm) in height and 20 inches (51 cm) in width. Since they require a depth of 24 inches (61 cm), connect the front and back frame piece on each side by 2 additional frame pieces, which makes 6 in total for the entire frame.[4]
- Use the same plan formula for all aviary sizes. However, if you have a blueprint of your own, feel free to use it—there are many other complex options. Just remember they will likely be difficult if it's your first time building one.
-
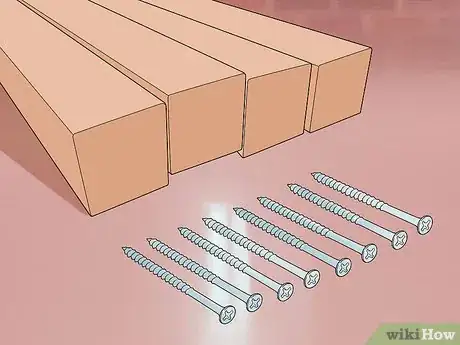
5Purchase the necessary materials from a home hardware store. In terms of the frame pieces, use four 2 by 2 inch (5.1 cm × 5.1 cm) pieces of an acceptable wood for each one. The exact length will depend on the dimensions of your aviary but always buy a bit extra in case. For screws, you need 8 exterior grade 4 inch (10 cm) screws for each frame piece.[5]
- Consider an aviary for small birds that uses 6 frame pieces 24 inches (61 cm) in height and 20 inches (51 cm). Since each frame piece is 4 pieces of wood, you need 24 pieces of wood (6 x 4) in total—twelve 24 inch (61 cm) pieces and twelve 20 inch (51 cm) pieces.
- If you don't want to cut your wood to size yourself, provide your aviary dimensions to a staff member at the home hardware store to help you.
- For wood, use maple, pine, almond, bamboo, or eucalyptus. Avoid anything poisonous to birds, such as juniper, yew, and redwood.
Building the Frame
-
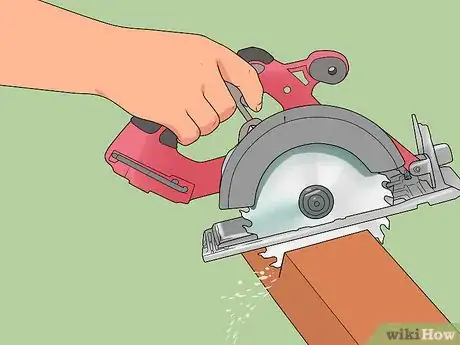
1Cut your 2 by 2 inch (5.1 cm × 5.1 cm) wood pieces to the necessary size. If you didn't have a professional cut your wood, use a circular saw to cut them to size. Mark of the end to be cut with a pencil and ruler. Afterward, pull the trigger on the rear handle of the saw and use your dominant hand to guide it across your wood while holding it firmly with your non-dominant hand.[6]
- Always apply downward pressure to the wood with your non-dominant hand to keep the wood steady.
-
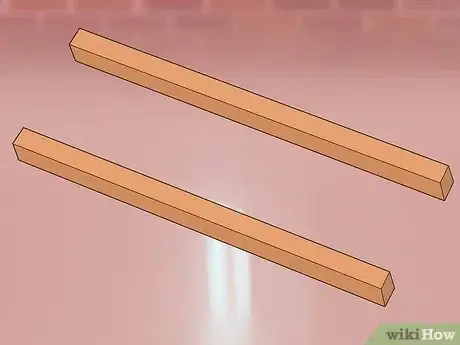
2Lay down your wood pieces into the rectangular shape of each frame. Find a flat, open surface—such as a garage floor—and lay down 4 pieces of 2 by 2 inch (5.1 cm × 5.1 cm) wood into their frame shapes. Make sure the width pieces connect the length pieces vertically rather than horizontally. Now is the time to take note of any imperfections (such as a piece that's too long) and adjust them. Be sure you have enough frame pieces for your aviary plan and make sure each pair of height and width pieces are parallel to each other.[7]
- For a frame piece with a width of 20 inches (51 cm) and a height of 24 inches (61 cm), start by laying down the left and right length pieces. Afterward, connect them via the top and bottom width pieces.
- Don't attach your wood pieces before laying them into their frame positions first.
-
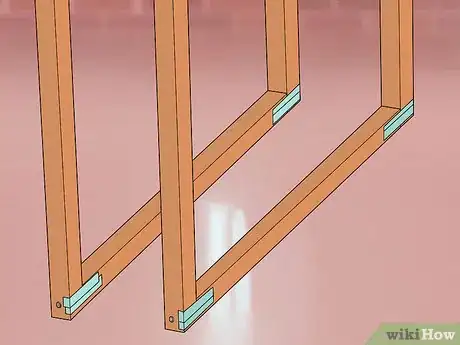
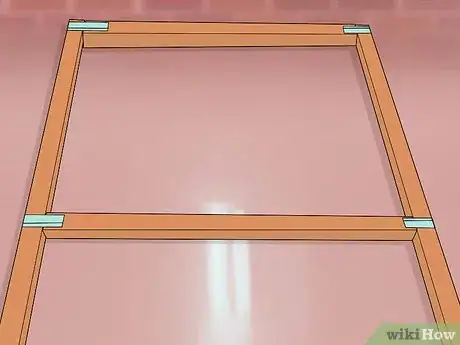
3Attach each wood piece together into frames using plumber's tape and nails. Use a pair of tin snips to cut four 2 inch (5.1 cm) long pieces of plumber's tape for each wood piece of the frame. Align each one horizontally at the top and bottom corners of the length pieces and across to the width pieces. Now, drill two 1 inch (2.5 cm) screws through piece of tape each to fasten them into place to create an assembled frame piece.[8]
- Make sure 1 inch (2.5 cm) of each piece of plumber's tape is attached to each piece of wood.
- You can swap plumber's tape with corner connectors and drill them in using screws. However, this is more expensive and time-consuming.
Attaching the Wire Mesh
-
1Align your assembled frame pieces flat on the floor beside each other. If you're building an aviary for small birds, you have 6 frame pieces 24 inches (61 cm) in height and 20 inches (51 cm) in width. Lay them onto a flat surface horizontally next to each other to prepare for attachment.[9]
- Make sure the height and width of each assembled frame piece are straight and parallel to the height and width of the other frames pieces.
-
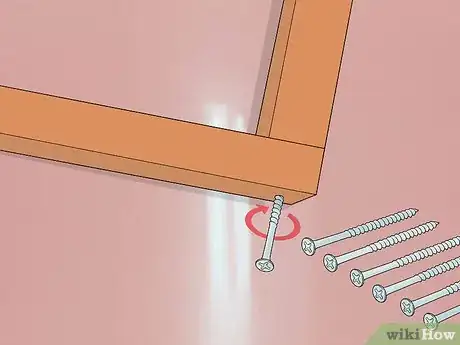
2Connect each assembled frame piece using eight 4 inch (10 cm) screws. After attaching the assembled frame pieces using plumber's tape, connect them to each other using 4 screws applied left and right from the corners of the top length pieces—2 on each side parallel to the plumber's tape—and the same amount through the bottom corners of the length pieces. Keep each pair 0.5 inch (1.3 cm) apart from the other, and the screw closest to the perimeter the same length from it.[10]
- Double-check the alignment of your frame and adjust it as necessary before drilling in the screws. For example, if the top-right corner of a frame piece is a bit crooked, remove the plumber's tape, realign it, and fasten it again.
-
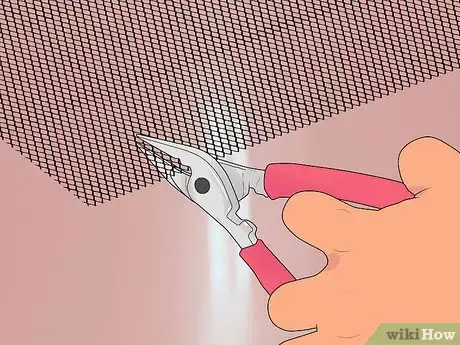
3Cut your wire mesh to size using tin snips. Make sure that each side of the aviary except the bottom has a corresponding wire piece. For example, an aviary for small birds made from 6 frame pieces will need six pieces of mesh at least 24 by 20 inches (61 cm × 51 cm) in size.[11]
- Leave 2 to 3 inches (5.1 to 7.6 cm) of extra wire mesh in case you make a mistake.
-
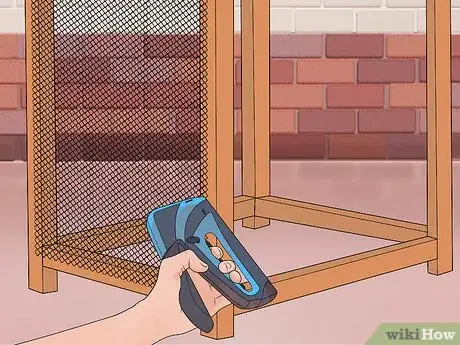
4Attach the wire mesh using a staple gun. Use a staple gun along the entire perimeter of each rectangular frame piece. Space each staple out by about 2 to 3 inches (5.1 to 7.6 cm).[12]
- If you make a mistake, remove the staple with a flathead screwdriver or office-style staple remover.
-
5Cut an opening into the front side of the cage's wire mesh for a door. Use your wire cutters to cut a door opening large enough to fit through—about 84 inches (210 cm) should do. Now, measure the opening and cut a piece of wire mesh slightly larger.[13]
- Remember that you're going to be entering the cage to clean, so always give yourself more room rather than less.
-
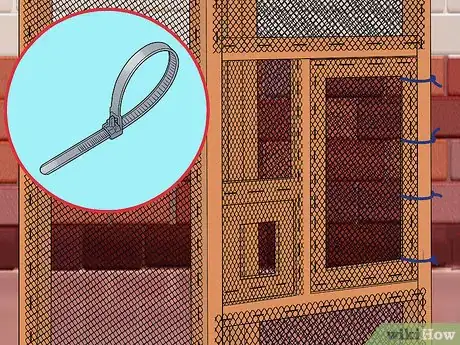
6Attach the door to the cage using electrical ties or cage clips. Hold the door over the opening in the wire mesh, taking care to make sure the extra mesh is equal on all sides of the door. Now, wrap electrical ties or cage clips around the perimeter of the door and use them to fasten it to the cage.[14]
- Fasten the ties or clips tight enough that there are no openings between the door and cage that your birds can escape from.
-
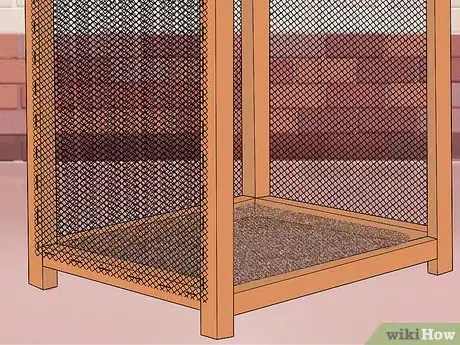
7Create a floor for outdoor aviaries. Although you can create a concrete base for your aviary, this requires much more work and is only recommended for larger outdoor aviaries that require a strong foundation. For standard outdoor aviaries, attach a wire mesh to the bottom using a staple gun. Afterward, place gravel or sand on top of it.[15]
- Don't skip the floor for outdoor aviaries, especially if there are predators in your area.
Community Q&A
-
QuestionWill the small wire on an aviary keep snakes out?
 Community AnswerNo. Get some plastic and add it to about a quarter of the cage bottom.
 -
QuestionWhere can I buy aviary wire mesh?
 Community AnswerLots of places, depending on where you live. Hardware stores and farm supply stores should have it, and some pet stores carry it as well.
 -
QuestionIs an aviary safe for cockatiels?
 Community AnswerYes. They like having lots of space to fly around in.
Things You'll Need
- 2 by 2 inch (5.1 cm × 5.1 cm) wood pieces
- Circular saw (optional)
- Plumber's tape
- 1 inch (2.5 cm) screws (exterior grade)
- 4 inch (10 cm) screws (exterior grade)
- Staple gun
- Wire snips
- Wire mesh
Warnings
- Check local housing association codes and local laws for outdoor aviaries.⧼thumbs_response⧽
References
- ↑ https://www.herebird.com/how-to-build-an-aviary/
- ↑ https://www.herebird.com/how-to-build-an-aviary/
- ↑ https://www.herebird.com/how-to-build-an-aviary/
- ↑ https://www.herebird.com/how-to-build-an-aviary/
- ↑ https://www.herebird.com/how-to-build-an-aviary/
- ↑ https://www.familyhandyman.com/tools/circular-saws/circular-saw-tips-and-techniques/view-all/
- ↑ https://www.herebird.com/how-to-build-an-aviary/
- ↑ https://www.herebird.com/how-to-build-an-aviary/
- ↑ https://www.herebird.com/how-to-build-an-aviary/
About This Article
To build an aviary, start by laying 12 inches (30.5 cm) of concrete for the foundation. Use metal or plastic piping to build the frame, which should be at least twice the length of your bird’s wingspan in width and 6 times in height. Finally, construct the walls and roof with 10-gauge welded wire. Make sure to include a door and a protective roof if your aviary is going outdoors. For tips on using perches and decorations to make the aviary fun for your bird, read on!
