This article was co-authored by Lui Colmenares. Lui Colmenares is a handyman and licensed home improvement contractor for Mr. Handy NYC based in New York City, New York. Lui is trained and educated as an industrial engineer and specializes in carpentry, painting, and general handyman work such as mounting TVs, doorknob and deadbolt installation, furniture assembly, tile repair, and grouting. Mr. Handy NYC prides itself on quality work performed with speed, skill, and punctuality.
There are 12 references cited in this article, which can be found at the bottom of the page.
wikiHow marks an article as reader-approved once it receives enough positive feedback. In this case, several readers have written to tell us that this article was helpful to them, earning it our reader-approved status.
This article has been viewed 452,677 times.
The circular saw is an essential part of every carpenter and craftsman’s toolkit. Circular saws make it possible to achieve clean, precise cuts through a variety of materials. It’s as simple setting your saw blade to the appropriate depth and angle, lining it up with your material, and guiding it smoothly over your pre-drawn measurement lines. Before you begin sawing, it’s important to familiarize yourself with the design features of the specific model you’re using, and be sure to wear gloves and eye protection to keep yourself safe while you work.
Steps
Adjusting Your Saw and Preparing Your Work Materials
-
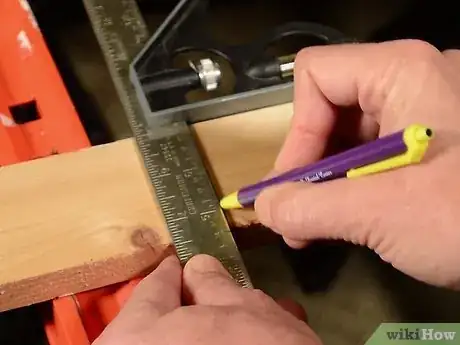
1Measure and mark your work material where you’ll be making your cuts. Use a straight edge or ruler and a carpenter’s pencil, pen, or felt-tipped marker to draw a straight line in each place you intend to saw your material. These lines will serve as a visual aid to help you guide the blade while it’s in operation, so make sure they’re bold enough to be plainly seen.[1]
- For the sake of precision, always follow the old handyman’s adage: “measure twice, cut once.”
- Circular saws are most often used to make short, straight cuts. For complex angled or curved cuts, you’ll get the best results using a miter saw or jigsaw.
-
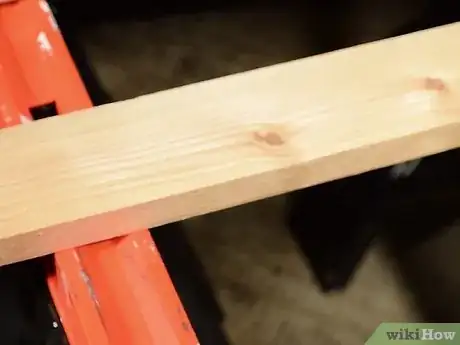
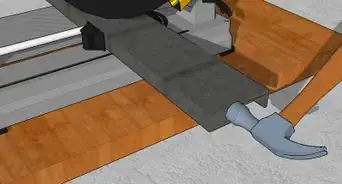
2Place your material on a saw table or between two sawhorses. Make sure the material you’re cutting is properly supported and free of obstructions from underneath. That way, you won’t have to worry about the blade digging into your work surface as it passes through your material.[2]
- Never rest your material directly on top of an ordinary table, bench, or floor. Doing so could cause severe damage to both your work surface and the blade of your circular saw.
- You can find sawhorses in various sizes for as little as $30-50 at your local hardware store or home improvement center.
Advertisement -
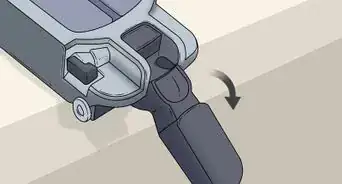
3Use the central lever to set the blade to the desired cutting depth. Pull the shoe lever in between the two handles all the way down to disengage the baseplate and allow it to move freely. From there, place the baseplate against your material and raise or lower the blade until it stops at or just below the bottom of the material you’re cutting.[3]
- Only set your blade 1⁄8 in (0.32 cm)-1⁄4 in (0.64 cm) below the bottom of your material. Setting it too deep will not only force it to work harder, but also leave more teeth exposed, which can be dangerous.[4]
- If you’re sawing a piece of lumber that’s 1 in (2.5 cm) thick, for example, you’d set your blade to a depth of 1.125–1.25 in (2.86–3.18 cm).
- Setting the saw blade to the correct depth will ensure cleaner cuts and reduce friction, which can wear down the teeth and leave imperfections in the surface of your material.
-
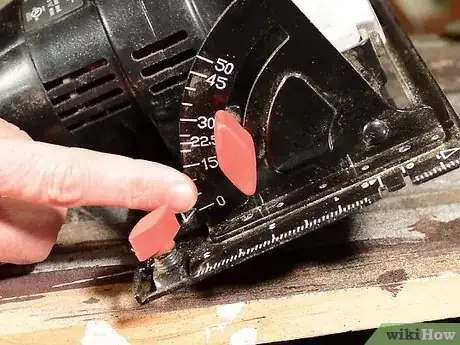
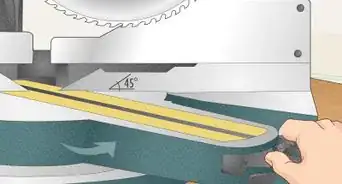
4Adjust the pivoting scale to angle the blade for beveled cuts. Twist the small knob on the front end of the saw counterclockwise to unlock the scale that sits around the blade. Slide the scale to one of the angle presets indicated on the frame, or stop it at any point along the way to make custom cuts. Once you’re satisfied with the angle, turn the clockwise to lock the scale in place.[5]
- Make sure the locking knob is secure before you activate the saw. Otherwise, the scale may move when the blade makes contact with your material.
- Changing the angle of the blade will allow you to make beveled cuts along squared edges or get just the right contouring on oddly-shaped pieces.[6]
-
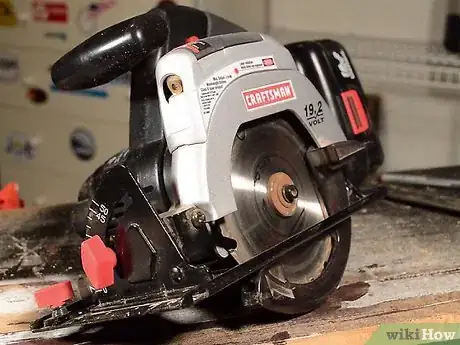
5Take some time to familiarize yourself with the circular saw you’re using. There are many different brands and styles of circular saws, but most varieties feature the same basic design. While operating the saw, you’ll grip the tool by both its front and rear handles and use the trigger on the rear handle to control the movement of the blade.[7]
- In addition to construction lumber and other types of wood, you can also use a circular saw to modify sheet metal, composite materials, and even rolled steel bar stock.
- Circular saw blades come in several different sizes.
- 6.5 in (17 cm) blades are commonly used to cut nominal lumber for construction.
- 7.25 in (18.4 cm) blades are the standard for lumber up to 2.25 inches (5.7 cm) thick.
- 8–10 in (20–25 cm) saws are often reserved for heavy-duty industrial work.
-
6Wear gloves and eye protection to keep yourself safe while you work.[8] Before you begin sawing, it’s important to take a few basic safety precautions. At the very least, you’ll want to equip yourself with a pair of thick, rugged work gloves and some safety glasses or goggles to keep more vulnerable areas covered. If you’re going to be sawing for an extended period of time, consider grabbing some ear muffs, as well.
- If you have sensitive airways, strap on a dust mask or respirator to avoid inhaling sawdust.[9]
- Along with your safety equipment, it’s a good idea to wear snug-fitting clothing and tie back long hair to prevent them from getting caught in the moving saw blade.
Making Clean, Precise Cuts
-
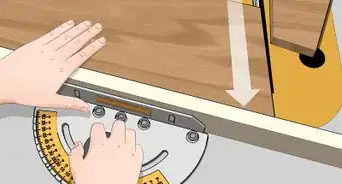
1Position the line on the baseplate labelled "0" over your cut line. On the front edge of the baseplate you'll see a small notch with a bold line on either side. The line on the lefthand side of this notch will be labelled "0." It corresponds to the position of the blade when it's set to 90 degrees, and should be used any time you’re making a normal cut.[10]
- The line labelled "45" on the righthand side of the notch is for making beveled cuts at a precise 45-degree angle.
- There is a slide-like attachment you can use to help you keep your saw straight so you cut in long, straight lines.[11]
-
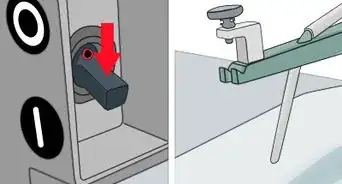
2Activate the saw blade by pulling the trigger on the rear handle. On some models, there may be an additional safety trigger near the top of the saw that you’ll need to flip in order for the saw to start up when you pull the handle trigger. Once you engage the trigger, the blade will begin spinning. Wait until it gets up to full speed to begin cutting.[12]
- If you’re right-handed, it will probably be most comfortable for you to grip the rear handle with your right hand and place your left hand on the front handle to provide additional stability as you work. If you’re left-handed, simply reverse this orientation.[13]
- Hold off on pulling the trigger until you double-check your measurements, make sure the baseplate is properly aligned, and are prepared to begin cutting.
-
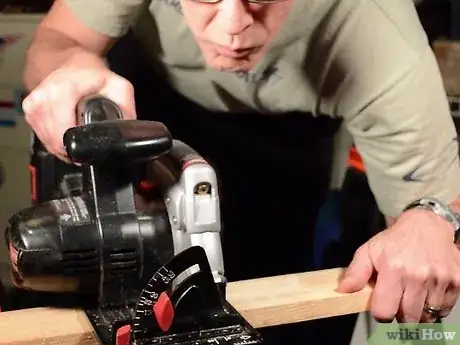
3Push the saw slowly and smoothly along the surface of the material. Use both hands to maneuver the saw straight down the cut line. Make sure the righthand side of the baseplate notch stays aligned with your cut line the entire time. Avoid forcing or jerking the saw along—instead, keep it moving at an easy, natural speed as the blade passes through the material.[14]
- On most models, the blade guard will retract automatically as you move the saw forward and lower again when you lift it off of your work surface. You can also pull it back manually to keep it out of the way when making angled or irregular cuts.[15]
- Attempting to move the saw too quickly can increase the likelihood of mistakes or cause the blade to become jammed with debris.
Safety is Essential
Keep your hands a safe distance away from the blade at all times while the saw is in operation. If you need to make any adjustments to either the saw or your material, be sure to take your finger off the trigger completely before doing so.
-
4Release the trigger to stop the blade after each cut. Once you've completed your cut, let go of the trigger and wait for the blade to come to a complete stop. To prevent potential mishaps, keep your finger off of the trigger while you review your work or line up your next cut.
- Never put your finger on the trigger unless you're preparing to make a cut. If you're not careful, you could activate the saw accidentally.
-
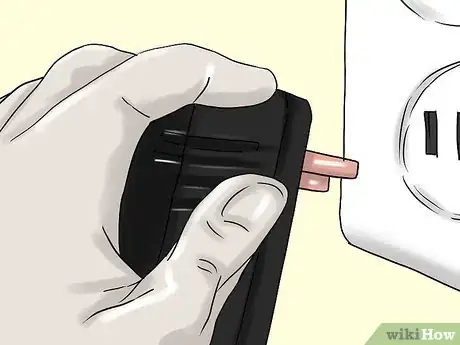
5Unplug the saw when you’re done using it. Take a moment to confirm that the blade guard is locked in the down position. Then, remove the plug from of the wall outlet, wrap the cord around the handle, and put the saw away until the next time you need it.
- Store your circular saw on a flat, stable surface on its side with the blade is facing away from any nearby objects.
- If you have small children at home, make sure your saw is locked up, out of reach, or otherwise inaccessible.
Expert Q&A
Did you know you can get expert answers for this article?
Unlock expert answers by supporting wikiHow
-
QuestionIs it easy to use a circular saw?
 Lui ColmenaresLui Colmenares is a handyman and licensed home improvement contractor for Mr. Handy NYC based in New York City, New York. Lui is trained and educated as an industrial engineer and specializes in carpentry, painting, and general handyman work such as mounting TVs, doorknob and deadbolt installation, furniture assembly, tile repair, and grouting. Mr. Handy NYC prides itself on quality work performed with speed, skill, and punctuality.
Handyman
Warnings
- Never hold your work piece with one hand while cutting it with the other hand. Improperly holding your materials can result in serious injury.⧼thumbs_response⧽
Things You’ll Need
- Circular saw
- Work material (wood, masonry, plastic, thin metal, etc.)
- Saw table or sawhorses
- Thick work gloves
- Safety glasses
- Carpenter's pencil, pen, or felt-tipped marker
- Ear muffs (optional)
References
- ↑ https://www.familyhandyman.com/tools/circular-saws/how-to-use-a-circular-saw/view-all/
- ↑ https://www.thisoldhouse.com/how-to/circular-saw-101-how-to-adjust-blade-depth
- ↑ https://www.familyhandyman.com/tools/circular-saws/circular-saw-tips-and-techniques/view-all/
- ↑ https://www.youtube.com/watch?v=4jpOYxRyTFY&feature=youtu.be&t=95
- ↑ https://www.thisoldhouse.com/how-to/circular-saw-101-how-to-make-angle-cut
- ↑ https://www.popularmechanics.com/home/tools/reviews/a3769/4291889/
- ↑ https://rainonatinroof.com/how-to-use-a-circular-saw/
- ↑ Lui Colmenares. Handyman. Expert Interview. 18 August 2020.
- ↑ https://www.ccohs.ca/oshanswers/safety_haz/power_tools/saw_circ.html
- ↑ https://www.familyhandyman.com/tools/circular-saws/making-circular-saw-cuts/view-all/
- ↑ Lui Colmenares. Handyman. Expert Interview. 18 August 2020.
- ↑ https://rainonatinroof.com/how-to-use-a-circular-saw/
- ↑ https://www.youtube.com/watch?v=4jpOYxRyTFY&feature=youtu.be&t=43
- ↑ https://www.youtube.com/watch?v=4jpOYxRyTFY&feature=youtu.be&t=156
- ↑ https://www.popularmechanics.com/home/tools/reviews/a3769/4291889/
About This Article
Before you use a circular saw, put on thick work gloves and safety glasses to protect yourself. Then, mark the material you want to cut and place it on a saw table or between 2 sawhorses. Next, use the central lever on the saw to set the blade so it's 1/8-1/4 inch below the bottom of your material. Once you've set the blade, position the "0" line on the baseplate over your cut line and pull the trigger on the rear handle to start the saw blade. Finally, push the saw slowly and smoothly over the surface of the material, following along the line you marked. To learn how to make beveled cuts with a circular saw, scroll down!
