This article was co-authored by wikiHow Staff. Our trained team of editors and researchers validate articles for accuracy and comprehensiveness. wikiHow's Content Management Team carefully monitors the work from our editorial staff to ensure that each article is backed by trusted research and meets our high quality standards.
This article has been viewed 232,474 times.
Learn more...
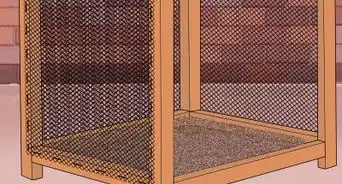
Birds make wonderful pets! Keep your pets happy and healthy in a custom-made cage. Design a cage that is appropriate for the number and size of your birds and then purchase the materials that you need. Attach wire mesh to wooden square frames and then assemble these into a cube shape to form your cage. Place water, food, and toys inside it to keep your bird nourished and entertained. Have fun building your very own bird cage!
Steps
Calculating Dimensions and Choosing Materials
-
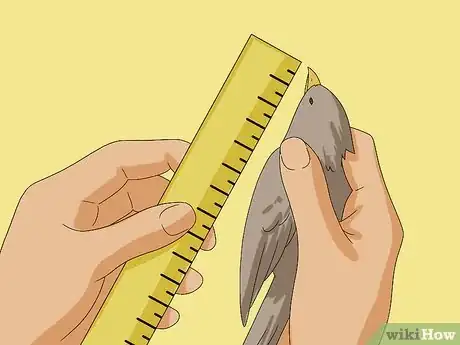
1Determine the size of the cage based on the number and size of your birds. The size of your bird will determine the size of your cage. These measurements are designed to give the birds room to fly around and exercise. If you have 2 birds in the cage, multiply the dimensions by 2, if you have so 3 birds, multiply the dimensions by 3, and so on.[1]
- Small birds, such as budgies and parakeets, thrive in a 24 in (61 cm) square cage.
- Medium birds, such as lorikeets and cockatiels, work well in 35 in (89 cm) square cages.
- Large birds, such as cockatoos and macaws, will be happiest in 60 in (150 cm) square cages.
-
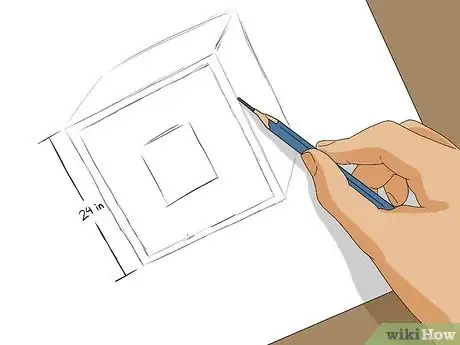
2Sketch a cube-shaped cage and list the dimensions of each side. This is a good way to help yourself visualise how the birdcage will look when it is finished. To keep the cage simple, use a square design. If you’re making a cage for a medium-sized bird, you will need to create six 24 inches (61 cm) frames. These will be connected into a cube shape to make the cage.[2]
- Use your plan to help you calculate how much wire and wood to buy.
- Create your own plan that is appropriate for the number and size of birds that you have.
- Feel free to be creative and make your own design for the cage.
Advertisement -
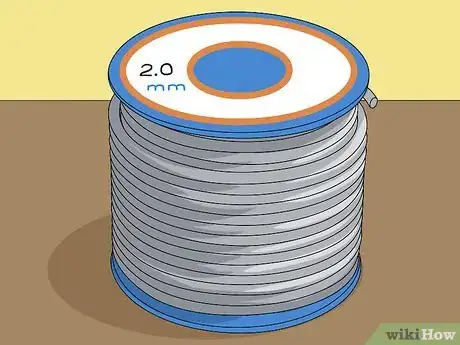
3Choose wire that’s at least 0.0787 in (2.00 mm) thick. It is important to choose wire that has an appropriate gauge and the correct spacing to prevent your birds from chewing through it or escaping through the holes. If you live in an area with lots of predators, such as racoons or possums, consider using finely spaced wire, even if your birds are large.[3]
- Use wire with 0.5 in (1.3 cm) spacing and a thickness of 0.0787 in (2.00 mm) for small birds.
- Opt for wire with 0.75 in (1.9 cm) spacing and a thickness of 0.1 in (2.5 mm) for medium-sized birds.
- Use wire with 1 in (2.5 cm) spacing and a thickness of 0.137 in (3.5 mm) for small birds.
-
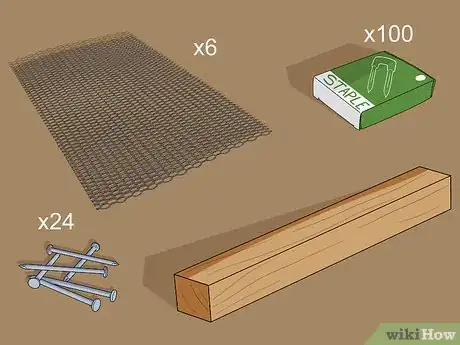
4Purchase 6 mesh sheets, 100 staple nails, 24 nails, and untreated wood. It is important to check that all the materials that you use to build your cage aren’t toxic to birds. Only use stainless steel wire, as the zinc in galvanised and powder-coated wire can be harmful to birds. Only purchase un-treated wood, as treated wood is soaked in pesticides that can be dangerous to birds, especially if they peck at it.[4]
- Purchase 6 stainless steel wire mesh sheets in the screen doors section of your local hardware store. If you are buying a large mesh sheet, simply cut it down to size.
- If you are unsure if the wood has been treated, check with the shop assistant.
- Whilst any untreated wood will work for this project, 2 in (5.1 cm) x 4 in (10 cm) wood panels are a cheap and easy option. Simply trim them to the correct size. You will need 24 panels to create your frame.
Creating the Frame
-
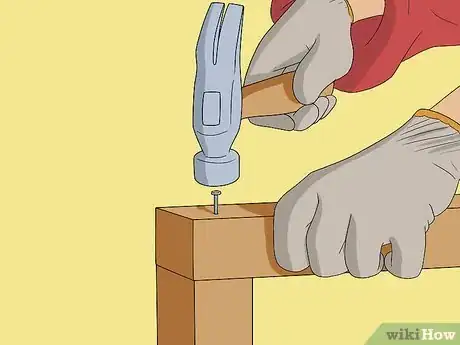
1Nail 4 pieces of wood together to make a frame. Take 4 pieces of wood that are the same size and use nails to join them together into a square frame. To make a sturdy frame, use wood that is at least 2 in (5.1 cm) wide. This helps to ensure that the cage stays intact if it is knocked over.[5]
- These instructions create a square cage. If you want to make a rectangle cage, use 2 longer pieces of wood and 2 shorter pieces of wood to create the frame.
- Ensure that the nails are completely hammered into the wood to avoid anyone scratching themselves on them.
-
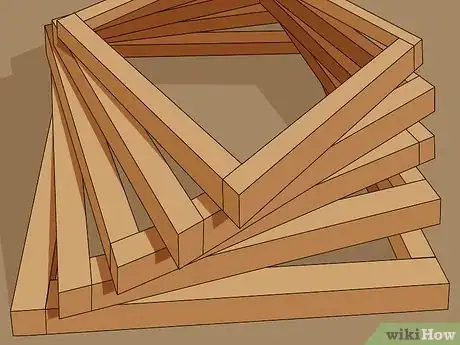
2Build 5 more frames to create the rest of the cage. Use the same method to create 5 more frames that are identical in size to your first frame. These frames will create the sides, top, and bottom of your bird cage.[6]
-
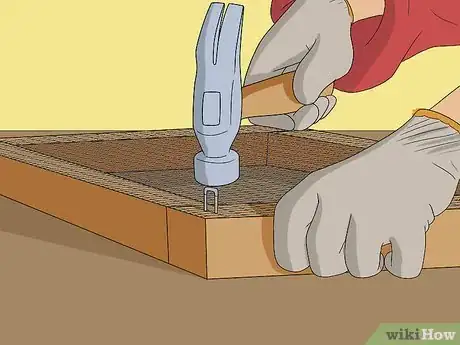
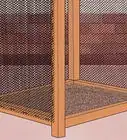
3Attach wire mesh to each frame with a staple gun. Take a piece of wire mesh that is the same size as your frame and use a staple gun to attach the corners of the mesh square to the corners of the frame. Try to make the wire as taut as possible. Then, secure the mesh in place with staples every 1 in (2.5 cm) along the frame. Bang in any staples that aren’t fully flush with the wood to stop you or your bird getting scratched by them.[7]
- If your wire isn’t pre-cut, use wire cutters to trim it to size. If you don’t have a staple gun, use a hammer to nail in building staples.
- This helps to stop the birds from escaping and prevents predators from getting in the cage.
- Repeat this process for each of the 6 frames.
-
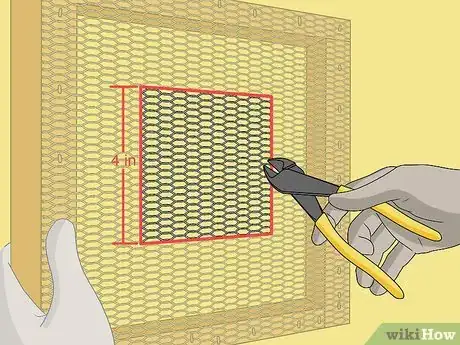
4Cut a 4 in (10 cm) square in the middle of 1 of the frames. Use wire cutters to out the square hole. This creates a door hole for you to be able to easily access the cage. If you have large birds, consider making the square 8 in (20 cm) wide.[8]
- Wear gloves when cutting wire to avoid getting scratched.
-
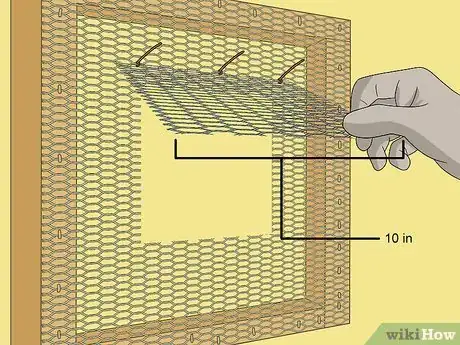
5Attach a 10 in (25 cm) square of wire over the hole you just cut. Place your square of wire over the square hole that you cut in the wire mesh. Try to position the mesh over the middle of the hole.Then, attach the top of the wire square to the mesh underneath with cable ties and the bottom of the square with lockable padlocks.[9]
- This creates the door for your cage.
- To open the door, undo the padlock and lift up the wire square. This will reveal the hole in the wire mesh and allow you to freely enter the cage.
Assembling the Cage
-
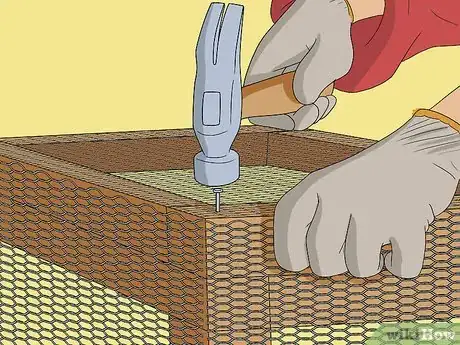
1Join the 6 frames together into a cube-shaped cage with nails. Assemble the frames into a cube shape. Then, hammer 1 nail into the corner of each frame. This means that you will need 24 nails in total. Place each nail about 1 in (2.5 cm) away from the edge of the wood so that is in the centre of the timber. This helps to prevent the nails from coming out the side of the wood.[10]
- If you prefer, you can use a nail gun for this task.
- Once you have joined the frames together, position the cube so that the frame with the door on it is on the side of the cage.
- If your nails go through the wood and poke into the cage, pull them out and re-nail them into the wood, as exposed nails can be a safety hazard for your bird.
-
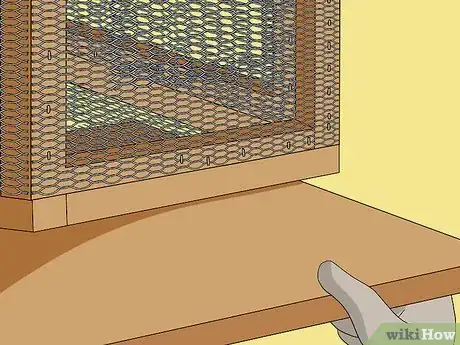
2Place a piece of wood under the cage to catch the bird poop. Position a piece of wood that is slightly larger that than the base of your cage under the cage. This stops the bird poop from falling onto the ground. To clean the wood, simply rinse it with a hose.[11]
- Once again, ensure that this wood isn’t treated.
-
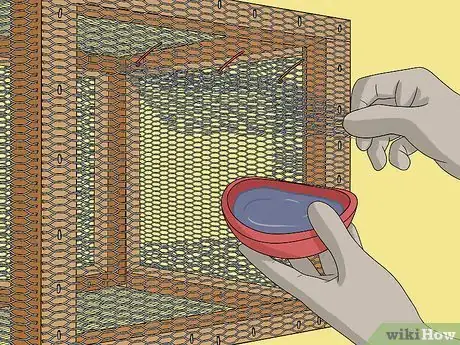
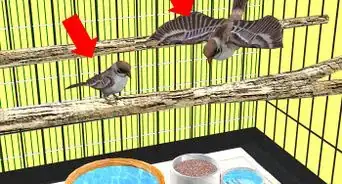
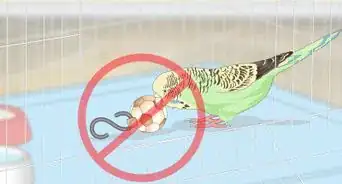
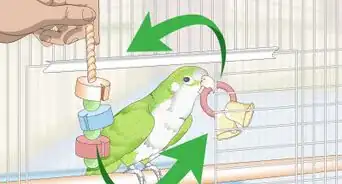
3Put a food dish, water bowl, and a perch in the cage. Rest a bowl of water and a plate of food in the bottom of the cage. Then, place a branch or a wooden box in the cage to act as a perch. If you’re feeling creative, add extra toys into the cage, such as mirrors, teddy bears, and swing bridges.[12]
- Purchase bird bowls, dishes, and toys from a pet shop.
Community Q&A
-
QuestionWill a male canary hurt the eggs when the female leaves to eat?
 Community AnswerThe female doesn't leave her eggs - ever. The male brings her all the things she needs to survive, such as food.
 -
QuestionHow do I breed a pair of lovebirds?
 Community AnswerSee Wikihow's article on breeding lovebirds.
 -
QuestionHow can I put two yellow wagtails in one cage? I'm afraid they might fight.
 Community AnswerKeep them apart for a while in separate cages, then slowly introduce them. If they do fight, keep them apart for longer and try again. If it still doesn't work, you will have to house them separately.
Things You’ll Need
- Wood
- Nails
- Staple gun
- Building staples
- Wire mesh
- Wire cutters
- Gloves
- Water bowl
- Cable ties
- Padlock
- Food dish
References
- ↑ https://www.herebird.com/how-to-build-an-aviary/
- ↑ https://www.beautyofbirds.com/buildingacage.html
- ↑ https://www.herebird.com/how-to-build-an-aviary/
- ↑ https://www.beautyofbirds.com/buildingacage.html
- ↑ https://www.beautyofbirds.com/buildingacage.html
- ↑ https://www.beautyofbirds.com/buildingacage.html
- ↑ https://www.beautyofbirds.com/buildingacage.html
- ↑ https://www.beautyofbirds.com/buildingacage.html
- ↑ https://www.beautyofbirds.com/buildingacage.html
About This Article
To make a birdcage, start by nailing 4 pieces of wood together to make a square frame. Then, repeat the process 5 more times so you have 6 square frames in total. Next, use a staple gun to cover each frame with a piece of wire mesh, and cut a hole out of the center of one of the pieces to make a door for the cage. Finally, cover the whole with a square piece of wire mesh, and nail all of the frames together so you have a cube-shaped cage. For tips on how to choose the right dimensions for your birdcage, read on!
