This article was co-authored by wikiHow staff writer, Travis Boylls. Travis Boylls is a Technology Writer and Editor for wikiHow. Travis has experience writing technology-related articles, providing software customer service, and in graphic design. He specializes in Windows, macOS, Android, iOS, and Linux platforms. He studied graphic design at Pikes Peak Community College.
The wikiHow Tech Team also followed the article's instructions and verified that they work.
This article has been viewed 85,706 times.
Learn more...
Using tables in your InDesign project is a great way to keep your text and images organized and visually appealing. Tables consist of rows or columns of cells. Each cell can contain text, images, and even other tables. This wikiHow article teaches you how to insert and modify tables in Adobe InDesign.
Steps
Inserting a Table
-
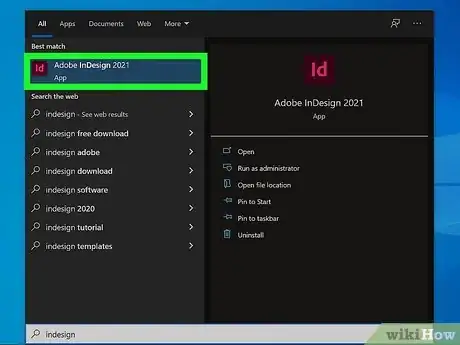
1Open Adobe InDesign. It has a pink square that says "ID" in the middle. Click the Adobe InDesign icon to open InDesign.
-
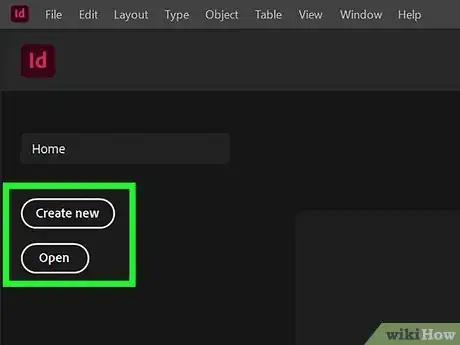
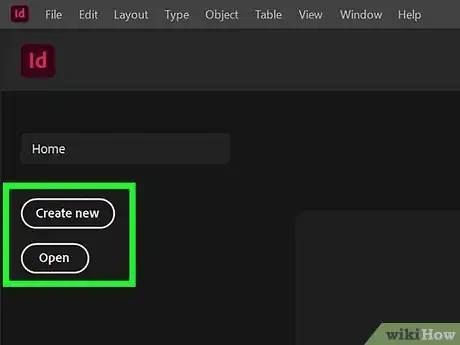
2Open or create a new InDesign document. When you open InDesign, you can create a new document by clicking Create New on the title page. You can also click Open to open an existing document.
- Alternatively, you can open or create a new document at any time in InDesign by clicking File in the menu bar at the top and then click New or Open.
Advertisement -
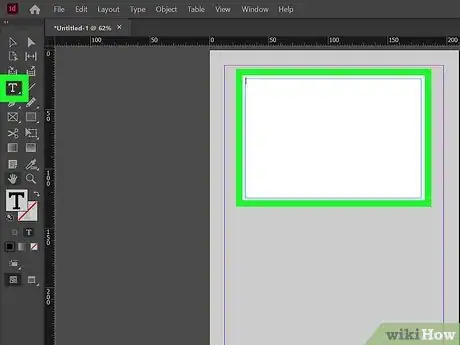
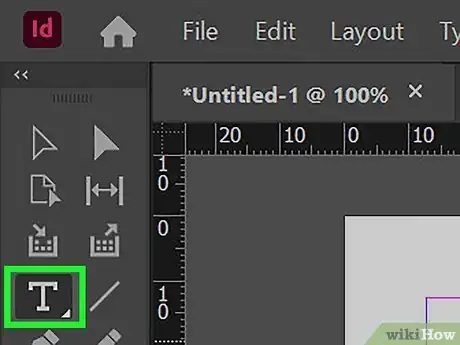
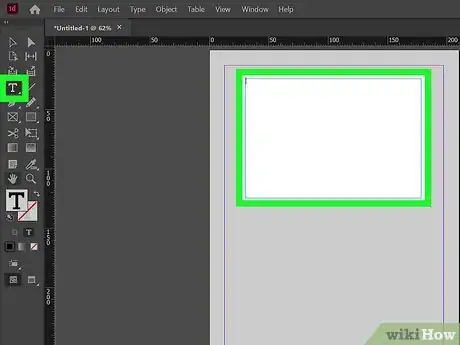
3Select or create a text frame (optional). On newer versions of InDesign, you can insert a table into a text frame, or you can create a stand-alone table. To select a text frame, simply double-click it. To create a new, click the text tool in the toolbar to the left. It has an icon that resembles a capital "T." Then click and drag to draw a new text frame.
- On older versions of InDesign, you must insert a table into a text frame. You cannot create a stand-alone text table.
-
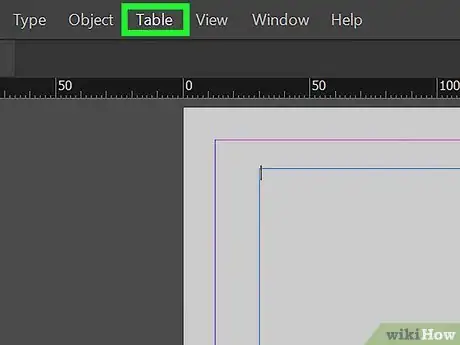
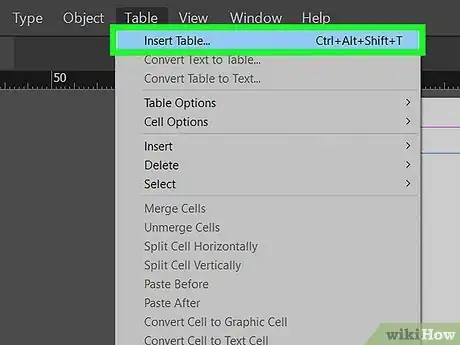
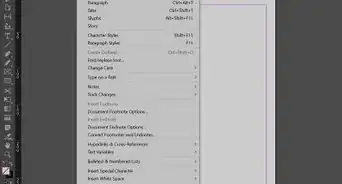
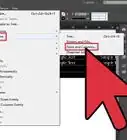
4Click Table. It's in the menu bar at the top of the screen. This displays a drop-down menu with table options.
-
5Click Create Table or Insert Table. It's the first option at the top of the Table menu. If you have a text frame selected, this option will read "Insert Table." This will insert a table into the text frame the width of the text frame. If you do not have a text frame selected, this will read "Create Table" and will create a new table.
-
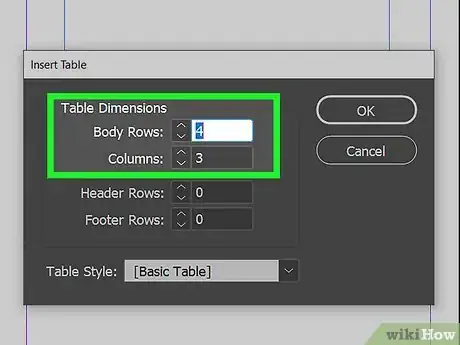
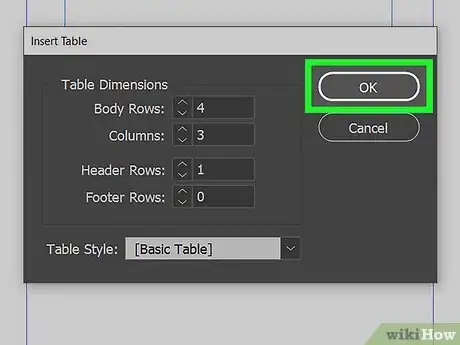
6Enter the number of rows and columns. Rows are cells lined up horizontally. Columns are cells stacked vertically. Enter the number of horizontal rows you want and how many vertical columns you want in your table.
-
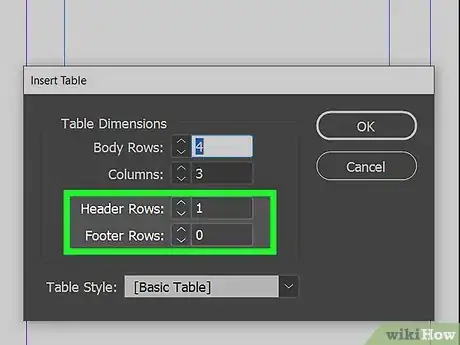
7Enter the number of header and/or footer rows. Header and footer rows are used to add labels to your table columns. Header rows go on top and footer rows go on the bottom. Enter the number of header and/or footer rows you want to create.
-
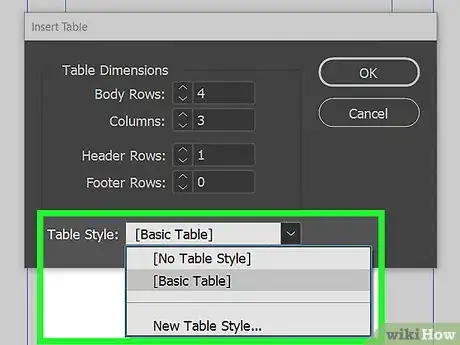
8Select a table style (optional). Table styles allow you to create a specific format for tables that can be repeated. This includes text format, as well as the color of the rows. If you have any table styles created, you can select them using the drop-down menu at the bottom of the box.
-
9Click Ok. It's in the upper-right corner of the dialogue box. This creates a table the width of the text frame.
- You can adjust the size and width of the rows and columns by placing the cursor over the lines. When the cursor resembles a double-ended arrow, you can click and drag the lines to adjust the size of the cells, rows, and columns.
Converting Text Into a Table
-
1Open Adobe InDesign. It has a pink square that says "ID" in the middle. Click the Adobe InDesign icon to open InDesign.
-
2Open or create a new InDesign document. When you open InDesign, you can create a new document by clicking Create New on the title page. You can also click Open to open an existing document.
- Alternatively, you can open or create a new document at any time in InDesign by clicking File in the menu bar at the top and then click New or Open.
-
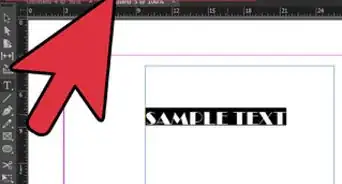
3Select the Text tool. It has an icon that resembles a capital "T". Click the text tool in the toolbar which is generally to the left. The text tool is used to create text frames.
-
4Draw a text frame. With the text tool selected, click and drag within the document to create a new text frame. The text frame can be any size you want. Once a text frame is created.
-
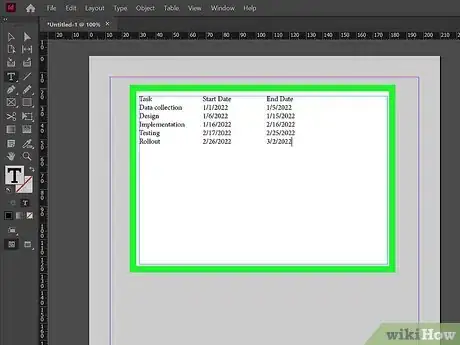
5Enter your text into the table. You can either manually type the text, or you can copy and paste it by highlighting the text and pressing Ctrl + C (on PC) or Command + C (on Mac) to copy. The click within a InDesign Text frame and press Ctrl + V (on PC) or Command + V (on Mac) to paste the text within the frame.
-
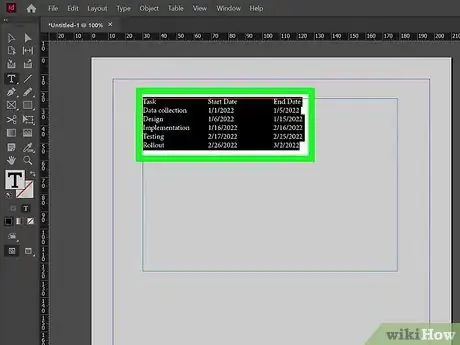
6Highlight the text you want to convert into a table. Click the text tool in the toolbar to the right. It has an icon that resembles a capital "T". Click within the text frame and press Ctrl + A (on PC) or Command + A (on Mac) to highlight all the text.
-
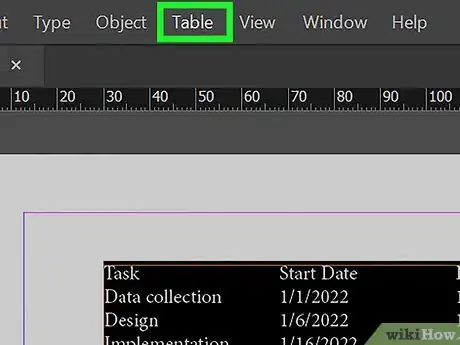
7Click Table. It's in the menu bar at the top. This displays a drop-down menu with table options.
-
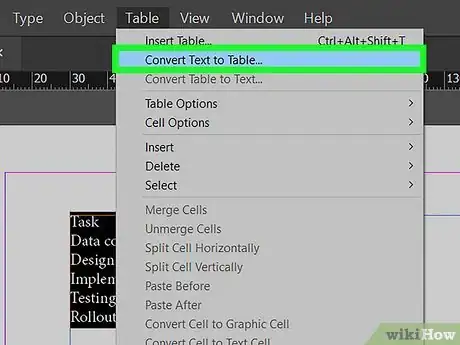
8Click Convert Text to Table. It's the second option in the Table menu. This displays a dialogue box asking you to select a separator for the rows and columns.
-
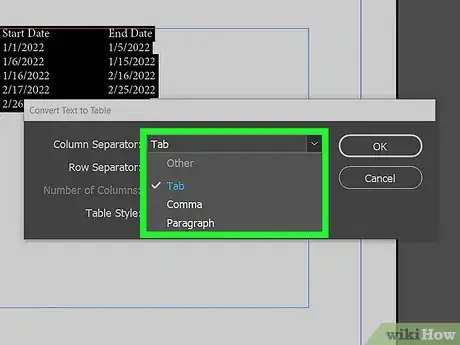
9Select a separator for the rows and columns. Use the drop-down menu next to "Column separator" and "Row separator" to select how you want to separate rows and columns. You can select "tab," "comma," "paragraph," or enter a specific character.
- If you select the same separator for both rows and columns, you will need to enter the number of rows and columns you want.
-
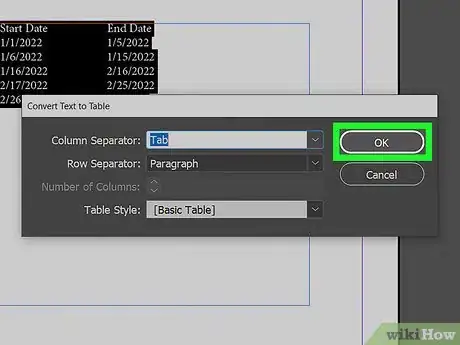
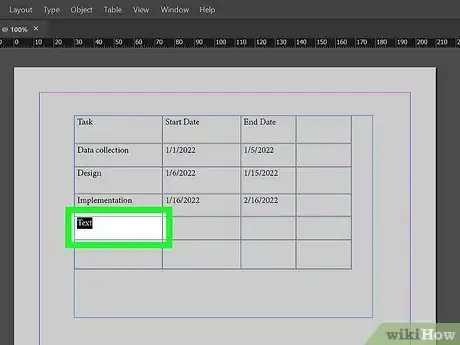
10Click Ok. This converts your text into a table.[1]
Adding Text, Graphics, and Tables to Cells of Your Table
-
1Add text to a cell. To add text to a cell, simply double-click within the cell and then start typing. Use the menu bar at the top to select your font, font size, color, and other text formatting options.
-
2Add an image to a cell. Use the following steps to add an image to a table cell.
- Double-click the cell you want to insert an image.
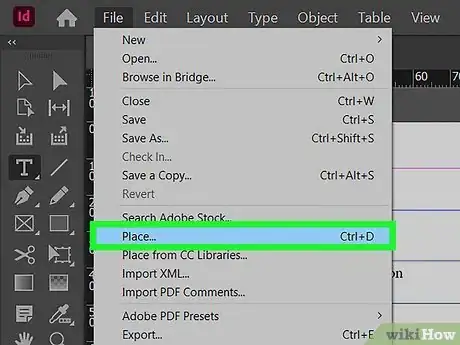
- Click File in the menu bar at the top.
- Click Place.
- Select the image file you want to insert.
- Click Open.
-
3Embed a table within a cell. Use the following steps to add a table within a table.
- Double-click the cell you want to add a table to.
- Click Table in the menu bar at the top.
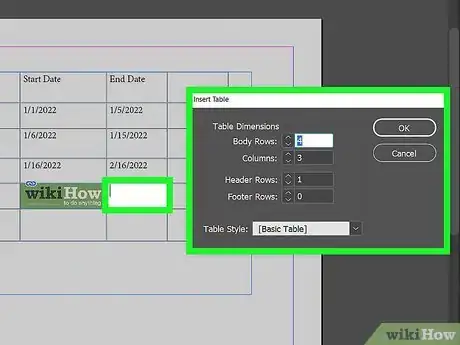
- Click Insert Table.
- Enter the number of rows and columns.
- Enter the number of header and footer rows.
- Click Ok.
Formatting your Table
-
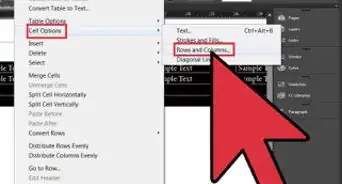
1Open cell options. The Cell Options allows you change the size, color, line thickness, line style and line color of your cells. Use the following steps to open the Cell Options menu:
- Click the cell you want to change.
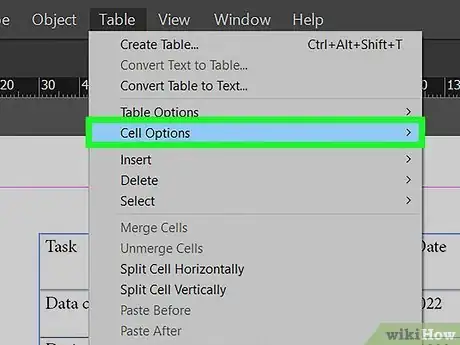
- Click Table in the menu bar at the top.
- Click Cell Options.
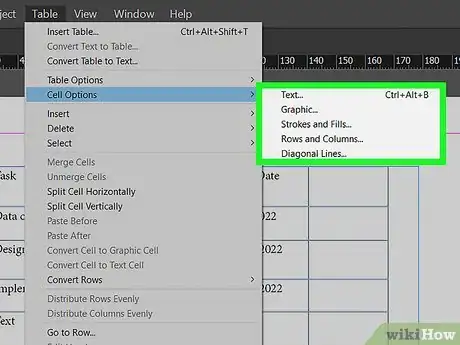
- Click any option in the sub-menu.
-
2Use the Cell Options menu to adjust the cell. Click one of the tabs at the top of the menu and then use the menu to make adjustments. The tabs and menus are as follows:
- Text: The Text menu allows you to change cell insets as well as how text is aligned within the cell.
- Strokes and Fills: The Strokes and Fills menu allows you to adjust the lines around the cell and the background color within the cell. "Cell Stroke" is the line around the cell. "Cell Fill" is the background color of the cell. You can adjust the thickness (Weight), or style (Type) of the stroke as well as the color of the stroke and fill.
- Rows and Columns: The Rows and Columns menu allows you to adjust the height and width of the cell.
- Diagonal Lines: The Diagonal Lines menu allows you to add an optional diagonal line through a cell as well as adjust the thickness, color, and line type.
-
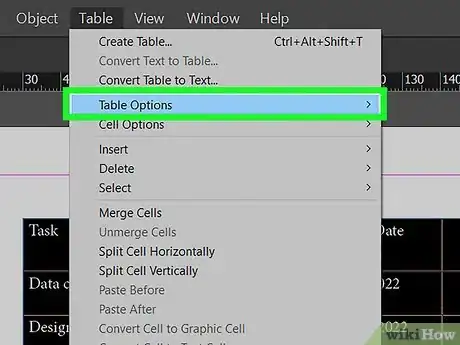
3Open the Table Options menu. The Table Options menu allows you to add a border around your table, select different color lines for rows and columns, and a background color for the cells. You can even make an alternating pattern. Use the following steps to open the Table Options menu:
- Double-click within a cell.
- Click Table in the menu bar at the top.
- Click Table Options.
- Click any option in the submenu.
-
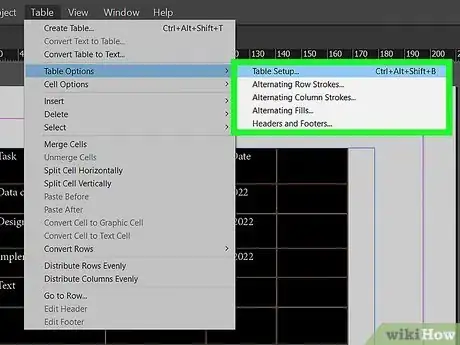
4Use the Table Options menu to format the table. Click one of the tabs at the top of the menu and then use the menu options to adjust your table setup. The tabs and menus are as follows:
- Table Setup: The Table Setup menu allows you to adjust the number of rows, columns, header, and footer rows. You can also adjust the border around the table, by changing the line thickness (weight), color, or line type.
- Row Strokes: The Row Strokes menu allows you to change the line thickness (weight), line style (type), and color of the horizontal lines above and beneath the cells. You can also use this menu to create an alternating pattern.
- Column Strokes: The Column Strokes menu allows you to change the line thickness (weight), style (type), and color of the horizontal lines in between cells. You can also use this menu to create an alternating pattern.
- Fills: The Fills menu allows you to change the background color of the cells. You can also use this menu to create an alternating color pattern.
- Headers and Footers: The Headers and Footers menu allows you to change the number of header and footer rows there are and how often they repeat.
-
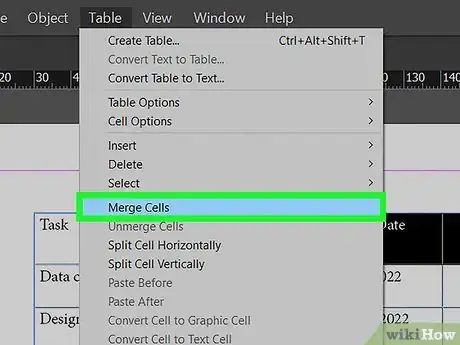
5Merge cells. Use the following steps to merge two or more cells into one:
- Double-click the first cell you want to merge.
- Click and drag to the next cell(s) you want to merge.
- Click Table in the menu bar at the top.
- Click Merge cells.
-
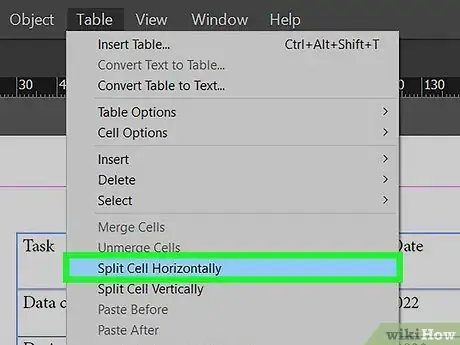
6Split cells. Splitting a cell divides it into two cells. You can split cells vertically or horizontally. Use the following steps to split a cell:
- Double-click a cell you want to split.
- Click Table in the menu bar at the top.
- Click Split Cell Horizontally or Split Cell Vertically.
References
About This Article
1. Open or create a new Adobe InDesign document.
2. Click Table in the menu bar at the top.
3. Click Create Table.
4. Enter the number or rows and columns you want.
5. Enter the number of header or footer rows you want.
6. Click Ok.
