

PowerPoint 2013
Inserting Pictures
Moving and resizing pictures
Once you've inserted a picture, you may want to move it to a different location on the slide or change its size. PowerPoint makes it easy to arrange pictures in your presentation.
To select a picture:
Before you can modify a picture, you'll need to select it.
- Simply click to select a picture. A solid line will appear around a selected picture.
 Selecting a picture
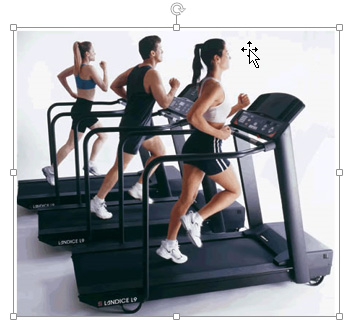
To resize a picture:
- Click and drag the corner sizing handles until the picture is the desired size.
 Resizing a picture
The corner sizing handles will resize a picture while preserving its original aspect ratio. If you use the side sizing handles, the image will become distorted.
To rotate a picture:
- Click and drag the arrow above an image to rotate it right or left.
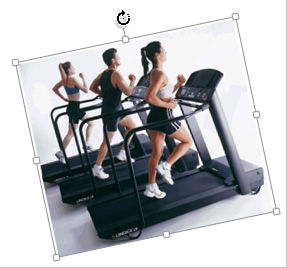 Rotating an image
Hold the Shift key on your keyboard when rotating an image to limit the rotation angle.
To move a picture:
- Click and drag to move a picture to a new location on a slide.
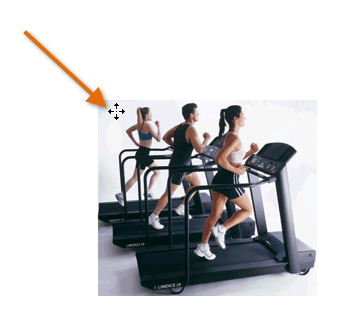 Moving a picture
To delete a picture:
- Select the picture you wish to delete, then press the Backspace or Delete key on your keyboard.
You can access even more picture formatting options from the Format tab. We'll talk more about these options in our lesson on Formatting Pictures.
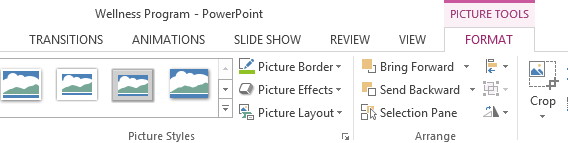 The Format tab


