

PowerPoint 2013
Inserting Pictures
Introduction
Adding pictures can make your presentations more interesting and engaging. You can insert a picture from a file on your computer onto any slide. PowerPoint even includes tools for finding online pictures and adding screenshots to your presentation.
Optional: Download our practice presentation for this lesson.
To insert a picture from a file:
- Select the Insert tab, then click the Pictures command in the Images group.
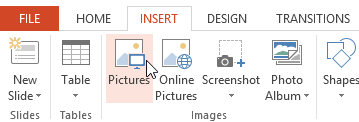 Clicking the Pictures command
 - A dialog box will appear. Locate and select the desired image file, then click Insert.
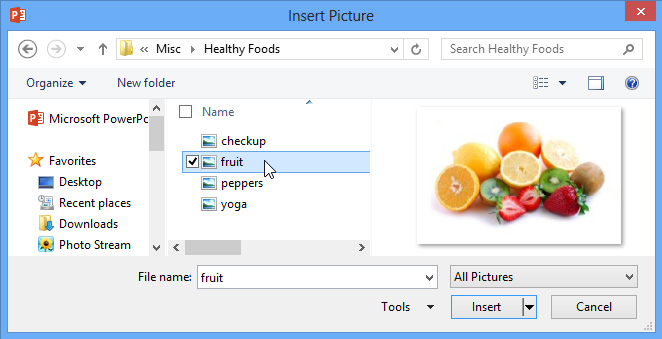 Choosing a picture to insert
 - The picture will appear on the currently selected slide.
 The inserted picture
You can also click the Pictures command in a placeholder to insert images.
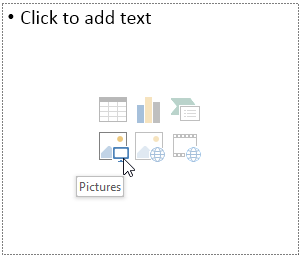 Inserting a picture from a content placeholder
Inserting online pictures
If you don't have the picture you want on your computer, you can find a picture online to add to your presentation. PowerPoint offers two options for finding online pictures:
- Office.com Clip Art: This option allows you to access Microsoft's online collection of free clip art, which offers a variety of images.
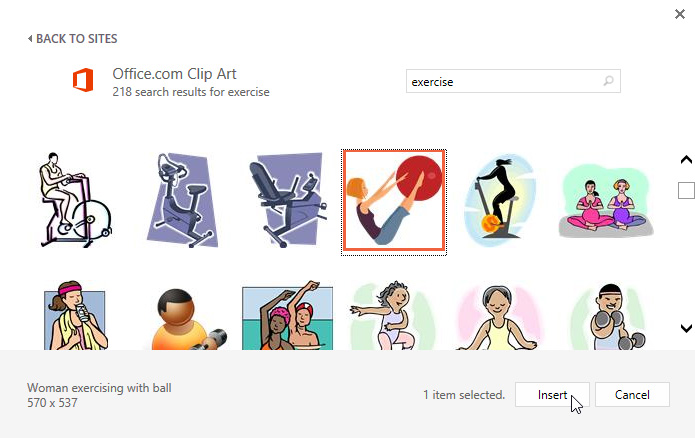 Office.com Clip Art results
 - Bing Image Search: You can use this option to search the Internet for images. By default, Bing only shows images that are licensed under Creative Commons, which means you can use them for your own projects. However, you should go to the image's website to see if there are any restrictions on how it can be used.
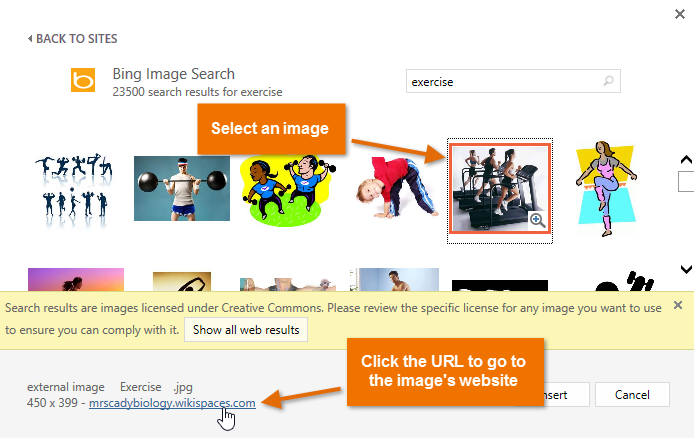 Bing Image search results
When adding images, videos, or music to your own projects, it's important to make sure you have the legal right to use them. Most things that you buy or download online are protected by copyright, which means you may not be allowed to use them. For more information, visit our Copyright and Fair Use lesson.
To insert an online picture:
- Select the Insert tab, then click the Online Pictures command.
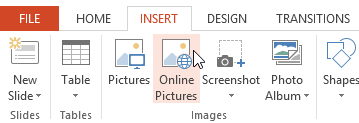 Clicking the Online Pictures command
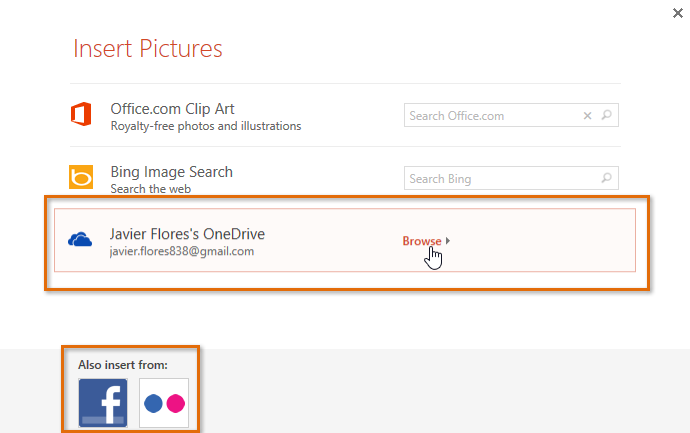
 - The Insert Pictures dialog box will appear.
- Type a search term in either the Office.com Clip Art or Bing Image Search field. In our example, we'll use Bing Image Search.
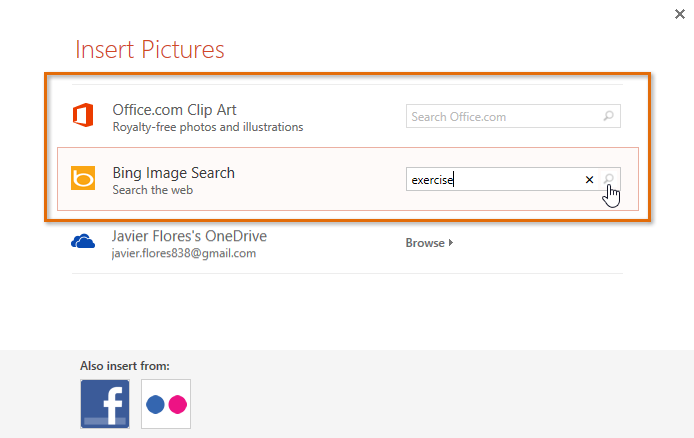 Typing a search term
 - Press the Enter key. Your search results will appear in the dialog box.
- Select the desired image, then click Insert.
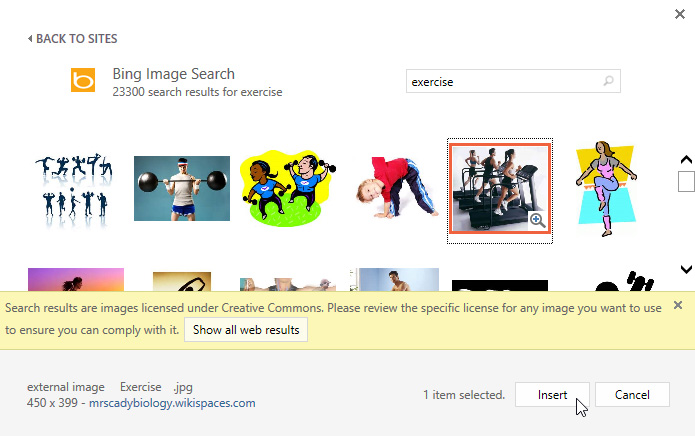 Inserting an online picture
 - The image will appear on the currently selected slide.
 The inserted picture
You can also click the Online Pictures command in a placeholder to insert online images.
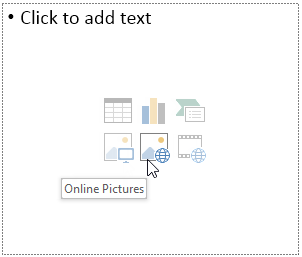 Inserting an online picture from a content placeholder
You can even insert an image from your OneDrive (previously called SkyDrive) or other online accounts that may be linked with your Microsoft account, such as Facebook or Flickr.
 Searching SkyDrive for pictures
Moving and resizing pictures
Once you've inserted a picture, you may want to move it to a different location on the slide or change its size. PowerPoint makes it easy to arrange pictures in your presentation.
To select a picture:
Before you can modify a picture, you'll need to select it.
- Simply click to select a picture. A solid line will appear around a selected picture.
 Selecting a picture
To resize a picture:
- Click and drag the corner sizing handles until the picture is the desired size.
 Resizing a picture
The corner sizing handles will resize a picture while preserving its original aspect ratio. If you use the side sizing handles, the image will become distorted.
To rotate a picture:
- Click and drag the arrow above an image to rotate it right or left.
 Rotating an image
Hold the Shift key on your keyboard when rotating an image to limit the rotation angle.
To move a picture:
- Click and drag to move a picture to a new location on a slide.
 Moving a picture
To delete a picture:
- Select the picture you wish to delete, then press the Backspace or Delete key on your keyboard.
You can access even more picture formatting options from the Format tab. We'll talk more about these options in our lesson on Formatting Pictures.
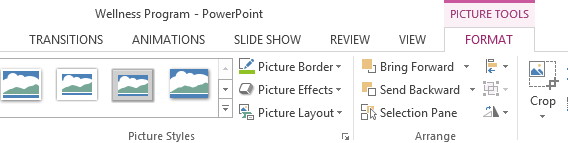 The Format tab
Inserting screenshots
Screenshots are basically just snapshots of your computer screen. You can take a screenshot of almost any program, website, or open window. PowerPoint makes it easy to insert a screenshot of an entire window or a screen clipping of part of a window in your presentation.
To insert screenshots of a window:
- Select the Insert tab, then click the Screenshot command in the Images group.
- The Available Windows from your desktop will appear. Select the window you would like to capture as a screenshot.
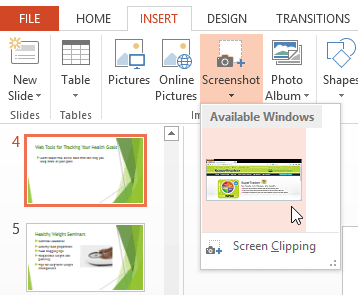 Selecting a window to capture
 - The screenshot will appear on the currently selected slide.
 The inserted screenshot
To insert a screen clipping:
- Select the Insert tab, click the Screenshot command, then select Screen Clipping.
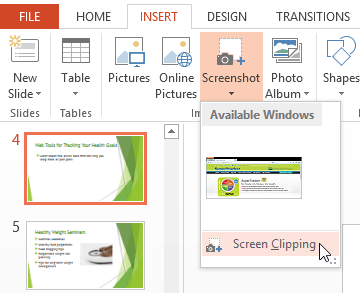 Clicking Screen Clipping
 - A faded view of your desktop will appear. Click and drag to draw the area you want to capture as a screen clipping.
 Taking a screen clipping
 - The screen clipping will appear on the currently selected slide.
 The inserted screen clipping
Challenge!
- Open an existing PowerPoint presentation. If you want, you can use our practice presentation for this lesson.
- Insert a picture from a file on your computer.
- Insert a clip art image. If you are using the example, search for "relax" and insert an image for slide 5.
- Resize and move an image. If you're using the example, resize the image on slide 6 and move it to fit under the text.
- Capture and insert a screenshot or screen clipping into a slide.