X
wikiHow is a “wiki,” similar to Wikipedia, which means that many of our articles are co-written by multiple authors. To create this article, volunteer authors worked to edit and improve it over time.
This article has been viewed 10,689 times.
Learn more...
One-sided hem tape usually comes as lace tape. This kind of apparel support tool, or notion, may be easier to use than regular fusible web hem tape because you apply the tape over the edge, creating a natural and seamed finish. This is great for any garment care if the edges are frayed or the length is wrong. This tape also allows you to wash and dry clean your item. Always check the label or do a small test before using this tape.
Steps
-
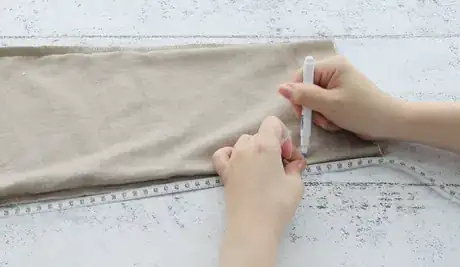
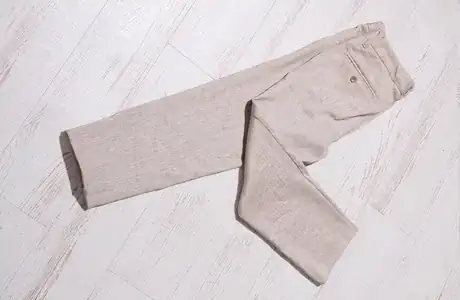
1Prepare the fabric or clothing that you plan to use. Mark where you would like the hem to be using a pin or any other means while you are wearing the pants. Flip the clothing article inside out to expose the inside of the garment. Using a ruler and a marking pen, mark where the pants will be folded. If you don’t have a washable pen or air erasable pen, chalk is a good substitute.
-
2Cut the item a little longer than your desired length. Remember you will need to fold it and then apply the hem tape over. Depending on your tape width it can vary. Usually, it's about 25mm or 1 inch.Advertisement
-
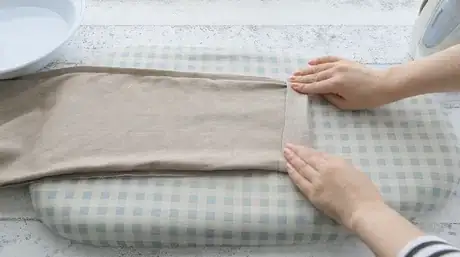
3Fold the part you want to hem with the tape. All of the item should be inside out except the bottom where you will iron on the hem tape. Make sure the item is the length you want it to be.
-
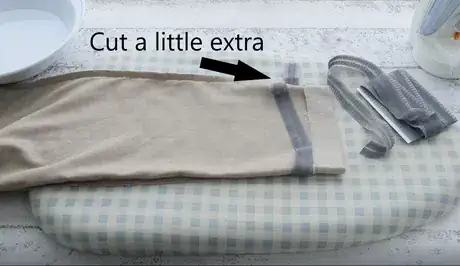
4Cut your adhesive tape to the length of the hem of the pants you will be covering. Cut a little more than necessary. Half an inch is more than enough.
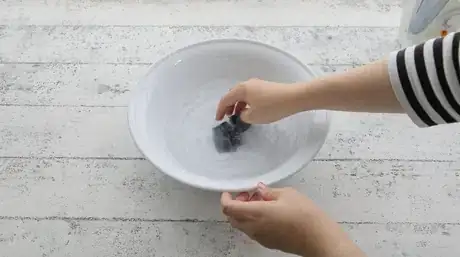
- Depending on your hem tape, you will soak the tape in water. It is recommended to soak for 3-5 minutes. After it is soaked, take out and apply the adhesive side over the raw hem. The adhesive side is the one with the white woven strings. It will look shinier on the sides than on the non-adhesive side. Other hem tapes do not need soaking. Check the instructions that came with it to confirm.
-
5Place the adhesive side down over the raw hem. Place the tape near the edge of the cut hem, straight and covering all of the edges.
-
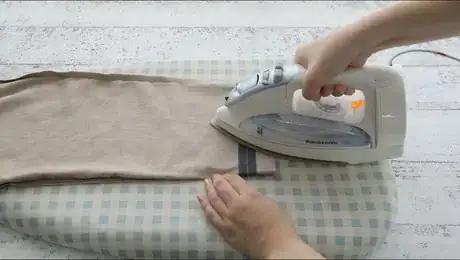
6Press the hem tape. If your material is not cotton, it is recommended to use a press cloth in between the iron and your item. Using your iron on medium heat (150*C or 302*F) press on the hem tape. Do not slide the iron. Only press applying your weight for about 10 seconds. Move on to the next section.
-
7After you have completed the iron presses, wait for the material to cool. If you happen to make a mistake, take a damp press cloth and iron over the hem tape. After it has heated, you may peel the tape off gently. There may be residue left so it's best to try again with fresh tape.
Advertisement
Warnings
- It is not recommended to press with high heat as the adhesive can become loose and tangled. Use low heat or air dry.⧼thumbs_response⧽
- Before using any type of hem tape, check your clothing's label. Any items that say not to iron or iron on low heat, water-repellent clothes, leather, nylon, or very thin cloth may not be suitable for iron-on hems.⧼thumbs_response⧽
- When applying the iron, it should be a quick action seal. If it takes longer than 10 seconds, check the heat and match it with the garment's label.⧼thumbs_response⧽
Advertisement
About This Article
Advertisement
