This article was co-authored by Art Fricke. Art Fricke is a home renovation and repair specialist and the owner of Art Tile & Renovation based in Austin, Texas. With over 10 years of experience, he specializes in bathroom and kitchen renovations. Art focuses on a single contractor approach to customized renovation work, and performs projects such as installing custom tile showers, fixing tiled shower leaks, replacing cracked tiles, and installing floor and wall tile.
This article has been viewed 32,437 times.
Installing a tile backsplash in your kitchen offers numerous benefits over painted or paper drywall. Tiles can protect the wall they cover, can be easily scrubbed of grease and grime, are much more durable than drywall, and make for a fantastic addition to your kitchen if they’re installed correctly.[1] Learning how to add a tile backsplash is well within the reach of anyone willing to put in a few days of DIY work.
Steps
Planning Your Backsplash
-
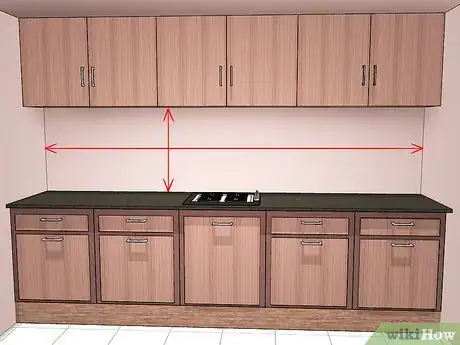
1Measure the space where you want to install your backsplash. Use a measuring tape and a pencil to mark out the area your backsplash will cover. The size of the area will determine the number of tiles you’ll need to buy, as well as the space you’ll need to prepare, so keep this information noted down when purchasing your equipment.[2]
- Your backsplash should start slightly above the countertop in your kitchen. The top could either meet with the underside of your kitchen cabinets or could stop at any chosen place up the wall.
- If you don’t know where you want your backsplash to end, wait until you know the size of the tiles you want to use. Make your backsplash a certain number of tiles high, rather than a predetermined height.
- Measure the height and width of the backsplash and keep these noted down. This will give you a guide for the number of tiles you need to cover the area, as well as a note of the total area you need to tile if you multiply the two numbers together.
-
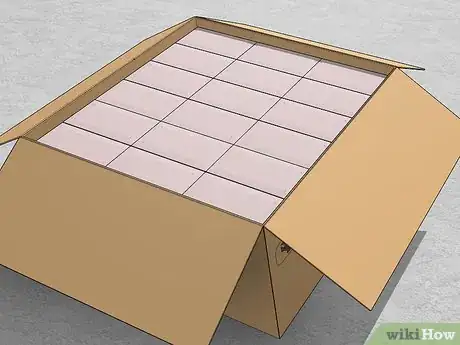
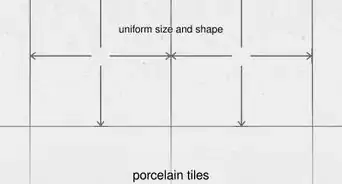
2Purchase tiles for your backsplash. Tile sellers and hardware stores will have a large selection of tiles for you to choose from. Find a wall tile which matches the desired look for your kitchen, and purchase enough to cover the chosen area.[3]
- Talk to the tile salesperson or someone at your local hardware store to work out how many tiles you'll need. Divide the area of your backsplash by the area of a single tile or tile sheet to get a rough idea of how many tiles you'll need.
- If you’ll need to cut the tiles to fit into corners or underneath cabinets, it may help to purchase more tiles than you need to make up for tiles that break while cutting.
- Wall tiles tend to be thinner and more lightweight than flooring tiles. Make sure you choose the right type of tile for your project.[4]
- Slate tiles have a tendency to crumble when they are cut, so may be more difficult to work with if you’ve not used them before. Ceramic tiles, or other types of mosaic tiles, will be easier to work with and cut.
Advertisement -
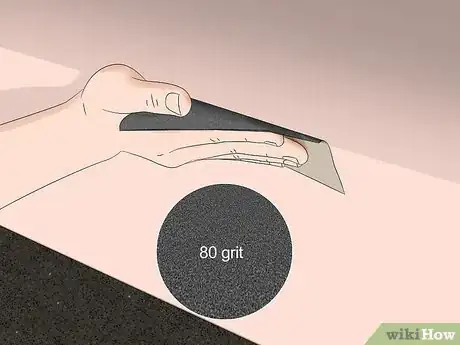
3Sand the wall with 80-grit sandpaper. Sanding down the wall will remove any grease or grime that will stop the tiles from adhering properly, as well as providing a coarse surface to help the mastic hold more tightly.[5] Use a medium-grit sandpaper, around 80 or 120-grit, to sand down the entire surface you want to tile.[6]
- If your surface has a lot of grease stains, it may help to clean them up before sanding. Use a cloth dampened in a mixture of water and dishwashing liquid to wipe them away, giving the wall plenty of time to dry before you attempt to sand it down.
-
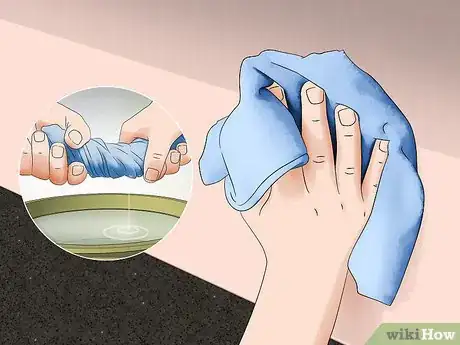
4Wipe the wall down with a damp cloth or sponge. Dip a cloth or sponge in water and wring it out as much as you can. Wipe down the surface of the wall to get rid of any stray dust or dirt leftover from sanding.[7]
- Make sure that the cloth is only slightly damp, and that the wall is completely dry before you begin tiling it. Water left on the wall may change the consistency of the mastic and stop your tiles from staying in place.[8]
-
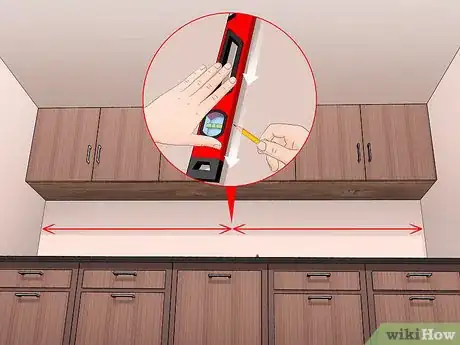
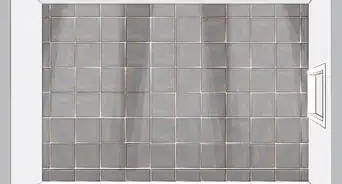
5Mark a central line on the wall. Use a measuring tape to find the midpoint of your backsplash and mark it with a pencil. With a bubble level, draw a vertical line from the base of your backsplash to the top of it. This will help keep your tiles centered and even as you work.[9]
- In place of a pencil line, you could also use a laser level as a guide for your first tiles. This will be much easier to see but isn’t necessary if you don’t have one.
- Marking a central line will help ensure that the edges of your backsplash are even.
Setting the Tiles
-
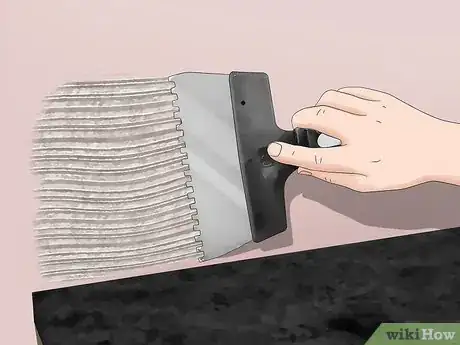
1Apply a layer of mastic to the wall. Use a 3⁄16 inch (0.48 cm) trowel to scoop some mastic adhesive out and onto the wall. Holding the trowel at a 45-degree angle to the wall, begin spreading the mastic over the wall in large, sweeping strokes. Fill in any bare spots with extra mastic so that the wall is evenly covered.[10]
- Mastic is a thin adhesive used for adhering tiles to a wall. It should be available at your local hardware store or online.[11]
- Use a firm pressure when applying the mastic, so that the trowel is pressed against the wall. You should be able to just see the wall between the thicker lines of mastic.
- Mastic will begin to form a skin after around 10 minutes, which will stop the tiles from adhering to it. Apply mastic in sections that are small enough for you to tile before it hardens.
- Use a damp cloth to wipe away mastic on the trowel as it begins to harden.
-
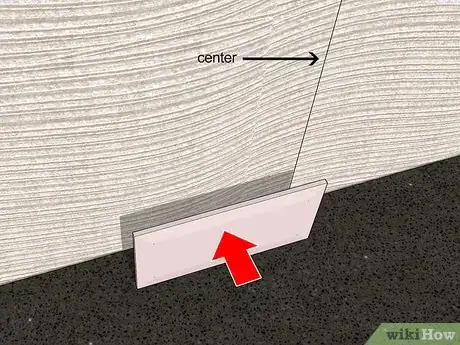
2Place the first tile. The first tile will make the base for the rest of your backsplash, so it needs to be placed perfectly. Use your pencil line and bubble level to line the tile up in the middle of the backsplash, before pushing it into the mastic. Make sure the tile is lined up properly and perfectly straight before moving on.[12]
- Most tiles will have built-in spacers to ensure you leave enough room between tiles. If your tiles do not have built-in spacers, use external tile spacers or wedges to leave a gap between your countertop and the first tile.
- If the tile slides around too much, it may be a sign that you’ve used too much mastic. Remove the tile, scrape away the mastic, and try again with a thinner layer.
-
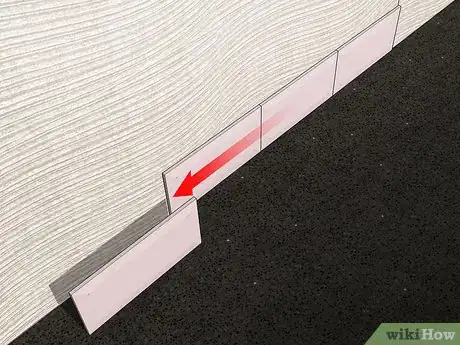
3Continue tiling the surface, working outwards from the first tile. With the first tile in place, begin positioning and pressing tiles into place. Work outwards from the first tile, alternating sides as you go to keep the first tile centered and balanced. Repeat this process, moving up the wall and applying mastic and tiles as you need them until the backsplash is tiled.[13]
- Once you’ve applied the first few tiles, take a step back and evaluate the way it looks. Straighten up any crooked tiles, or adjust any that aren’t quite sitting in the right place. You’ll only have a few minutes to do so before the mastic hardens, so work quickly.
- Use a grout float or another flat surfaced tool to press the tiles into place and make sure they are all level.
-
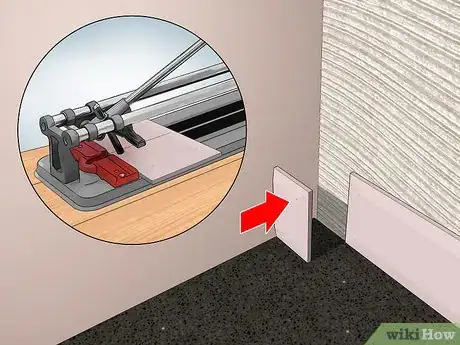
4Use a score-and-snap tile cutter to trim the tiles for corners. If your tiles don’t fit perfectly into the space you’re tiling, you’ll need to trim some tiles around the edges. Hold your tile in place and mark the point you’ll need to cut. Firmly score the tile along that point with a score-and-snap cutter, before bending it to snap it to the right size.[14]
- It may help to sand down the side of the tile you have cut slightly, to remove any sharp edges before you put it into place.
- Put the cut side away from the tiles you have already placed so that the pattern of the edges remains the same across the entire backsplash.
-
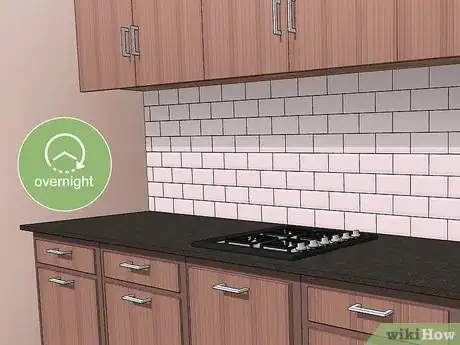
5Leave the tiles to set overnight.[15] While the mastic will begin to harden after roughly 10 minutes, it will take much longer for it to set up entirely. Leave your tiles overnight, or ideally for a full 24 hours, to allow the mastic to harden and keep your tiles in place.[16]
- Your tiles won’t be protected during this time. If your backsplash covers the area above your stove, you may need to avoid using it until the tiles have set into place.
Finishing the Backsplash
-
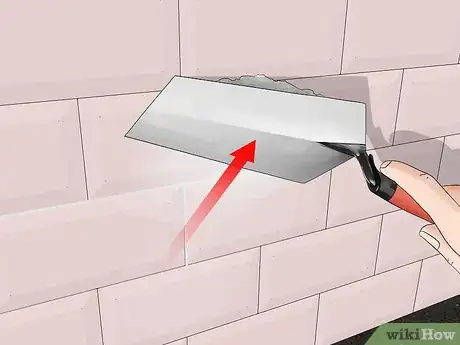
1Smear tiling grout diagonally over the tiles. Use a grout float to scoop up some tile grout and begin smearing it over the tiles. Move the float diagonally, so as to push the grout into all of the spaces between your tiles. Work across the entire backsplash until all of the gaps between tiles are filled with grout.[17]
- Don’t worry about grout that covers or muddies the look of your tiles. Grout on the tiles will easily wash away, where the grout between should set in place.
- Grout should be available from your local hardware store, either premixed or as a powder. Follow the instructions on the powdered grout to hydrate it, generally by pouring it into a clean bucket and adding water until it reaches the consistency of mashed potatoes or peanut butter.
- Grout floats are tools designed specifically for spreading grout and should be available from your local hardware store.
-
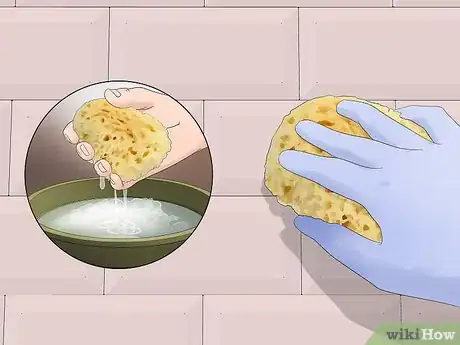
2Wipe away the excess grout after 10 minutes. Once you’ve applied grout all over the backsplash, allow it to dry for 10 minutes in order to begin solidifying. Slightly dampen a sponge and wring out as much water as you can. Working in diagonal strokes, wipe away the grout sitting on the face of the tiles. Clean the sponge regularly as you go to prevent grout from spreading over the tiles.[18]
- Try and avoid pulling the grout out of the space between tiles as you work. You only need to wipe away the grout from the face of your tiles before it completely solidifies.
-
3Let the grout dry for a further 45 minutes. As with the mastic, the grout will need more time to set up and solidify completely. Leave it for 45 minutes to an hour to completely set up, avoiding touching the tiles or grout while it dries.[19]
- If you notice any clumps of grout that have built up in the corners or along the edges of your backsplash, remove them at this point. If they don’t wipe away with a sponge, use a utility knife to scrape them up and discard of them.
-
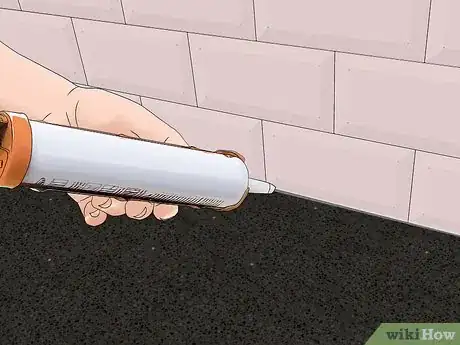
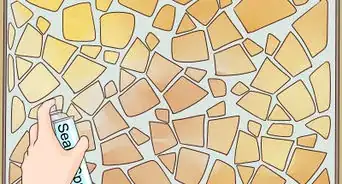
4Line the edges of your backsplash with caulk. Caulk is a sealant that will help stop water or moisture from getting behind your tiles and damaging the mastic. Use a caulk gun or caulk pen to trace around all edges of your backsplash, sealing the tiles completely. Run a wet finger over the caulk to smooth it, before leaving it to dry.[20]
- Use a caulk that matches with the color of the grout to prevent it from standing out.
-
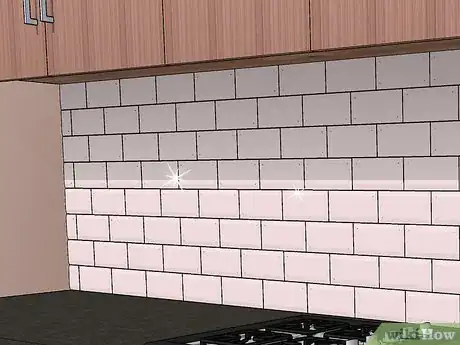
5Give the tiles plenty of time dry, ideally overnight. Once your tiling is finished and sealed, leave it for a further 24 hours to ensure that the mastic, grout, and caulk, are all given plenty of time to dry before you interact with them.[21] This will ensure that your tiling sets and that it will last for years to come.[22]
Expert Q&A
Did you know you can get expert answers for this article?
Unlock expert answers by supporting wikiHow
-
QuestionShould I use mastic or thinset for wall tile?
 Art FrickeArt Fricke is a home renovation and repair specialist and the owner of Art Tile & Renovation based in Austin, Texas. With over 10 years of experience, he specializes in bathroom and kitchen renovations. Art focuses on a single contractor approach to customized renovation work, and performs projects such as installing custom tile showers, fixing tiled shower leaks, replacing cracked tiles, and installing floor and wall tile.
Home Renovation & Repair Specialist
Things You'll Need
- Tiles
- Tape measure
- Flat head screwdriver
- Coarse-grit sanding sponge
- Cloth
- Water
- Tile mastic or quick set mortar
- V-notched trowel
- Tile spacers
- Tile cutter or wet saw
- Pencil
- Grout
- Grout float
- Sponge
- Caulk
References
- ↑ Art Fricke. Home Renovation & Repair Specialist. Expert Interview. 1 July 2020.
- ↑ https://www.thisoldhouse.com/how-to/how-to-install-tile-backsplash
- ↑ https://www.familyhandyman.com/tiling/new-backsplash-with-kitchen-mosaic-tile/view-all/
- ↑ Art Fricke. Home Renovation & Repair Specialist. Expert Interview. 1 July 2020.
- ↑ Art Fricke. Home Renovation & Repair Specialist. Expert Interview. 1 July 2020.
- ↑ https://www.familyhandyman.com/tiling/new-backsplash-with-kitchen-mosaic-tile/view-all/
- ↑ https://www.thisoldhouse.com/how-to/how-to-install-tile-backsplash
- ↑ Art Fricke. Home Renovation & Repair Specialist. Expert Interview. 1 July 2020.
- ↑ https://www.familyhandyman.com/tiling/new-backsplash-with-kitchen-mosaic-tile/view-all/
- ↑ https://youtu.be/v6Ng9f2ucU4?t=360
- ↑ Art Fricke. Home Renovation & Repair Specialist. Expert Interview. 1 July 2020.
- ↑ https://www.familyhandyman.com/tiling/new-backsplash-with-kitchen-mosaic-tile/view-all/
- ↑ https://www.thisoldhouse.com/how-to/how-to-install-tile-backsplash
- ↑ https://youtu.be/v6Ng9f2ucU4?t=322
- ↑ Art Fricke. Home Renovation & Repair Specialist. Expert Interview. 1 July 2020.
- ↑ https://www.thisoldhouse.com/how-to/how-to-install-tile-backsplash
- ↑ https://youtu.be/v6Ng9f2ucU4?t=755
- ↑ https://www.familyhandyman.com/tiling/new-backsplash-with-kitchen-mosaic-tile/view-all/
- ↑ https://www.thisoldhouse.com/how-to/how-to-install-tile-backsplash
- ↑ https://www.familyhandyman.com/tiling/new-backsplash-with-kitchen-mosaic-tile/view-all/
- ↑ Art Fricke. Home Renovation & Repair Specialist. Expert Interview. 1 July 2020.
- ↑ https://www.thisoldhouse.com/how-to/how-to-install-tile-backsplash
About This Article
To tile a backsplash, start by sanding the wall and wiping it with a damp cloth to remove any grease or grime. Once the wall has dried, use a bubble level and measuring tape to draw a vertical line in the middle of the wall to help keep your tiles even. When you’re ready to start tiling, apply a layer of mastic to the wall with a trowel. Then, place the first tile in the middle of the wall, so that the vertical line you drew runs right down the middle. Once you’ve placed the first tile, work outwards, alternating tiles to the left and right of the first to keep it centered and balanced. When you get to the edges, use a score-and-snap tile cutter to trim the tiles to the right size. For more tips, including how to finish your backsplash with tiling grout and caulk, read on!

