This article was co-authored by wikiHow Staff. Our trained team of editors and researchers validate articles for accuracy and comprehensiveness. wikiHow's Content Management Team carefully monitors the work from our editorial staff to ensure that each article is backed by trusted research and meets our high quality standards.
There are 12 references cited in this article, which can be found at the bottom of the page.
wikiHow marks an article as reader-approved once it receives enough positive feedback. In this case, several readers have written to tell us that this article was helpful to them, earning it our reader-approved status.
This article has been viewed 374,459 times.
Learn more...
Discus throwing dates back to at least 708 BC. During that time, a Greek sculptor named Myron created his famous statue, Discobolus, of a discus thrower. The poet Homer even referenced discus throwing in his Iliad.[1] Discus throwing formed an important part of the Greek pentathlon, though iron and bronze discs of that time were much heavier than the ones used these days. Today, both men and women of all ages participate in this Olympic event.
Steps
Getting into Position
-
1Choose the right disc. The size and weight of the discus you throw is determined by your age and gender. However, if you feel that the weight suggested for you is too heavy or light, you may need to adjust the weight to suit your needs. The following list should help you choose a suitable discus:[2]
- Women (all levels) - 1 kg Discus
- Boys (up to age 14) - 1 kg Discus
- Men (high school, 15-18) - 1.6 kg Discus
- Men (college) - 2 kg Discus
- Men (masters to 49) - 2 kg Discus
- Men (ages 50-59) - 1.5 kg Discus
- Men (ages 60+) - 1 kg Discus
-
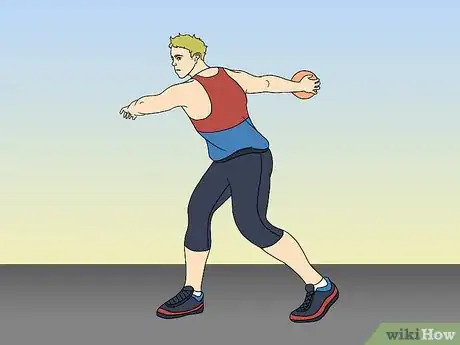
2Practice the stance. This is one of the most important steps to throwing a discus well, along with holding the disc correctly. Your feet should be a little wider than shoulder width apart. Your arms should both be extended to their full length.
- The ideal stance will also have a slight bend in the knees and waist. Think of yourself as a coiled spring, getting ready to release.[3]
- Throughout your throw, keep your head relaxed and stationary. Your core, especially your torso and shoulders, are key to a good delivery.[4]
- Practice the chin-knee-toe technique, where you ensure that the knee of your left leg is in line with your toes and chin as you stand.
Advertisement -
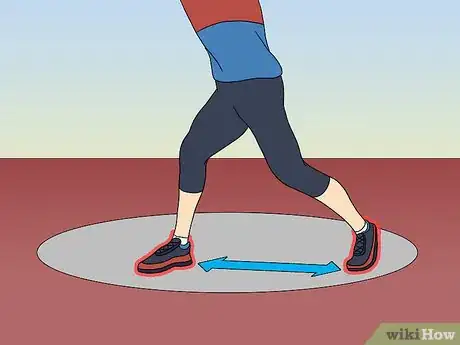
3Find a comfortable foot position. If you're right handed, your left foot will be pointed out of the ring at the ring exit. Your right foot will be pointed 90° clockwise from your left one. So, the left foot will be at 12:00 and the right at 3:00.[5]
- The stance for left-handed throwers will be exactly the same as right-handed throwers, only in reverse, with the right foot at 12:00 and the left at 9:00.
- Try not space your feet too far apart; this could block your wind-up. Think of the foot position like an "L," with your right foot in line with the L’s bottom, and your left with the L’s top.
-
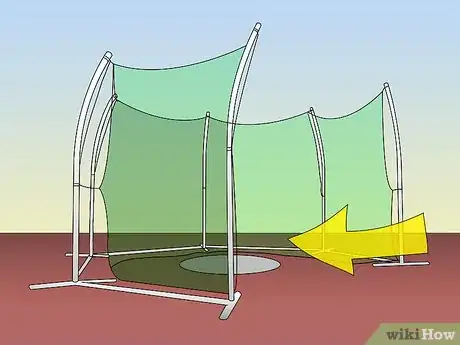
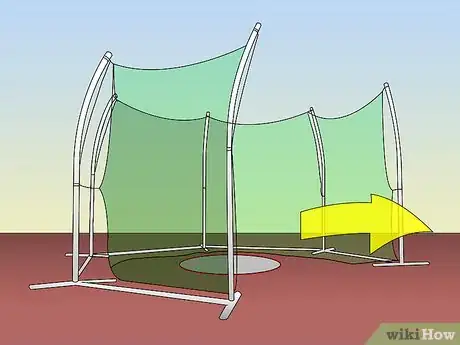
4Enter the discus cage with your disc. The discus cage is a U-shaped net that surrounds the discus thrower.[6] Avoid throwing a disc in an open area if there are people around. Anyone who is watching you should stand safely behind the net.
- Even pros sometimes loose their grip on discs at competitions. You should be the only person in the ring and no one should be in the throwing area, otherwise you risk injuring other people.
-
5Position your feet in the ring. Stand inside of the discus circle, which is a 2.5 meter (8.2 ft) diameter circle, towards the back of the cage.[7] Face away from your target. Your feet should be slightly wider than shoulder width.
- As you wind up, your weight should be distributed so that about 60% - 70% is on your right foot.[8]
Throwing the Discus
-
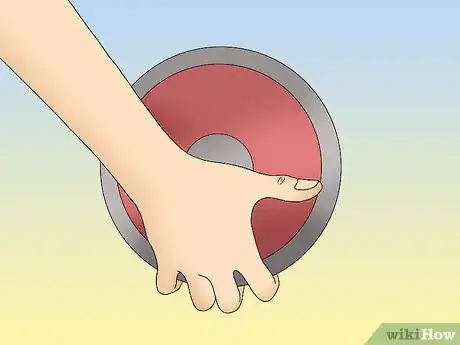
1Grip the discus with one hand. Hold onto the discus with one hand. Place your palm down on the top of the discus so that it is facing the ground. Then spread out your fingers along the outer edge of the discus so they are evenly spaced.
- This may go without saying, but if you are right handed, use your right hand. Left-handed throwers will use their left hand.
- Don’t grip the discus too tightly. Your fingers should not wrap all the way around the edge of the discus.[9] This will make it easier to throw.
- Use your free hand to support the bottom of the discus until you are ready to throw. However, throwing with both hands is considered a foul.[10]
-
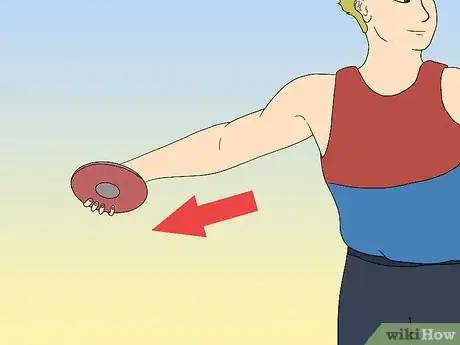
2Extend your right arm. Maintain the position of the discus in your right hand so it is face down, with your other hand supporting the bottom. Remember to remove your bottom hand before you start your throw.[11]
-
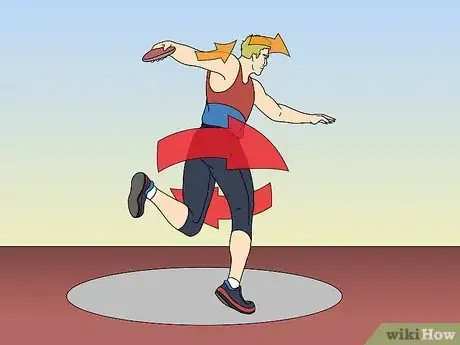
3Swing your arm and spin your body. Swinging the arm that is holding the discus and then spinning your body around will help you to gain momentum for the throw. The more momentum you can build, the better.
-
4Watch your body position in the spin, if applicable. It may feel natural to lead with your left arm, but resist this urge. Lead with your right leg. As you do, drive with your left leg. Keep the discus at shoulder level, your body leaning forward, and your eyes up mid-spin.
- You should pick up your right foot to step before your shoulder passes over it. Try to keep your right shoulder behind your right hip.
- To keep your left arm in position during this part of the throw, hold it above your left leg as though you’re reading the time.
- As your left foot sweeps through the last part of the turn (between 6:00 and 5:00), your arm should stall the discus at about 4:30. At this point, the discus should be at least head height.[14]
-
5Carry momentum through to the release. On the final arc of your spin, ground your left foot in the direction you are throwing. Your right foot will continue to pivot, adding momentum. When the disc is directly opposite the release point, lower your left heel.[15]
- At the start of the final rotation of your spin, the disc will be at head level or higher. Turning into the release, the disc will dip low to about your hip. On release, the disc should be as high as possible.[16]
-
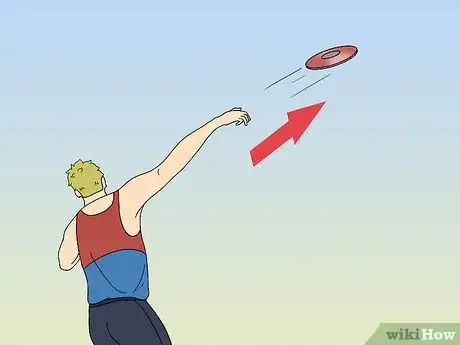
6Release the disc. This may sound silly, but it may help your release if you pretend you are slapping a person taller than you who is standing directly in front of you. As you come around to the opening of the cage, release the disc.[17]
- During the throw, never go over the ring line because this will result in a foul. Your feet may touch the inside of the ring, but must not go over it.[18]
-
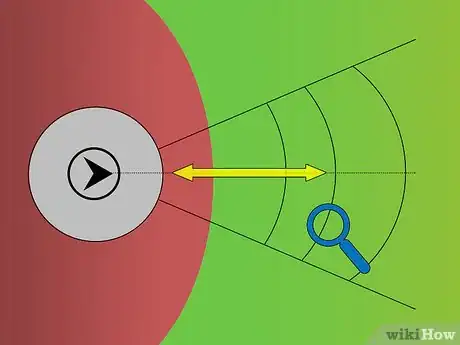
7Find your markings. Check the landing position of your discus. If it's not as far as you had hoped, keep at it. Frequent practice, discus drills, and training will improve your distance. A well-thrown disc should travel parallel to the ground.
-
8Exit the ring after you finish throwing. Even if you’re practicing with other throwers you trust, do not stay in the ring with the next thrower. While you’re waiting for your next chance to throw, practice the motions of the wind-up and release. Rock solid form will only improve your performance.
Training to Throw Discus
-
1Run through the throwing motion without the discus. Follow through with your motions. Interrupting yourself mid-throw may create a stutter in your form. When you’ve got a good feel for the stance and delivery, repeat this exercise with your eyes closed.
- Be careful when practicing with your eyes closed. Even if you know your practice area well, a misstep could be painful.
- Practicing this motion with your eyes closed will improve your body awareness and help the motion become a more natural reflex.[19]
-
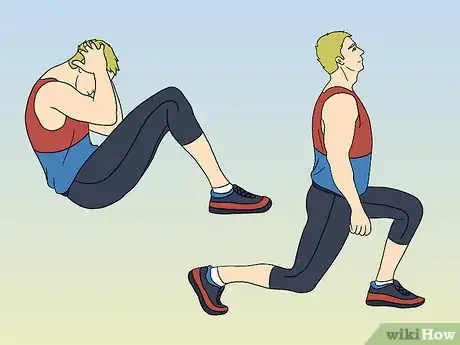
2Build back strength. Medicine ball back exercises may be the best place to start, since you can adjust the weight of the balls to meet your needs. Include pullups in your discus training, as these are an excellent back and upper body workout. [20]
- If you’re really struggling with pullups, get a workout buddy to help you with some assisted pullups until you can do a few on your own.
- Even if you can only manage one or two pullups at first, keep including this exercise in your training routines. Before you know it you’ll be a pullup pro.
- There are many dumbbell back exercises, like bent over reverse flys, that you can easily do at home.
-
3
-
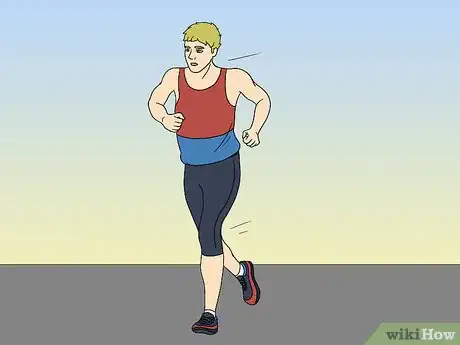
4Enhance your agility. Running will improve your stamina, allowing you to practice more and longer. As an added bonus, running should also encourage a smoother, more balanced form. Good balance is necessary to keep your throws consistent.[23]
Community Q&A
-
QuestionWhy do I have to exit the circle?
 Community AnswerIf you go out the front, they will scratch it. If you go out the back, it is measured.
 -
QuestionCan I practice discus with a towel?
 Community AnswerYes, practicing discus with a towel helps you work on the technique. It prevents you from only focusing on throwing far.
 -
QuestionShould I start my spin facing forwards or backwards? I was taught several different ways.
 Bellsdavie05Community AnswerThe full spin starts backwards though you can start forwards if you're just learning the spin. You should do what you are more comfortable doing.
Warnings
- Spinning too fast when throwing is not recommended. Doing this can cause backward throws, misguided throws, and/or dizziness.⧼thumbs_response⧽
- Wearing a hat or sunglasses can negatively impact your delivery. Avoid wearing these items when throwing for this reason.⧼thumbs_response⧽
- Be aware of your surroundings. A discus could be deadly if it hits someone.⧼thumbs_response⧽
References
- ↑ http://www.iaaf.org/disciplines/throws/discus-throw
- ↑ http://www.brianmac.co.uk/discus/
- ↑ https://www.thoughtco.com/step-by-step-discus-throw-technique-3258710
- ↑ http://www.teachpe.com/sports-coaching/athletics/discus/discus-technique
- ↑ http://www.teachpe.com/sports-coaching/athletics/discus/discus-technique
- ↑ http://www.sportsunlimitedinc.com/what-is-discus.html
- ↑ http://www.sportsunlimitedinc.com/what-is-discus.html
- ↑ http://www.teachpe.com/sports-coaching/athletics/discus/discus-technique
- ↑ Coachr, http://www.coachr.org/discus.htm
- ↑ http://www.sportsunlimitedinc.com/what-is-discus.html
- ↑ http://www.teachpe.com/sports-coaching/athletics/discus/discus-technique
- ↑ http://www.iaaf.org/disciplines/throws/discus-throw
- ↑ http://www.teachpe.com/sports-coaching/athletics/discus/discus-technique
- ↑ http://www.teachpe.com/sports-coaching/athletics/discus/discus-technique
- ↑ https://www.thoughtco.com/step-by-step-discus-throw-technique-3258710
- ↑ http://www.teachpe.com/sports-coaching/athletics/discus/discus-technique
- ↑ https://www.thoughtco.com/step-by-step-discus-throw-technique-3258710
- ↑ http://www.teachpe.com/sports-coaching/athletics/discus/discus-technique
- ↑ https://www.youtube.com/watch?v=3GjhBvcgO6w&feature=youtu.be
- ↑ https://www.brianmac.co.uk/discus/plan.htm
- ↑ http://www.prevention.com/fitness/fitness-tips/6-ways-improve-your-balance
- ↑ http://www.health.com/fitness/4-things-you-need-to-know-about-planks
- ↑ https://www.youtube.com/watch?v=3GjhBvcgO6w&feature=youtu.be
- Videos provided by World Sport
About This Article
To throw a discus, start by facing away from your target with your feet slightly more than shoulder width apart. Hold the discus by placing your hand palm-down onto it and wrapping your fingers loosely around it. Then, spin in a circle 1 1/2 times until you are facing your target, and plant your right foot in the middle of the circle. Finally, step forward with your left foot, and swing the discus up so you can release it at head level or higher. Scroll down for tips on how to strengthen your body to throw a discus better.

