wikiHow is a “wiki,” similar to Wikipedia, which means that many of our articles are co-written by multiple authors. To create this article, 53 people, some anonymous, worked to edit and improve it over time.
This article has been viewed 270,711 times.
Learn more...
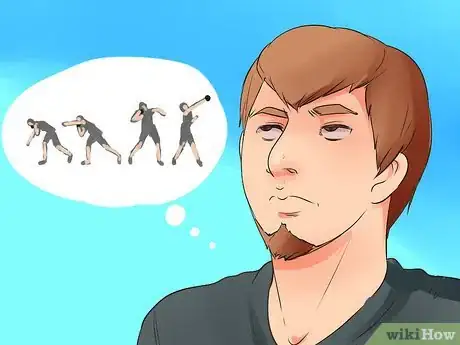
Shot putting seems like a simple sport: you try to throw a weight further than your competitors. In fact, the unusually heavy ball (called a "shot") requires specific throwing techniques to avoid injury. The most successful athletes must use a great deal of coordination and balance to get as much power and momentum into the "put" as possible, without leaving the boundaries of the starting circle. Both the glide throw and the spin throw are used at high levels, but it's a good idea to practice the basic technique for your first attempt.
Steps
Learning the Fundamentals
-
1Start with a lightweight shot. The word "shot" refers to a heavy ball, which contestants try to hurl as far as they can. Beginners should start with a light shot, between 4 and 8 pounds (1.8–3.6 kilograms), since this lowers the risk of injury if the wrong throwing form is used.
- Once you have the basic throwing technique down, and some practice under your belt, you can move on to heavier shot puts. Standard weights for competition vary depending on the age and sex of the competitors, and the nation hosting the competition.
-
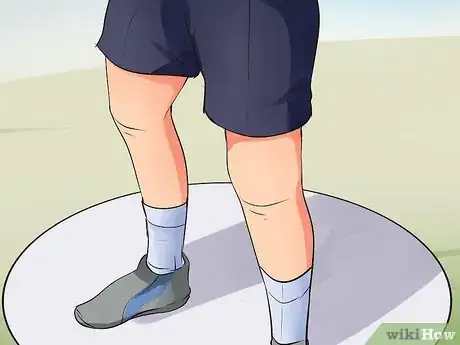
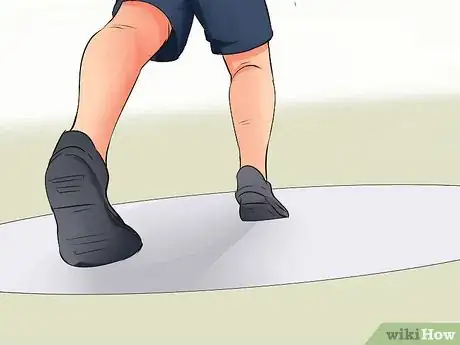
2Stand inside the circle. When shot putting, you must stay within the circle during the entire throw. The circle is usually painted on a slab of concrete and is 7 feet (2.13 meters) wide for official competitions. If you step outside the circle during the throw, it is a foul and is not counted in the competition.
- After throwing, the athlete must exit the circle through the back half of the ring, not the front, or the throw becomes foul. (This avoids arguments over whether an athlete stepped over the line during the throw or afterward.)
- The circle usually has a "toe board" in front that will block the athlete's foot from going too far forward. You are not allowed to step on top of the toe board.
Advertisement -
3Determine the winner. After the shot lands, the distance from the front of the circle, and the location of the landing is measured. However, the shot must land within the cone-shaped throwing field, or else it is a foul. The athlete whose shot lands farthest from the circle, without committing a foul, wins the round.
- If you need to make your own cone-shaped throwing field, set it up using two equal lengths of string at least 50 feet long each (the sides of the cone), then a third length (the end of the cone) exactly 60% as long. Measure the long sides from the center of the circle.[1]
-
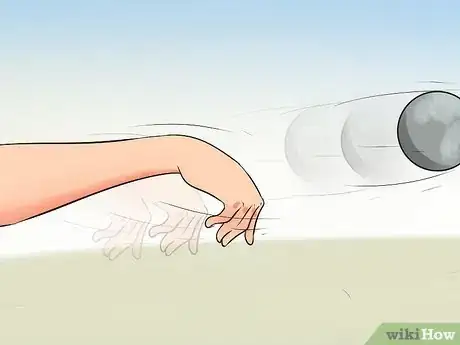
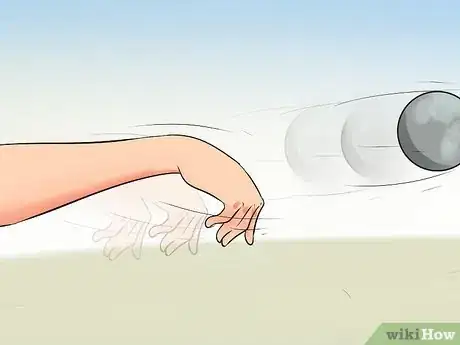
4Push, don't toss. Because the shot is so much heavier than balls in other sports, it cannot be tossed overhand or underhand without a high risk of causing a pulled muscle or other injuries. Always "push" the shot put out by extending your arm in one direction, without swinging it. Read the instructions below for more information about standard throwing techniques.
Practicing a Basic Throw
-
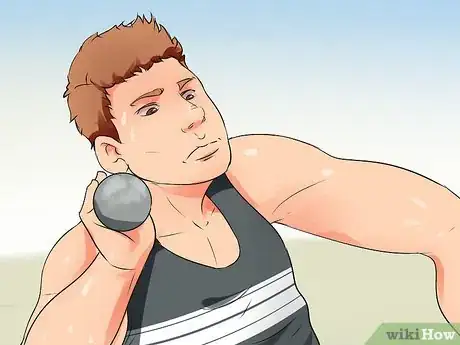
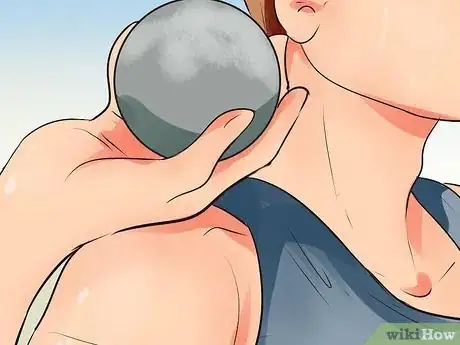
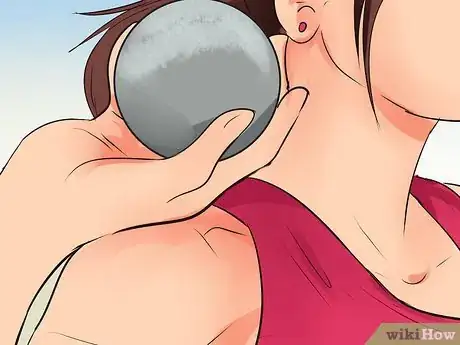
1Grip the shot with your fingers. Cup the "shot," or heavy ball, with your fingers and thumb along the backside of the ball. Don't touch the shot with your palm, and don't spread out your fingers around the ball. Use your dominant hand.
-
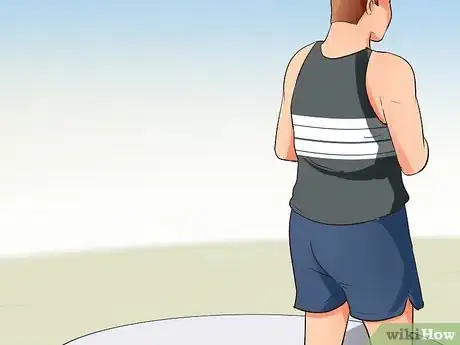
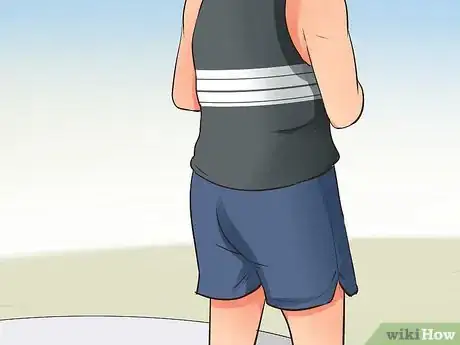
2Stand sideways at the back of the circle. Place your right foot on the back of the circle, and face the right side of the circle. Stand with your feet a little more than shoulder's width apart. While you'll move on to a more powerful throwing position later, this is a good stance to get you started while you concentrate on the arm and leg motions involved.
- This guide is written for right-handed shot putters. Switch "right" and "left" if you are left-handed.
-
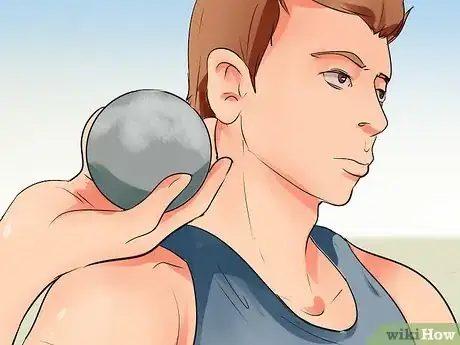
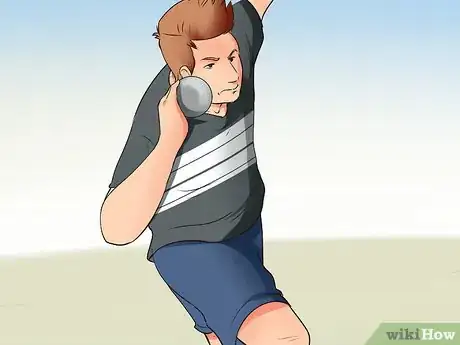
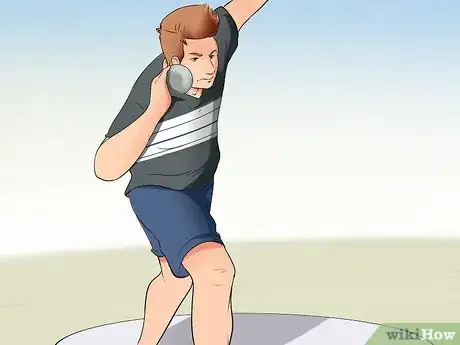
3Place the shot under your jawbone. Stick the shot underneath your jawbone next to your neck. Keep your right elbow raised so the arm can push directly into your neck.
-
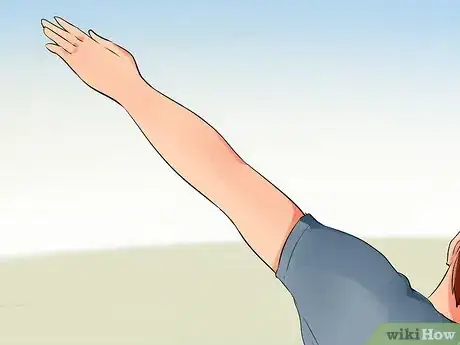
4Extend your left arm upward. Point your left arm upward in the direction you'll be throwing. During the rotation leading up to the throw, pull this arm inward so your hand is against the center of your chest.
-
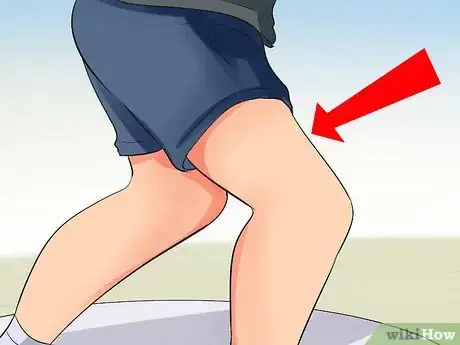
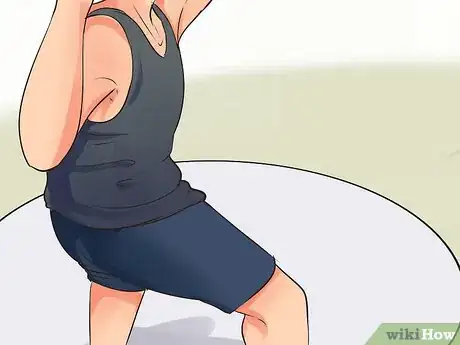
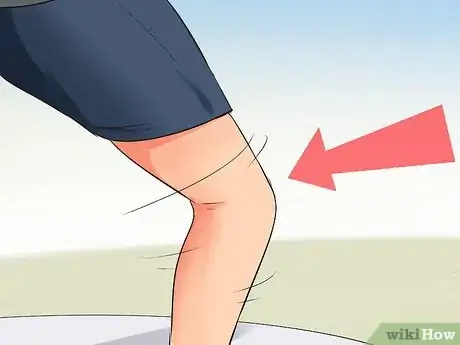
5Put your weight on your back leg. Surprisingly, most of the strength in shot putting comes from the legs, not the arms. Put almost all of your weight on your right leg, at the back of the circle, bending your knee as much as you find comfortable while keeping your balance.
-
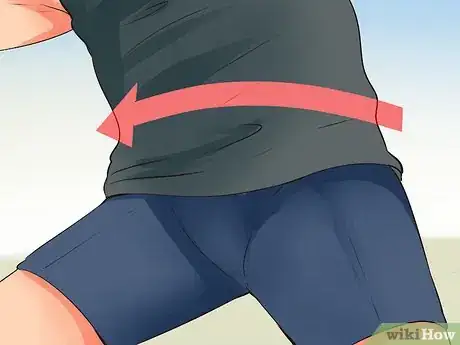
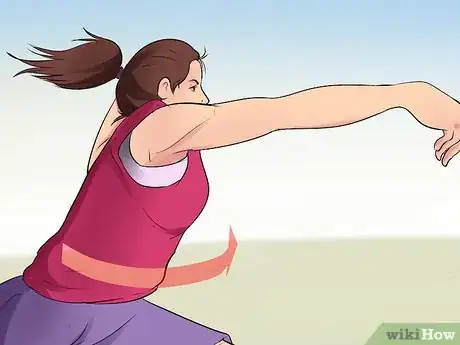
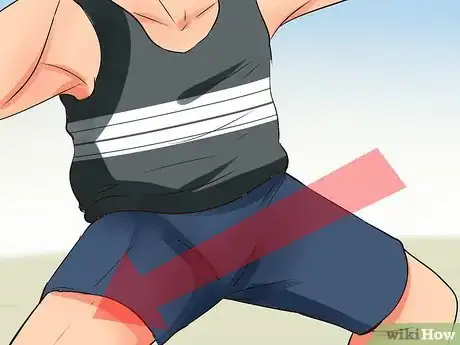
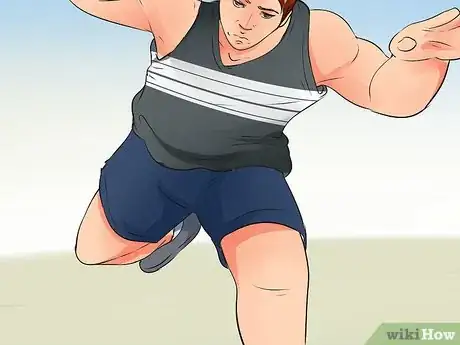
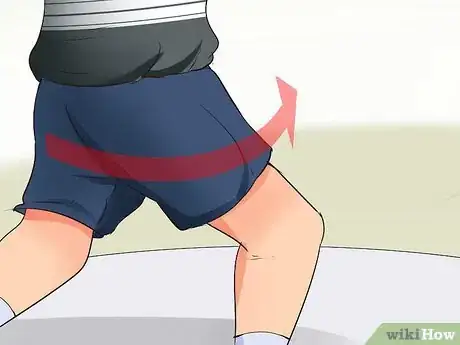
6Turn your hips and push forward. Push forward as hard as you can with your back leg, turning your hips so you face forward as you do so. Step or jump forward as you do this, sticking your front (left) foot as close to the front of the circle as you can.
- If you are having trouble keeping your balance and aim while you do this, start out in the center of the circle instead and take shorter steps while you practice.
-
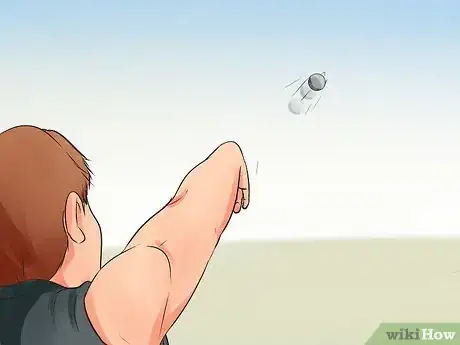
7Extend your arm directly outward to "put" the shot. As you straighten out, move the shot out from under your jaw and send your arm out in a straight line at about a 40º angle upward, toward the field. Always keep your elbow raised and your wrist straight. If your elbow drops or your wrist bends downward during the release, this will result in a "tossing" motion that risks injury and fails to make full use of your momentum.
- The optimal angle is between 37º and 38º.
-
8Move forward more as you practice. Keep practicing this throw, especially the final delivery of the shot put. Once you can perform a good throw consistently, start pushing off more vigorously during the throw, so your left foot lands as close to the front of the circle as possible. Once you can keep your balance and aim while leaping and turning hard, move on to the glide throw, one of the techniques used by serious competitors.
Using the Glide Throw
-
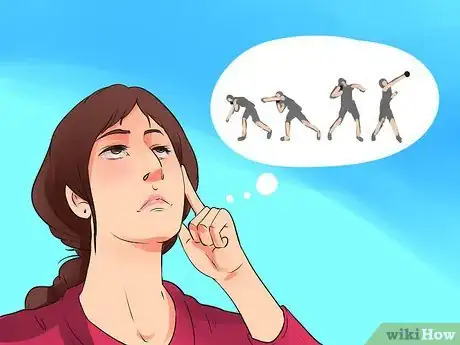
1Learn the basic throw first. This section of the guide will assume you already know the basic grip of the shot, the general motion, and how to release the shot for maximum distance. This "glide throw" is very similar to the basic throw described above, but provides extra power if you are able to keep your balance.
-
2Adopt the starting stance. As with the basic throw, stand with your feet a little more than shoulder-width apart, facing the right side of the circle. Press the shot into your neck with your dominant hand, with the elbow on that arm raised to shoulder height.
-
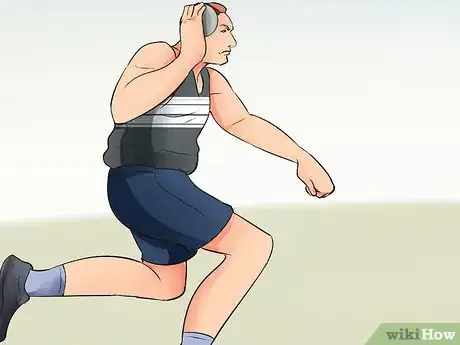
3Turn over the back of the circle. Turn your body and feet without changing your stance, so you are facing the back of the circle. Bend your right knee so all your weight is over your right leg, at the back of the circle. Your left leg is extended behind you toward the center of the circle. Your left arm is pointing down and forward, over the back of the circle.
-
4Kick hard to move to the front of the circle. Kick hard off your right foot, and lift both feet in the air, turning to face the right side of the circle. Bring them down again so your left foot is touching the toe board at the front of the circle. Keep your weight mostly on your back foot. Your left arm swings around and ends up pointing upward toward the side or front of the circle.
- Transition to the next step as fast as you can, so you can take advantage of your forward momentum.
-
5Push forward hard and make the shot. Immediately after landing, push off your right foot again, transferring your weight forward onto your left foot. Extend your back leg fully, and push the shot forward at about a 40º angle at the moment when your arm is facing forward. Ideally, your arm should extend over the front of the circle.
-
6Complete the spin to keep your balance. Your push should be strong enough to keep you spinning after the shot is released. Hop on your left foot one or two times to complete the spin, without falling outside the circle.
Using the Spin Throw
-
1Learn the basic throw first. The spin throw involves two complete rotations before the shot is released, which can easily cause you to lose your balance. Being familiar with the basic throwing technique is vital, so you can avoid injuring yourself by flinging the shot with an arm in the wrong position.
- Both the spin throw and the glide throw are used by professional shot putters, with mixed opinions over which is more effective.
-
2Hold the shot as usual. Grip the shot with your fingers and thumb, and press it against your neck.
-
3Stand at the back of the circle. Both shoulders and feet should point to the back of the circle, with your feet shoulder-width apart. Both knees are slightly bent, and your weight is evenly distributed.
-
4Pivot on the right foot. Slowly pivot onto your right foot. Turn your hips and shoulder so you are facing to your right (the left side of the circle). Remember to keep the elbow on your putting arm raised at all times. Pause and prepare to start the spinning motion: the rest of the steps below will all happen within a couple of seconds.
- Switch "left" and "right" if you are left-handed.
-
5Spin around on your left foot. Rapidly pivot on your left foot, bringing your right foot swinging around over the back of the circle.
-
6Jump and land on your right foot. As your right foot swings back into the circle and around, push off your left foot and land with your right foot in the center of the circle. Your knee should be bent and your whole body angled down.[2] You have now rotated 360º – one complete spin.
-
7Push off again to continue the spin. Push off your right foot in the center of the circle, and continue the spin an additional 180º (half rotation). Land with your left foot as close to the toe board as possible, and your right foot back toward the center of the circle.
- Keep your head and right arm in the same position during this spin, to avoid interfering with your shoulder movements.[3]
-
8Release the shot. Use the usual technique to release the shot, as soon as you complete your spin. If you extend your arm straight forward and upward with your elbow raised, the rotational momentum from the spin will be translated into the shot.
Community Q&A
-
QuestionWhat are the basic exercises for shot put?
 Community AnswerWeight lifting for arms and legs. This will give you more power for your shot.
 -
QuestionWhat kind of diet should I have for track?
 Community AnswerProtein! You need a lot of protein to be able to condition the way you need to. Also, don't eat any junk food (candy, chips, cake, etc.). Try to drink lots of water (I drink a gallon a day) and don't drink soda.
 -
QuestionHow can I improve the explosive speed in my arms?
 Community AnswerPunch interval drills develop your arm and shoulder endurance. This constant resistance allows you to build speed and explosive power.
Warnings
- Keep everyone far away from your shot putting area, especially when you are just learning. Use caution around fast-moving heavy objects.⧼thumbs_response⧽
- Never try to throw a shot like a baseball or a basketball, even outside of practice. The weight of the shot can easily pull a muscle in your arm.⧼thumbs_response⧽
References
About This Article
When you’re just learning shot put, use a 4-8 pound shot to reduce the chance on injury. To begin, stand sideways at the back of the 7 foot circle you’re throwing from. Then, cup the shot with your fingers and thumb along the back of the ball without letting the ball touch your palm. Place it under your jawbone, and extend your other arm in the direction of your throw. Next, push off with your back leg and push the shot out by twisting your body and straightening your arm. Keep reading to learn the glide technique!
