X
wikiHow is a “wiki,” similar to Wikipedia, which means that many of our articles are co-written by multiple authors. To create this article, 15 people, some anonymous, worked to edit and improve it over time.
This article has been viewed 109,965 times.
Learn more...
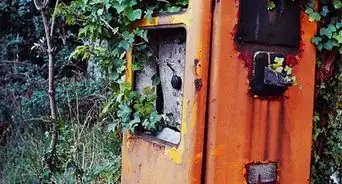
Ever had a film camera sitting in a drawer or a garage, but you weren't sure if it worked or not? It might turn out to be your favourite camera, if you'll give it a chance. There are a few ways to see if it's still got some life in it.
Steps
-
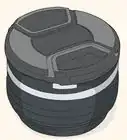
1Make sure all parts are present. Some of these might not be required for the successful operation of your camera. Some, however, might be more important than you think; missing screws, for example, can often lead to light leaking into the camera.
-
2Replace the battery with one of the right size and voltage. Beware, especially, of cameras designed for batteries for which equivalent sizes still exist but equivalent voltages do not. (Hope is not lost if you encounter this: see the Tips below.) While you're there, check the battery compartment for corrosion (usually deposits of a green or white colour). If you find it, wipe it with a damp, slightly soapy paper towel and if needed scratch it away with a sharp screwdriver or a nail file (which will also abrade protective coatings that may or may not have survived) until the battery contacts are clean.Advertisement
-
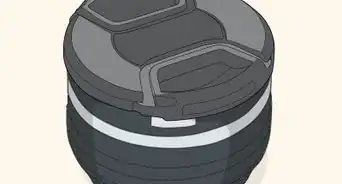
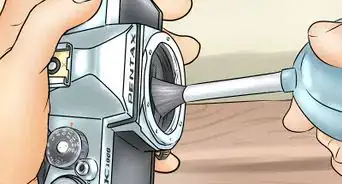
3Make sure the lens is clean. This means, being free of scratches, haze, and fungus. Scratches won't necessarily affect picture performance, fungus often does, and visible haze usually will.
-
4Test the focus and zoom ring. The focus ring should turn smoothly all throughout the range. The zoom ring should turn (or, in the case of some zoom lenses, slide) smoothly throughout its range, too. There should be little slack in the focus ring, except in the very cheapest lenses.
-
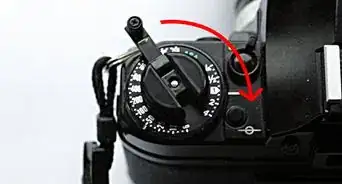
5Make sure all the dials and levers on the camera are not jammed. This includes the shutter speed dial and the ISO/ASA speed dial (if you have them), as well as the film advance lever on manual cameras. Remember that some cameras will have a lock button on the dials which you will need to push before turning.
-
6Check that the aperture ring, if your camera has it, turns smoothly throughout its range. It should not require any force (though remember that some Nikon autofocus lenses will have a lock switch to keep them at minimum aperture!).
-
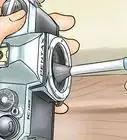
7Check the shutter. To do this, open the back of the camera and point it at a bright light source (not directly at the sun). Fire the shutter at all of its shutter speeds, and ensure that the shutter blades or curtains open and close quickly. You should be able to see a little light through the lens at even very fast (1/1000 upwards) shutter speeds.
If this does not work: Restrict your shutter speeds to those that are known to be good by stopping down or opening up the aperture as needed. But you really should get your camera serviced by a professional, or by you if you are very brave. -
8Check the aperture stop-down mechanism. To do this, set your camera to fully-manual mode, set any shutter speed at an aperture of f/22 (or whatever the smallest aperture of your lens is), and set a slow shutter speed, then look at the front of the lens. You should be able to see the aperture blades stop down, and this should work instantly.
If this does not work: Borrow another lens from the same camera system, if you can, to make sure that it is not a problem with the lens. Otherwise, many lenses, especially for non-SLR cameras, are much sharper wide-open than you would expect, so don't hesitate to use the widest aperture you have if your aperture isn't stopping down properly. If it is stopping down, but not instantly (i.e., it's visibly slow), some camera systems have a stop-down-metering mode, in which you stop down your lens while metering, and keep it stopped down while shooting. -
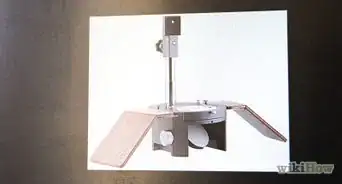
9Check the focus aids, if the camera has them. Manually focus on an upright object (such as a stick in the ground) which is a known distance away; use a tape measure (remember to measure from the film plane if you're measuring close distances, not from the front of the lens). Set that distance on the focus scale on your lens. Check the focus aids to make sure that the image in the viewfinder is sharp (on rangefinder cameras, "sharp" means "the two images in the centre of the rangefinders are aligned).
If this does not work: It's likely that the focus aids are misaligned. Get used to it. Take a number of shots at different distances to see how your camera and lens are misaligned, and memorize it so that you can compensate for it while shooting. -
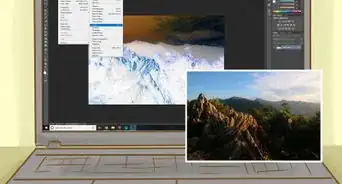
10Test your camera's meter. If you lack a known-good external meter, your best bet is to use your digital camera! Borrow one if you don't have one already. Take a meter reading of a low-contrast scene (a piece of grass or asphalt will do just fine) with your film camera, then shoot the same piece of the same thing with exactly the same ISO, shutter speed and aperture with a digital camera. Check the shot taken with a digital camera to see if there is any massive under- or over-exposure.
If this does not work: You may be lucky and find that your camera is giving a consistently wrong meter reading. Check it in a variety of low-contrast lighting conditions; if you find that a shutter speed of 1/500 would have been appropriate for a scene where your film camera's meter reading was 1/250, and that a different, much dimmer scene where a shutter speed of 1/30 would have been more appropriate for a meter reading of 1/15, then you're golden: either set your exposure manually to use a shutter speed of a stop faster, or use exposure compensation appropriately. If it's inconsistently wrong, then you're going to have to have to carry an external meter with you. Failing that, find some way of compensating so that it's a stop or two in line with reality and shoot a negative film, which has massive exposure latitude. -
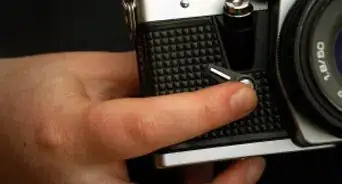
11Test your autofocus, if you have an autofocus camera. Nearly all cameras activate autofocus with a half-press of the shutter button. You should hear or see some movement on the lens, and with SLR cameras, you will see it coming into focus.
If this does not work: If you have an "A/M" or "AF/MF" switch on the lens, make sure it is on "A" or "AF". Otherwise, focus manually. Hopefully, focus confirmation (usually a green dot in the viewfinder when the selected autofocus point is in focus) should continue to work. -
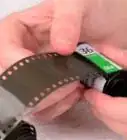
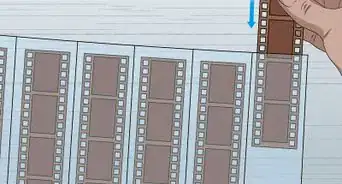
12Make sure the DX code from your film is reading properly. DX coding is a feature on automatic and semi-automatic cameras from the mid-1980s onwards that allows them to automatically read the ISO (sensitivity) of the film. This problem is rare; it's mostly limited to very cheap point-and-shoots and some very expensive Leica cameras. If you're planning on actually taking photographs with it, you may as well check it anyway. Usually, a read-out on the top LCD will tell you what ISO has been detected when you load a film into it.
If this does not work: Try cleaning the DX code reading pins with rubbing alcohol. Otherwise, most cameras will give you a way to set an ISO manually. Set one accordingly. If you do not, all serious automatic cameras have an exposure compensation setting. If the ISO is reading as 100 with an ISO 50 film, then set +1 exposure compensation. If you have an ISO 400 film and the camera is reading it as 200, then set -1 exposure compensation. Remember that a doubling of film speed means one stop of exposure compensation; see How to Understand Camera Exposure.


Advertisement
Community Q&A
-
QuestionHow can I find the cheapest battery for my camera?
 Community AnswerCheck online or at your nearest tech-related store or online.
Advertisement


About This Article
Advertisement