This article was medically reviewed by Sarah Gehrke, RN, MS. Sarah Gehrke is a Registered Nurse and Licensed Massage Therapist in Texas. Sarah has over 10 years of experience teaching and practicing phlebotomy and intravenous (IV) therapy using physical, psychological, and emotional support. She received her Massage Therapist License from the Amarillo Massage Therapy Institute in 2008 and a M.S. in Nursing from the University of Phoenix in 2013.
There are 8 references cited in this article, which can be found at the bottom of the page.
This article has been viewed 12,979 times.
Bone marrow tests are quick, relatively painless procedures that can be done at your doctor's office. They are usually done if you have been diagnosed with a disease that affects your bone marrow or your blood cells, such as anemia, bone cancer, leukopenia, or hemochromatosis. There are two types of tests: a bone marrow aspiration and a bone marrow biopsy.[1]
Steps
Undergoing Testing as a Patient
-
1Make an appointment for the tests with your doctor. Your doctor may perform the bone marrow tests in their office, as they usually take no more than 30 minutes total.[2] Book an appointment for one or both tests, depending on the advice of your doctor.[3]
- Your doctor may suggest you get both tests done to have a more detailed range of results.
- Your doctor may not be equipped to do this test themselves. In this case, they may refer you to a different doctor.
-
2Tell your doctor about any medications you are on. Before you take the tests, let your doctor know if you are taking any medications or if you are allergic to any medications. You should also tell them if you are pregnant or if you have any medical issues or disorders, especially bleeding disorders.[4]Advertisement
-
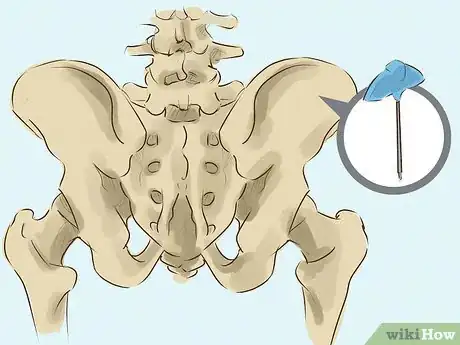
3Remain calm and still during the tests. The bone marrow aspiration and the bone marrow biopsy should take no longer than 10-15 minutes to perform. In most cases, the sample will be taken from the back ridge of your hip bone. The area will be numbed with local anesthesia, so you should not feel more than a slight sting or a sharp but brief pain. Your doctor will walk you through each step of the test so you are aware of what is happening and can remain calm.[5]
- If you are worried about the pain, you can ask your doctor for an IV sedation. This will ensure you are not awake for the procedure and will not feel any pain.
-
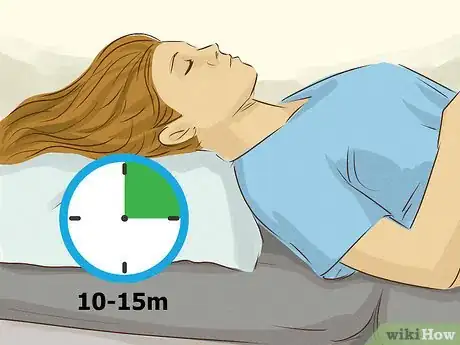
4Lie on your back for 10-15 minutes to allow the anesthesia to wear off. Once the procedure is over, you will need to rest for several minutes and avoid rising up too quickly. The doctor will apply pressure to the area before putting a bandage on.[6]
- If you received IV sedation, you will need to have someone drive you home and rest for 24 hours so the sedation can wear off.
-
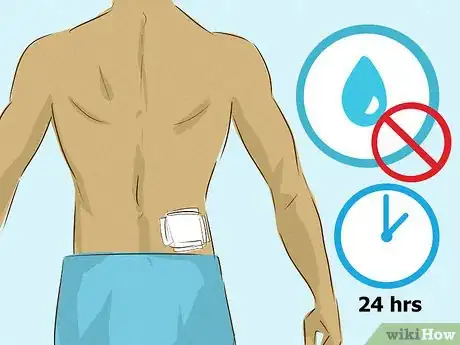
5Keep the bandage dry for 24 hours. Do not wet the bandage in the shower or bath, as this can negatively affect the incision. Wrap the bandage in plastic wrap to keep it from getting wet if you do bathe or shower. After 24 hours, it is okay for you to get the area wet.[7]
-
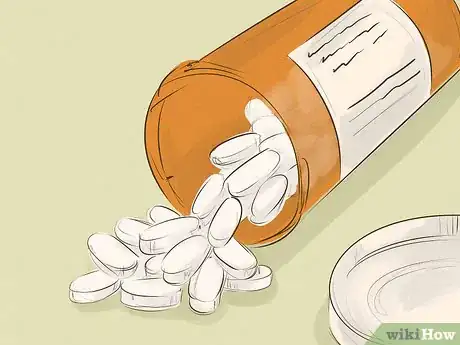
6Take over-the-counter pain medication if the area feels tender or painful. The incision area can feel irritated and sensitive to the touch for the next few days as it heals. Take ibuprofen or acetaminophen to reduce any pain. Follow the dosage instructions on the label and never take more than the recommended amount.[8]
- The pain and tenderness should fade within a week.
-
7Go to the doctor if you experience swelling, fever, excessive bleeding, or severe pain. These are signs the incision area may have become infected. Head to your doctor's office or the nearest medical center right away for treatment.[9]
Performing Tests on a Patient
-
1Read your standard operating procedure for bone marrow tests. Check with your office, hospital, or health center to make sure that you are following the right procedure for bone marrow tests. Have the patient sign any necessary consent forms first, and check that you have the right patient's information.[10]
- While these steps are general guidelines for performing bone marrow tests, you should always consult your standard operating procedure before going ahead with tests.
-
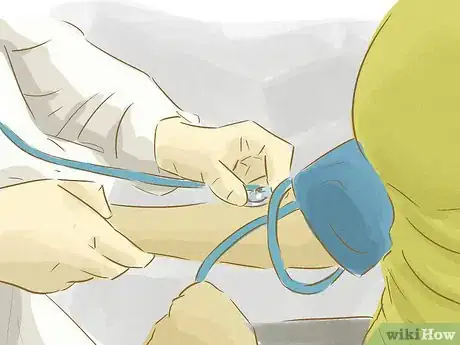
2Check the patient's blood pressure and heart rate. Use a blood pressure monitor to ensure their reading is normal. You should also use a stethoscope to monitor whether their heart rate is within normal range.[11]
-
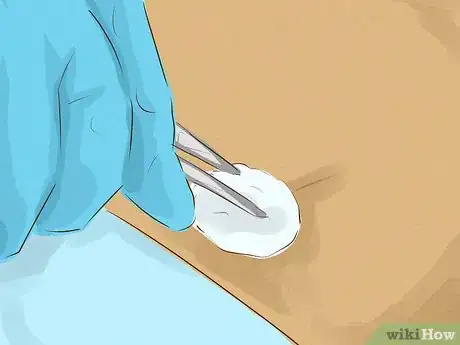
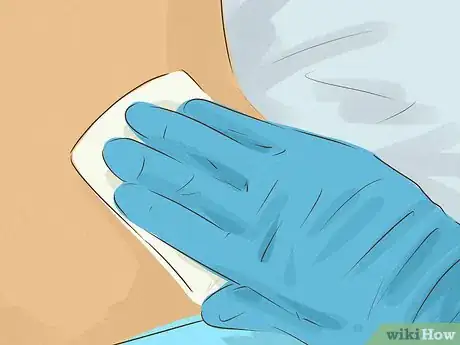
3Clean and mark an area on the patient's hip bone. The bone marrow sample will be drawn from the top ridge of the back or front of the patient's hip bone.[12]
- In some cases, you may collect the sample from the patient's breastbone if their hip area is not available.
- For children under the age of 18 months, collect the sample from the lower leg bone.
-
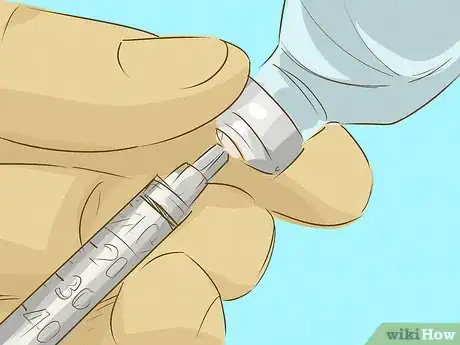
4Apply local anesthesia to the area. Explain to the patient that you are applying local anesthesia in the area where the sample will be taken, and that the pain will be brief. If the patient is worried about the pain, you can give them IV medication so they are sedated during the exam.[13]
-
5Ask the patient to lie down on their abdomen or side. Drape a cloth over their body so the incision area is exposed on the front or back of their hip bone.[14]
-
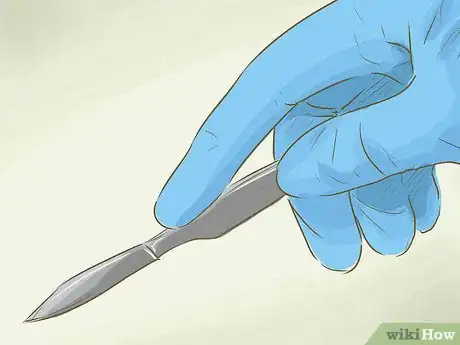
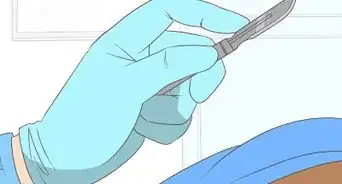
6Make a small incision and perform a bone marrow aspiration. Use a scalpel to make a small incision on the marked area and place a needle with a syringe into the incision. Then, withdraw the liquid part of their bone marrow into the syringe for testing. Let the patient know they may feel a small sharp pain or stinging in the area as the bone marrow is being removed.[15]
- You may take more than 1 sample, requiring separate needles for each, for testing.
- In rare cases, you may not be able to withdraw the bone marrow from the selected spot and will need to find a different spot for the test. Let the patient know if this is the case and adjust the area accordingly.
-
7Do a bone marrow biopsy. If you are also performing a bone marrow biopsy on the patient, switch to a larger needle and withdraw a sample of solid bone marrow tissue. The needle is designed to collect the solid part of the patient's bone marrow. Let the patient know they may feel a brief, sharp pain or stinging as the sample is removed.[16]
- The aspiration and the biopsy should take no more than 5-10 minutes to complete.
-
8Apply pressure and a bandage on the incision. Put light pressure on the insertion area to stop the bleeding. Then, place a clean bandage on the area to keep it clean and help it heal.[17]
References
- ↑ https://medlineplus.gov/lab-tests/bone-marrow-tests/
- ↑ https://my.clevelandclinic.org/health/diagnostics/17735-bone-marrow-biopsy
- ↑ https://www.nhlbi.nih.gov/health-topics/bone-marrow-tests
- ↑ https://www.nhlbi.nih.gov/health-topics/bone-marrow-tests
- ↑ https://medlineplus.gov/lab-tests/how-to-cope-with-medical-test-anxiety/
- ↑ https://my.clevelandclinic.org/health/diagnostics/17735-bone-marrow-biopsy
- ↑ https://my.clevelandclinic.org/health/treatments/22297-bone-marrow-aspiration
- ↑ https://www.nhlbi.nih.gov/health-topics/bone-marrow-tests
- ↑ https://www.nhlbi.nih.gov/health-topics/bone-marrow-tests
- ↑ https://www.cdc.gov/infectioncontrol/basics/standard-precautions.html
- ↑ https://medlineplus.gov/lab-tests/bone-marrow-tests/
- ↑ https://medlineplus.gov/lab-tests/bone-marrow-tests/
- ↑ https://my.clevelandclinic.org/health/diagnostics/17735-bone-marrow-biopsy
- ↑ https://medlineplus.gov/lab-tests/bone-marrow-tests/
- ↑ https://www.ncbi.nlm.nih.gov/books/NBK559232/
- ↑ https://www.hopkinsmedicine.org/health/treatment-tests-and-therapies/bone-marrow-biopsy
- ↑ https://www.hopkinsmedicine.org/health/treatment-tests-and-therapies/bone-marrow-biopsy













Medical Disclaimer
The content of this article is not intended to be a substitute for professional medical advice, examination, diagnosis, or treatment. You should always contact your doctor or other qualified healthcare professional before starting, changing, or stopping any kind of health treatment.
Read More...