This article was co-authored by wikiHow staff writer, Travis Boylls. Travis Boylls is a Technology Writer and Editor for wikiHow. Travis has experience writing technology-related articles, providing software customer service, and in graphic design. He specializes in Windows, macOS, Android, iOS, and Linux platforms. He studied graphic design at Pikes Peak Community College.
The wikiHow Tech Team also followed the article's instructions and verified that they work.
This article has been viewed 30,482 times.
Learn more...
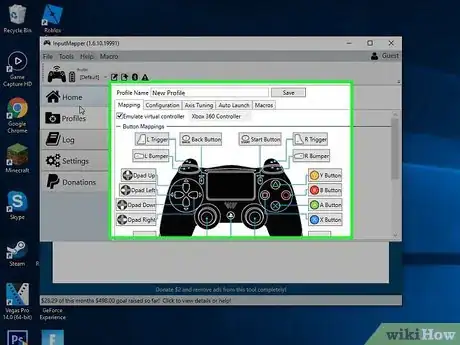
Your PS4 Dualshock controller doesn't just work for the PS4, but it can be synced to your computer as well. This wikiHow teaches you how to pair your PS4 game controller with a Windows or Mac computer. While it's easy to pair your PS4 controller with your computer, not all games natively support the Dualshock 4 controller. On Windows, you can use the InputMapper app to make your PS4 controller appear like an Xbox 360 controller, which is more widely supported on most Windows games.
Steps
Pairing Via Bluetooth on Windows
-
1
-
2Advertisement
-
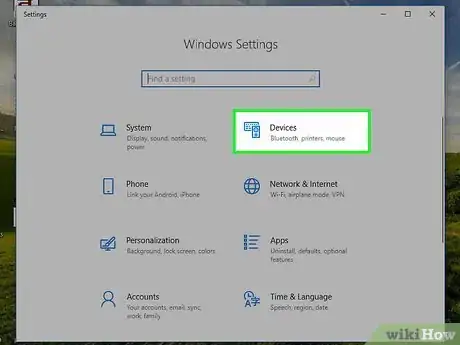
3Click Devices. It's the option with the icon that resembles an iPod and a keyboard.
-
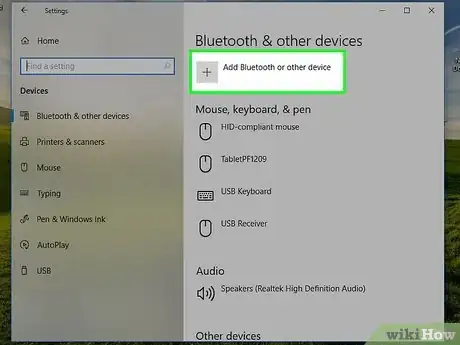
4Click + Add Bluetooth or other device. It's at the top of the Devices menu in settings. Click "Bluetooth or other devices" in the sidebar to the left, if you don't see this option at the top of the menu. This opens a pop-up window and scans for nearby devices.
-
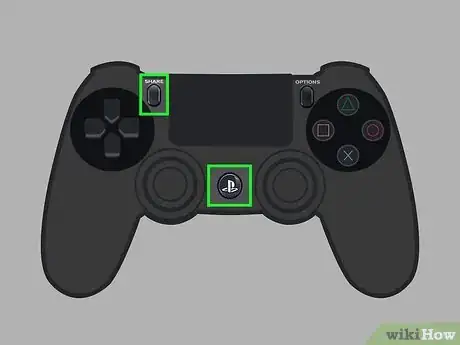
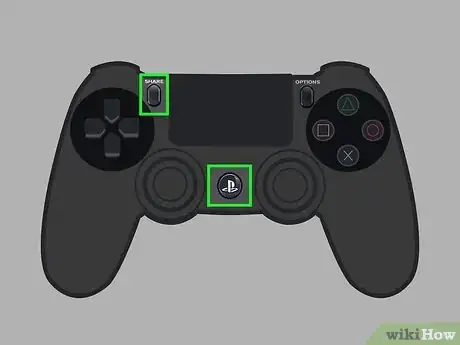
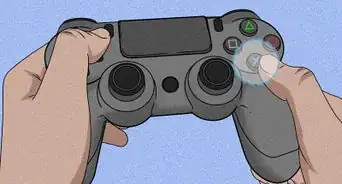
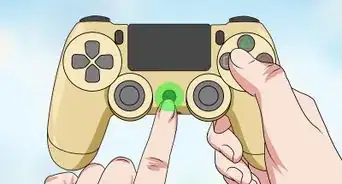
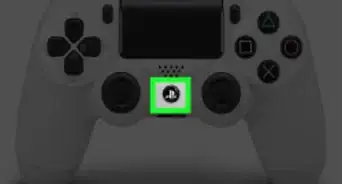
5Press and hold the 'PS' and 'Share' buttons on the PS4 controller. The PS button is the circular button with the PlayStation logo between the two analog sticks and the Share button is to the left of the touchpad. Hold these buttons for about 10 seconds until the indicator light starts repeatedly flashing twice in quick secession. This will make your PS4 controller discoverable via Bluetooth and you should see "Wireless Controller" appear on the computer's list of nearby devices.
-
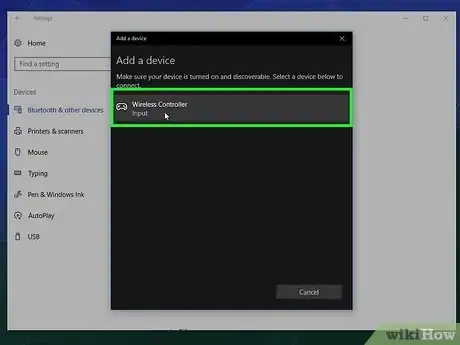
6Click Wireless Controller to pair the controller. When the PC discovers your PS4 controller, "Wireless Controller" will appear in the list of Bluetooth devices. Click it when it appears and allow a few moments for the device to pair with the computer. Once the devices are paired, you will see it listed as one of your paired devices under Bluetooth or Other Devices in the Settings menu.
-
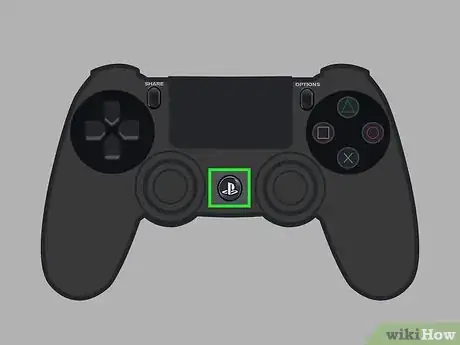
7Press the 'PS' to turn on your controller. The lightbar won't light-up like it usually does when connected to the PS4, but it will still be on.
- To connect your PS4 controller back to the PS4 game console, simply pair the PS4 controller back with the PS4 game console and press the PS button.
Using InputMapper on Windows
-
1Pair your PS4 controller via Bluetooth. Use the steps outlined in Method 1 to pair your PS4 controller with your PC.
-
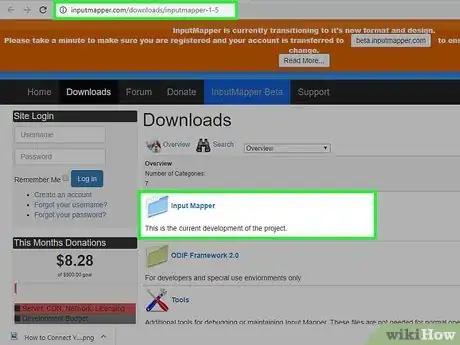
2Go to https://inputmapper.com/downloads/inputmapper-1-5 in a web browser. Use your preferred web browser to go to the official InputMapper download page.
-
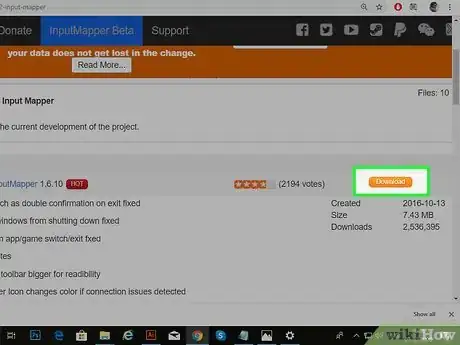
3Click Download. It's the orange button across from InputMapper 1.6.10.
- InputMapper is only available for Windows.
-
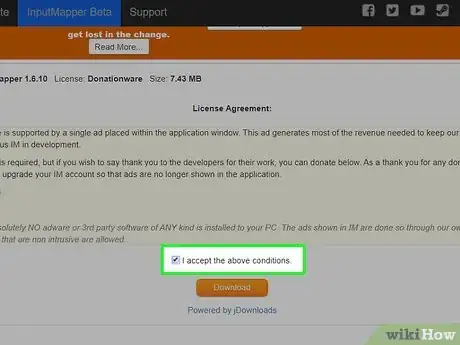
4
-
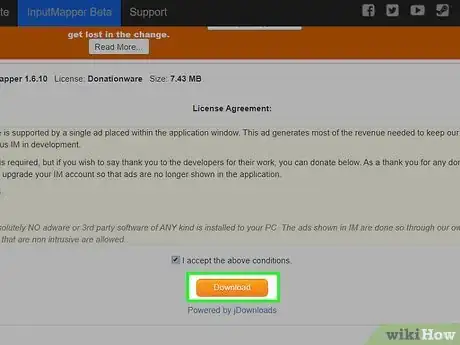
5Click Download. It's the orange button below the terms and conditions.
-
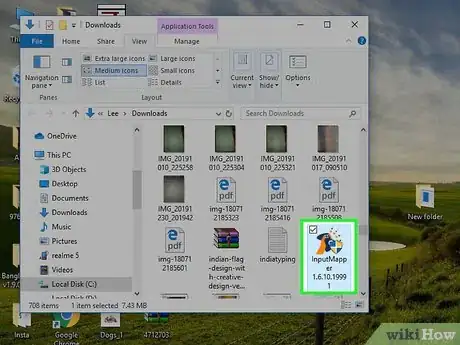
6Double-click the installation file. After the install file is finished downloading, click it. The full filename is "InputMapper 1.6.10.19991.exe".
- By default, your downloaded files will be found in your "Downloads" folder.
-
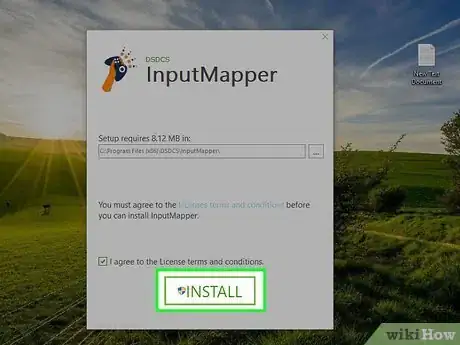
7Click Install and follow the prompts to install InputMapper. It's the green box at the bottom of the install window.
-
8
-
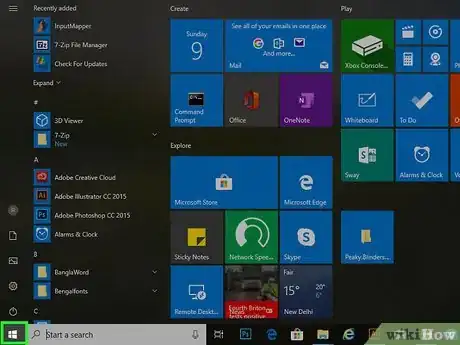
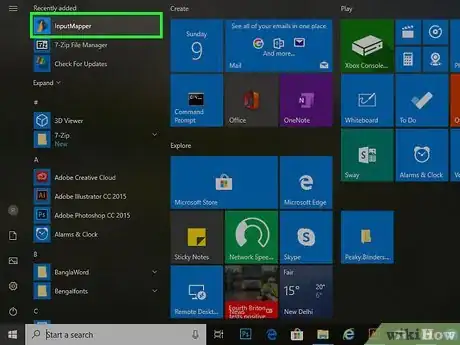
9Click the InputMapper app. It's the app that has an icon of a hand holding a controller located in your list of apps.
- The first time the app launches, the app may require an additional add-on to be installed. Click "Yes" that you agree to it, and then click "Install".
-
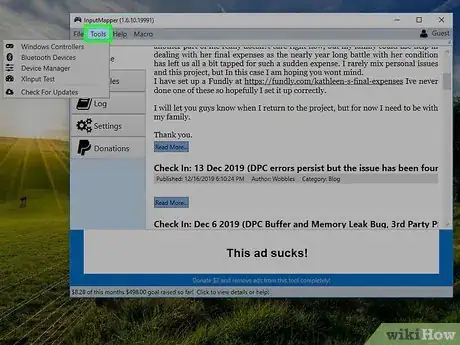
10Click Tools. It's in the menu bar at the top of the InputMapper app.
-
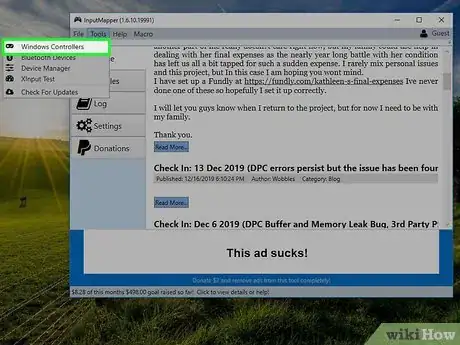
11Click Wireless Controllers. It's the first option in the tools menu. This will display a list of installed wireless controllers on your PC.
-
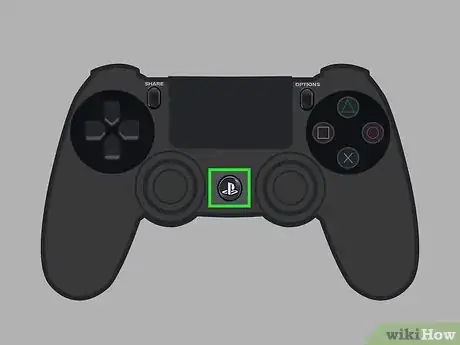
12Press the 'PS' button on the PS4 controller. It's the button with the PlayStation logo between the analog sticks.
-
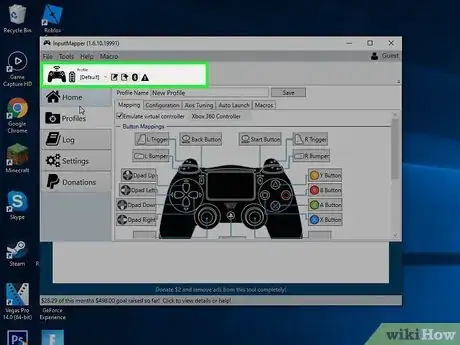
13Click Wireless Controller. As soon the PS4 Wireless Controller appears in the list of installed controllers in InputMapper's Wireless Controllers menu, click it.
-
14Click OK. The lightbar on your PS4 controller will light up green. InputMapper is now mapping your PS4 controller as an Xbox 360 controller. This makes it compatible with a lot more games.
Pairing Via Bluetooth on Mac
-
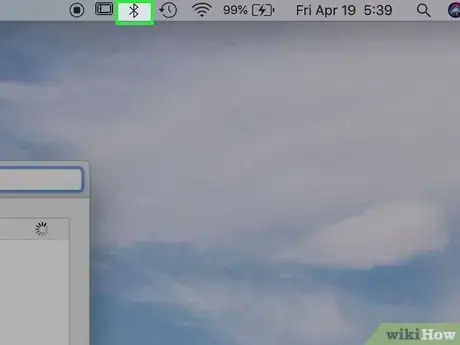
1
-
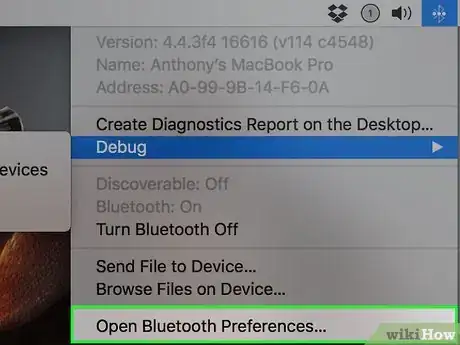
2Click Open Bluetooth Preferences. It's at the bottom of the Bluetooth menu. You will see a list of all Bluetooth devices paired with your Mac.
-
3Press and hold the 'PS' and 'Share' buttons on the PS4 controller. The PS button is the circular button with the PlayStation logo between the two analog sticks and the Share button is to the left of the touchpad. Hold these buttons for about 10 seconds until the indicator light starts repeatedly flashing twice in quick secession. This will make your PS4 controller discoverable via Bluetooth and you should see "Wireless Controller" appear on the computer's list of nearby devices.
-
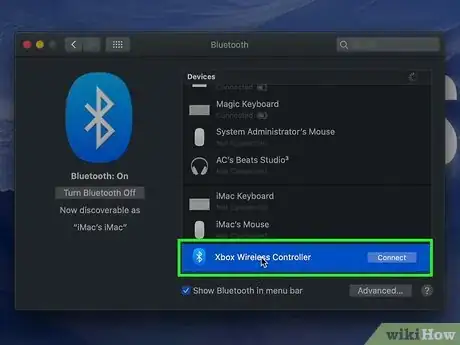
4Click Connect for "Wireless Controller". When your Mac discovers the PS4 controller, you will see "Wireless Controller" in the list of Bluetooth devices. Click the "Connect" button across from it on the right. The lightbar on the PS4 controller will light-up a light-blue color when it is connected.
- To connect your PS4 controller back to the PS4 game console, simply connect the PS4 controller back to the PS4 game console and press the PS button.
