This article was co-authored by Alessio Iadicicco. Alessio Iadicicco is an Apparel Manufacturing Specialist and the CEO and Co-Founder of MarkersValley, an online apparel and manufacturer sourcing platform that connects luxury fashion brands to a network of highly-vetted, truly Italian manufacturers. He holds a Bachelor's degree in Economy and Management of Financial Enterprises from The University of Naples Federico II. MarkersValley has connected fashion brands in over 100 countries and has a network of over 100 independent Italian factories and artisans. MarkersValley has been featured in Forbes, EQ, St. Louis Business Journal, Il Mattino, and Corriere Della Sera.
This article has been viewed 40,355 times.
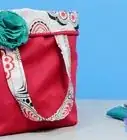
Make a simple fabric bag from a favorite piece of fabric, using basic sewing skills and making as few changes as possible.
Steps
Two piece fabric bag
-
1Prepare the pieces needed for the bag. You'll need around 1 yard (0.9 m) of fabric for this bag, folded and cut as follows:
- Fold the fabric for your bag in half.
- Decide the length you want the bag to have. Cut the fabric to this length, making two folded pieces of exactly the same length. Put the two bag pieces to one side.
- Cut strips. Using the remaining material, unfold it and cut four strips out of equal length and width, to form the straps. The length of the straps is up to you, just remember that the length will be halved when worn over your shoulder.
-
2Fold one of the bag pieces with the right sides facing together. Fold the other bag piece with the wrong sides facing together.
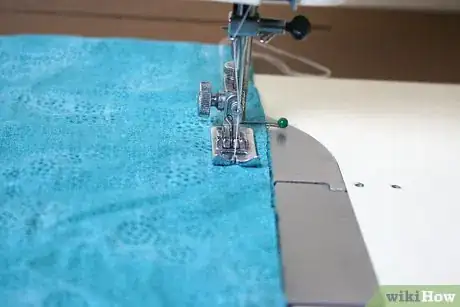
- Sew the right and left sides of the two bag fabric pieces together. Do not sew the bag's opening.
Advertisement -
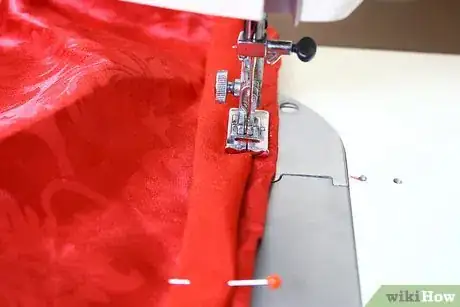
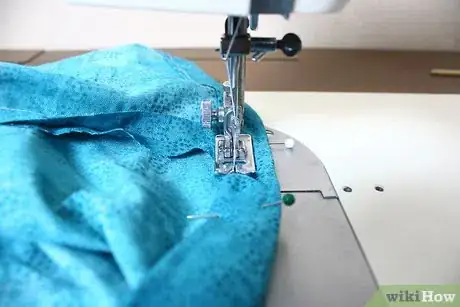
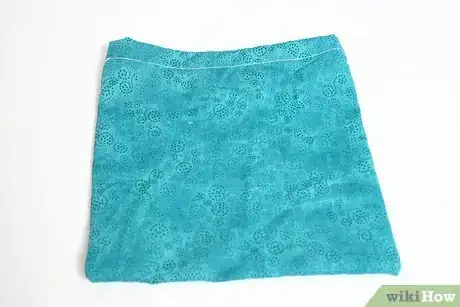
3Turn the bag pieces inside out. From all the way around the rim, fold the fabric over 1 inch/2.5cm, so that the fold it on the outside. Then sew at the very bottom of the fold. Turn the bag right side out.[1]
-
4Cut another piece of fabric. For a standard sized bag, this should be around 2 inches/5cm tall; adjust height as needed.
- Wrap this cut piece all the way around the top part of the bag.
- Pin it in place.
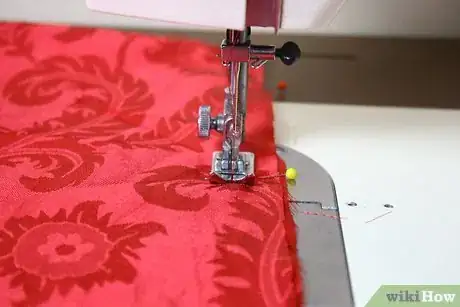
- Sew along the very top of the piece, including the bag in your stitches. Then sew the bottom of the piece in the same way.
-
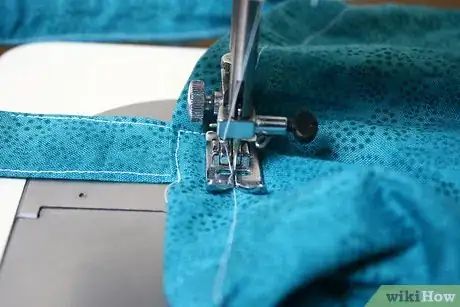
5Add the straps. Place the strap pieces with the wrong sides facing together; sew the left and right sides together. Then turn the bag inside out and sew one side of the strap to the left end of half of the bag and sew the other side to the right end of the bag. Repeat on the other half of the bag.[2]
- When you sew the straps on, place them a little lower, so that on each base of the strap, you're sewing the bottom of it and the top, which is where the bag stops meeting the strap.
-
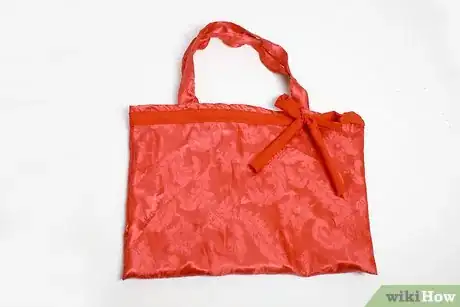
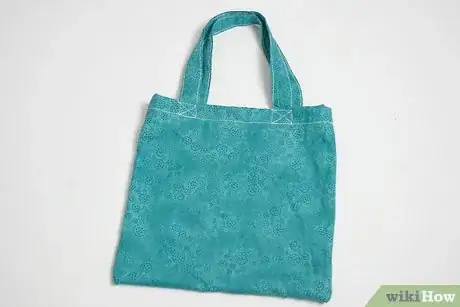
6Done. This very simple carry bag is now complete.
One piece fabric bag
-
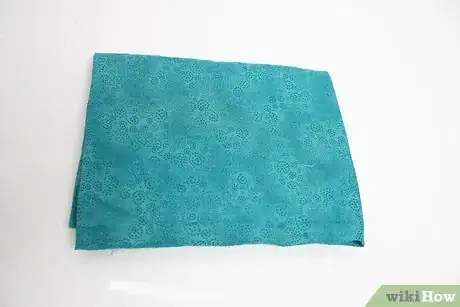
1Choose the fabric for the bag. The fabric should be strong enough to carry items and to be used on a regular basis. If you want to use flimsier fabric, you'll need lining fabric as well, which adds to the complexity of making the bag, so only do this if it's really necessary.
-
2Decide on the size of the bag. Double this measurement and draw it onto the piece of fabric you're going to use (use a fabric marker). The shape should be either a rectangle or a square.
-
3Cut out the fabric to the chosen size.
- If using lining as well, you'll need to cut this out at the same time.
-
4Fold the fabric in half, wrong side facing out. The fold now becomes the base of the bag and it's already ready for stitching together.[3]
- If using lining, place it on the fabric's wrong side before folding. Pin in place, then stitch onto the fabric, all the way around. Then fold the whole piece, lining side facing outward.
-
5Stitch up the two sides of the fabric piece. Stitch from the base end of the bag to the end of each side. Leave the top portion unstitched; this becomes the bag's opening.[4]
-
6Turn the unstitched edge over about 1/2 an inch/1 cm. Stitch this folded edge in place, neatly, taking care to not catch the other side of the bag (the bag opening must stay open). This folded portion creates a neat and stronger edge for the bag.
-
7Turn the bag inside out. You now have the base section of the bag. All you need to do now is add handles.
-
8Add the handles. To keep things simple, prefer one strap only for the bag. Decide on the length of the strap, remember that when it's over your should, the length halves. Cut out a strip of the same fabric to the measurement you've made. The width of this should be about 4 inches/10cm.[5]
- If lining the strap, cut the lining to the same measurements, then stitch or glue the lining to the wrong side of the strap fabric before proceeding with the next step.
- Fold the strap piece in half, right side facing out. Stitch the joined section together.
- Stitch one end of the strap to one end of the bag's opening. Repeat for the other end of the strap, on the opposite side of the bag.
- Remove any thread or excess pieces of fabric.
-
9Done. The simple bag is now complete.
Community Q&A
-
QuestionWhere do I buy needles?
 Community AnswerYou can buy them anywhere - supermarkets, craft shops, art shops, haberdasheries, etc.
Things You'll Need
Method 1:
- Around 1 yard (0.9 m) of fabric for your bag (around 1 yard)
- Around 1/2 a yard of fabric for the straps
- A sewing machine
- Ruler/tape measure
- Scissors
Method 2:
- Piece of fabric large enough for a bag
- Lining fabric (optional)
- Scissors
- Measuring tape
- Fabric marker
- Sewing machine or needle and thread

