X
This article was co-authored by Patrick Johns. Patrick Johns is a Home Improvement Specialist and the Owner of CatchAll Handyman Services. With more than 28 years of experience, he has worked on a variety of home improvement projects, such as carpentry, plumbing, and door and window installations in both commercial and residential properties.
This article has been viewed 51,904 times.
Washerless faucets come in many forms, and are not as intuitive as a simple compression faucet. However, the most common problems are caused by damaged O-rings and seals, a problem anyone can fix. Even if you don't know what type of faucet you have, these instructions will teach you how to get at the right parts.
Steps
Method 1
Method 1 of 4:
Getting Started
-
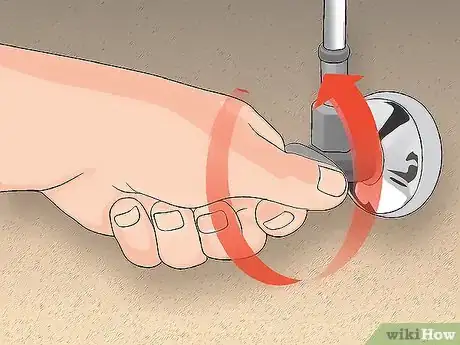
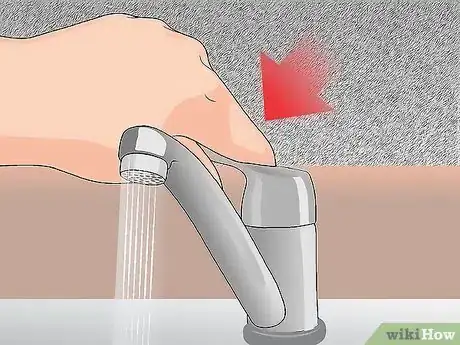
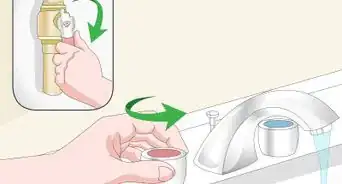
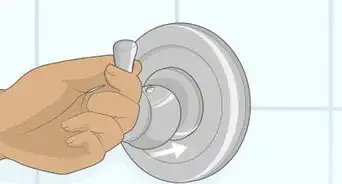
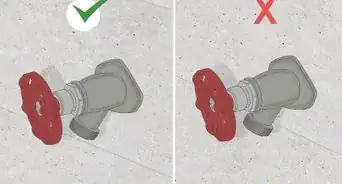
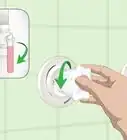
1Shut off the water. Look under your sink for a water shutoff valve. Turn it to the closed position, and test the faucet to make sure the water is not flowing.[1]
- If you are repairing a bath faucet, shut off the house water supply at the main valve. You may also need to remove the spout or handles to reveal the faucet mechanism,.
-
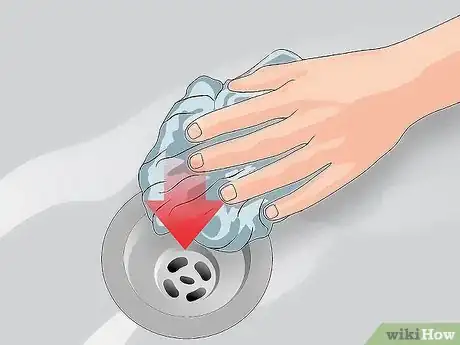
2Plug the sink drain. Stuff a rag or other object into the drain to prevent small parts from falling into the pipes.Advertisement
-
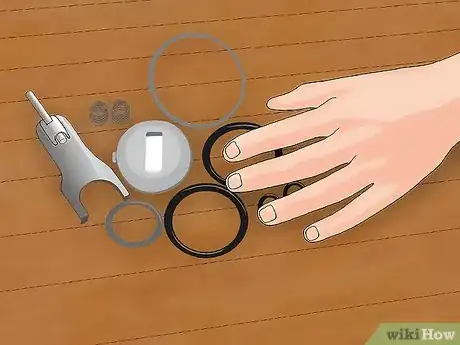
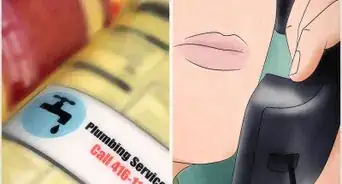
3Consider buying a repair kit. Most washerless faucet leaks require a replacement part to fix. If you know your faucet manufacturer, you can order a repair kit that contains all the parts you need. Otherwise, you will need to disassemble your faucet and take the faulty part to a hardware or plumbing store to identify and order.
-
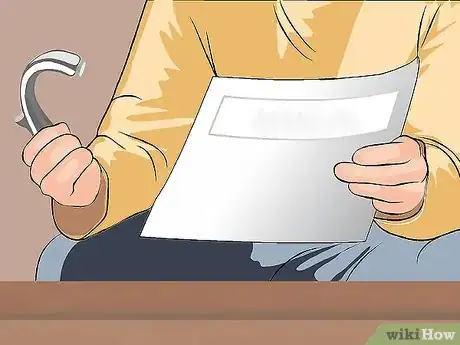
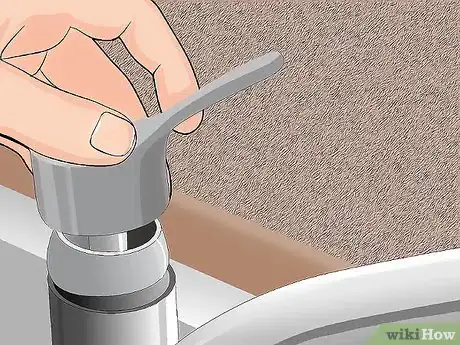
4Move on to the instructions that match your faucet. There are several types of washerless faucet. The faucet will be easier to identify once you've removed the handle.
- Ball faucets have a single handle that rotates over a ball.
- One handled faucets on a cylinder may be cartridge or ceramic disk faucets. The cartridge is more likely as it needs repairs more often, so start with those instructions. If they don't match what you see, try the ceramic disk instructions.
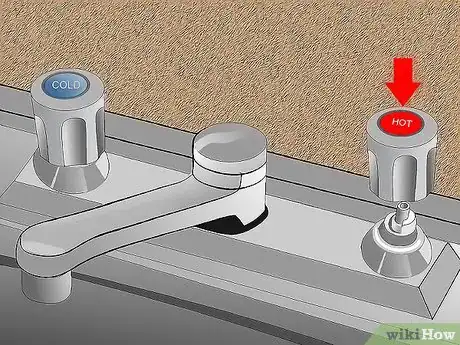
- Two handled washerless faucets are cartridge faucets.
Advertisement
Method 2
Method 2 of 4:
Ball Faucet
-
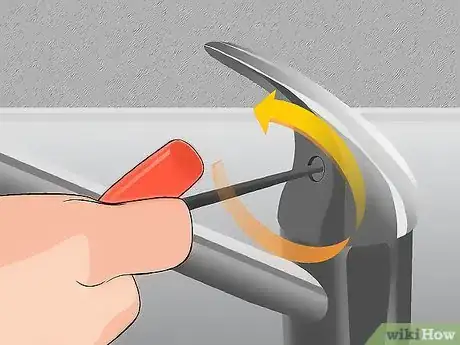
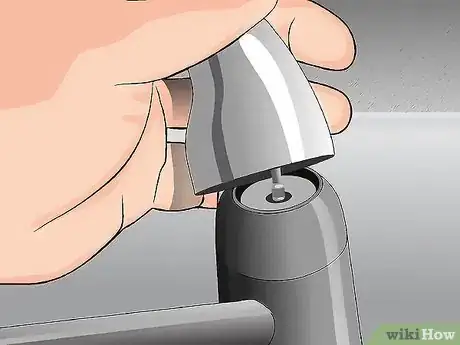
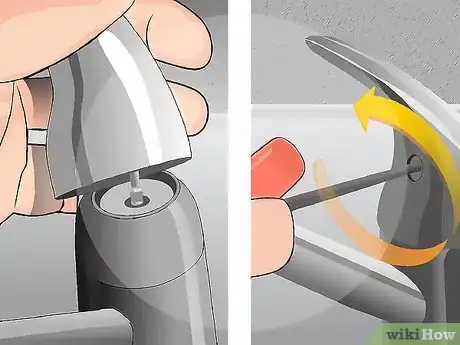
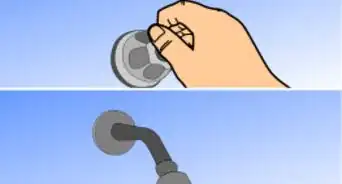
1Remove the handle. Unscrew the handle and set it aside. You should see a metal cap with a small threaded washer (the adjusting ring) set into it.
-
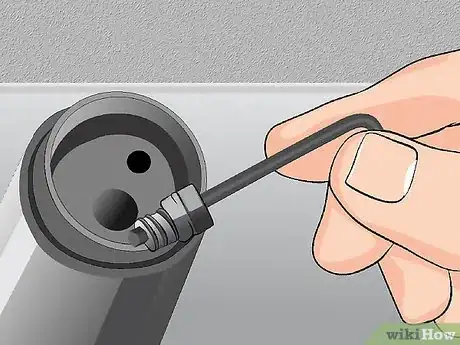
2Repair a leaking handle. If the water leaks from the handle, you can usually fix the problem quickly:[2]
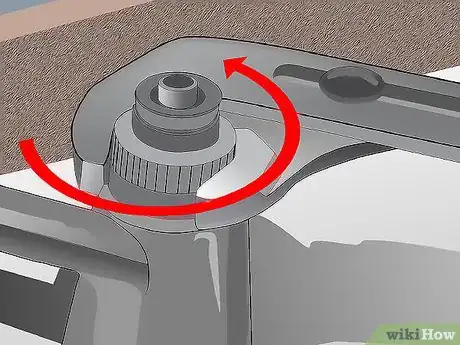
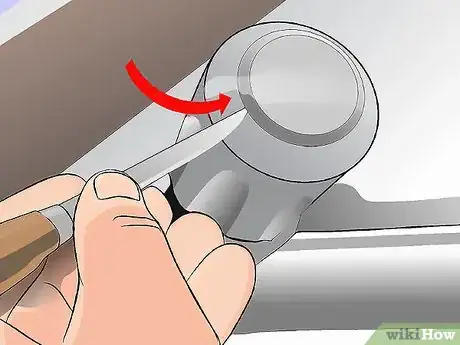
- Place a kitchen knife or putty knife into the slots on top of the washer. (If necessary, you can buy a repair kit with a special tool for this purpose.)
- Turn the ring a short distance clockwise.
- Replace the handle and turn on the water. If the handle still drips, turn off water and tighten further.
- Tighten in small movements only. Overtightening can make the handle difficult to turn.
-
3Consider a full replacement. If the leak comes from the spout, or if adjusting the washer didn't fix the problem, consider buying a new faucet. Ball faucets are difficult to repair and do not have a long lifespan compared to other options.[3] Removing the whole thing and installing a new one is much easier. If you do decide to repair it yourself, continue on to the next step.
-
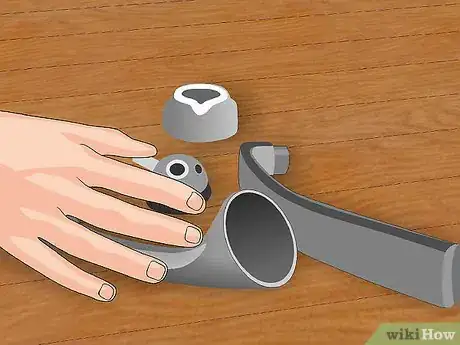
4Disassemble the faucet. Leaks coming from the spout happen due to corroded or broken parts further down in the faucet. Carefully remove each of the following, noting (or photographing) how the parts fit together:[4]
- Remove the top metal cap and collar with slip-joint pliers, then lift out the spout.
- Lift out the plastic cam and cam washer. If you cannot remove this with pliers, your faucet may require a special tool from a repair kit.[5]
- Remove the ball.
-
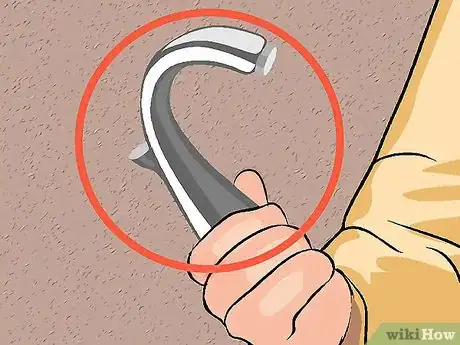
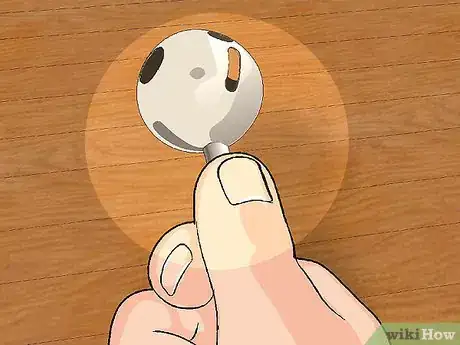
5Inspect the ball for wear. If the ball looks pitted or corroded, it needs replacement. You must find a part exactly the same size, but it does not need to be the same material. Plastic balls are cheaper, while brass balls last longer.[6]
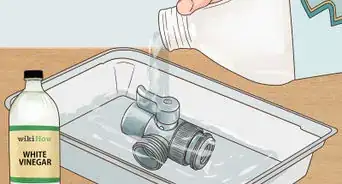
- If the ball looks fine apart from slight mineral buildup, dissolve the mineral with a few drops of distilled white vinegar and scrub with a plastic scouring pad.[7]
- Even if the ball is corroded, inspect the other parts as described below. More than one part may need replacement.
-
6Carefully remove the valve seats and springs.[8] The ball sits on top of valves that control the water flow. Carefully remove the two valve seats with needle-nose pliers or a pencil. A spring should pop out as you remove each one. If a valve seat or spring shows signs of wear, you will need to replace that part.
-
7
-
8Reassemble the faucet. Once all parts are cleaned or replaced, reassemble the parts in the reverse order you removed them. Pay special attention at these points:[11]
- Line up the slot or mark on the ball with the notch on the faucet body.
- Line up the lug on the cam with the same notch.
- To reinstall the spout, twist while pushing down hard.
-
9Make final corrections. If the spout still leaks, make sure each part is tight. If the handle leaks, tighten the adjustment ring at the top of the mechanism, as described at the start of this section.
Advertisement
Method 3
Method 3 of 4:
Cartridge Faucet
-
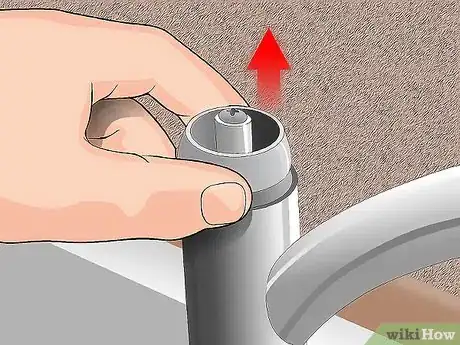
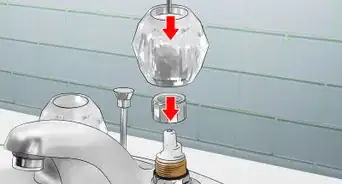
1Remove the cap, handle, and spout. Pry off the top cap with a screwdriver; the screw will usually be underneath this cap. Unscrew the handle, then pull it back and upward to remove it. Pull away the spout as well.
- You may need to lever out the handle with a screwdriver. Take care not to apply too much force, or the handle will break.
-
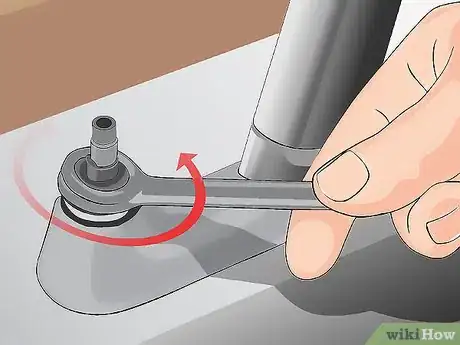
2Look for retaining clips or nuts. The cartridge inside is a cylinder tapering to a thin stem pointed upward. Depending on your model, you may need to remove one or more of the following before you can get to it:[12] [13] [14]
- A retaining nut above the cartridge, removable with slip joint pliers.
- A horizontal metal clip holding the cartridge down. This may be removable by hand or small pliers.
- A tiny plastic retaining clip at the base or side of the cartridge. Use needlenose pliers to pull this out carefully. Note its position so you can reinstall it later.
-
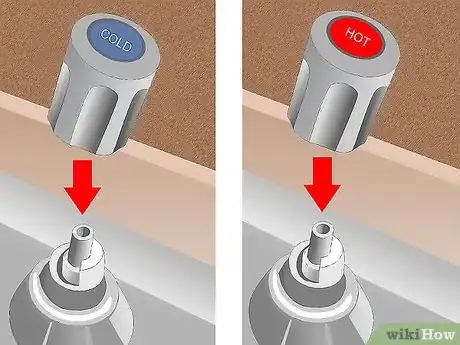
3Note the position of the cartridge. Look for identifying features on the cartridge, such as a tab or notch. Make a note of their position compared to the notches on the faucet body underneath it. If you later reinstall the cartridge in a 180º position, you could switch the hot and cold taps.
-
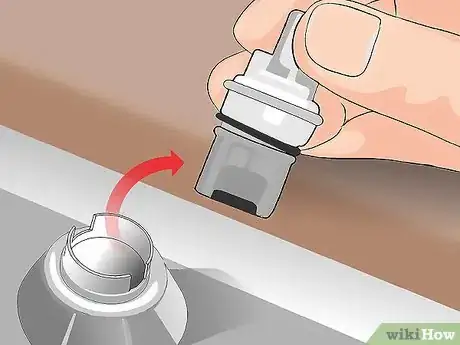
4Remove the cartridge. Grip the stem of the cartridge with a pair of pliers. Attempt to twist and lift without using excessive force. Some cartridges require a special tool to remove, ordered from a plumbing parts store.
-
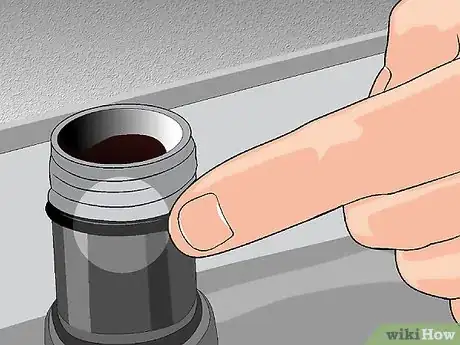
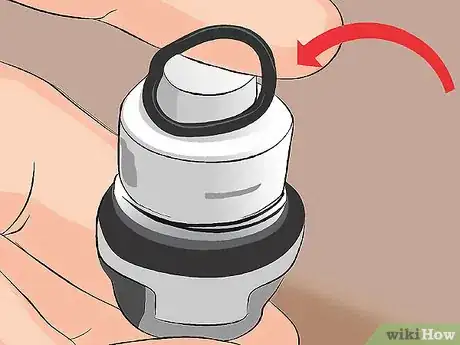
5Replace damaged O-rings. There are usually several O-rings along the body of the cartridge, plus a couple more on the faucet body. If any of these show signs of wear, replace them:
- Cut away the old O-rings.
- Apply nontoxic, heatproof plumber's grease to the new O-rings.
- Slide the O-rings over the cartridge or faucet body to the same position.
-
6Reassemble the faucet. Line up the cartridge in the position you noted and push it down to fit into the faucet body. Reassemble the other parts on top of the cartridge.
Advertisement
Method 4
Method 4 of 4:
Ceramic Disk Faucet
-
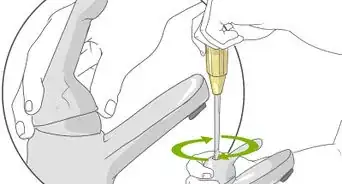
1Remove the handle and cap. You may need to tilt the handle back or remove a decorative cap to reveal the screw. Unscrew the handle, remove it, then remove the escutcheon cap underneath.
- Some faucets have a locking nut you'll have to remove as well.
-
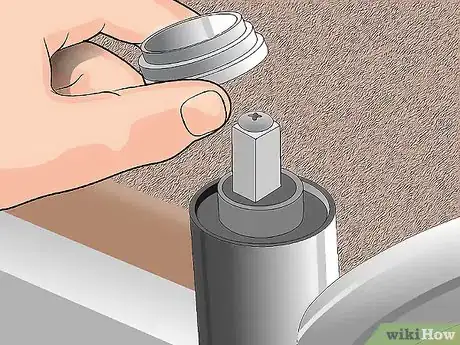
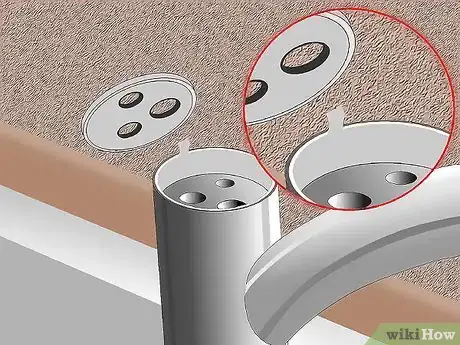
2Unscrew the cylinder. You should see a cylinder with a protruding stem. Loosen the two screws fastening this in place, and lift the whole assembly out. Note the position of the cylinder, as the base has inlet holes which must match the holes underneath it.
- If the cylinder does not lift easily, try cleaning its edges with a few drops of distilled white vinegar. If that still doesn't work, you can get a special extraction tool for this purpose from a plumbing store.[15]
-
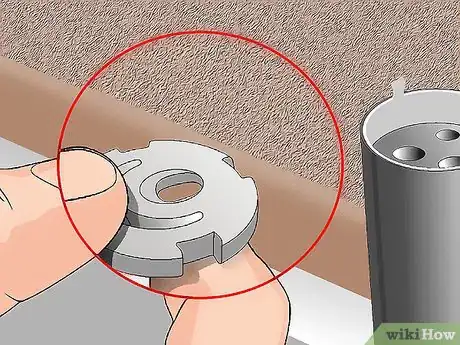
3Inspect the O-rings or seals. Two-handled ceramic disk faucets usually have a simple O-ring around the cylinder, plus a seal and spring underneath. One-handled ceramic disk faucets usually have three seals underneath the cylinder. Corroded O-rings can be replaced with a new O-ring after greasing it with nontoxic, heatproof plumber's grease. The seals can be more of a pain to work with, but you can install them in much the same way if they are damaged.
- Take the old seals to a hardware store to ask for replacement.s
-
4Consider replacing the ceramic disk assembly. The cylinder and the disk inside it are sturdy and rarely need replacement. However, replacements are usually cheap, and just need to be screwed in.[16] If you can't find the source of the problem, or just don't want to deal with the tiny seals, order a replacement with the exact same dimensions and shape.
-
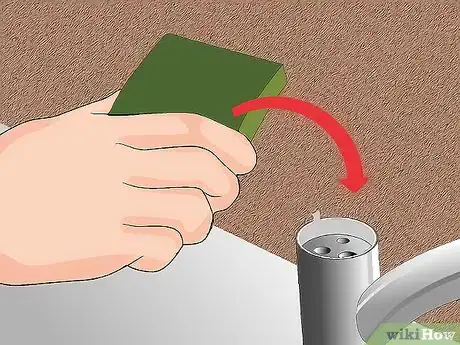
5Clean the cylinder openings if necessary. If there is mineral buildup on the cylinder, clean the openings with distilled white vinegar and a plastic scouring pad.[17] Rinse thoroughly.
-
6Reassemble. Insert each component in the reverse order you disassembled them. Make sure all connections are tight.
-
7Restore water carefully. A rapid increase in water pressure could fracture the disk inside the cylinder. Move the faucet to the "on" position, then turn on the water valve gradually.[18]
Advertisement
Expert Q&A
-
QuestionHow do you fix a leaky faucet handle?
 Patrick JohnsPatrick Johns is a Home Improvement Specialist and the Owner of CatchAll Handyman Services. With more than 28 years of experience, he has worked on a variety of home improvement projects, such as carpentry, plumbing, and door and window installations in both commercial and residential properties.
Home Improvement Specialist Find the old O-ring and remove it from your faucet handle. Then, install a new O-ring.
 -
QuestionI have low pressure in the kitchen sink. What should I do?
 Community AnswerCheck and clean your faucet's aerator. The aerator is a large particle filter that screws onto the end of your faucet. All faucets come with them and they do clog-up over time to reduce water flow, even for brand new faucets that didn't have the aerator removed when first installed to flush out the faucet. All professional plumbers I've seen forget (or don't know) this step and its always been in every faucet's manual for at least 30-years. I've watched many faucets clog and slow, to even just a trickle, and the plumber just scratches their head. This is the most common and likely cause.
Advertisement
References
- ↑ Patrick Johns. Home Improvement Specialist. Expert Interview. 5 April 2022.
- ↑ http://www.cleveland.com/cleveland-heights/index.ssf/2014/10/you_can_repair_your_washerless.html
- ↑ http://articles.chicagotribune.com/2001-10-14/news/0110140065_1_washerless-single-handle-faucet-plumbers/2
- ↑ http://www.thisoldhouse.com/toh/article/0,,193895,00.html
- ↑ http://www.cleveland.com/cleveland-heights/index.ssf/2014/10/you_can_repair_your_washerless.html
- ↑ http://www.cleveland.com/cleveland-heights/index.ssf/2014/10/you_can_repair_your_washerless.html
- ↑ http://www.thisoldhouse.com/toh/article/0,,193895,00.html
- ↑ Patrick Johns. Home Improvement Specialist. Expert Interview. 5 April 2022.
- ↑ Patrick Johns. Home Improvement Specialist. Expert Interview. 5 April 2022.
- ↑ http://www.thisoldhouse.com/toh/article/0,,193895,00.html
- ↑ http://www.cleveland.com/cleveland-heights/index.ssf/2014/10/you_can_repair_your_washerless.html
- ↑ http://articles.chicagotribune.com/2001-10-14/news/0110140065_1_washerless-single-handle-faucet-plumbers/2
- ↑ http://www.thisoldhouse.com/toh/article/0,,193895,00.html
- ↑ http://www.cleveland.com/cleveland-heights/index.ssf/2014/10/you_can_repair_your_washerless.html
- ↑ http://articles.chicagotribune.com/2001-10-14/news/0110140065_1_washerless-single-handle-faucet-plumbers/2
- ↑ http://articles.chicagotribune.com/2001-10-14/news/0110140065_1_washerless-single-handle-faucet-plumbers/2
- ↑ http://www.thisoldhouse.com/toh/article/0,,193895,00.html
- ↑ http://www.thisoldhouse.com/toh/article/0,,193895,00.html
- ↑ http://www.thisoldhouse.com/toh/article/0,,193895-2,00.html
About This Article
Advertisement
