This article was co-authored by Allen Lee. Allen Lee is a Home Improvement Specialist and the Owner of Honest Lee Handyman Services, a licensed and insured handyman business servicing Sacramento, California, and surrounding areas. Working with homeowners and businesses to get their small repairs done in a timely and efficient manner, Honest Lee Handyman Services provides gutter and dryer vent cleaning along with fixture, fence, drywall, and toilet repairs.
This article has been viewed 24,965 times.
Fixing a kitchen faucet is a DIY project that is usually easier and less time-consuming than you imagine. Leaks are handled either by treating blockages with vinegar or replacing some of the faucet’s smaller parts. The parts most likely to need replacing depend on the type of faucet you own. Keep track of the pieces as you work and reassemble them later to have a faucet that works as good as new.
Steps
Setting up for Repair Work
-
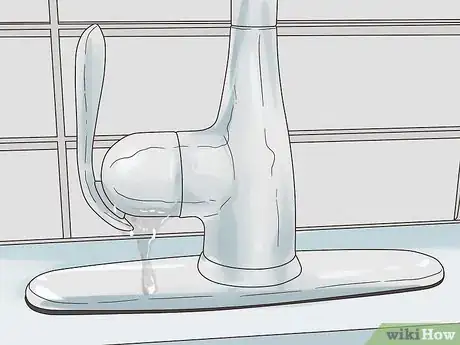
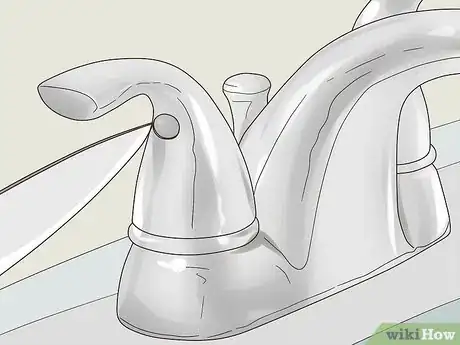
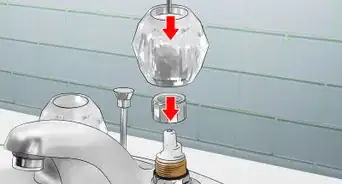
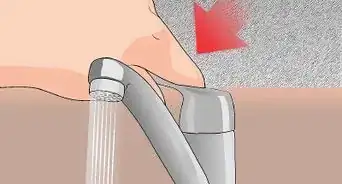
1Locate the leak. Before you begin, inspect the faucet to figure out where the leak is. Leaks almost always emanate from either the faucet’s base or the spout. Knowing where the leak is will help you determine what parts are responsible for the leak.[1]
-
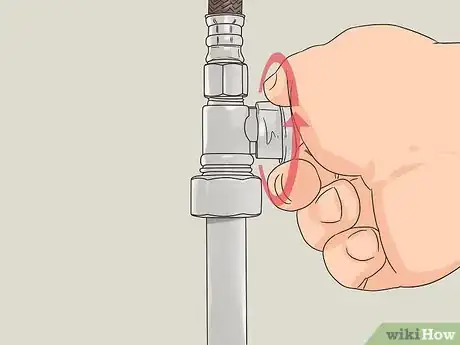
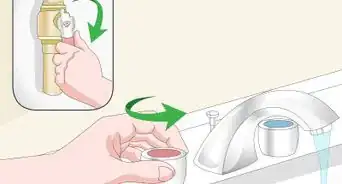
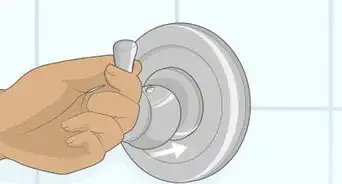
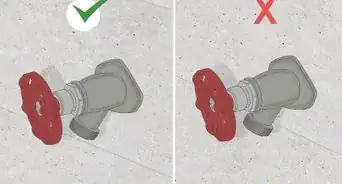
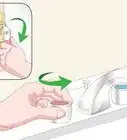
2Turn the faucet’s water supply off. Look under your sink first. You may see a pair of valves you can turn clockwise to stop water from flowing into the faucet. If the valves aren’t there, turn off the main water line.[2] It is usually indoors, in the basement, next to the water meter.[3]Advertisement
-
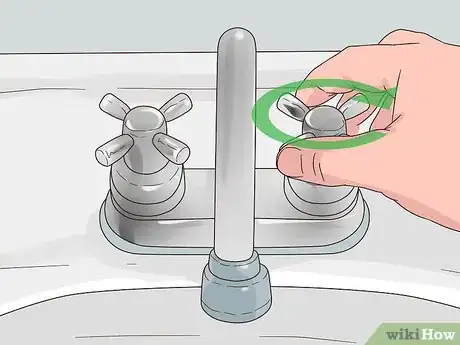
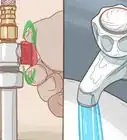
3Turn the faucet on to relieve the water pressure. Before taking apart the faucet, check to see that the water supply has been turned off. Let the water flow out of the faucet until it stops. Any built-up pressure will also drain away.[4]
-
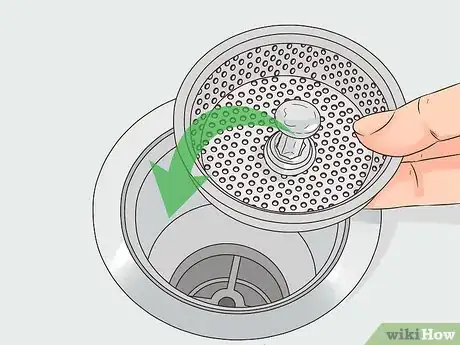
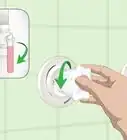
4Cover the sink hole with a strainer to catch small parts. It’s no fun to drop a small but important piece down the sink. To save yourself additional work, place the sink’s strainer baskets over the drain. If you don’t have strainers, cover the drains with rags or towels.[5]
-
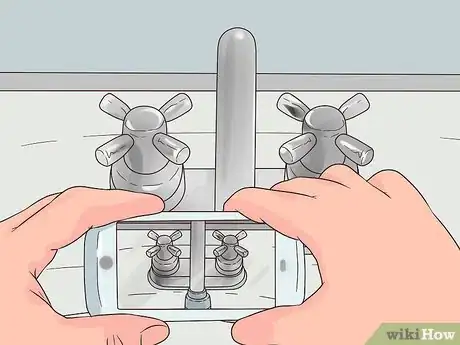
5Label and take pictures of the faucet as you remove parts. After fixing the faucet, you will have to return the parts in the proper order. To remember this order, keep a camera nearby to record your work. Also, keep the parts separated and ordered so you know when you need each piece.
-
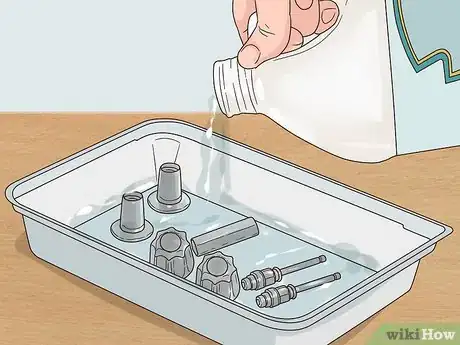
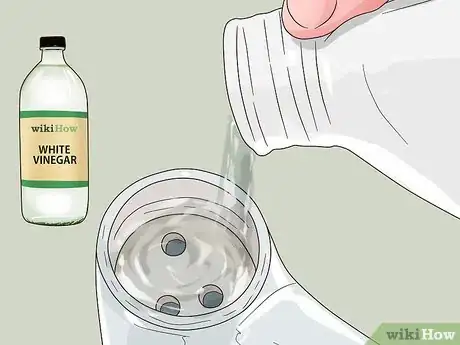
6Pour some vinegar into a container to clean faucet parts. You will most likely notice mineral buildup on some of the parts. Soak the parts in vinegar for a couple of minutes first to soften the buildup, then scrub them off with a microfiber cloth or a nylon abrasive pad.[6]
- A screwdriver can also be helpful for scraping away debris inside the faucet’s parts.
Fixing a Ball Faucet
-
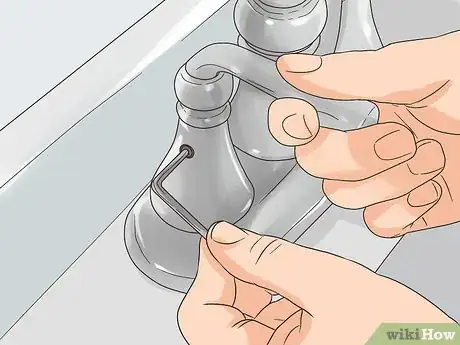
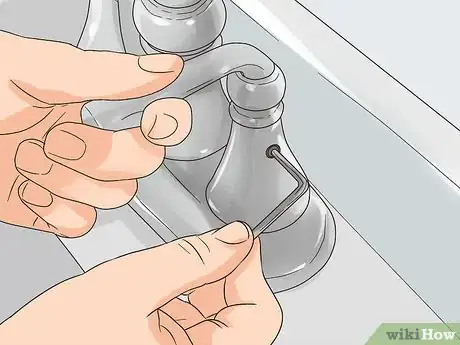
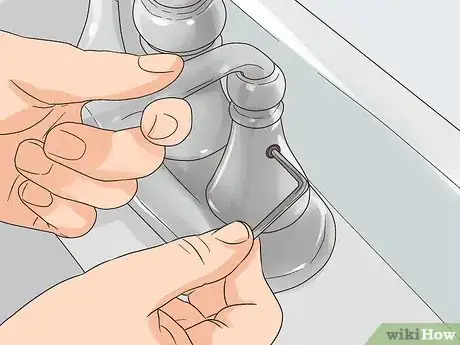
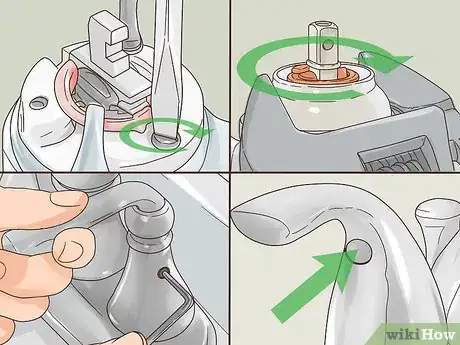
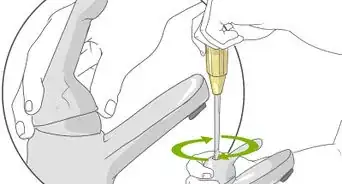
1Use an Allen wrench to remove the handle. Lift the handle and look for a small hole underneath it, near the faucet's stem. Use the Allen wrench to turn the screw counterclockwise until you can lift the handle off of the faucet.[7]
-
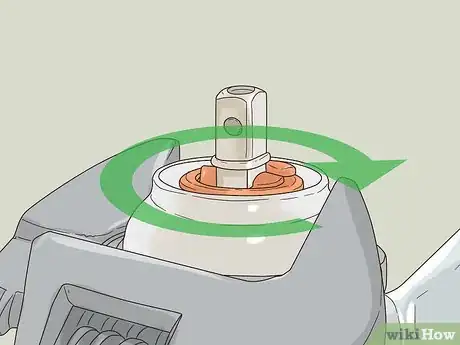
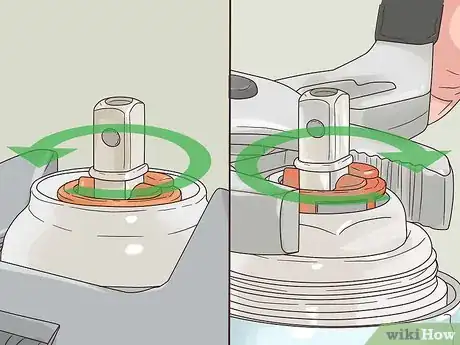
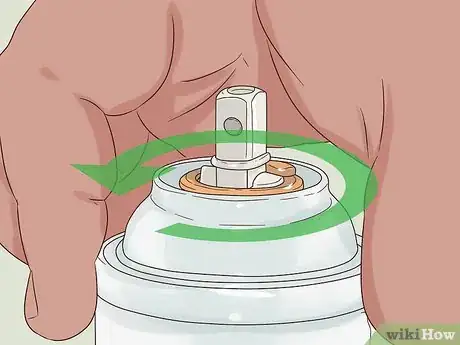
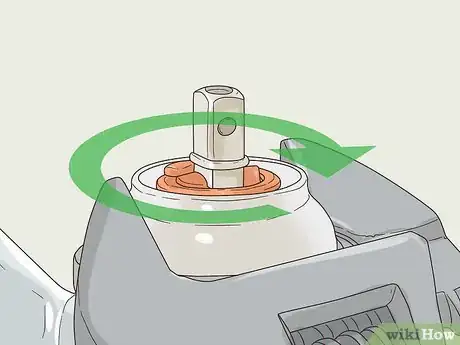
2Tighten the adjusting ring to fix leaks in the handle’s base. Grip the top of the metal cap with a spanner tool. Turn the cap clockwise to tighten the white, plastic ring inside of it. If your leak was at the handle’s base, this may be enough to repair it. Replace the handle and turn on the water to test it.[8]
- A spanner tool is typically included in the repair kits available for this type of faucet. Otherwise, visit a home improvement store.
-
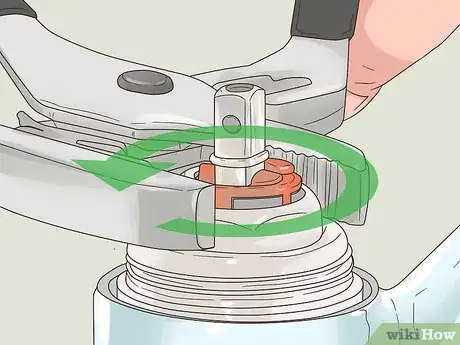
3Remove the cap by turning it counterclockwise. Using a pair of slip-joint pliers, grip the top end of the metal cap. Rotate it counterclockwise to loosen it. Set aside the cap, then remove the 2 plastic rings inside the faucet to expose the ball.[9]
-
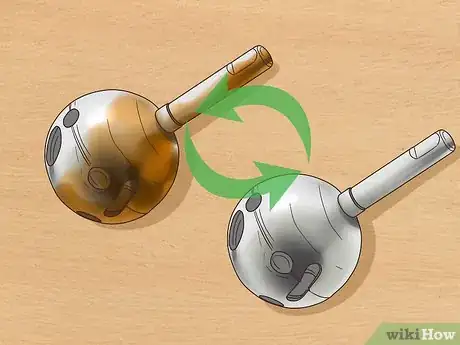
4Take out the metal ball and replace it if it’s damaged. Pick up the ball and look it over to make sure it isn’t worn or cracked. If it is, replace it with a new ball purchased from a hardware store or taken from a repair kit.[10]
-
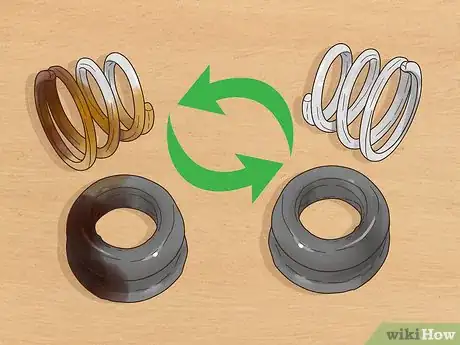
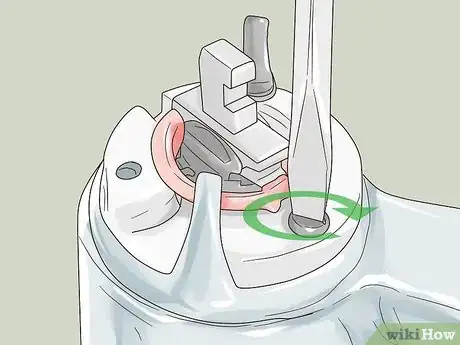
5Replace the rubber rings and springs under the ball. Put the head of screwdriver through the rings and springs to help lift them out of the faucet. Place the new springs in the holes in the faucet, then drop new rubber seats on top of them. Press them down with your finger to set them in place.
-
6Reassemble the faucet. Place the metal ball on the rubber pieces, matching the ball’s groove to the one in the faucet. Put the 2 plastic rings back in place next. Then put the metal cap back in place and tighten it with pliers. Finally, screw the handle back onto the faucet with the Allen wrench.[11]
Repairing a Cartridge Faucet
-
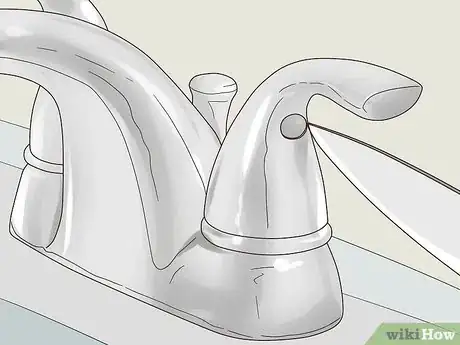
1Pry the handle’s cap off with a knife. The cap will be on top of the faucet handle. Hold the knife flat and stick the blade under the cap. Gently lift it up to expose the Allen screw.[12]
-
2Use an Allen wrench to remove the handle. Turn the screw counterclockwise to loosen the handle. Lift it off the stem and set it aside.
-
3Remove the dome assembly by hand. Underneath the handle, you will see a metal cap. Twist it counterclockwise by hand to remove it. If it’s stuck in place, use pliers to unscrew it.[13]
-
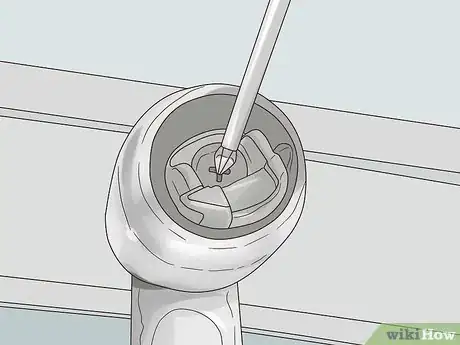
4Unscrew the metal handle adapter with a Phillips screwdriver. Hold the screwdriver vertically and lower the tip into the metal adapter. The screw is on the bottom. Twist it counterclockwise to remove it, then set aside the metal adapter as well as the plastic piece underneath it.[14]
-
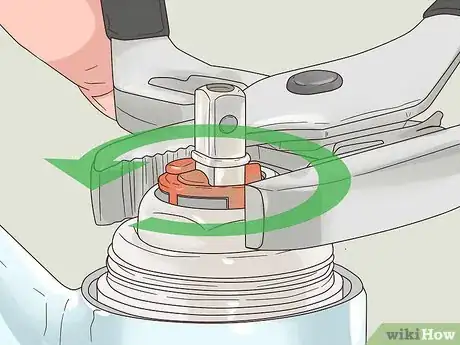
5Use pliers to remove the retainer nut. You should see the top end of the cartridge now, most likely copper-colored. Grip the black, plastic piece around it with pliers. Turn it counterclockwise until it’s loose enough to lift off the faucet.[15]
-
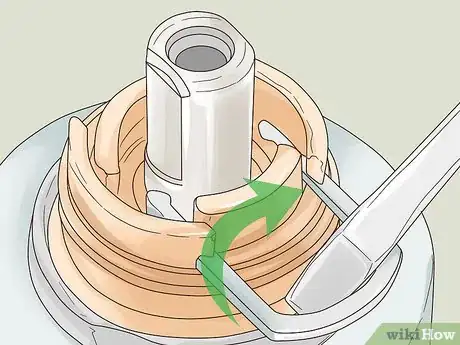
6Lift the retainer clip with pliers. The clip is the copper-colored, horseshoe-shaped piece of metal. Use a screwdriver to lift it up so that you can grab onto it with the pliers. Pull it horizontally, away from the cartridge, to remove it.[16]
-
7Twist the cartridge with pliers to remove it. Replacement cartridges come with a plastic cap that you need to place on top of the old cartridge first. Use your pliers to twist the cartridge back and forth as much as possible until it’s loose enough to be removed. Cartridges can be pretty tough, so expect to have to apply some force.[17]
- If the cartridge is still stuck, find a cartridge-removing tool at the hardware store.
-
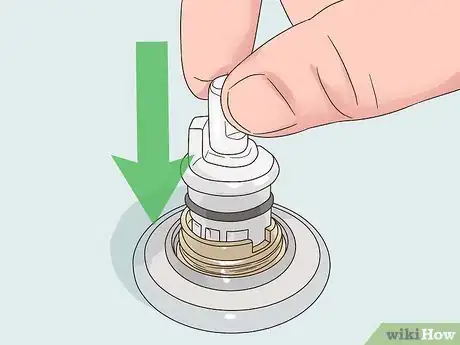
8Place the new cartridge in the faucet. Hold the top end of the cartridge with your pliers. Lower the cartridge into the faucet, then twist it so the notch on top faces you. Replace the brass clip, followed by the remaining parts. Then test the faucet.[18]
- If the hot and cold water flows are reversed, turn the cartridge around.
- To ensure that the faucet lasts longer, replace any worn or damaged parts. Take them to the home improvement or hardware store to get the correct replacement.
Fixing a Ceramic Disc Faucet
-
1Remove the screw cover with knife. On ceramic disc faucets, the screw cover is near the bottom of the handle. Lift the handle up and you will see it. Slip the end of a knife behind it and gently pry it off.[19]
-
2Use an Allen wrench to remove the handle. Stick the Allen wrench into the hole under the screw cover. Turn the screw counterclockwise to loosen and remove the handle.
-
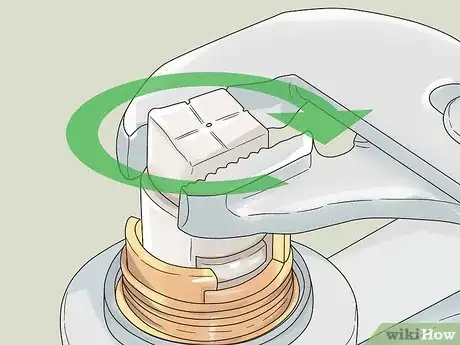
3Twist off the metal cap with pliers. Underneath the handle, you will find a metal cap. Wrap the pliers around the top end and twist the cap counterclockwise to remove it.[20]
-
4Use a screwdriver to remove the disc cartridge. Next, you will see the disc cartridge plastic cover. Look for 3 holes around the outside edge. Use a Phillips screwdriver to turn the screws counterclockwise and remove them. Lift the disc cartridge out of the faucet afterwards.[21]
-
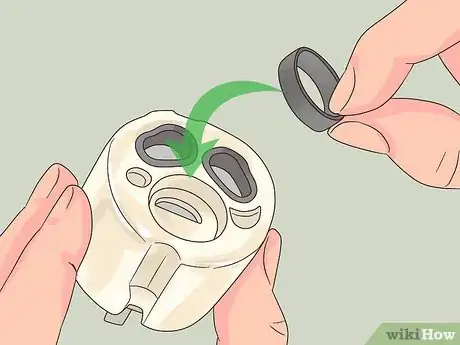
5Replace the rubber seals in the cartridge. Flip over the cartridge to find the rubber seals. They may look worn or broken. Bring the rings into a home improvement or hardware store to find replacements, then insert them into the holes under the cartridge.[22]
- If the rubber seals are dirty but not broken, try scrubbing them with a microfiber cloth or soaking them in vinegar to clean them.
- Ceramic disc faucets are designed to last a long time, so they usually come with a long warranty. Check your owner’s manual, if you have it, and you may be able to get the faucet repaired at no cost.
-
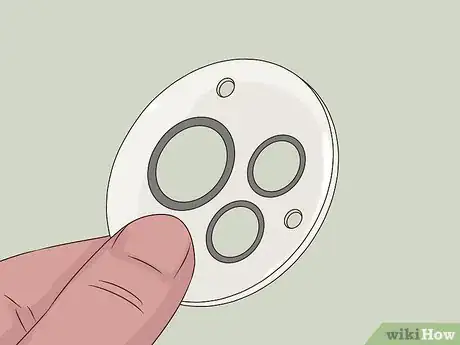
6Replace the o-rings on the plastic disc. The last part in the faucet is a plastic ring. Use a screwdriver to lift it and find the rings underneath it. Replace the rings if they look damaged by fitting new ones into the disc’s holes.[23]
-
7Clean the holes in the faucet with vinegar. Check the holes in the faucet’s base for any signs of mineral buildup. Dampen a microfiber cloth with vinegar, then scrub the holes to clean them.[24]
-
8Reassemble the faucet. This shouldn’t be too difficult if you remember the correct order for the pieces. Replace the plastic disc first, followed by the cartridge, the cap, and then the handle. Remember to screw the cartridge and handle in place.
- If the faucet still leaks, the cartridge may be cracked. Take it to the hardware store to order a replacement. Remember to check your warranty to avoid paying for this expensive part.
Repairing a Spout Faucet
-
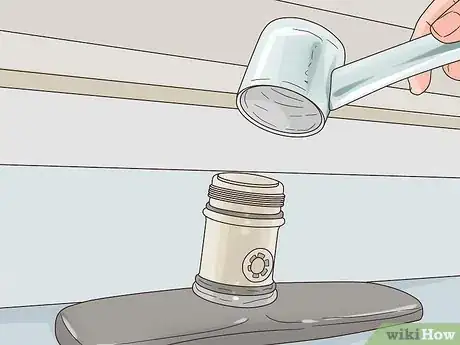
1Twist the handle to remove it. Spout faucets don’t have screws. The handle fits loosely over the faucet’s stem, so it’s very easy to remove by hand. Twist it back and forth to pull it off.[25]
-
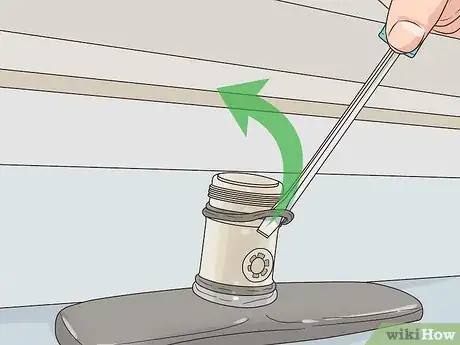
2Remove the o-rings to fix a base leak. The o-rings are the black bands over the outside of the spout. Slip the head of a screwdriver under them to help lift them off the faucet. Bring them to a plumber’s supply store or hardware store to find new ones.[26]
-
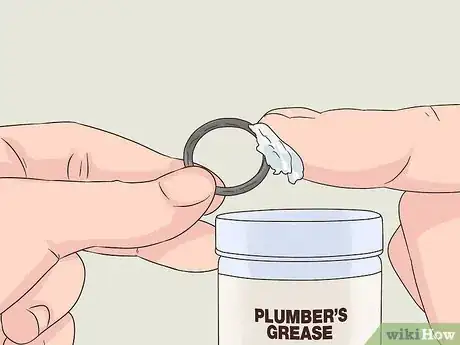
3Lubricate replacement o-rings with plumber’s grease. Also purchase a small container of plumber’s grease from the store. Coat the o-rings in the grease, then slide them over the faucet. Fit them into the faucet’s grooves. Replace the handle and test the faucet.[27]
-
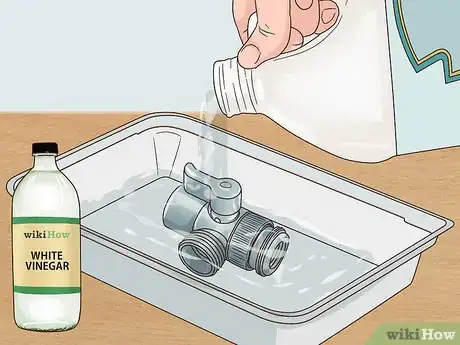
4Clean the diverter valve with vinegar. The diverter valve is the small plastic piece on the front of the faucet. Remove the handle to find it, then pull on it. It should come out without much of a fight. Soak it in vinegar and scrub it with a nylon cloth to clean it.[28]
- If the valve still doesn’t work or won’t come out, it may be clogged. Get help from the manufacturer.
Things You’ll Need
- Sink strainer or towel
- Microfiber cloth or nylon abrasive pad
- Vinegar
- Small container
- Camera
Fixing a Ball Faucet
- Allen wrench
- Spanner
- Pliers
- Screwdriver
- Metal faucet ball
- Rubber rings
- Springs
Repairing a Cartridge Faucet
- Knife
- Allen wrench
- Pliers
- Replacement cartridge
- Cartridge remover tool
Fixing a Ceramic Disc Faucet
- Knife
- Allen wrench
- Screwdriver
- Rubber seals
- O-rings
Repairing a Spout Faucet
- O-rings
- Plumber’s grease
References
- ↑ http://www.bhg.com/kitchen/sink/repair-a-kitchen-faucet/
- ↑ Allen Lee. Home Improvement Specialist. Expert Interview. 10 July 2020.
- ↑ https://www.homeadvisor.com/r/kitchen-faucet-repair/
- ↑ http://www.planitdiy.com/how-to/plumbing/how-to-replace-a-kitchen-faucet/
- ↑ http://www.bhg.com/kitchen/sink/repair-a-kitchen-faucet/
- ↑ https://www.familyhandyman.com/plumbing/faucet-repair/how-to-repair-a-kitchen-faucet/view-all/
- ↑ https://www.homeadvisor.com/r/kitchen-faucet-repair/
- ↑ https://www.familyhandyman.com/plumbing/faucet-repair/how-to-repair-a-kitchen-faucet/view-all/
- ↑ https://www.thisoldhouse.com/how-to/how-to-repair-leaky-kitchen-faucet
- ↑ https://www.homeadvisor.com/r/kitchen-faucet-repair/
- ↑ https://www.homeadvisor.com/r/kitchen-faucet-repair/
- ↑ https://www.thisoldhouse.com/how-to/how-to-repair-leaky-kitchen-faucet
- ↑ https://www.thisoldhouse.com/how-to/how-to-repair-leaky-kitchen-faucet
- ↑ https://www.familyhandyman.com/plumbing/faucet-repair/how-to-repair-a-kitchen-faucet/view-all/
- ↑ https://www.familyhandyman.com/plumbing/faucet-repair/how-to-repair-a-kitchen-faucet/view-all/
- ↑ https://www.familyhandyman.com/plumbing/faucet-repair/how-to-repair-a-kitchen-faucet/view-all/
- ↑ https://www.familyhandyman.com/plumbing/faucet-repair/how-to-repair-a-kitchen-faucet/view-all/
- ↑ https://www.familyhandyman.com/plumbing/faucet-repair/how-to-repair-a-kitchen-faucet/view-all/
- ↑ https://www.thisoldhouse.com/how-to/how-to-repair-leaky-kitchen-faucet
- ↑ https://www.familyhandyman.com/plumbing/faucet-repair/how-to-repair-a-kitchen-faucet/view-all/
- ↑ https://www.familyhandyman.com/plumbing/faucet-repair/how-to-repair-a-kitchen-faucet/view-all/
- ↑ https://www.familyhandyman.com/plumbing/faucet-repair/how-to-repair-a-kitchen-faucet/view-all/
- ↑ http://www.bhg.com/kitchen/sink/repair-a-kitchen-faucet/
- ↑ https://www.familyhandyman.com/plumbing/faucet-repair/how-to-repair-a-kitchen-faucet/view-all/
- ↑ https://www.familyhandyman.com/plumbing/faucet-repair/how-to-repair-a-kitchen-faucet/view-all/
- ↑ https://www.familyhandyman.com/plumbing/faucet-repair/how-to-repair-a-kitchen-faucet/view-all/
- ↑ https://www.familyhandyman.com/plumbing/faucet-repair/how-to-repair-a-kitchen-faucet/view-all/
- ↑ https://www.familyhandyman.com/plumbing/faucet-repair/how-to-repair-a-kitchen-faucet/view-all/
About This Article
To fix a kitchen faucet, locate the leak before turning off the faucet’s water supply. Next, cover the sink hole with a strainer or old towel just in case you drop any small parts while you're working. If you have a ball faucet, use an Allen wrench to remove the handle and tighten the ring at the base. Then, remove the metal cap and 2 plastic rings inside the faucet to expose the ball. Inspect the ball, rubber rings, and springs and replace them if they look damaged. Finally, reassemble the faucet, turn the water back on, and confirm that the leak is fixed! For tips on fixing other types of faucets, like cartridge and ceramic disc varieties, read on!
