This article was co-authored by Anthony "TC" Williams. Anthony "TC" Williams is a Professional Landscaper in Idaho. He is the President and Founder of Aqua Conservation Landscape & Irrigation, an Idaho Registered Landscape Business Entity. With over 21 years of landscaping experience, TC has worked on projects such as the Idaho Botanical Garden in Boise, Idaho. He is a Idaho Registered Contractor and a previously Licensed Irrigator in the State of Texas.
wikiHow marks an article as reader-approved once it receives enough positive feedback. In this case, 90% of readers who voted found the article helpful, earning it our reader-approved status.
This article has been viewed 221,799 times.
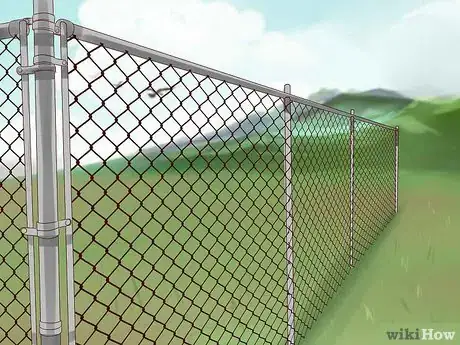
So it's time for that old chain link fence to go the way of the dodo. Removing the "fence fabric," or chain link itself, is the easy part. Removing the fence posts themselves requires more effort, and sometimes the use of a truck or specialized equipment. If your fence is in good condition, you can instead try advertising free fencing material to anyone who is willing to remove it.
Steps
Preparing the Area
-
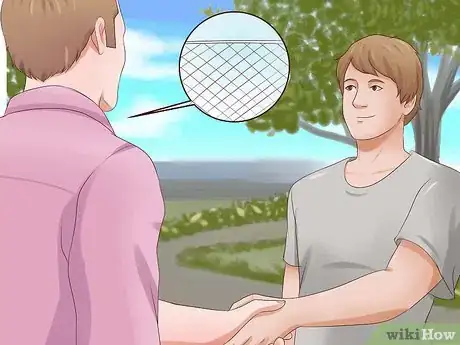
1Consider trading the fence material for free removal. If the chain-link fence is in good condition, someone may be willing to remove it for free if he gets to keep the materials afterward.[1] If you can find someone in this position through craigslist or word-of-mouth, you can save yourself a considerable amount of effort.
- Even if you end up having to remove it yourself, advertising free fence material is a great way to dispose of unwanted items without having to use a truck yourself or pay a disposal fee.
-
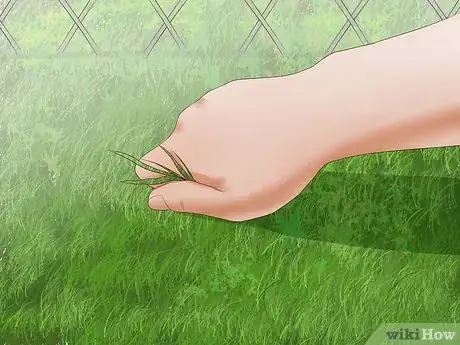
2Clear a space on one side of the fence. The goal is to have a flat place on the ground on one side of the fence—preferably on the side opposite the top rail—to lay the fence fabric down flat so it can be rolled up. This should be at least 2 feet (61 cm) wider than the fence fabric is tall. If this space is not available, you can roll it up in smaller sections while its still attached to the fence, but you'll still need at least 2 to 3 clear feet (61 to 91.4 cm) of space.
- If possible, clear a pathway for a truck or at least a handcart to reach the fence. This is important for both convenience and safety, since the rolled up chain link will be extremely heavy and difficult to work with.
Advertisement -
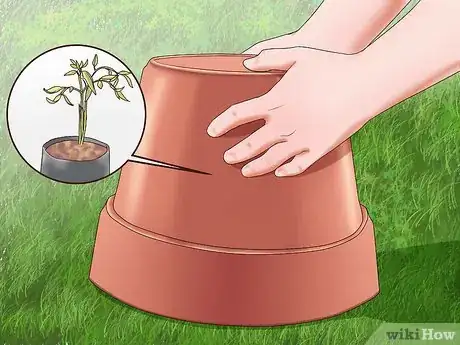
3Protect garden plants nearby. Tie up or trim nearby bushes and trees you want to preserve, or cover smaller desirable plants with an inverted bucket.
- If a tree you want to keep has grown through the fence, there's no need to remove it. You can plan to cut the fence on either side of the tree.
-
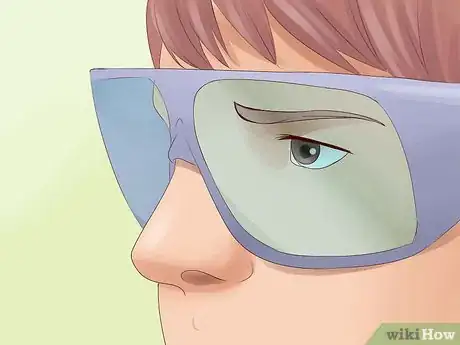
4Put on protective clothing and eyewear. Chain link removal can scratch you up and sometimes send small pieces of metal flying. Wear thick gloves, eye protection, and a long sleeve shirt and trousers.
Removing the Chain Fence Fabric
-
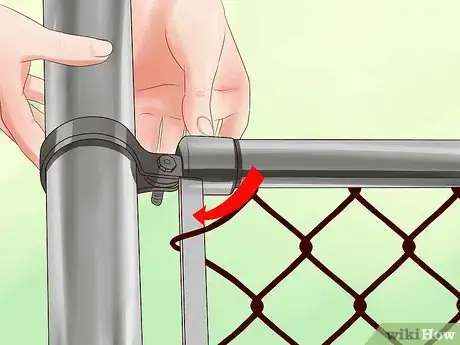
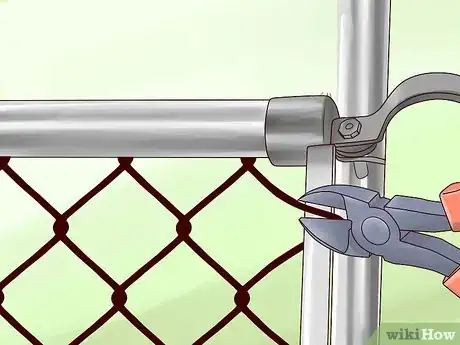
1Start with an end or corner post. The post in this position is generally wider in diameter than the other posts. The fence fabric will be attached to it by a thin, flat piece of metal called a tension bar that is woven through the fence fabric and attached by clamps to the post.
-
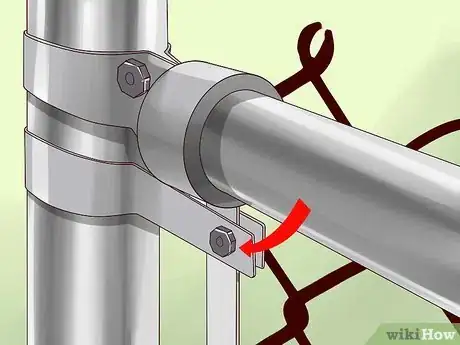
2Remove the clamps holding the fence fabric to the post. The clamps are generally attached with a bolt and nut. Loosen the nut with a wrench and pull the bolt out. Pull the clamps off the fence post. The fence will slacken, but shouldn't fall.
-
3Pull out the tension bar. Weave the metal bar out from the chain link. Save your hardware and the metal bar in a safe place, keeping the ground clear.
-
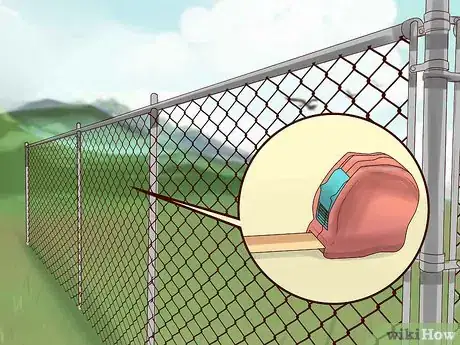
4Measure out a section to remove. You can eyeball this if you don't have a measuring tape, since posts are typically set 10 feet (3 m) apart. The important part is to choose a section that can easily be rolled up and handled in the space you have available. Use these guidelines to decide on a length, then mark the end of the first section using a piece of colored tape or a knot of colored string.
- If you're working in an open, flat area, have an assistant, and are used to manual labor, you can remove the fence in 50 foot (15.24 m) sections.
- If you are working alone, or if you're not able to lift much, or if there are obstacles in the area, keep the sections no more than 20 feet (6 m) or so each.
- If you're in a narrow area with no ground space, you'll have to roll the fence vertically, and cut it frequently before it becomes too bulky to handle.
-
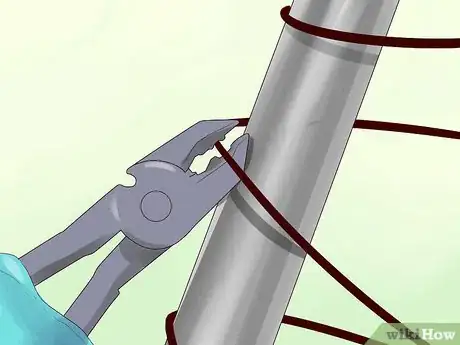
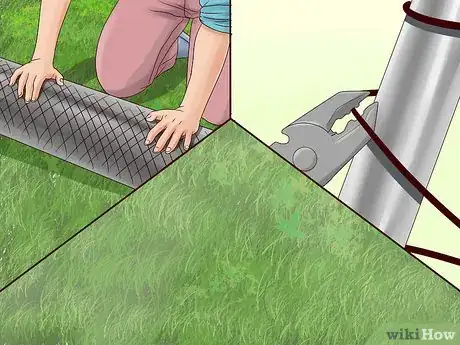
5Remove the fence ties a few at a time from your marked section. Fence ties are pieces of wire attaching the fence fabric to the top rail and posts. You can purchase specialized "fence pliers" or "wire grippers" for this purpose, but most fence ties can be bent back with ordinary heavy pliers or a vise grip. Read the step below before you remove more than a few fence ties.
- Store the ties in a container as you remove them so they don’t become hazards for people and lawn mowers.
- Cutting the ties with bolt cutters is another option, but the creation of sharp wire edges makes this method less than ideal.
-
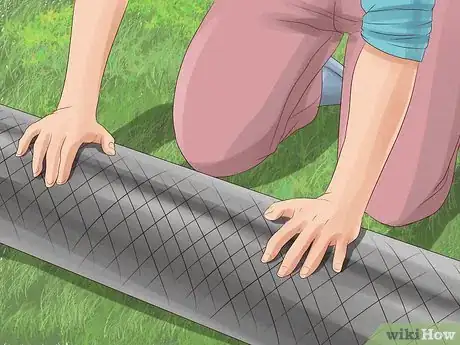
6Lay the fence fabric on the ground, or roll as you go. As you remove the fence ties, lay the chain fence fabric flat on the ground, without rolling it up. If you do not have the space to do this, you'll have to use a more tedious method instead:
- Loosen a few fence ties at a time.
- Roll the loose fence, then attach the roll to the top rail with a bungee cord or a piece of wire so it stays upright. Taking extra time and care to secure the roll using strong ties will make it easier for you to handle the fencing, and will ultimately save you time.
- Repeat until the marked section is rolled up along the fence.
-
7Break the fence when you get to the end of your marked section. Stop cutting fence ties when you get to the end of the section you're removing. Follow these steps to detach the chain link you've pulled off from the rest of the fence:
- Find a wire forming part of the chain link at the top of the fence, just before the post, and unbend the hook it makes over the next wire with your pliers. Straighten the hook out.
- Follow that piece of wire down to the bottom of the fence and unbend it, so it no longer hooks over the next wire.
- Beginning at the top, grab the straightened wire with gloved hands and twist it around, removing it from the fence as you go. The wire should move upward in a spiral, until the two fence sections are separated.
-
8Roll and tie the removed section. Roll up the fence section you've laid on the ground, and tie it securely with wire or rope so it won’t unwind. Move it out of your way.
-
9Repeat until the fence fabric is removed. Continue marking sections and removing the fence fabric as described above. Once all the fabric is gone, move on to the more difficult part: removing the metal rail and poles.
Removing the Top Rail and Fence Posts
-
1Remove the top rail. Once the chain fence fabric is removed, work on the metal bar running along the top of the fence. Here are several common ways this rail can be attached, and how to remove it:
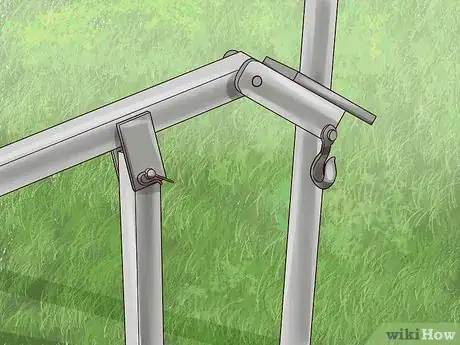
- If the rail is fastened to a "cap" at the top of a corner or end post, loosen the nut and remove the bolt holding the rail and one cap together.
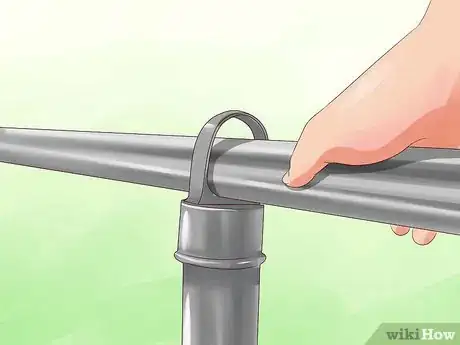
- The top rail is often made from hollow 10 feet (3 m) lengths of pole. Once the end is detached, twist the lengths of rail apart at each attachment point and slide them apart. In some cases, these sections of top rail will not come apart easily, or at all. If you are unable to separate them by hand, you may need to cut them apart. You can do this with a reciprocating saw, hand grinder, metal abrasive wheel, or hand hacksaw. Make sure the tool you choose has a metal-cutting blade.
- If the rail is welded, put on a face shield and cut it into manageable segments with a reciprocating saw. Attach a metal-cutting blade, ideally one with roughly 18 teeth per inch (or 1.41mm pitch).[2]
-
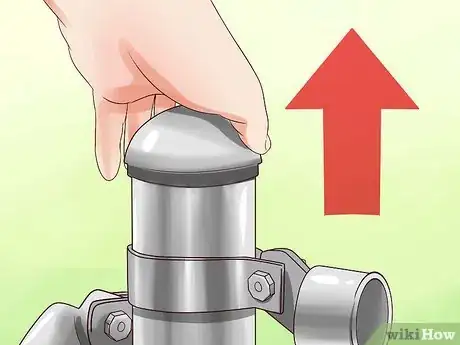
2Pull of the post caps. Remove the remaining caps from the post tops and store with the other hardware.
-
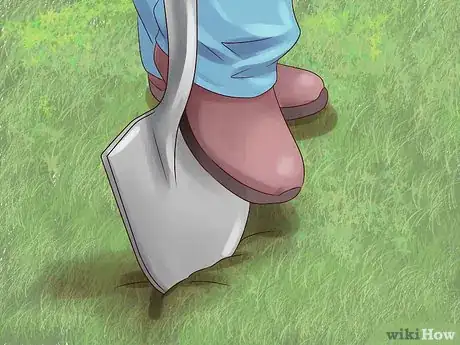
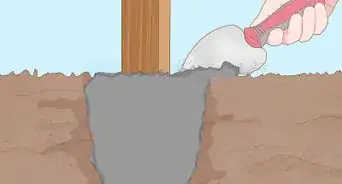
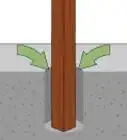
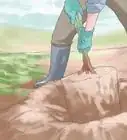
3Dig down to expose the concrete. Chain link fence posts are almost always embedded in concrete, making removal a major operation. If the concrete base is buried, use a shovel to dig down until it is exposed.
- Start with the middle posts first. End posts and corner posts are usually more difficult to remove, due to larger concrete bases.
-
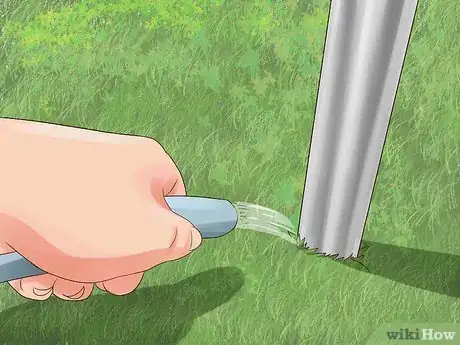
4Soak the ground around the fence post. Loosen the dirt and concrete by soaking the base of the post with water.[3]
-
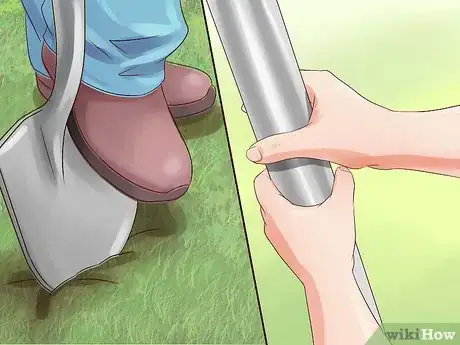
5Attempt to remove the post and concrete intact. Dig a hole next to the concrete, and push the fence post back and forth until the concrete base falls into the hole. This is the tidiest way to remove the post, but it may not be feasible for large concrete bases, or for fences installed over asphalt or other hard surfaces. For best results, you will have to dig around the entire circumference of the post and concrete base.
-
6Pull out the post with heavy equipment. Large fence posts often can't be removed by hand. Use one of these methods to apply more force:
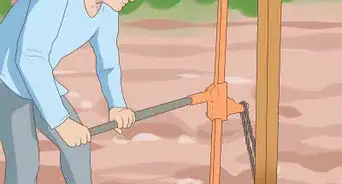
- Rent a post puller from a heavy equipment rental company. Attach it to the post with a chain and push down on the lever to lift the pole vertically.
- Use a chain to hitch the post to a tractor or truck. Run the chain over a stable object standing next to the post, so the post is pulled vertically instead of sideways.[4] Clear the area of people, as the post may go flying once removed.
- You can also use a farm jack to remove posts. Wrap a length of chain around the fence post, and secure the other end to the lifting plate on the jack. Then jack the post out of the ground.
-
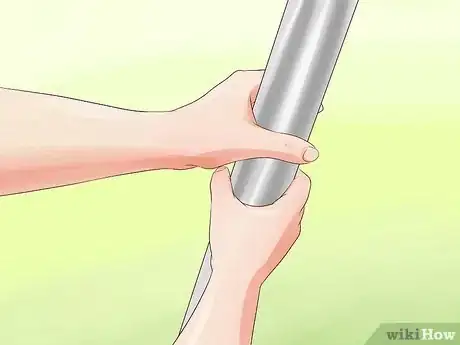
7Attempt to loosen the fence post. If the methods above don't work, attempt to loosen the post from the concrete. Have a strong person push and pull a fence post repeatedly, or hit it near the base with a sledgehammer. Torque is sometimes more effective than direct pushing, so try gripping the post with a large pipe wrench or vise and turning.[5] Once the post turns or moves, repeat the pulling step above to remove just the metal post, then dig out or fill the concrete base afterward.
-
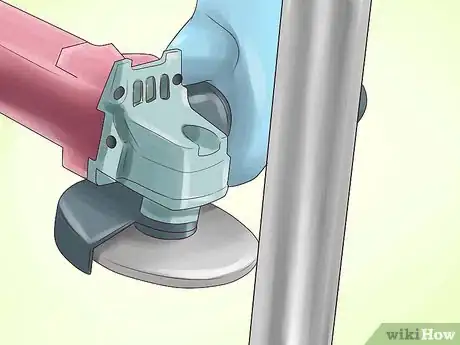
8Cut the fence post as a last resort. This is not an ideal solution, as you'll end up with potentially dangerous, jagged metal bases left over. If nothing can budge the fence post, however, this may be the last "DIY" option available. Use an angle grinder or reciprocating saw, with a metal-cutting blade.
- Always wear eye protection when sawing through metal.
- Once the post is cut, make the area safe by crimping the metal edges, or at least covering it with a planter or other large object.
- Flatten out the rough edges with a small (3-5 lb or 1.4-2.3 kg) hand sledge hammer.
- If possible, dig down a bit and make your cut below the surface of the ground. Once you have cut the post and flattened the rough edges, cover the cut end of the post with soil.
-
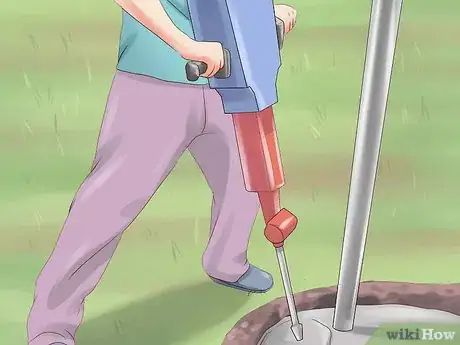
9Break up the concrete with a jackhammer (optional). Once the fence post is removed, get rid of the concrete before disposing of the metal. Rent a small, electric jackhammer from an equipment rental company, and carefully break up the outer edge of the concrete base. Once the cracks have made it to the fence post base, use a hammer and chisel to remove the concrete immediately around the fence post. You can also break up the concrete with a heavy (10-12 lb or 4.5-5.4 kg) sledgehammer.
- Eye protection, hearing protection, thick gloves, and steel-toed boots are recommended.
Expert Q&A
Did you know you can get expert answers for this article?
Unlock expert answers by supporting wikiHow
-
QuestionHow do I reinstall the fence?
 Anthony "TC" WilliamsAnthony "TC" Williams is a Professional Landscaper in Idaho. He is the President and Founder of Aqua Conservation Landscape & Irrigation, an Idaho Registered Landscape Business Entity. With over 21 years of landscaping experience, TC has worked on projects such as the Idaho Botanical Garden in Boise, Idaho. He is a Idaho Registered Contractor and a previously Licensed Irrigator in the State of Texas.
Experienced Landscaper
Warnings
- Wear a face shield when cutting posts or other metal.⧼thumbs_response⧽
- Check your property lines and make sure the fence is on your property before removing it. If the fence runs along a property line, talk to the neighbors before you begin removal.⧼thumbs_response⧽
- Consider wearing a back brace when lifting heavy rolls of fence or pulling poles. Take a break whenever you feel the strain.⧼thumbs_response⧽
Things You’ll Need
- Work gloves
- Face shield or other eye protection
- Back brace (optional)
- Pliers
- Wrench
- Wire or bolt cutters
- hacksaw or electric saw with metal-cutting blade
- Wire or rope for tying fence fabric bundles
- Bungee cord
- Shovel
- Small, electric jackhammer (optional)
- Angle grinder or reciprocating saw with metal-cutting blade (last resort)
If garden is nearby:
- Plant shears or clippers
- String to tie up plants
- Buckets or boxes to cover sensitive plants
References
- ↑ http://www.doityourself.com/stry/how-to-remove-a-chain-link-fence
- ↑ http://www.popularmechanics.com/home/reviews/power-tools/so-you-have-a-reciprocating-saw-heres-what-else-you-need-16481114
- ↑ http://www.doityourself.com/stry/how-to-remove-a-chain-link-fence
- ↑ http://www.troublefreepool.com/threads/54502-Cutting-down-chain-link-fence-posts
- ↑ http://www.troublefreepool.com/threads/54502-Cutting-down-chain-link-fence-posts
About This Article
To remove a chain-link fence, start at one end or corner post and remove the nut and bolt on the clamps that hold the fence fabric to the post. Weave the metal bar out from the chain link, then use pliers to remove the fence ties a few at a time. Lay the chain fence fabric flat on the ground as you go. Once you have a small section freed, detach that section by straightening the wire that forms the chain link. Roll the section up and tie it securely with wire or rope. Make sure you wear protective clothing, thick gloves, and eye protection to help prevent injury. For tips from our landscaping reviewer on removing the top rail and fence posts, read on!
