wikiHow is a “wiki,” similar to Wikipedia, which means that many of our articles are co-written by multiple authors. To create this article, 18 people, some anonymous, worked to edit and improve it over time.
There are 7 references cited in this article, which can be found at the bottom of the page.
wikiHow marks an article as reader-approved once it receives enough positive feedback. In this case, 93% of readers who voted found the article helpful, earning it our reader-approved status.
This article has been viewed 347,868 times.
Learn more...
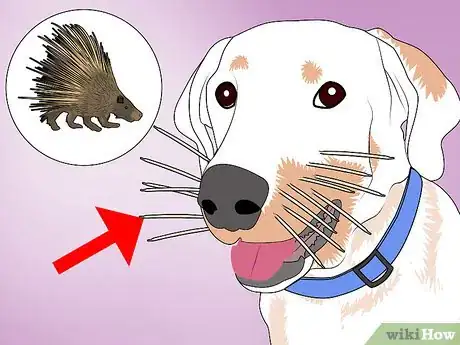
Porcupines are reclusive animals, but can cause painful injuries if they feel threatened. If you or a person or animal you know is attacked by a porcupine, you should consider having a doctor or veterinarian remove the quills. Only remove them at home if they are few in number, not near sensitive areas such as the eyes, or if you have no access to medical assistance. Follow these steps carefully to reduce the chance of infection or organ damage.
Steps
Removing Quills from a Dog or Other Animal
-
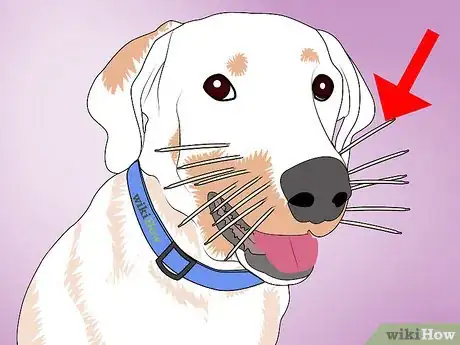
1Treat the animal promptly. Porcupine quills are much less likely to cause lasting harm if they are removed from the animal within the first 24 hours.[1] Animals that are treated during that period almost always make a full recovery. Delayed treatment, on the other hand, increases the chance of complications such as broken quill tips, eye or joint damage, and infection. Dogs that have quills in their mouth region may not be able to eat until they are removed.
- Many veterinary hospitals accept after-hours patients for emergencies.
- If you cannot treat the animal immediately, try to keep it from pawing at or breaking the quills. Restrain it to minimize any movement if the quills are in its chest or abdomen, where breakage is most dangerous.
-
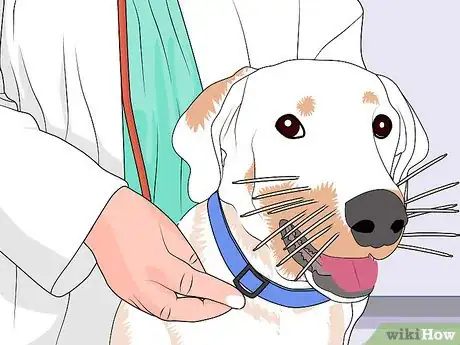
2Take the animal to a veterinarian if possible. Removing quills from an animal at home is a painful process, and even a gentle animal will struggle. If the animal is pierced with 10 or more quills, has quills embedded near the mouth or eyes, or has a tendency toward aggressive behavior, make an effort to find a veterinarian. Only attempt home removal in these situations as a last resort.
- If quills are embedded in or around the eye, removing them yourself is dangerous. Broken quill tips in the eye may require medical equipment to locate and can cause serious damage.[2]
- If quills are embedded around the mouth, the animal may have quills embedded in the mouth or throat. These are difficult to locate and remove at home, and could interfere with your animal's ability to eat until removed by a veterinarian.[3]
Advertisement -
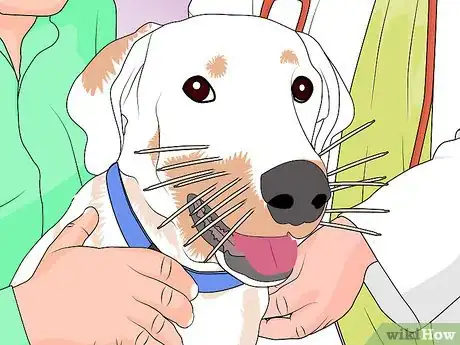
3Have one or more assistants restrain the animal. Unless the animal is small and unusually calm, you should have a friend hold it in place. Choose someone the dog is comfortable with, if possible, to further minimize stress and struggling. Struggle during quill removal can cause the tips to break off and dig deeper into the animal, where you cannot reach them.
- Do not muzzle the animal unless there are no quills in or around its face, as the muzzle could break quills or push them in further. Almost all dogs injured by quills have quills in this area, often in addition to other locations, so check thoroughly for puncture marks or small quills in the mouth and face before you assume muzzling is safe.[4]
-
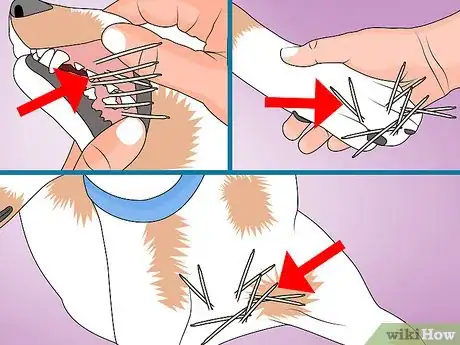
4Check all over the animal for quill location. The majority of animals with embedded quills are injured in multiple locations, and some quills may be small and difficult to see.[5] The animal's efforts to remove the quills itself may cause them to transfer into the animal's paws as well, or the porcupine could have struck the animal multiple times.
- Check inside the mouth, using a flashlight to see the back palate and throat. If there are quills located here, a veterinarian can remove them without nearly as much pain to the dog.
- Check on and between its footpads, and along its paws and legs.
- While quills on the chest or stomach are much less common than in other locations, you should still check for small quills and tender lumps under the skin here, as broken quill tips in this region can be dangerous.
-
5Keep the animal as relaxed as possible. Move slowly and speak softly to keep the dog as relaxed as possible, although you should be ready to dodge a bite. Before removing quills from the animal's face, cover its eyes with your hand or have an assistant the animal trusts do the same.[6]
-
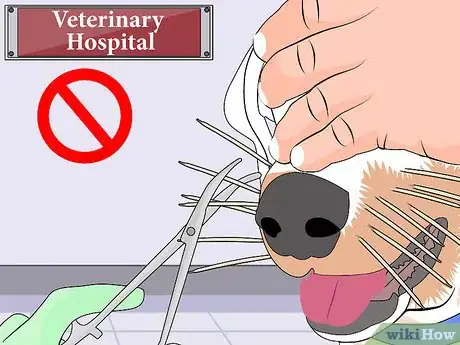
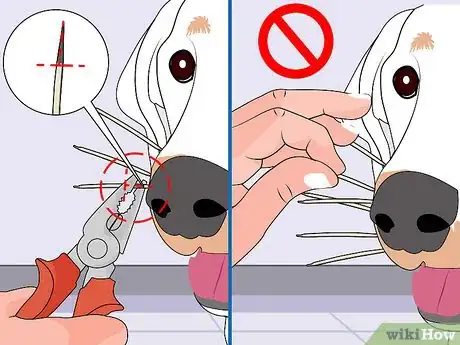
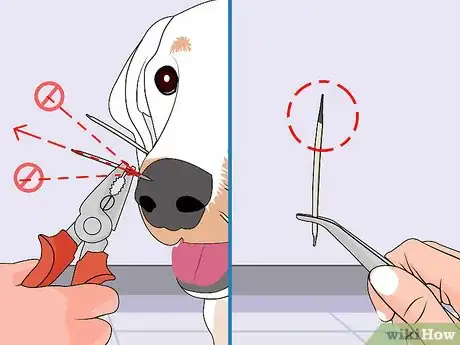
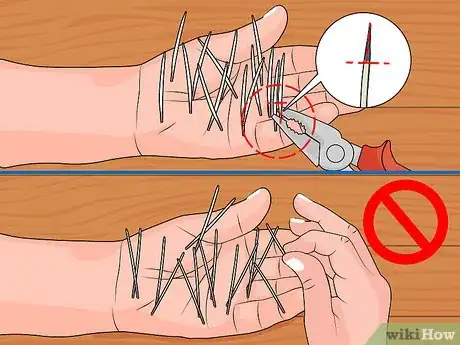
6Never cut the quills before removing. You may have heard or read advice about cutting the porcupine quill in half so it deflates and is easier to remove. Do not follow this advice: it can actually make the quills more difficult to grab on to, or even splinter them into several broken pieces.
-
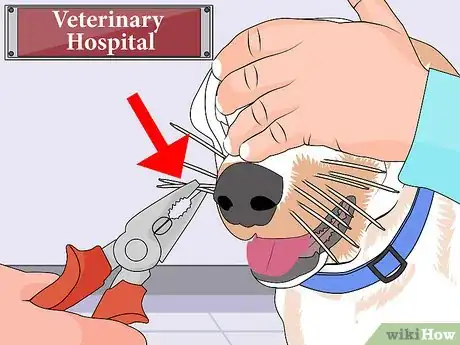
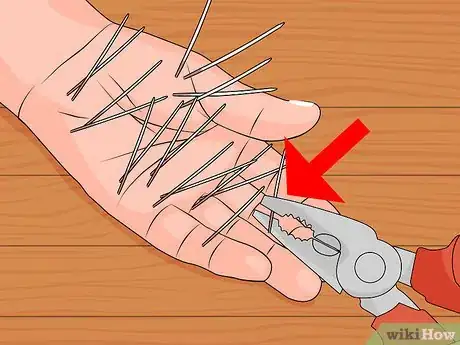
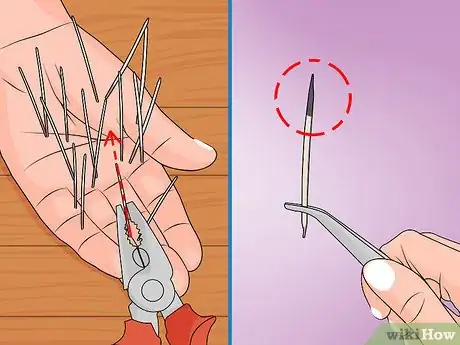
7Grasp a quill near the base with pliers or hemostats. Use a pair of flat-jawed pliers that can firmly grasp the base of the quill, next to the skin. You may have to switch to smaller or needle-nosed pliers to remove the smallest quills. Hemostats, or small medical pliers intended for clamping, are an excellent choice if available.
- Grasp firmly, but not hard enough to break the quill.
- Do not grasp the quills with your fingers. They are covered tiny barbs and scales which will cause pain and injury to your skin.
-
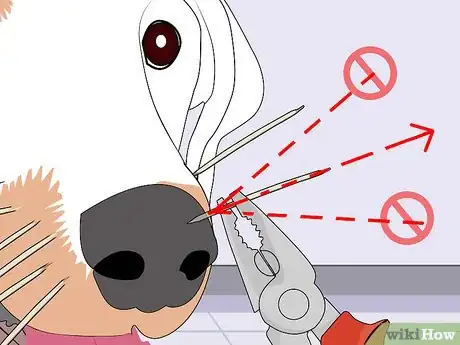
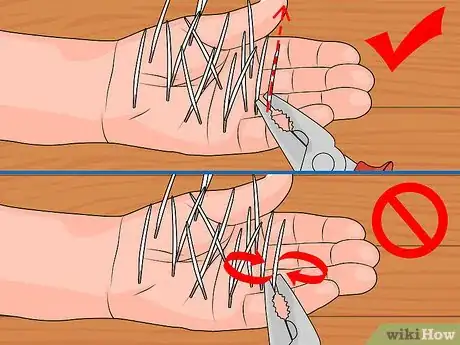
8Pull the quill out quickly in the opposite direction the quill entered. Keeping a firm grip on the quill base, pull in as straight a line as possible. Try to slide the quill out of the hole directly, rather than angling it where it could cause new damage or break inside the animal.
- Quill removal is much less painful when done with a rapid motion. You should be sure you have a firm grip on the quill and are aiming to pull in the right direction before you yank the quill, however.
-
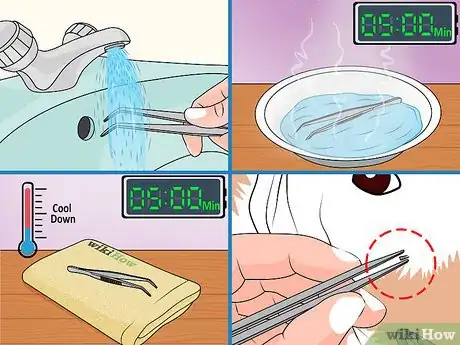
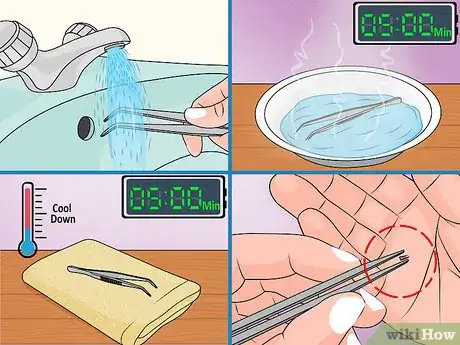
9If the quill tip breaks, remove it with sanitized tweezers. Look at the base of the quill you removed to make sure the tip is still present. If the tip has broken off, it could cause infection or even travel to the animal's organs.[7] You will need to sanitize a pair of tweezers and attempt to remove it.
- To sanitize metal tweezers, rinse them in running water, then drop them in a pot of boiling water for five minutes. Remove carefully with tongs, place on a clean paper towel, and let cool for a few minutes before handling.
- If you cannot see the quill tip in the puncture wound, or you fail to remove it after one or two attempts, take your dog to a veterinarian immediately.
-
10Repeat with all remaining quills. Grasp each quill one at a time next to the skin. Pull it out firmly and quickly to minimize pain. Always pull straight in the opposite direction it entered, never at an angle. Check the tip after each quill is removed to make sure it hasn't broken inside the animal.
- Check the animal again for quills you may have missed. It's always best to be certain, as removing the quill right away leads to faster, safer recovery.
-
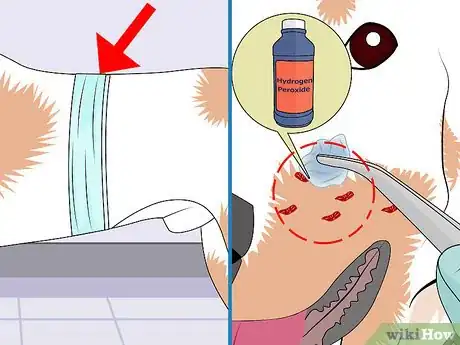
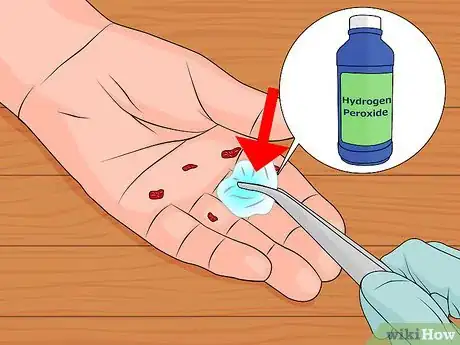
11Bandage or disinfectant quill wounds depending on location. Only bandage or wrap the quill wounds if they are on the animal's chest or causing a significant amount of blood loss.[8] Other wounds should be left open to the air so you can keep an eye out for infection, but you should dab disinfectant or antiseptic on these to reduce the risk of infection. Do not disinfect chest wounds.
- Dip a cotton ball in hydrogen peroxide for an easy tool for cleaning wounds.[9]
-
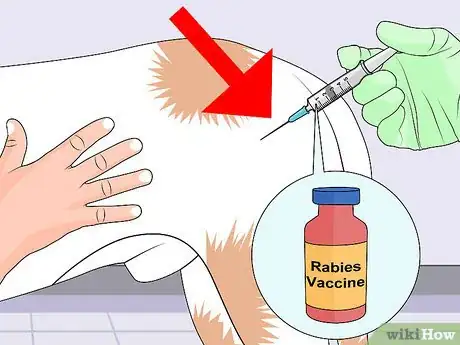
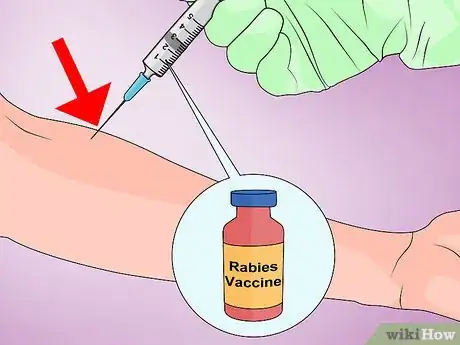
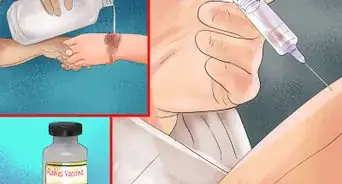
12Have your animal get a rabies vaccine. While chances of a rabies infection are quite low, the disease is fatal, so don't skip this step. Any warm-blooded animal can contract rabies, including cats, dogs, birds, horses, and livestock.[10] Your local doctor or veterinarian should know whether rabies is in your area, and be able to administer a vaccine.
- Mammals such as dogs and cats can not only contract rabies, but pass it on to humans. Ask your doctor whether a rabies vaccine for yourself is required, especially if you didn't get your animal a vaccine immediately.
- Even if your pet received a vaccine in the last three years, ask a doctor whether it would be wise to receive another one after possible exposure.
-
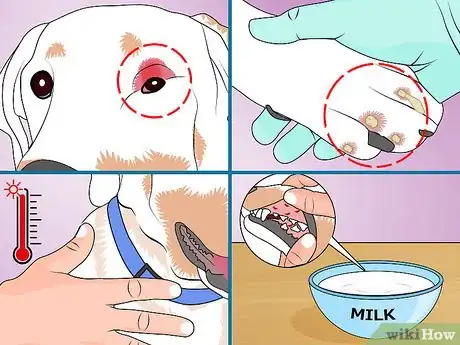
13Look for signs of complications over the next few weeks. If the animal is still in pain after a week or if it shows signs of infection, take it to a veterinarian immediately. Red or swollen areas, oozing pus, or skin that is warm to the touch may indicate infection.
- If the animal limps or has tender, painful joints, you should take your animal to a veterinarian. Quills may be lodged deep inside its body.
- If the animal had quills in its mouth or throat, feed it soft food for a few days until it recovers.
- A veterinarian may decide to prescribe antibiotics if infection is present. At home, do not attempt to give your animal anything stronger than an over-the-counter antibiotic lotion without the advice of a veterinarian.
Removing Quills from a Person
-
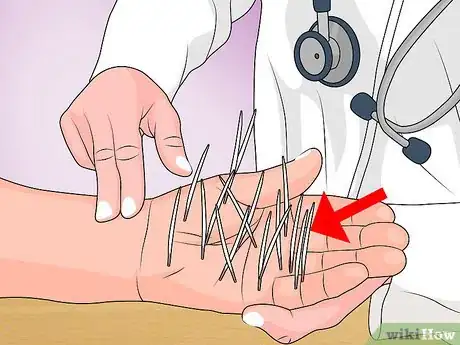
1Go to a doctor for serious cases. If there is a large number of quills, the experience will be much less painful when performed by a doctor. Do not attempt to remove quills on a person's face or throat at home.
-
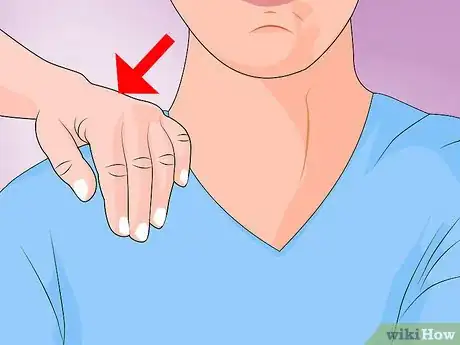
2Ask the person to remain calm and still. The removal process is painful and requires the patient to sit still for a long period of time while quills are extracted. Remove the quills as soon as possible after the injury occurs.
- If the injured person struggles, there is risk that the quill tip may break off and lodge deeper in the skin, which risks causing serious problems. Take the person to a doctor if the person will not remain still.
-
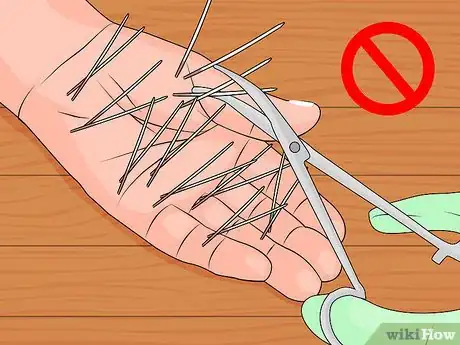
3Never cut the quills before removal. Many people cut the hollow quill before removing so that it deflates and become smaller. Professionals, however, advise not to do this, as it can make the quill harder to grasp and could cause it to break apart into several splinters.
-
4Approach the first quill with a pair of flat head pliers or hemostats. You may need pliers of different sizes if there are both small and large quills present. Quills require tools for removal because they have barbed ends along their surfaces which make them easy to stick into an object but difficult to remove in the opposite direction. If you attempt to pull quills by hand they will burrow into your fingers.
-
5Clasp the quill near the base. Use the tool to grab the quill as near to the skin as possible. You could even push the skin down around the quill, as long as you are careful not to break the quill or cause too much pain to the injured person.
-
6Pull the quill out smoothly. Use a powerful, rapid motion to pull the quill out as firmly and quickly as possible. Do not twist the quill, which can cause breakage. Try to pull it out at the same angle it entered, directly backward out of the wound.
-
7Scan the area where the quill was buried to ensure that the tip has not broken off. Broken quills can embed themselves into the skin and cause infection. See a doctor if this occurs.
- If you are not able to visit a doctor, sanitize a pair of clean (dirt-free) tweezers by putting them in boiling water for five minutes. Remove the tweezers from the water with tongs and let cool on a clean paper towel for a few minutes before you use them to remove the broken quill tip inside the wound.
-
8Repeat the removal process for every quill you can locate. Ask the patient if they have any pains elsewhere on their body, which could indicate smaller quills or broken off quill tips neither of you noticed. Remove quill tips as described above.
-
9Disinfect the wounds. Dip a cotton ball in hydrogen peroxide and wipe the wounds clean with it.[11] Sterile alcohol pads found in first aid kits will also work. Use mild soap and water if nothing else is available.
-
10Apply antibiotic ointment to the wounds. You may wish to apply a bandage over the ointment to hold it in place if the injured person will be participating in energetic activities, or if he or she is likely to scratch at the wound. Otherwise, keep the region open (without a bandage) so you can watch for infection.
-
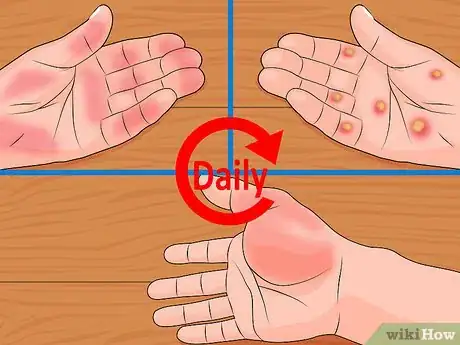
11Monitor the wound every day for signs of infection. Possible infection can appear as redness, swelling and oozing pus. You should visit a doctor if this occurs so you can be prescribed a safe and effective antibiotic to fight off the infection.
- If the person has any unexplained pains in the next few weeks, take them to a doctor and mention the porcupine quill incident. There's a possibility a quill tip remains lodged under the skin or has traveled deeper into the body where it can cause serious damage.
-
12Ask a doctor about a rabies vaccine as soon as possible. While rabies is mostly transmitted through bites, you should not take any risks. If someone is unlucky enough to pick up the rabies virus from a porcupine and did not receive a prompt vaccine or a vaccine in the recent past, there is a high chance of death.
- Even if the injured person received a vaccine in the last three years, ask a doctor whether it would be wise to receive another one after possible exposure.
Reducing the Chance of Porcupine Encounters
-
1Do not assume your animal will learn to avoid porcupines. Many dogs and other animals end up injuring themselves with porcupine encounters two or more times. If your pet has been injured by a porcupine once in your area, it is likely to encounter one again and may provoke it again.
-
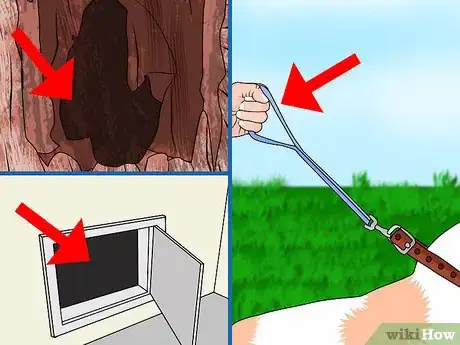
2Identify possible porcupine dens. Porcupines live in small, enclosed spaces. Caves, spaces underneath logs, or rockfalls may contain porcupines. Keep your animal leashed when passing by this type of area, or call it back if it goes to investigate these. If someone encountered porcupines near your house, they may be living underneath a deck, in a crawlspace, or in the corner of a shed.
- A porcupine's den may be easy to discover if you follow the sound of strange barks, grunts, moans, or screams. These sounds are most common during the autumn mating season.
-
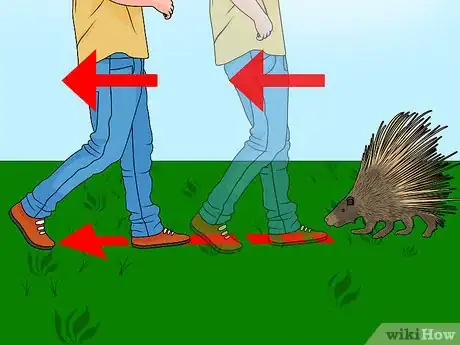
3If you encounter a porcupine, back away slowly. Contrary to myth, porcupines are not aggressive and are not able to throw their quills. As long as you back away slowly, the porcupine should not harm you. Look around as you back up to make sure there are no other porcupines around. While they are usually solitary, you may find mothers with young or multiple porcupines sharing a den in the winter.
-
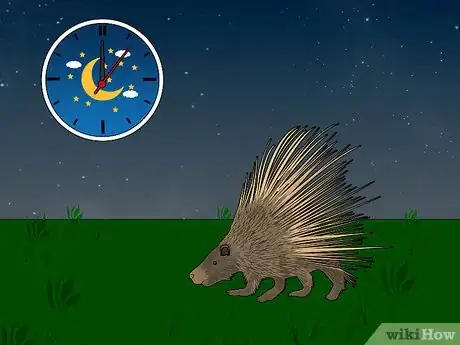
4Know when porcupines are active. Porcupines typically sleep during the day, so your animals have little risk of encountering them during that time. Keep your animals indoors or in pens during the night. If you want to spot the porcupines yourself to confirm they are on your property, you may need a flashlight or night vision goggles. Stay well away from the suspected den.
-
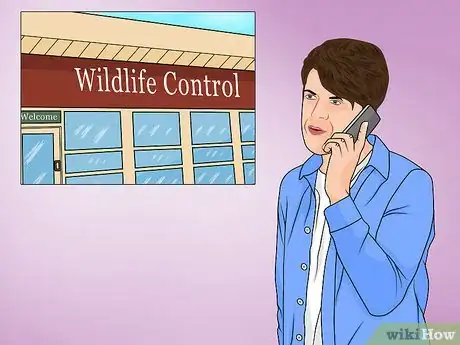
5Call professional porcupine removers to remove porcupines on your property. Besides the possibility of injury, porcupines will eat wood and garden plants, causing major damage. Call Wildlife Control or professional pet removers and have them safely remove the porcupines.
- Do not attempt to drive the porcupines away yourself, as you could be seriously injured.
Community Q&A
-
QuestionOne of my young steers has porcupine quills in its hide. Do they need to be removed?
 Community AnswerYes, they do need to be removed. It is best to have them removed by a vet, but if you cannot reach a vet, you can try to carefully remove them on your own.
 -
QuestionCan porcupine quills transmit rabies?
 Community AnswerYes. If your dog gets into porcupine quills, it should be brought to see the veterinarian.
 -
QuestionMy dog was attacked by a porcupine and can't walk on her paw. Is there a soak I can use to soothe it?
 Community AnswerThere isn't really a soak, but I recommend that you take a bandage and wrap up your dog's paw. This will stop the wound from bleeding and getting infected; it will also help ease your dog's pain as the pressure from walking will not be exerted on the paw directly. If your dog is still experiencing pain in a day or two, call the vet to see if there's anything they would recommend.
Warnings
- Broken quill tips will move deeper into the body, not outward toward the skin. This can be dangerous and should always be cause to consult a doctor or veterinarian immediately.⧼thumbs_response⧽
- Porcupines usually choose to live in the wild away from humans. If you are camping in the wilderness, be aware for porcupine warning signals such as noxious odors and vocal noises including moans, tooth clicking and wails. Use care when allowing your dog to roam near the preferred habitat of porcupines, including hollow trees, earthen dens or rock mounds.⧼thumbs_response⧽
- Do not attempt to anesthetize or sedate your animal without the supervision of a veterinarian. Even household medicines can be dangerous if used on the wrong breed or in the wrong dosage.⧼thumbs_response⧽
Things You'll Need
- Flat head pliers or hemostats
- Tweezers
- Soap and water
- Antibiotic ointment
- Muzzle (only if there are no quills or puncture marks on the animal's head or in its mouth)
References
- ↑ http://www.ncbi.nlm.nih.gov/pmc/articles/PMC1482438/
- ↑ http://www.ncbi.nlm.nih.gov/pmc/articles/PMC1687009/
- ↑ http://www.petsadviser.com/vet/porcupine-attacks-on-dogs/
- ↑ http://www.ncbi.nlm.nih.gov/pmc/articles/PMC1482438/
- ↑ http://www.ncbi.nlm.nih.gov/pmc/articles/PMC1482438/
- ↑ http://animals.howstuffworks.com/pets/home-remedies-for-dogs-with-porcupine-quills-and-foxtails.htm
- ↑ http://www.ncbi.nlm.nih.gov/pmc/articles/PMC1482438/
- ↑ http://www.petmd.com/dog/emergency/accidents-injuries/e_dg_puncture_wounds
- ↑ http://www.wisegeek.com/how-do-i-remove-porcupine-quills.htm
About This Article
To remove porcupine quills from a dog, take it to a vet if at all possible since at-home quill removal can be painful, dangerous, and difficult. Also, never attempt to remove quills around the eyes or mouth at home since it's too much of a risk. If you must remove the quills yourself and there aren't any around your dog's mouth or eyes, use pliers to grasp each quill at the base and then pull it out quickly in the opposite direction it entered in. If the tip of a quill breaks, remove it using sanitized tweezers. To learn how to remove porcupine quills from a person, scroll down.
