X
This article was co-authored by Lindsay Yoshitomi. Lindsay Yoshitomi is the nail artist behind the blog, Lacquered Lawyer. She was featured as one of Nail It! magazine’s “Bloggers You Should Know,” and has been on the cover of Nail Art Gallery Magazine. She has been practicing nail art for over 15 years.
This article has been viewed 265,056 times.
Painting your toenails is a great way to put your best foot forward. Thoroughly caring for your nails and choosing a color you love will prepare your feet for those summer sandals.
Steps
Part 1
Part 1 of 2:
Preparing Your Nails
-
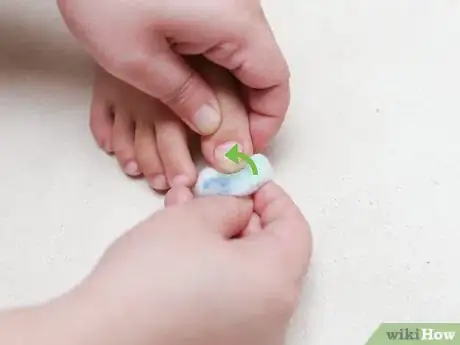
1Remove your old polish. The first thing to do is remove any polish that's already on your nails. Soak a cotton ball with nail polish remover and run it over your nails until all the polish is gone.
- A Q-Tip can help with hard-to-reach edges.
- When choosing nail polish remover, be aware that those with acetone are more effective, but also more likely to damage your hands. Non-acetone nail polish removers are less strong, but also less harmful.[1]
- There are also alternate options for nail polish remover.
- Moisturize your hands to counteract the drying effects of the nail polish remover.
-
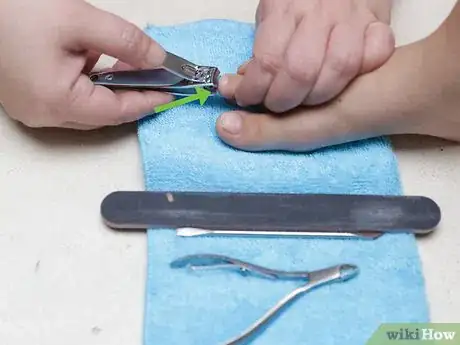
2Clip your nails. Use nail clippers to cut your nails straight across -- this is the healthiest way to clip, and you'll shape your nails later. A recommended length is to the edge of your toe.[2]Advertisement
-
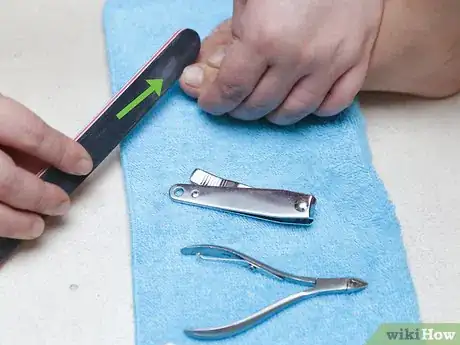
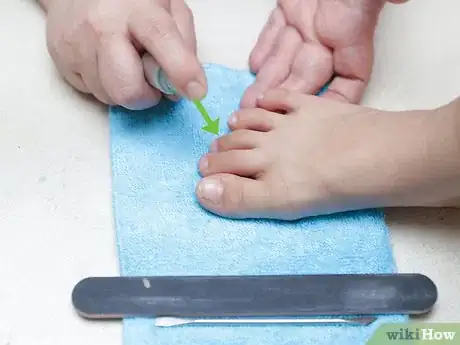
3File your nails. Get your nails to the desired shape. Be careful not to leave jagged edges, as they can uncomfortably scrape against shoes and socks.
- Make sure your nail file is in good condition and hasn’t become dull.
- The best filing technique is not to move your nail back and forth over the file, but to scrape the file in a single motion across the tip of your nail and repeat until you’ve finished.[3]
-
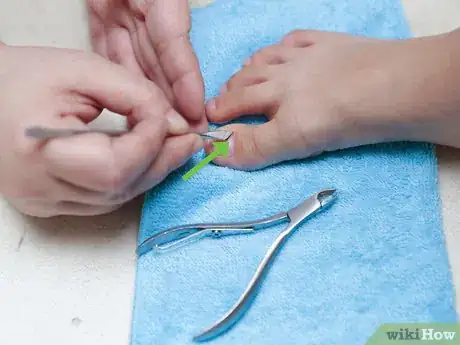
4Buff the tops of the nails. The nails on your toes are usually rougher than those on your fingers since they're always rubbing against socks and shoes. Use a nail buffer to smooth down ridges and grooves. Buffing helps remove any residuals left by your old pedicure and primes the nail to soak up the base coat.[4]
-
5Wash up. Wash with soap and water to get rid of the nail polish remover smell. Be sure to dry your feet before painting - water will dilute nail polish and ruin your pedicure.[5]
Advertisement
Part 2
Part 2 of 2:
Painting Your Nails
-
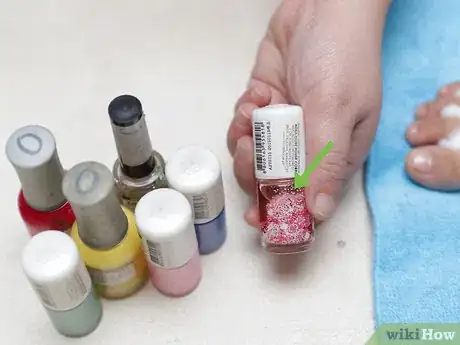
1Pick your color. Choose a color you’ll love looking at - whether it’s your favorite color or something that matches your clothes.
-
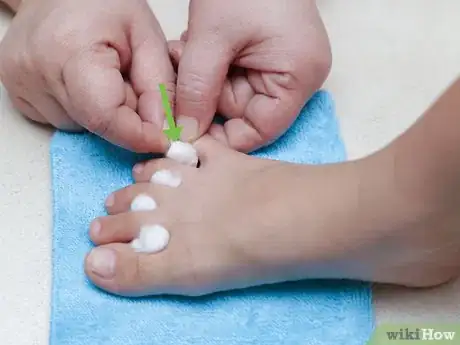
2Separate your toes using a toe separator or cotton balls. If toes touch each other, they can disturb wet nail polish - separating them will help you avoid this.
-
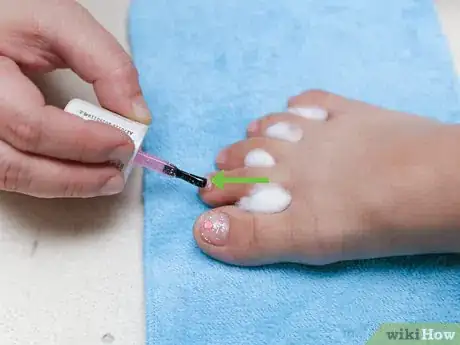
3Apply a base coat. Base coat makes your pedicure last longer, since it helps the colored polish adhere to your nails. It also keeps colored polish from leaving stains on your nails after removal.[6] .
-
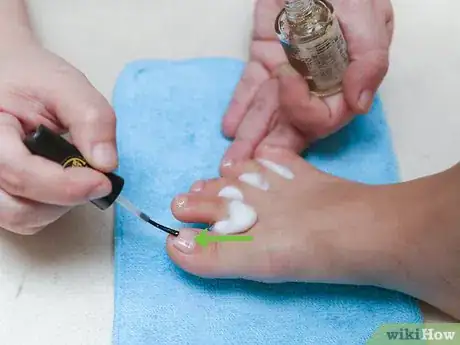
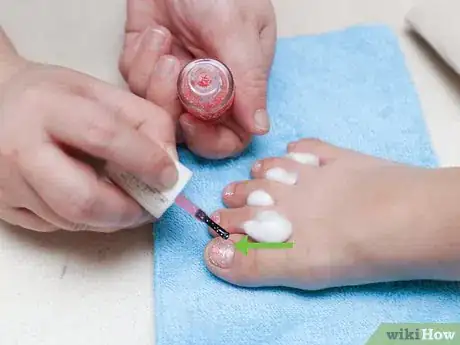
4Apply colored polish. Transfer a bead of polish from the brush to your nail. Gently guide the polish to every part of your nail - you shouldn’t need more than three strokes.[7]
- Be sure to use thin coats - thick coats can form air bubbles, and dry much slower.
-
5Apply additional coats as needed. Using the same strategy, apply additional thin coats until your polish is as opaque as you would like. Two coats is enough for most brands and colors of nail polish.[8]
-
6Remove any excess polish. No worries if you’ve colored outside the lines a bit - just dip a Q-Tip in some nail polish remover and dab at any nail polish that’s gotten on your skin (or anywhere else you wouldn’t like it).[9]
-
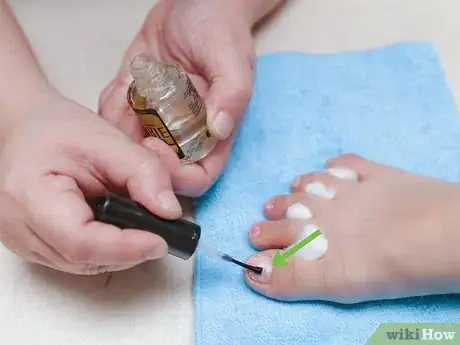
7Apply a top coat using the same procedure as regular polish. Clear top coat seals nail polish in, making your pedicure last longer. It also provides a beautiful finish - either glossy or matte. When applying, be sure to run the brush across the top of your nail, since that’s where chips are most likely to occur.[10]
-
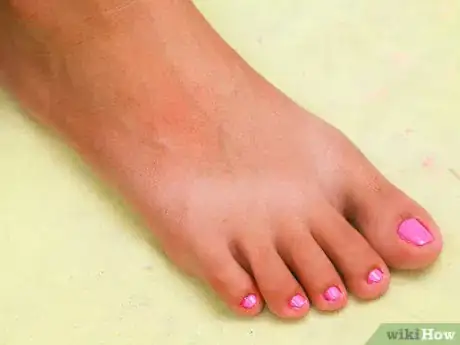
8Let your nails dry. Be careful not to bump into anything that could disturb them while they're drying!
- Stay away from hot water, but dipping your nails into ice water can help them dry faster.[11]
Advertisement
Expert Q&A
Did you know you can get expert answers for this article?
Unlock expert answers by supporting wikiHow
-
QuestionHow can I fix nail polish that's old and thick?
 Lindsay YoshitomiLindsay Yoshitomi is the nail artist behind the blog, Lacquered Lawyer. She was featured as one of Nail It! magazine’s “Bloggers You Should Know,” and has been on the cover of Nail Art Gallery Magazine. She has been practicing nail art for over 15 years.
Nail Artist
-
QuestionHow do I make the first layer of nail polish not too thick?
 Community AnswerMake sure your brush doesn't have too much polish on it to start with. Wipe the excess off before you start applying the nail polish.
 -
QuestionI have a Styrofoam block with indentations in it. How do I use it on my toes?
 Community AnswerPut each little bump in between your toes, it will help spread your toes out.
Advertisement
Warnings
- Don't shake bottles of nail polish - this can cause air bubbles to form. To mix them, roll them between your hands instead.⧼thumbs_response⧽
- Do not cut your cuticles - this can leave them vulnerable to infection![13]⧼thumbs_response⧽
- Avoid storing your nail polish in direct sunlight.⧼thumbs_response⧽
Advertisement
Things You'll Need
- Nail Polish
- Base Coat
- Top Coat
- Nail Polish Remover
- Cotton Balls
- Nail File
- Nail Clippers
- Nail Buffer
- Q-tips (optional but helpful)
References
- ↑ http://www.self.com/story/to-acetone-or-not-the-healthie
- ↑ http://www.livestrong.com/article/314121-how-to-trim-a-toenail-correctly/
- ↑ http://www.cosmopolitan.com/style-beauty/beauty/a8529507/how-to-file-nails/
- ↑ http://www.cosmopolitan.com/style-beauty/beauty/a8529507/how-to-file-nails/
- ↑ http://www.cosmopolitan.com/style-beauty/beauty/a8529507/how-to-file-nails/
- ↑ http://www.cosmopolitan.com/style-beauty/beauty/how-to/a5101/things-about-painting-your-nails-you-might-not-know/
- ↑ http://www.cosmopolitan.com/style-beauty/beauty/how-to/a5101/things-about-painting-your-nails-you-might-not-know/
- ↑ http://www.cosmopolitan.com/style-beauty/beauty/a8529507/how-to-file-nails/
- ↑ http://www.cosmopolitan.com/style-beauty/beauty/how-to/a5101/things-about-painting-your-nails-you-might-not-know/
- ↑ http://www.cosmopolitan.com/style-beauty/beauty/a8529507/how-to-file-nails/
- ↑ http://www.cosmopolitan.com/style-beauty/beauty/a8529507/how-to-file-nails/
- ↑ http://www.cosmopolitan.com/style-beauty/beauty/a8529507/how-to-file-nails/
- ↑ http://www.cosmopolitan.com/style-beauty/beauty/how-to/a4797/why-you-should-never-ever-cut-your-cuticles/
About This Article
Advertisement
