wikiHow is a “wiki,” similar to Wikipedia, which means that many of our articles are co-written by multiple authors. To create this article, volunteer authors worked to edit and improve it over time.
This article has been viewed 2,750 times.
Learn more...
Whether the month you are reading this is April or any other month, we wanted to share with you about Autism Ribbons. This article has crafting ideas with tips on symbolism to help you craft the best ribbon. Did you know---in the United States, April is known as: "Autism Awareness Month," or "Autism Acceptance Month." To celebrate autistic voices, we've compiled a list of information and fun tutorials to make your own ribbon, so keep reading to make a fun craft and learn some trivia along the way!
Steps
Choosing a Ribbon
-
1Be wary of traditional symbols for autism. Puzzle pieces and the color blue are associated with Autism Speaks, an organization that is generally considered to do much more harm than good, so the symbols can carry a very negative connotation.[1] [2]
-
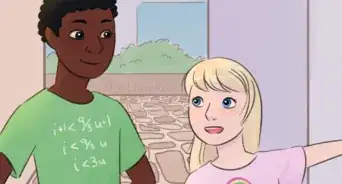
2Consider a rainbow ribbon. While there is no generally-accepted symbol for autism, many autistics use the neurodiversity symbol, which is a rainbow infinity sign. Rainbow colors are reminiscent of this symbol, and are meant to symbolize the diversity of humanity, autistic and otherwise.Advertisement
-
3Consider a red ribbon. Many autistic people and their loved ones use the hashtag #RedInstead, a positive campaign meant to promote acceptance and optimism.
-
4Look into other ways to show that your ribbon is related to autism. Because there is no universal symbol for autism, people not know what your ribbon is supposed to represent. Consider...
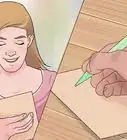
- Writing "Autism" on your ribbon
- Displaying your ribbon somewhere where autism is mentioned
Creating the Ribbon
-
1Set up your work space. Place everything where it is easy to reach.
- Put newspaper or a place mat under your work area so that glue does not get on your table or floor.
- Plug in the glue gun and insert a hot glue stick.
-
2Measure 6 to 10 inches (15 to 25 cm) inches of ribbon and cut. You will need 6 inches (15 cm) if using thin ribbon or 10 inches (25 cm) if using thicker ribbon.
-
3Fold your ribbon crossing one side over the other. Attach the back of the front side to the back side using a dab of glue in between where they meet.
-
4Attach to your pin. Attach a safety pin by putting a dab of glue on the top of the pin and pressing it firmly to the ribbon until it is attached.
-
5Finished.
Things You'll Need
- Ribbon (rainbow or red)
- Hot glue gun
- Glue (for glue gun)
- Safety pins
- Ruler
- Scissors


References
- ↑ https://learnfromautistics.com/the-problem-with-the-autism-puzzle-piece/
- ↑ https://leftbrainrightbrain.co.uk/2017/04/02/light-it-up-blue-isnt-autism-awareness-its-autism-speaks-advertisement/
- ↑ https://www.disabilityscoop.com/2017/08/29/is-time-ditch-autism-puzzle-piece/24095/
- ↑ http://www.thinkingautismguide.com/2017/09/study-shows-that-puzzle-pieces-evoke.html


Medical Disclaimer
The content of this article is not intended to be a substitute for professional medical advice, examination, diagnosis, or treatment. You should always contact your doctor or other qualified healthcare professional before starting, changing, or stopping any kind of health treatment.
Read More...