wikiHow is a “wiki,” similar to Wikipedia, which means that many of our articles are co-written by multiple authors. To create this article, 12 people, some anonymous, worked to edit and improve it over time.
wikiHow marks an article as reader-approved once it receives enough positive feedback. In this case, 92% of readers who voted found the article helpful, earning it our reader-approved status.
This article has been viewed 85,055 times.
Learn more...
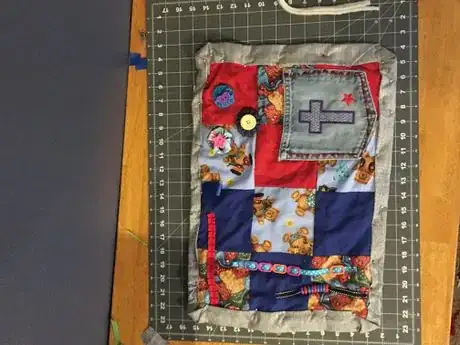
A fidget quilt or activity blanket is a lap quilt that provides sensory and tactile stimulation. They can be helpful for people with ADHD, anxiety, or autism. Making one of your own doesn't have to be too difficult.
Steps
Preparing Your Squares
-
1Make a template of any size. A recommended size to start with is 5" by 5".
-
2Cut 3 squares of the same color of fabric. Put a clip on the square to hold your template to the fabric and make it easy to cut.Advertisement
-
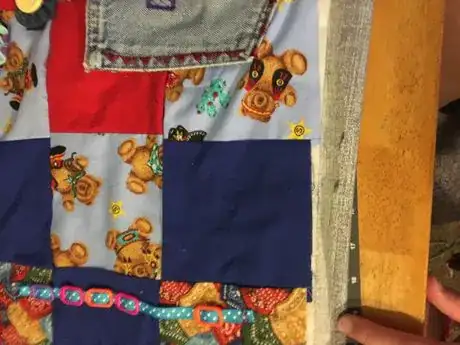
3Repeat two more times with each fabric color. Most completed fidget quilts are usually 17" by 21", but you can make yours at any size.
-
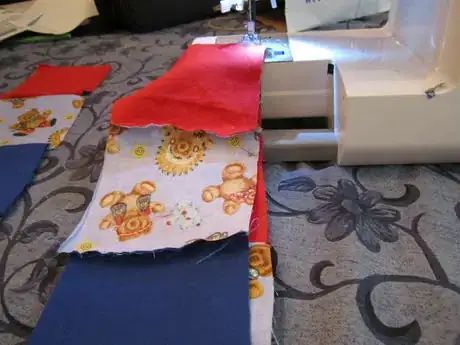
4Sew the squares together into strips.
-
5Sew the strips together using a 1/4 inch seam. This will become your top.
-
6Iron your top, making sure all the seams are ironed the same direction and are laying flat.
Making a Tassel
-
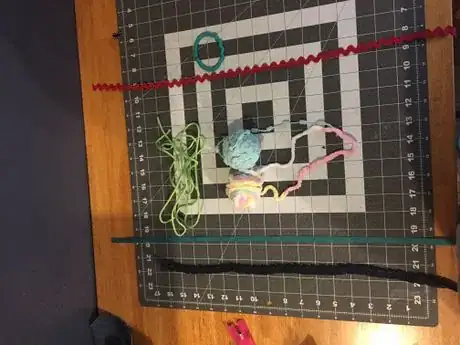
1Obtain several different yarns and ribbons. Your tassel can be any length you want.
-
2Cut all your ribbons and yarn to the same length.
-
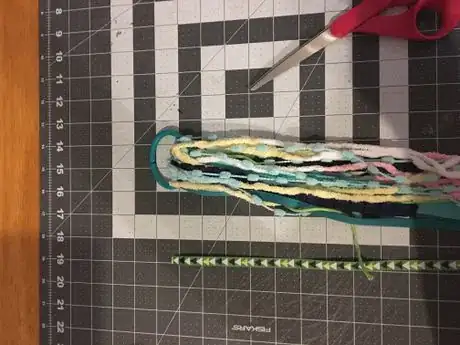
3Pull them through a ring and fold it in half.
-
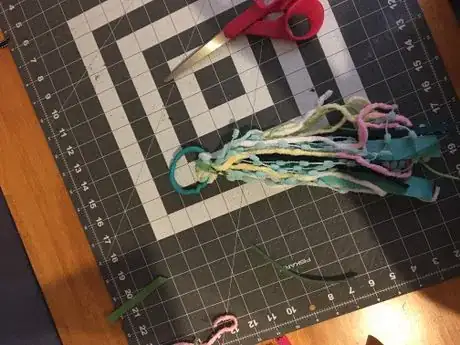
4Use a sturdy piece of string or yarn to tie everything together at the top. This should be removable and not washable, so when you're sewing it into the quilt top, you'll sew a small loop of ribbon or a tab to hang the tassel on. This loop is usually made on the top of the quilt, so make sure the border covers it.
Making Yo-Yos
-
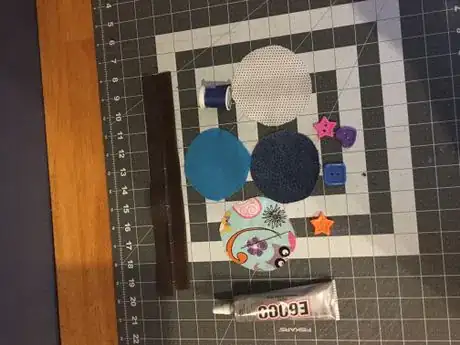
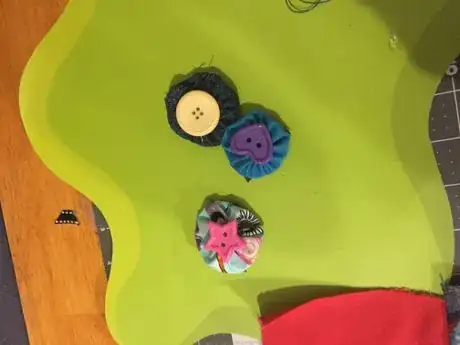
1Cut circles of any size out of fabric. The larger the circle, the bigger the yo-yo.
-
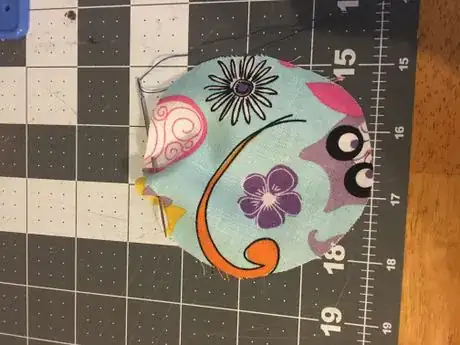
2Hand-sew around the outer edge of the fabric.
-
3Remove your needle and pull on both ends of the thread. It will gather up into a circle. Knot the thread so it stays gathered.
-
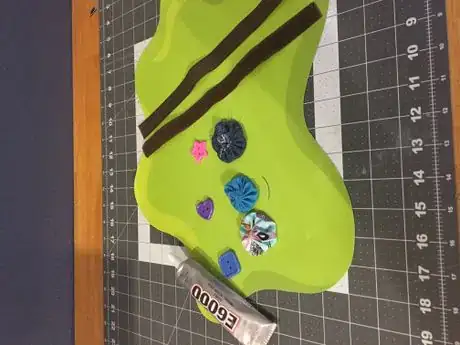
4Use glue to add a big bright button to the center of each yo-yo.
-
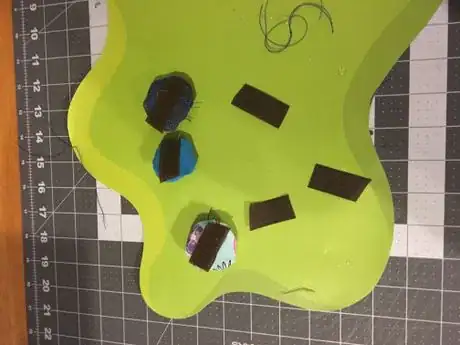
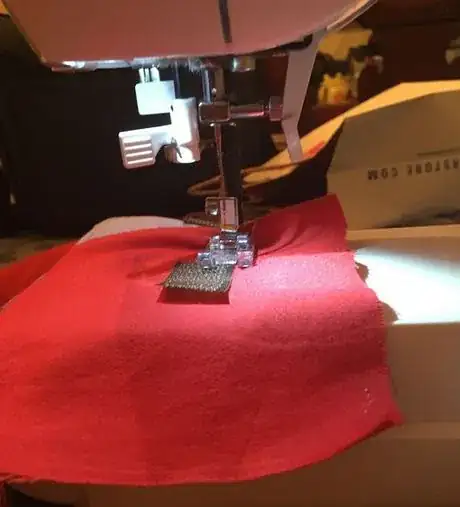
5Add velcro using some glue.
-
6Sew the other side of the velcro down. Your yo-yo's are done.
Adding Other Fidgets and Features
-
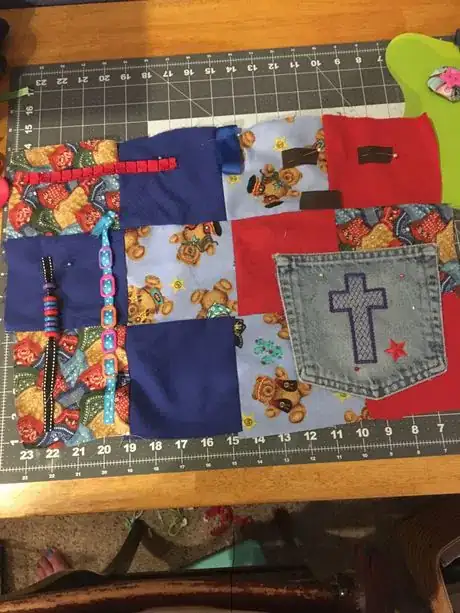
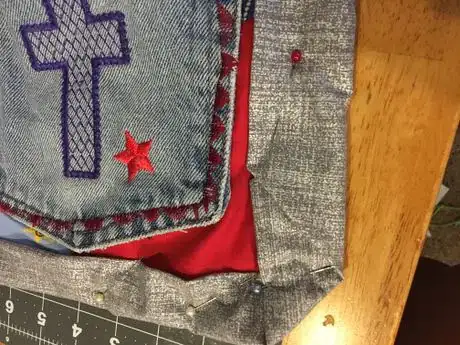
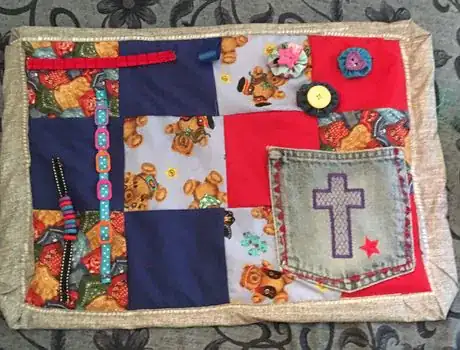
1Add a fleece teddy bear to your quilt. You can make the bear on an embroidery machine. The finished teddy bear is 7" by 5". Consider using a recycled jean pocket to store the teddy bear.
-
2Decide on which fidgets you want to use. You can use any number of fidgets.
-
3Pin all your fidgets on the top of the quilt.
-
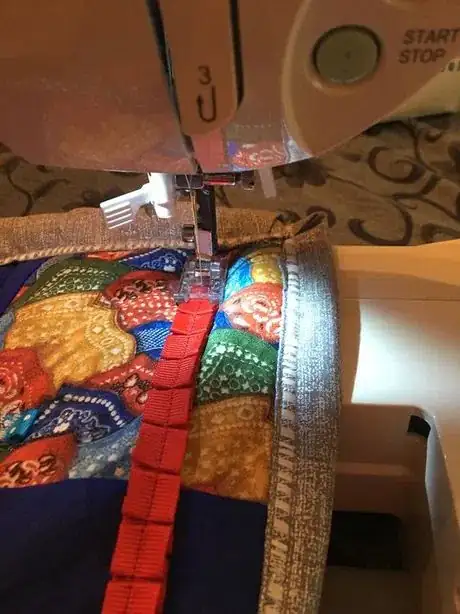
4Sew the fidgets onto the quilt. Make sure they are straight and on the top of the quilt.
-
5Make sure the ribbons are reinforced so they cannot be pulled off.
Finishing the Quilt
-
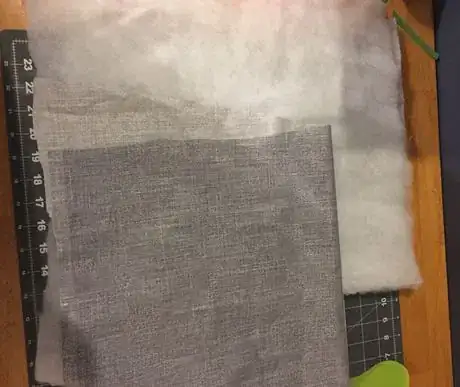
1Pick up the back fabric and cut the batting. You will need a low loft quilting batting and a coordinating fabric for the back.
-
2Lay the finished top quilt on top of the batting and cut it a 1/4" bigger on each of the sides.
-
3Lay the batting on top of the back fabric.
-
4Cut the back 1/2" bigger on each side of the batting so you can fold it over and pin it to the quilt top.
-
5Pin the top, batting, and back fabric together.
-
6Fold the backing fabric up 1/4" so there are no raw edges and fold it once more. The back fabric should be pinned to the top fabric. This gives the quilt a nice border.
-
7Pin the corners by bringing them to a point and folding them in. This can be a little tricky, but with patience, you can have a nice, neat corner. If you corner is not perfect, you'll be able to fidget with the loose ends.
-
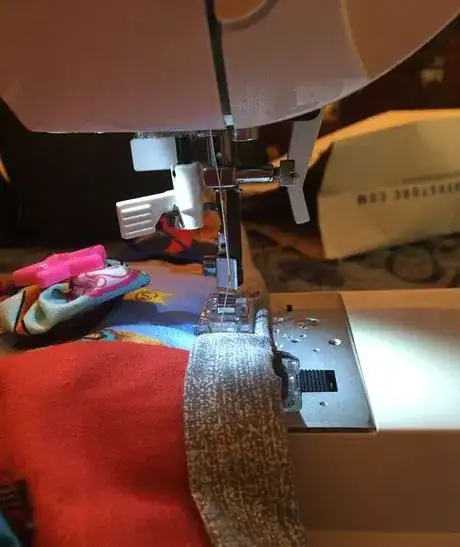
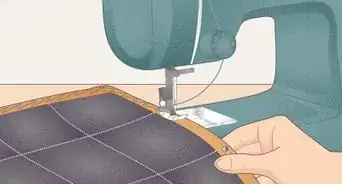
8Begin quilting it all together by sewing the border first. On the border, you will want to use a fancier stitch which will function as another tactical point on the quilt.
-
9Quilt the 3 pieces together by using a straight stitch. Start in the middle, sew top to bottom, and then sew left to right. You may have to dodge the fidgets, doing this binds all 3 pieces together.
-
10Finished! Your fidget quilt is ready to be given to someone!
Things You'll Need
- Fabric
- Scissors
- Batting-low loft batting
- Ribbon
- Fleece
- Buttons
- Beads
- Sewing machine
- Velcro
- Yarn
- Rings
- Zipper
About This Article
You can make your own fidget quilt from a few fabrics and craft items. To make the quilt, first cut out 3 squares each from 3 different types of fabric to give you 9 squares in total. Sew the squares together into 3 strips, using alternating fabrics to give it a patchwork look. Then, sew the strips together using 1/4-inch seams. Once you’ve sewn your quilt, you can add decorations, like beads, buttons, tassels, and yo-yos. A yo-yo is like a hair scrunchie with a closed back. To make one, cut a circle out of fabric and stitch around the edge. Then, remove your needle, pull on both ends of the thread, and tie the ends together. To make a tassel, just cut a few pieces of yarn to the same length, fold them through a hair tie so the ends are the same lengths, then tie another piece of string around the top of the yarn to keep it all together. For more tips, including how to add a border to your quilt, read on!


