wikiHow is a “wiki,” similar to Wikipedia, which means that many of our articles are co-written by multiple authors. To create this article, 23 people, some anonymous, worked to edit and improve it over time.
wikiHow marks an article as reader-approved once it receives enough positive feedback. In this case, 100% of readers who voted found the article helpful, earning it our reader-approved status.
This article has been viewed 412,639 times.
Learn more...
Making tulle, tutu styles dresses is fast, easy, and fun for both you and your child. It is a quick way to create a colorful dress-up outfit fit for a princess, ballerina or a fairy. This article will not only show you how to make a basic tutu-style outfit, but also give you ideas on how to decorate it and make some accessories to go with it.
Steps
Taking Measurements and Cutting
-
1Measure around the child's chest. Take a measuring tape and wrap it around your child's chest, just below the armpits. This is where the elastic will sit. Subtract 2 inches (5.08 centimeters) from that measurement. This is how long you will be cutting the elastic for the top of the dress.[1]
-
2Measure around the child's waist. Take a measuring tape and wrap it around your child's waist. Subtract 2 inches (5.08 centimeters) from that measurement. This will be for the waistband of your dress.Advertisement
-
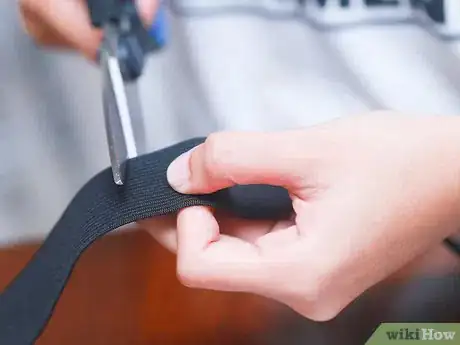
3Cut the elastic. Find some elastic that is about ½ to ¾ inch (1.27 to 1.90 centimeters) wide and cut it according to the measurements that you took for the top of the dress ad for the waist. You will end up with two pieces of elastic.
-
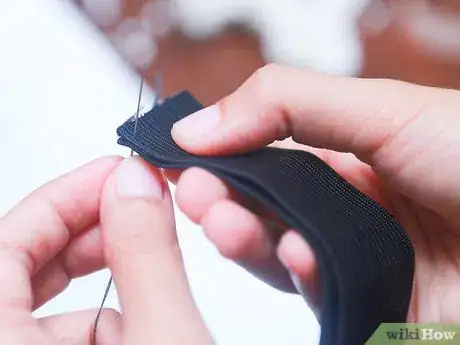
4Attach the ends of the elastic. Take your top elastic and bring the two ends together, forming a circle. Overlap the ends by placing one on top of the other. Secure the two ends with fabric glue, hot glue, or superglue. You can also sew the ends down using a needle and thread. This will make the dress more durable. Repeat the process for the waistband.
-
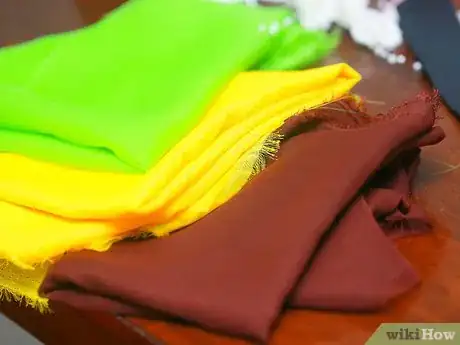
5Purchase some spools of tulle. Tulle sold by the spool is about 6 inches (15.24 centimeters) wide, which makes it the perfect size for making a tutu dress. You can find it at most arts and crafts stores. Tulle by the spool comes in many different colors. It is also available with glitter embedded in it. Sometimes, it has glittered patterns, such as dots, wavy lines, and swirls. You can purchase the tulle all in the same color and pattern, or you can purchase different colors and patterns to create a multi-colored dress.
- If you are making a short dress, or a dress for a baby or toddler, you will need two or three spools of tulle.
- If you are making a longer dress, or a dress for an older child, you will need three or four spools of tulle.
-
6Decide on the length of the dress. Take the measuring tape and place one end at the armpit, where the elastic band will sit. Measure down to where you want the dress to end and add 3 to 4 inches (7.62 to 10.16 centimeters) to the length. This is because the tulle will poof up when you tie it to the elastic, making it appear shorter.
-
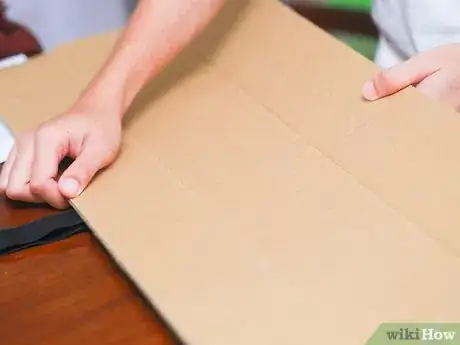
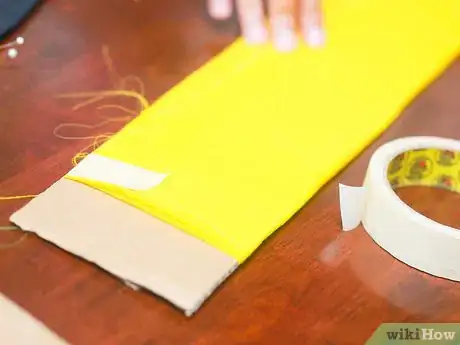
7Find a piece of cardboard that is the length of your dress. The board must also include the 3 to 4 inches (7.62 to 10.16 centimeters) that you added to the length. You can also use a picture frame, a baking sheet, or anything else, so long as it is the right length and not too thick.
-
8Wrap the tulle around the length of the board. Place one end of the tulle along the bottom edge of your board and begin wrapping it around the board. Do this until you have used up the entire spool.
-
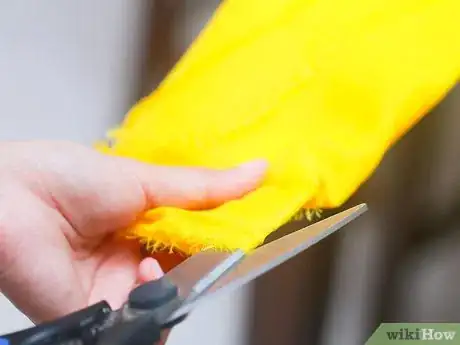
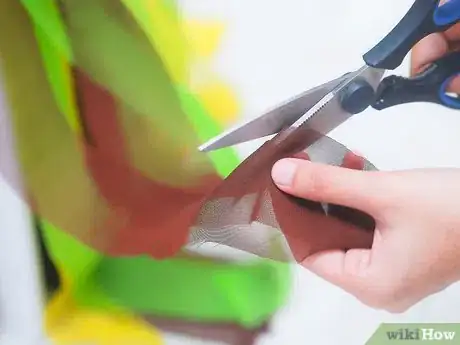
9Cut the tulle. Slide your scissors along the bottom edge of your board and cut through the tulle. You are only cutting one side. Do not cut the other side of the tulle. Each strip of tulle will be twice as long as your dress needs to be. This is because you will be folding the strips of tulle in half later.
- For a more interesting shape, consider cutting the bottom of each strip at an angle.
Putting the Dress Together
-
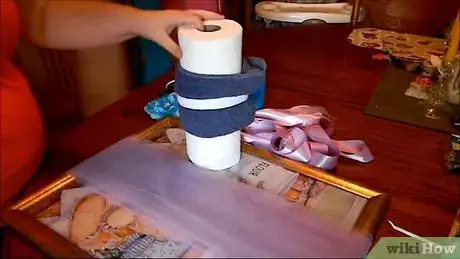
1Find or make a temporary dress form. You will need something to hold the elastic while you tie the pieces of tulle to it. You can use anything cylindrical, as long as it is close to the same thickness as your you'd waist. You can also make your own dress form by taking a piece of poster board, rolling the ends together until they are the same size as your child's torso, and then taping the poster board so that it doesn't unroll.
-
2Put the elastic bands on the dress form. Make sure that the space between the two bands is the same as the space between your child's armpit and waist.
-
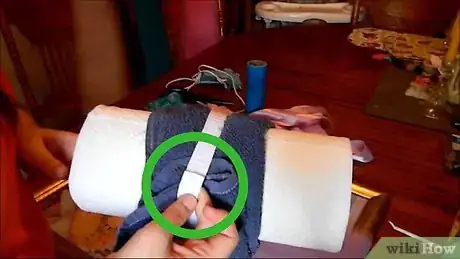
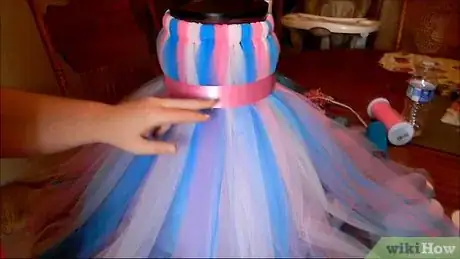
3Tie the tulle strips to the top elastic elastic. Fold a strip of tulle in half. Stick the looped end under the top elastic, and pull the loose ends through the loop. Gently tug downwards on the loose ends to secure it. Repeat with the rest of the tulle. If you are using more than one color, alternate the colors of the tulle. Do not put any tulle on the bottom elastic yet.
- The tighter you squish the pieces of tulle together, the fluffier your dress will be.
-
4Tie the pieces of tulle to the waistband. Take the first piece of tulle (both strands) and slide it under the waistband. Bring the strands back up and tie a knot. Gently tug the strands back down. Repeat for the rest of the pieces.
-
5Consider adding ribbon to the skirt. Take a tape measure and measure from the waistband to the bottom of the skirt. Double the number that you get, and cut pieces of ribbon according to that number. Fold the ribbon in half, and slide the looped end under the waistband, right between two pieces of tulle. Bring the ends of the ribbon up and through the loop, just as you did when tying the tulle to the top elastic. Gently tug the ends of the ribbon back down. Add more ribbon every few inches until you have gone around the entire waist band.
-
6Consider cutting parts of the skirt shorter. You can make the dress look angled or ragged depending on you you cut the tulle. For an angled dress, cut the tulle on the front shorter, and leave the back untouched. For a ragged dress, cut random pieces of tulle shorter.
Adding the Ribbon and Waistband
-
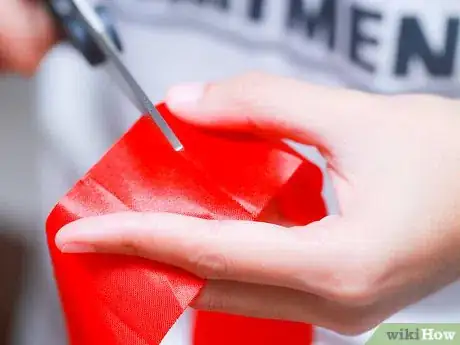
1Cut some ribbon for the top elastic. The ribbon should be four times the length of the top elastic. You will be wrapping it around the top elastic to hide the knots. The ribbon should be no more than 1 inch (2.54 centimeters) wide. Avoid using wired ribbon as the wires can scratch and poke the child. Instead, try to find a soft ribbon that is satin on both sides.
-
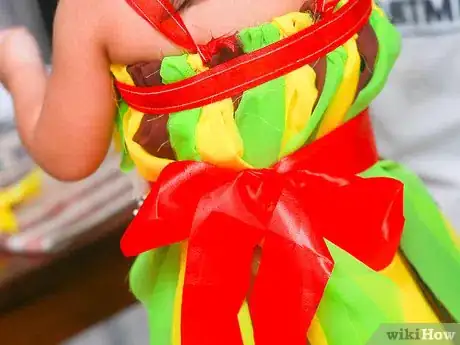
2Wrap the ribbon around the top elastic. Weave it between and around each loop of tulle, creating a candy cane effect. Tuck the two ends of elastic behind the loops of tulle and secure them with fabric glue or hot glue. You can also sew the two ends together.
-
3Make a basic halter top. To make a halter top for the dress, find the center of your dress and loop a length of ribbon around the elastic the same way you looped the tulle. Instead of pulling the ribbon downwards, pull it upwards. The ribbon will tie behind the child's neck in a bow. How long the ribbon is will depend on how big the bow is and how long the tail ends of the bow will be. The ribbon should be about 1 inch (2.54 centimeters) wide.
- Consider using a satin ribbon that is shiny on both sides.
- For a more delicate look, consider using a sheer ribbon or a piece of tulle instead.
- Avoid using ribbon with wire inside it, as it can poke your child.
-
4Consider making shoulder straps instead. To make some shoulder straps, put the dress on the child first. Take a length of ribbon and loop it around the elastic at the front, just as you did with the tulle. Instead of pulling the ribbon downward, pull it upward instead. Bring both strands of ribbon over the child's shoulder, and tie it to the elastic on the other side. The ribbon should be about 1 inch (2.54 centimeters) wide.
- For a standard look, use a ribbon that is satin on both sides. For a more delicate look, use a sheer ribbon instead. For a fancier dress, use an embroidered ribbon.
- Consider using pieces of tulle for the shoulder straps instead. This is perfect for a princess dress.
- Avoid using wired ribbon. The sharp ends can poke your child.
-
5Cut some ribbon for the waistband. Take a piece of ribbon that is at least 1 inch (2.54 centimeters) wide. The length of the ribbon depends on how big you want the bow to be when you tie it. It should be at least twice the circumference of your child's waist.
-
6Attach the ribbon to the waistband. Find the middle of the ribbon and glue it to the center of the waistband. The patch of glue should be no more than 2 inches (5.08 centimeters) wide. Wrap the ribbon around the dress and tie it in a bow in the back. You can leave the ends long, or cut them short.
Embellishing and Accessorizing
-
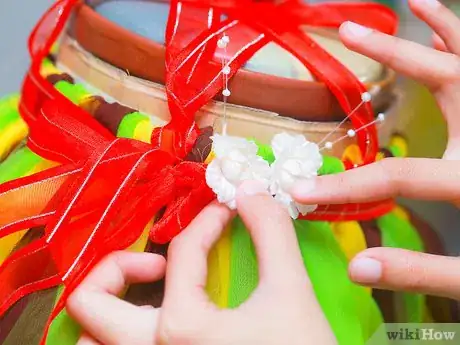
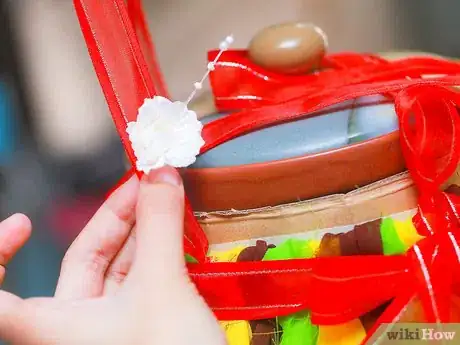
1Add a flower or brooch to the top of the dress. You can embellish the top of the dress by attaching flowers or brooches to where the straps join the elastic. Here are some ideas:
- If you made a halter top dress, glue a silk flower or brooch onto the ribbon loop, right where it meets the elastic.
- If you made a dress with shoulder straps, glue silk flowers or bows onto the front of each strap.
-
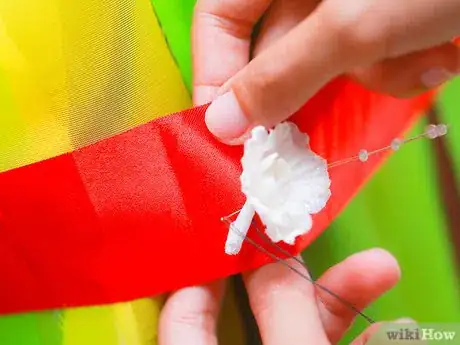
2Embellish the shoulder straps. You can glue little silk roses onto the shoulder strap ribbon. Put a drop of glue onto the back of a silk rose and press it against the ribbon. Glue another flower 1 inch (2.54 centimeters) away from the first one. Keep doing this until you have created a line of silk roses down the center of the ribbon.
-
3Decorate the bodice of the dress. The bodice of the dress is the space between the waistband and the top of the dress. You can attach silk or ribbon flowers to the pieces of tulle using fabric glue or hot glue. You can also attach rhinestones, gemstones, and even craft butterflies!
-
4Add some flowers to the waistband. You can transform a tutu dress into a fairy dress by gluing silk or ribbon flowers along the waistband. Do not take the dress off the dress form just yet. Place a drop of fabric glue or hot glue onto the back of a silk or ribbon flower, and press it against the waistband. Hold the flower in place for a few seconds before adding another flower. You can also use silk leaves as well.
-
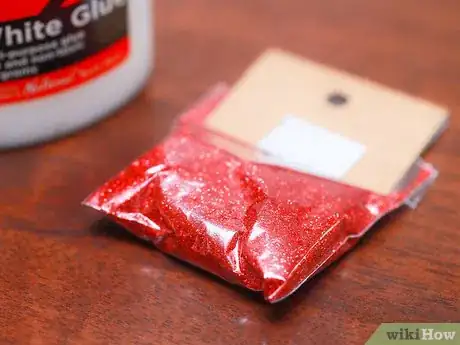
5Embellish the waistband with glitter. If you used a plain ribbon for the waistband, you can draw swirls and squiggles on it using glittery or pearlescent puff paint.
-
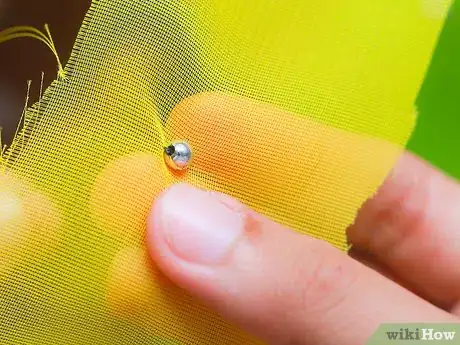
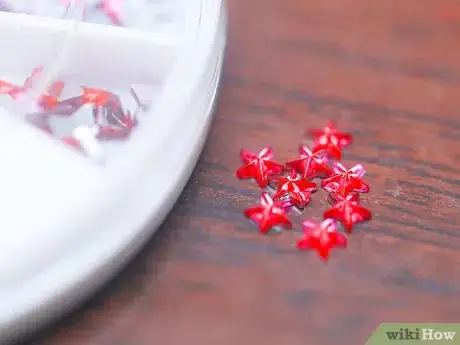
6Make a dress fit for a princess with rhinestones. Purchase some rhinestones and glue them to the waistband of the dress using fabric glue or hot glue. You can also outline each rhinestone with glittery puff paint for extra sparkle.
-
7Decorate the skirt of the dress. Glue some silk or ribbon flowers to several strands of tulle on the skirt of the dress. You can also glue craft butterflies and appliqués. If the dress is for a little witch instead, use some plastic spiders instead for a scary effect.
-
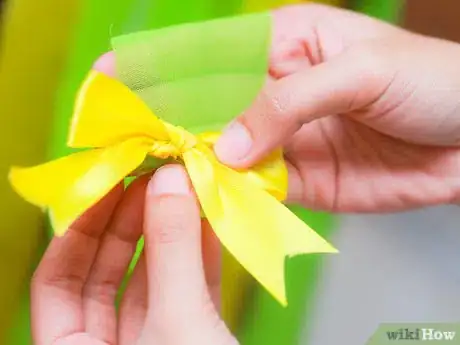
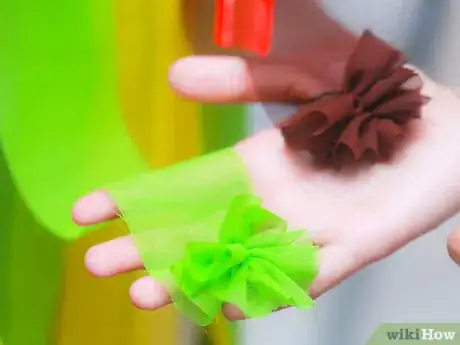
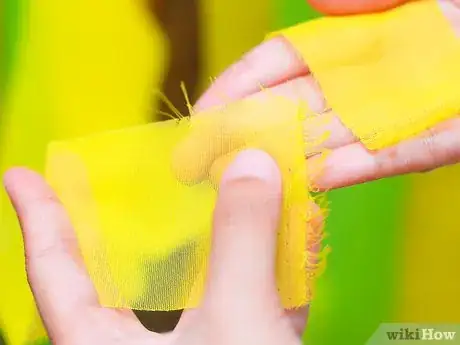
8Add a ruffle effect. To make the tutu dress look ruffled, take a contrasting color of tulle and cut it into 5-inch (12.70-centimeter) wide strips. This will leave you with 5 by 6 inch (12.70 by 15.24 centimeter) rectangles. Take a rectangle it turn it horizontally, so that the short ends are facing left and right, and the long ends are facing the floor an ceiling. Hold it against one of the strips of tulle from the dress. Position it so that it is about 2 ½ inches (6.35 centimeters) from the bottom, and tie a knot.
-
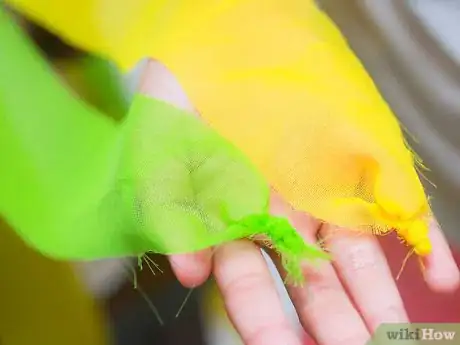
9Create a petal effect. You can make the dress look like it is made from flower petals by knotting the bottom end of each strand of tulle. Try to get the knot as close to the end as possible, and tie it tightly. Use a pair of scissors to snip any extra tulle off, and try to cut as close to the bottom of the knot as possible.[2]
-
10Make a tattered skirt. You can cut the strips of tulle that make up the skirt of the dress into different lengths, creating a tattered effect. This is perfect for a little pirate or witch!
-
11Add a cone hat. If this dress is for a princess, you could make a cone hat to go with it. Simply roll a piece of poster board into a cone shape, and tape it shut. Decorate the cone hat with tulle, rhinestones, and glitter.
-
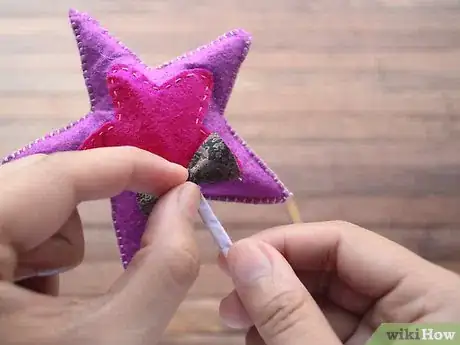
12Consider making a fairy or princess wand. Take a 12-inch (30.38-centimeter) dowel and wrap a pretty ribbon around it, making it look like a candy cane. Secure the ends of the ribbon to the dowel with some glue. Use hot glue or super glue to attach a rhinestone, bead, or button to the bottom of the wand. Cut several long pieces of ribbon and tie them to the top of the wand. Bend a pipe cleaner into a star or heart shape, and glue it to the top of the wand.
- You can also paint a heart or start-shaped piece of wood a pretty color, and glue it to the to of the wand instead of using a pipe cleaner.
- You can also use other items to top the wand, such as Christmas ornaments, silk flowers, and plastic figurines.
Community Q&A
-
QuestionMy son wanted a tutu like this. So we followed all instructions exactly. The boys in his class ended up making fun of him for it. What do we do now?
 Kalina FischerCommunity AnswerTalk to your son's teacher and principal to make sure that the bullies are punished. Let your son know that it's ok to wear feminine things even if others don't like it.
 -
QuestionWould a tutu dress for a 15th birthday be a good gift?
 Community AnswerI'm 17, and in my opinion it's not a bad gift, but it will probably just sit in her closet. If you want to give her something she'll use, go for electronics or a gift card.
 -
QuestionWould a tutu dress be a good gift for a 15-year-old?
 Community AnswerMost 15-year-olds probably wouldn't be interested in tutus, so I would choose another gift.
Things You'll Need
- Toddler-size dress: 2 - 3 spools of 6 inch (15.24 centimeter) tulle
- Child-size dress: 3 - 4 spools of 6 inch (15.24 centimeter) tulle
- ½ to ¾ inch (1.27 to 1.90 centimeters) wide elastic
- Satin ribbon
- Fabric glue, hot glue, or super glue
- Silk flowers, rhinestones, and embellishments (optional)
References
- ↑ TulleGal, How to Make a Tutu Dress
- ↑ The Hair Bow Company, Fairy Tutu Dress Tutorial
- Videos provided by Sandy Bell
About This Article
Before making your tutu dress, take the measurements of the person who will be wearing it. Then, cut the elastic that will wrap around your waist and top and strips of tulle for the skirt. Temporarily tie the dress around something cylindrical, like a roll of paper towels, and put the sewn elastics around it. Tie the tulle strips to the top elastic, and then do the same for the waistband. You can also wrap a piece of ribbon around the top or waist of the dress or add shoulder straps for a cute touch! If you want to learn how to add accessories or designs to your tutu, keep reading the article!
