X
This article was co-authored by wikiHow staff writer, Nicole Levine, MFA. Nicole Levine is a Technology Writer and Editor for wikiHow. She has more than 20 years of experience creating technical documentation and leading support teams at major web hosting and software companies. Nicole also holds an MFA in Creative Writing from Portland State University and teaches composition, fiction-writing, and zine-making at various institutions.
The wikiHow Tech Team also followed the article's instructions and verified that they work.
This article has been viewed 123,281 times.
Learn more...
This wikiHow teaches you how to create an iPhone ringtone from a song in iTunes on a PC or Mac.
Steps
Part 1
Part 1 of 2:
Creating a Ringtone from a Song
-
1Open iTunes. If you’re using a Mac, click music note icon on the Dock, which is usually at the bottom of the screen. If you’re using Windows, you’ll usually find iTunes in the Start menu (sometimes in a folder called All Apps).
- If you’d rather download a ringtone from the iTunes Store, see this wikiHow.
-
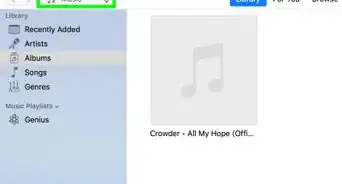
2Click Library. It’s near the top-center part of iTunes. This displays the contents of your library.
- To use a part of a song as a ringtone, it must already be in your library, whether you’ve purchased it from iTunes or imported it from elsewhere.
Advertisement -
3Select a song. When selecting a song, choose one that has a solid 20 second (or less) segment of sound you want to hear when your phone rings.[1]
-
4Write down the start and stop times of the segment you want to use. Play the song and write down the exact time within the song you want the ringtone to begin, then write down the time in the song where it should end.
- Example: If the part of the song you want to use begins exactly 50 seconds into the song, write down “0:50” as the start time. If you want the ringtone to stop at at 1 minute and 10 seconds into the song, write down “1:10” as the stop time.
- If the segment you choose is shorter than 20 seconds, the tone will repeat until the call is answered, canceled, or routed to voicemail.
-
5Right click on your selected song. A menu will appear.
-
6
-
7Click the Options tab. It’s near the top of the window.
-
8Enter the start and stop times. Check the boxes next to “start” and “stop,” and then type the start and stop times you wrote down.
-
9Click OK. It’s at the bottom of the window.
- Now that you’ve set times, listen to the track to make sure it sounds the way you’d like it to sound as your ringtone. Make any changes to these times as needed before you move forward.
-
10Click the song once to highlight it. The song is now ready to be converted.
-
11Click the File menu. It’s at the very top of the screen (on a Mac) or at the top of iTunes (on a PC).
-
12Click Convert. It’s near the bottom of the menu. Another menu will expand.
-
13Click Create AAC Version. This creates a ringtone file from the start and stop points of the selected song. You should see the new version of the song right beneath the original file.
- If you don’t see both versions of the song, it might be because you’re viewing a playlist. Try searching for the song’s title or artist in the search bar at the top of iTunes.
-
14Remove the start and stop times from the original file. You’ll want to reset the start and stop times of the original file you can listen to the whole song in the future. Here’s how:
- Right-click the original song and select Song Info.
- Remove the check marks from “start” and “stop.”
- Click OK.


Advertisement
Part 2
Part 2 of 2:
Adding the Ringtone to your iPhone
-
1Right-click the ringtone file in iTunes. This is the shortened version of the song you created. A menu will expand.
-
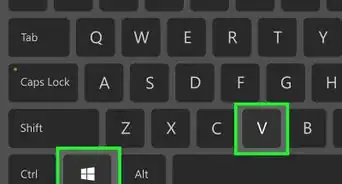
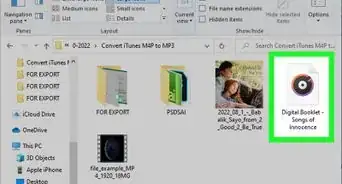
2Click Show in Windows Explorer (PC) or Show in Finder (Mac). This opens a window containing your new ringtone file, which should be called something like SongName.m4a.
- If you’re using Windows and don’t see the “.m4a” at the end of the file name, click the View menu at the top of the Explorer window, then check the box next to “File name extensions” (on the “Show/hide” panel).
-
3Change the .m4a part of the file to .m4r. Here’s how:
- Right-click the file and select Rename.
- Delete .m4a from the end of the filename and replace it with .m4r.
- Press ↵ Enter or ⏎ Return.
- Click Yes (PC) or Use .m4r (Mac) to confirm.
-
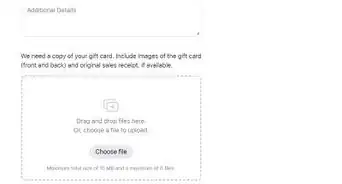
4Drag the renamed file to your desktop. Just click and drag the file from the Explorer or Finder window to the desktop, and then release the mouse button to complete the move.
-
5Return to iTunes and right-click the shortened ringtone. It’s the same one you right-clicked earlier. A menu will expand.
-
6Click Delete from Library. If prompted to confirm, follow the on-screen instructions to do so.
-
7Connect your iPhone to the computer. Use the cable that came with your iPhone or one that’s compatible. After a few moments, you should see an iPhone button appear near the top-left corner of iTunes.[3]
-
8Click the iPhone button. This selects your iPhone, and expands a section called “On My Device” near the bottom of the left panel.[4]
-
9Click Tones. It’s in the left panel under “On My Device.” A list of your custom ringtones will appear in the right panel.
-
10Drag the ringtone file from your desktop to “Tones.” You can drop it right onto the right panel of iTunes. Once the file is added, its name will appear in the list of Tones.[5]
-
11Click Sync. It’s the gray button at the bottom of iTunes.
-
12Click Done. It’s to the right of “Sync.” You can now remove your iPhone from the computer.
-
13
-
14Scroll down and tap Sounds. It’s the option with a pink icon that has a speaker on it.
-
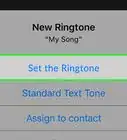
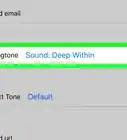
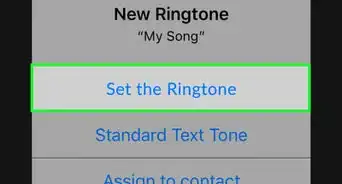
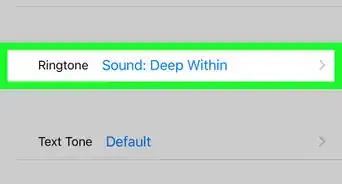
15Tap Ringtone. It’s under the “SOUNDS AND VIBRATION PATTERNS” header. A list of ringtones on your iPhone will appear, including the one you just added (the newest should be at the top of the list, under the “RINGTONES” header.
-
16Tap the ringtone to select it. This sets your new ringtone file as your iPhone’s default ringtone.


Advertisement
Community Q&A
-
QuestionI'm trying to make a ringtone in Itunes, but everything under "convert" is greyed out. What do I do?
 Community AnswerMake sure that the song is selected before you click the "Convert" button. If that doesn't work, try to restart iTunes or create another ringtone.
 -
QuestionWhy can't I drag the ringtone file from my desktop to iTunes?
 Community AnswerIs it doing a backup? If so, wait for that to finish and then it will let you drag the new ringtone into iTunes.
Advertisement


References
About This Article

Nicole Levine, MFA
wikiHow Technology Writer
This article was co-authored by wikiHow staff writer, Nicole Levine, MFA. Nicole Levine is a Technology Writer and Editor for wikiHow. She has more than 20 years of experience creating technical documentation and leading support teams at major web hosting and software companies. Nicole also holds an MFA in Creative Writing from Portland State University and teaches composition, fiction-writing, and zine-making at various institutions. This article has been viewed 123,281 times.
How helpful is this?
Co-authors: 6
Updated: May 6, 2019
Views: 123,281
Categories: ITunes | Ringtones
Advertisement