This article was written by Daniel Stoescu and by wikiHow staff writer, Madeleine Criglow. Daniel Stoescu is a Master Electrician and the Owner and Operator of Home Tech Solutions, LLC in Hampton, Virginia. With over a decade of experience, Daniel specializes in wiring residential, commercial, and light industrial structures. The Home Tech Solutions team has over four decades of combined experience and offers comprehensive solutions for residential electrical needs.
This article has been viewed 8,839 times.
Dimmable lights offer the chance to change up the ambiance in a room with just a quick adjustment. If you're interested in making the lights in your home dimmable, the task is super easy to do on your own. Keep reading for a simple DIY guide to installing dimmers in your home. We'll provide everything you need to know, including tips on completing the process safely.
This article is based on an interview with our master electrician, Daniel Stoescu, owner of Home Tech Solutions, LLC. Check out the full interview here.
Steps
Choosing a Compatible Dimmer Switch
-
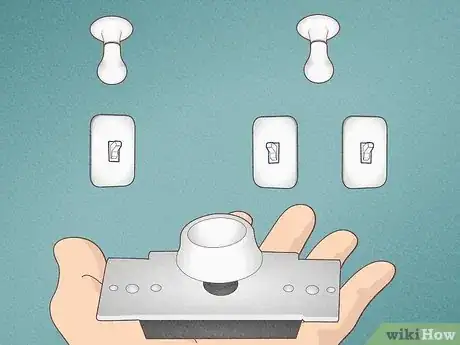
1Buy a dimmer that corresponds with the number of switches. When picking a compatible dimmer, you have single-pole and 3-way dimmers to choose from. If the switch you're replacing has one switch, go for a single-pole dimmer. If the switch has 2 switches, pick a 3-way dimmer.[1]
- A single-pole dimmer allows you to dim the lights with one switch (usually a dimming knob).
- A 3-way dimmer allows you to turn the light on and off with one switch while dimming the light with the other switch or dimming knob.
-
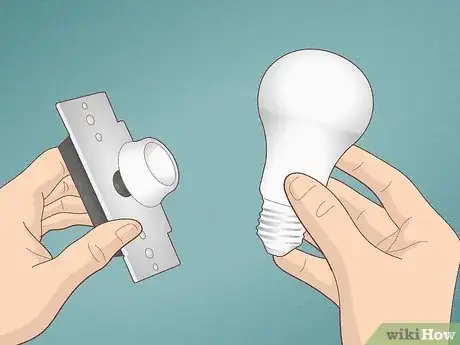
2Choose a dimmer that is compatible with your dimmable light bulbs. Dimmable LED, incandescent, and halogen bulbs work best with dimmer switches made for the specific lightbulb type. When choosing a dimmer switch, read the label and name of the switch to make sure that it's compatible with the light bulbs you intend to use.[2]
- For the dimmer switch to work properly, use a dimmable bulb.
- Installing an incompatible dimmer might cause the lights to flicker, stay in one lighting range, or not come on at all.
- Standard dimmer switches are not compatible with ceiling fan lights, as they can weaken the fan motor and cause it to overheat. Call a licensed electrician to install separate switches for the ceiling fan and the light bulb.
Advertisement -
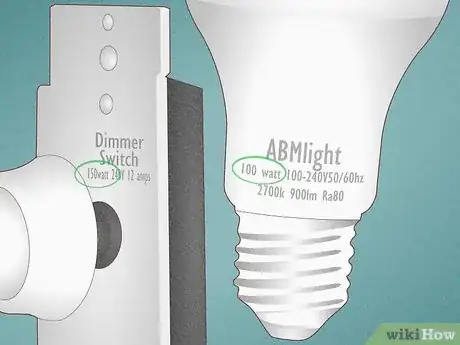
3Choose a dimmer that's compatible with the bulb wattage. Dimmer switches come with a specific rating that describes the maximum amount of wattage they can accommodate. The standard ratings include 150, 300, 600, and 1,000. If you're trying to dim a single bulb, check that bulb's wattage to determine the type of dimmer you need. For example, a single 100-watt bulb would be compatible with a 150-watt dimmer switch.[3]
- When you're working with multiple light bulbs, add up the wattage of each bulb. Then, find a dimmer switch with a rating that is compatible with that amount.
- If you have 4 100-watt bulbs (400 watts in total), then a 300-watt dimmer switch would not be enough. Purchase a dimmer switch with a 600-watt maximum to ensure the switch works properly.
Installing a Single-Pole Dimmer Switch
-
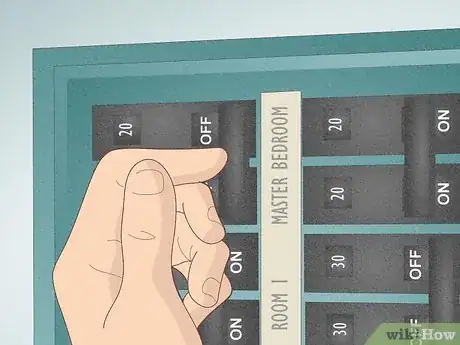
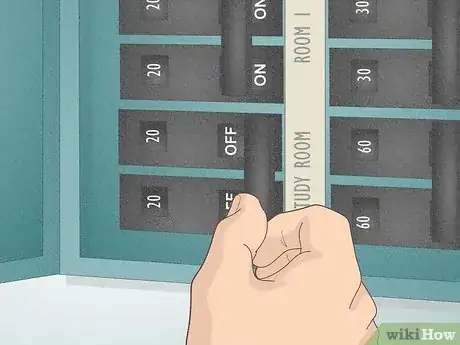
1Turn the power off using your home's electrical panel. For your safety, it's important to keep the power turned off during the entire installation process. Find your home's electrical panel, then flip the corresponding switch to turn it off. To ensure that the power is off, turn the light switch on and off to make sure it produces no light. Then, use a voltage tester to ensure there is no electrical current coming from the breaker.
- Electrical panels are usually located in the garage, basement, laundry room, or closet space of a home or apartment.[4]
- If you're not sure which breaker switch corresponds to the light switch, turn off each switch one by one and see which one shuts off the light.[5]
- Purchase a non-contact voltage tester online or at a home improvement store in your area. Apply the non-contact voltage tester to the breaker switch that controls the light switch to make sure there is no electrical current.
-
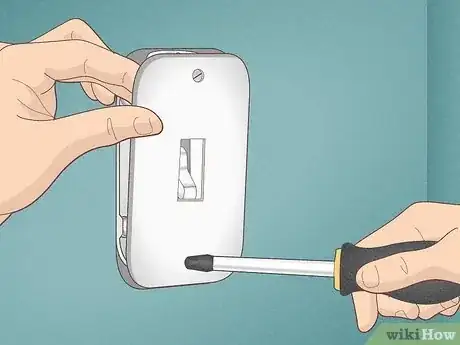
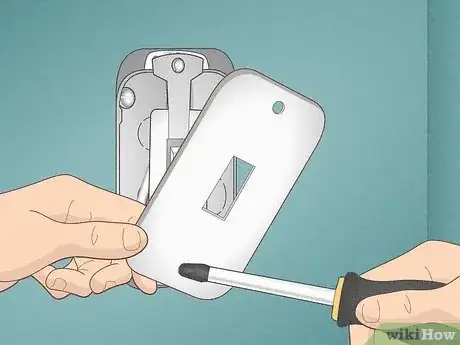
2Remove the wall plate with a screwdriver. Going counter-clockwise, unscrew each screw that holds the wall plate in place. Then, gently lift the plate off the wall and set it aside. Before going forward, apply a non-contact voltage tester to the switch screw terminals. That way, you can be absolutely sure there is no electrical current before removing the light switch.[6]
-
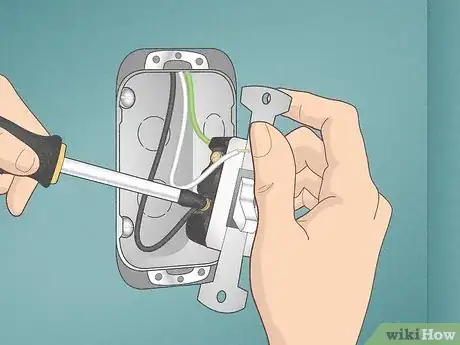
3Unscrew the light switch from the wires with a screwdriver. Before unfastening the light switch, take note of where each wire is connected to the light switch and which color wire attaches where. The dimmer light switch will be attached with the same wire configuration. To detach the light switch, turn the screws with a screwdriver in a counter-clockwise direction.[7]
- To remember the proper wire configuration, consider labeling the wires with electrical tape or taking a photo.
-
4Strip the ends of the wires that are frayed. Use a wire stripper to strip the wires if necessary, and leave 1.5 inches (3.8 cm) of exposed wire for proper installation.[8]
-
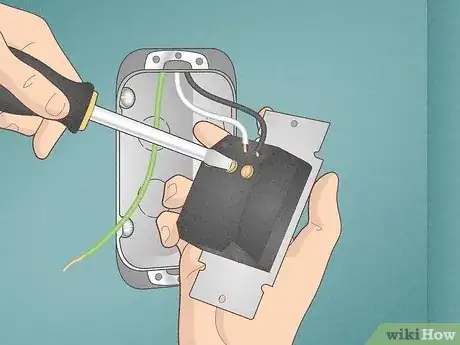
5Connect the hot wire and neutral wires to the new switch. Follow the same corresponding locations that connected the previous light switch to the wall. To wire a single-pole wall switch, connect the hot wire to the copper screw on the new switch by twisting it over the screw in a clockwise direction. If the switch is connected by push connector nuts, push the hot wire into the correct placement. Follow that by securing the neutral wire to the dimmer in the same fashion.[9]
- The hot wire is usually red or black.
- The neutral wire is usually white.
- For an additional reference, see if your dimmer switch came with wiring instructions and refer to those throughout the process.
-
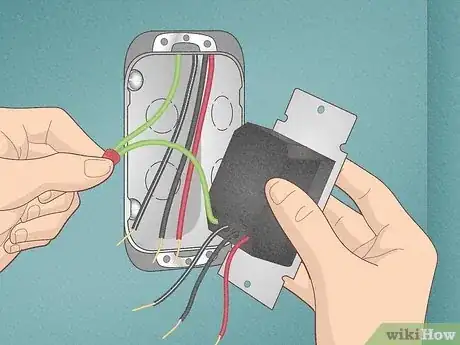
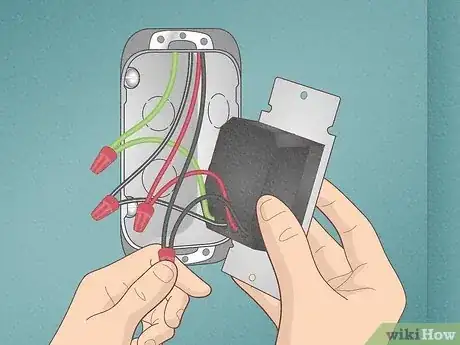
6Connect the dimmer ground wire to the green or copper wire in the wall. Connect these two wires by twisting the ends together in a clockwise direction with needle-nose pliers. Then, secure them with a wire connector nut.
-
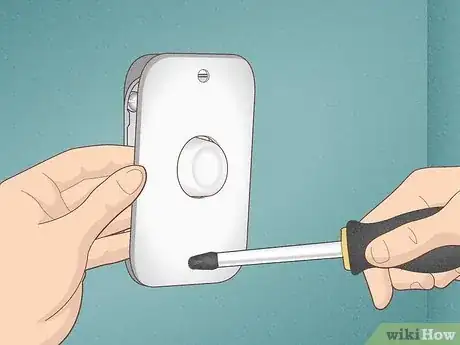
7Push the switch back into the wall and secure the wall plate. Now that you've connected the wires, guide the switch back to its proper placement in the wall and reattach the wall plate. Secure the top and bottom of the wall plate using a screwdriver and screws.
-
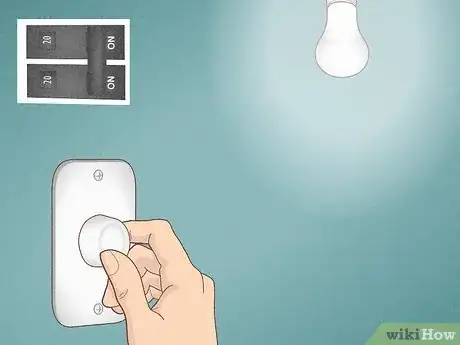
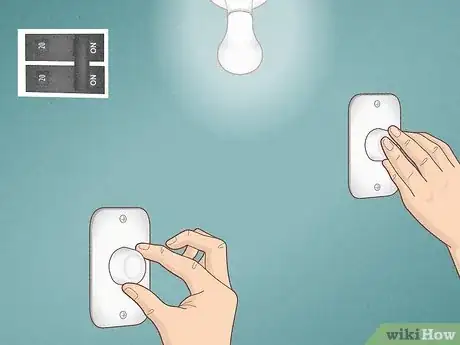
8Turn the breaker back on and test out the lights. After switching on the breaker, turn the lights on and dim them using the dimming switch or knob. If the lights turn on and dim, then you're good to go! If not, double-check that the correct switch on the breaker is turned on. If the light is still not working, call a licensed electrician to troubleshoot other possible issues.
- If you intend to make any adjustments to the wiring yourself, always remember to switch the breaker off again first.
Installing a 3-Way Dimmer Switch
-
1Shut off the circuit breaker to turn off the power. Find the breaker in your home (usually in the garage, basement, laundry room, or closet) and shut off the breaker switch that's connected to the light switch.[10] Before you proceed, check that the power is off by flipping the light switch on and off (if the power is off, it will produce no light). Double-check that there is no electrical current by applying a non-contact voltage tester to the breaker switch.
- Buy a non-contact voltage tester online or at a local home improvement store if you don't have one. To use it, touch the voltage tester to the switch on the circuit breaker.
-
2Take off the existing wall plates with a screwdriver. Turn the screws at the top and bottom of the wall plates in a counter-clockwise direction until they come loose. Then, remove the wall plates and put them to the side. After, apply the non-contact voltage tester to the screw terminals in the switches to ensure that there is no electrical current.[11]
-
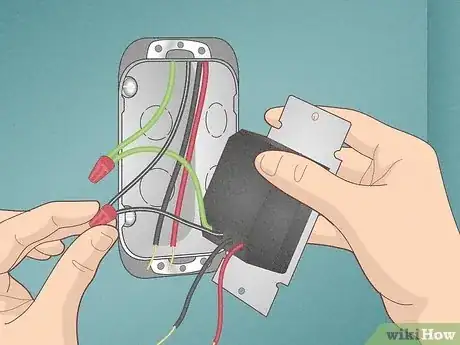
3Fasten the dimmer's ground wire to the green or copper wire. To wire a 3-way light switch, first connect these two wires by twisting the ends together in a clockwise direction. Then, fasten them securely with a wire connector nut.[12]
-
4Secure the black dimmer wire to the common wire in the wall. The common wire is usually black and may be labeled with a tag that says "COMMON." Connect the two wires by twisting the ends together and fastening them with a wire connector nut.[13]
-
5Fasten the traveler wires to the remaining wires in the wall. The last wires in each switch are called the traveler wires, and they are usually red and black. Connect the traveler wires to the remaining wires in the wall by twisting the ends together and secure them both with wire connector nuts.[14]
-
6Attach each wall plate to the wall with screws. Fasten the wall plates on the top and bottom to make sure the plates are secure.
-
7Turn the power supply on and test the lights. Flip the corresponding breaker switch to turn the power supply back on. Then, turn on the light and test out the dimmer to make sure it functions properly. If it's not working, check the breaker to make sure that it's turned on. In the case that the light is still not working, call a licensed electrician for help.
- If you plan on making any changes to the wiring, remember to always turn the breaker off first.
Warning
- Working with electricity without the help of an electrician can be dangerous. Always turn off the power supply during the installation, and if you have any questions, call a licensed electrician for help.
Things You'll Need
- Single-pole dimmer switch or 3-way dimmer switch
- Dimmable LED, incandescent, or halogen bulbs
- Screwdriver
- Screws
- Wire connector nuts
- Needle-nose pliers
- Non-contact voltage tester
- Wire stripper
- Electrical tape (optional)
References
- ↑ https://www.bobvila.com/articles/how-to-wire-a-light-switch/
- ↑ https://www.electrical101.com/dimmer-switches.html
- ↑ https://www.bobvila.com/articles/how-to-replace-a-light-switch/
- ↑ https://www.bhg.com/home-improvement/electrical/how-to-turn-off-power/
- ↑ https://www.bobvila.com/articles/how-to-replace-a-light-switch/
- ↑ https://www.bobvila.com/articles/how-to-replace-a-light-switch/
- ↑ https://www.bobvila.com/articles/how-to-replace-a-light-switch/
- ↑ https://www.bobvila.com/articles/how-to-wire-a-light-switch/
- ↑ https://www.bobvila.com/articles/how-to-replace-a-light-switch/
- ↑ https://www.bhg.com/home-improvement/electrical/how-to-turn-off-power/
- ↑ https://www.bobvila.com/articles/how-to-replace-a-light-switch/
- ↑ https://www.electrical101.com/dimmer-switches.html
- ↑ https://www.bobvila.com/articles/3-way-switch-wiring/
- ↑ https://www.bobvila.com/articles/3-way-switch-wiring/
