X
wikiHow is a “wiki,” similar to Wikipedia, which means that many of our articles are co-written by multiple authors. To create this article, 56 people, some anonymous, worked to edit and improve it over time.
This article has been viewed 127,304 times.
Learn more...
So you've unearthed an old box of LEGOs and you're considering throwing them out? Before you do, ask yourself, "What can I make out of these before getting rid of them?" This article tells you how to make a rubber band gun using LEGOs.
Steps
Method 1
Method 1 of 2:
Lego Handguns
-
1Understand a Lego gun's firing mechanism. Generally, a rubber band is stretched from a fixed hook or notch at the front end of the gun (where an actual gun's muzzle would be) to a moving mechanism at the back of the gun (where an actual gun's hammer would be.) When you pull the trigger, the mechanism shifts, allowing the rubber band to snap forward, sending it flying in the direction that the gun's "barrel" is pointing.
- Many Lego rubber band gun possibilities exist, as do many variations on the firing mechanism. The general principle behind most Lego guns, however - a stretched rubber band released at its back end - rarely changes.
-
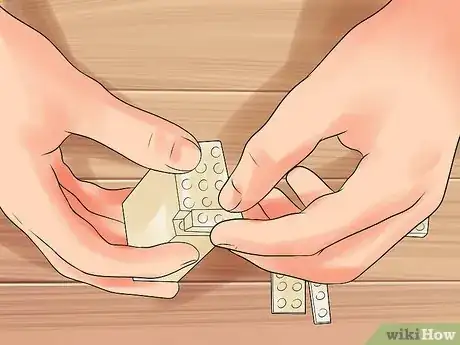
2Construct the gun's "beam" or "barrel." The size and strength of your rubber bands should affect the length of the gun's barrel. If you're using big rubber bands, you'll want a much longer barrel than if you're using tiny orthodontic bands from your braces. The beam should be sturdily-constructed - it will need to bear the tension of one or more rubber bands.
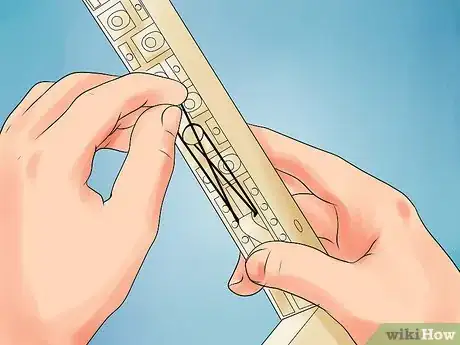
- A good basic "barrel" setup is one centered around of two long, thin pieces with holes in them. These pieces are separated by a space of one block - this gives room for the firing mechanism, which can be easily set up to rotate in one of the holes in the long thin pieces.[1]
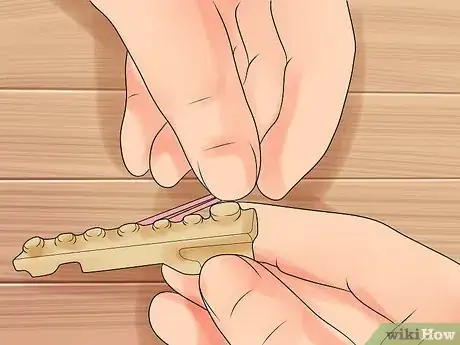
- Include a small notch or bump at the end of the barrel for the rubber band to catch on when it's stretched out. Make sure this is sturdy enough to hold the tension in the rubber band without falling off!
Advertisement -
3Incorporate a firing mechanism into the beam. A basic firing mechanism is simply a notch for the rubber band to catch on which is attached to an axle between the two pieces in the gun's beam. The axle should be kept from rotating freely by mechanism which releases when you press it - the gun's "trigger." When you press the trigger, the firing mechanism is allowed to turn freely. The tension in the rubber band causes it to turn forward, releasing the rubber band into your bratty cousin's ear.
- Though they almost all follow the same basic principle, a variety of firing and trigger mechanisms exist for your Lego gun. The simplest incorporate a few simple L-shaped and straight Technic™ pieces rotating on separate axles to great effect.[2]
-
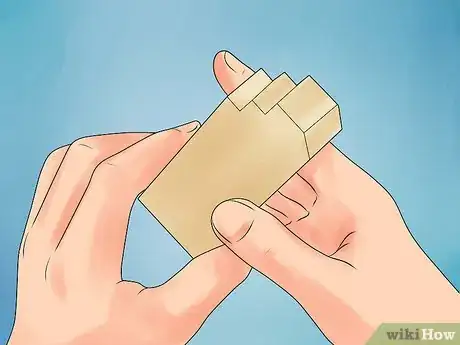
4Add a handle to your gun. A handle can be as simple as a squarish "chimney" style pillar of blocks stuck on the bottom of the gun, or it can incorporate rounded pieces to form a custom grip for your hand. It's up to you - just make sure it's sturdy enough to support the weight of your gun and the tension in the rubber band, or you'll shoot yourself in the foot!
-
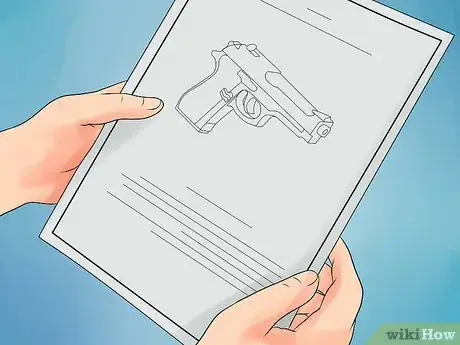
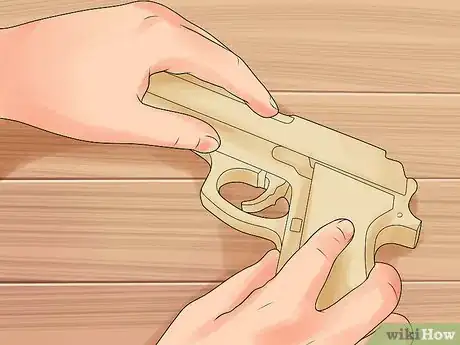
5Customize your gun. Now that you've created a stripped-down but functional Lego gun, you have the opportunity to customize it. You can try adding parts to the gun to simulate the look of a real gun, like the fearsome Desert Eagle pistol.[3] You might also want to try for a less-realistic look, like a futuristic rail gun or a rocket launcher. It's up to you - go wild and shoot in style.
-
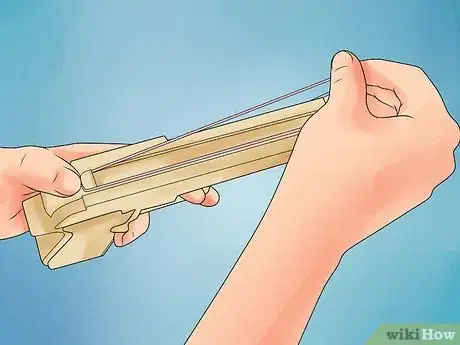
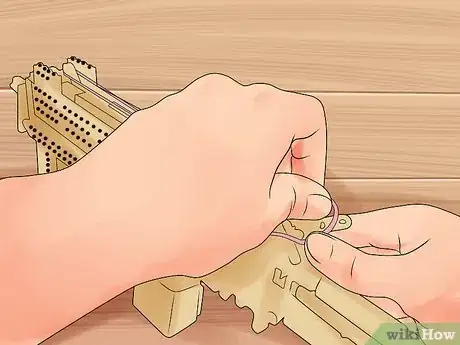
6When you're ready to shoot, load your rubber band. Catch your rubber band in the notch at the front of the gun, then stretch it back and catch it on the firing mechanism.
- If your gun's construction is sturdy enough, experiment with loading multiple rubber bands at once. You may be able to get a "shotgun" effect with multiple bands.
-
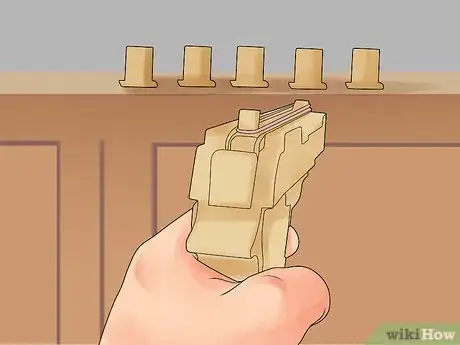
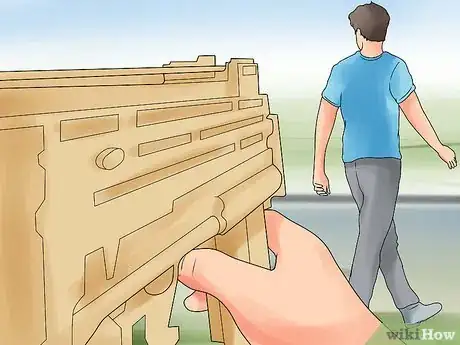
7Aim! Look down your gun's beam, lining up the notch at the end of your gun with your target.
- Never aim at someone, including the face, arms, chest, etc.
Advertisement
Method 2
Method 2 of 2:
High-Caliber Lego Destruction
-
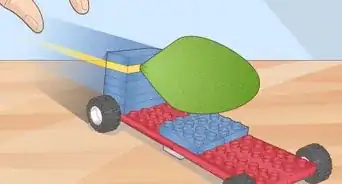
1Go full auto! Imagine the havoc you'll be able to cause with a Lego rubber band machine gun! If you have access to an electric motor, the mechanism can be surprisingly simple - all you need is a gear centered at the back of the gun's beam which can turn via the motor.[4] More elaborate Lego machine guns can even incorporate "minigun" style rotating barrels.[5] Stock up on rubber bands before going on a rampage with one of these.
-
2Take your targets out from afar! A high-powered Lego sniper rifle allows you to cleanly and precisely annoy your targets before they even see you. All sniper rifles will have an extra-long, sturdy beam to accommodate the long, strong rubber bands that will leave welts on your opponents. Advanced Lego sniper rifles can even incorporate a bolt-action firing mechanism and a mounted scope for extra accuracy.[6]
-
3Use your ninja skills. Building a tiny, concealed Lego gun is the perfect way to take out an unsuspecting friend or hit someone who thinks you're unarmed in a game of Lego tag. All you'll need to do is make a really small, basic lego gun - just a beam and a firing mechanism. Then, load it and strap it under a long sleeve or hide it in a rolled-up newspaper and BLAM! Your mark won't even know what hit them. Be creative - use your skills to make a Lego gun trap or hide your ninja gun in a crazy place!
Advertisement
Warnings
- Always watch for cracks in the gun's construction. If it comes apart, it could misfire, potentially hitting you in the eye.⧼thumbs_response⧽
- Do not aim your gun towards people's eyes, this could cause major injuries or even blindness.⧼thumbs_response⧽
Advertisement
Things You'll Need
- An assortment of LEGO TECHNIC™ pieces. Everything you need is in the "NXT" set.
- Rubber bands.
References
About This Article
Advertisement
