X
wikiHow is a “wiki,” similar to Wikipedia, which means that many of our articles are co-written by multiple authors. To create this article, volunteer authors worked to edit and improve it over time.
This article has been viewed 143,395 times.
Learn more...
Whether you're new to a huge company or you've recently become self-employed, you need business cards to effectively advertise yourself! Follow this simple tutorial to learn to create your own business card using Adobe Illustrator.
Steps
-
1Create a 2 x 3.5 inch template for your business card. In the illustration you will see three color lines. First is a black line (safety line--your text/logo elements should keep inside this line). Create the safety line by using the rectangle tool and setting it to 3.5 x 2 inches. Second is the cutting line (which goes around your card and should be bigger than your safety line by about a quarter of an inch). Third is a blue bleed line. Extend all the background color to the edge of the blue outline.
-
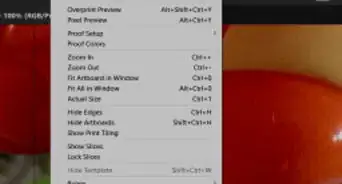
2Verify that you have guides turned on. If not, go to View > Guides > Show Guide.Advertisement
-
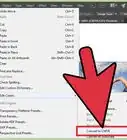
3Don't forget to set up your document color mode to CMYK. To do this you can go to File > Document Color Mode > CMYK and create a set of guides as the outer border for your workspace.
-
4If your smart grid color is hard to see, you can change it by going to Edit > Preferences> Guide & Grid. Don't forget to tailor your card to the black stroke and then remove the safety line and the cutting line.
-
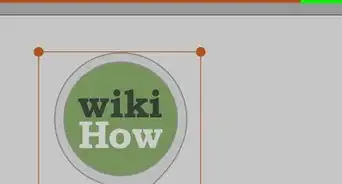
5Design your card. You can create pictures by using such tools as the ellipse tool, star tool and rectangle tool.
-
6You can create other varieties of pictures as well. Use other tools such as the pen tool, pencil tool, or line tool, to accomplish this.
-
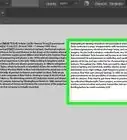
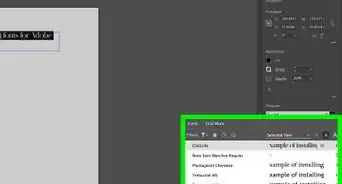
7Create your text using the type tool. You can adjust your text style with the character tool. If you have a logo to use, go to File > Place > and choose your logo from the available images.
-
8Color your background if you like. Try to have it complement the colors of the pictures/text.
-
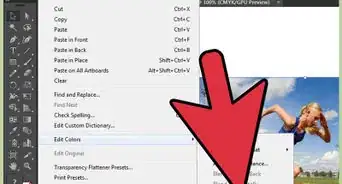
9Choose all of your text and go to the Type > Create outline. This step can change your type to be a vector, allowing you to open your file in another program without losing the font.
-
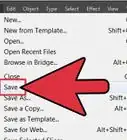
10Print copies of your card so you can see if your text is too small or too big. Save your work as an AI file and then save the new file as an EPS file. Your file is now ready to print out!


Advertisement


About This Article
Advertisement