X
wikiHow is a “wiki,” similar to Wikipedia, which means that many of our articles are co-written by multiple authors. To create this article, 9 people, some anonymous, worked to edit and improve it over time.
This article has been viewed 24,286 times.
Learn more...
Nail transfers allow you to add interesting designs to your nails other than just the usual nail colors. It also makes it easier for you to add a design than draw it with your non-dominant hand onto your dominant hand. Fortunately, it's easy to make your own nail transfers at home.
Steps
Part 1
Part 1 of 3:
Making the nail transfer
-
1Apply a few thick coats of clear nail polish to a section of the parchment paper. Make it a thick layer––if it is not thick enough, the polish might crack when you apply your color.[1]
-
2Paint your design on top of the coated section of parchment paper. The design can be anything you want, so be creative but ensure that it looks good. A simple design can often be the best. To draw the design on, you can use almost any material you like, such as nail art pens, regular paint, markers, and so on.[2]Advertisement
-
3Once the design is dry, apply another coat of clear varnish. This helps to keep the design in place and seal it.[3]
-
4Repeat for as many designs you wish to apply to your nails. You can choose to do just one or all ten of your nails, you just need to be prepared to make the amount you'd like to transfer.


Advertisement
Part 2
Part 2 of 3:
Preparing your nails and the transfers
-
1Move onto your actual nails. Apply a thin coat of nail polish.[4] You can use any color that you want to show under your design.
-
2While your nails are drying, test that the designs on the parchment paper are dry. If they are, then you can begin to peel them off. You can cut them down if you want to, so that they fit on your nails.


Advertisement
Part 3
Part 3 of 3:
Applying the nail transfers
-
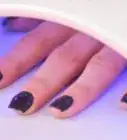
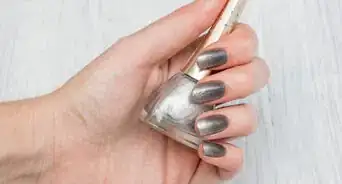
1Apply a coat of clear polish to your nails and leave until they are tacky, but not wet. They need to be tacky in order to grab hold of your transfer image. If you let them dry, the transfer is not likely to hold.[5]
-
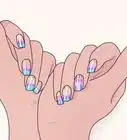
2Place your transfer onto your tacky nail. Rub it down firmly to ensure that it is stuck to your nail properly. You now need to wait until everything is completely dry. So don't be tempted to pick at your nails for a couple of minutes or so.
-
3Using a small brush or q-tip, gently and carefully apply nail polish remover to any parts of your skin that have gotten nail polish on. Take care not to get any remover on your actual nails.
- If you didn't cut the transfer down, and you have polish left over still, you can use the nail polish remover to dissolve these parts too. Just be careful not to go too mad with it and ruin your design. Only wipe up to the edges of your nail from the skin.
-
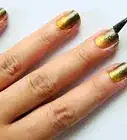
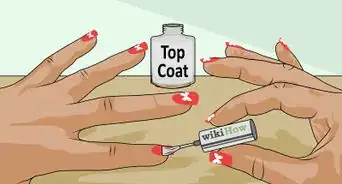
4Apply a good layer of top coat over your nails and the front edge of your nails. This will ensure that the design stays in place and is well sealed.[6]
-
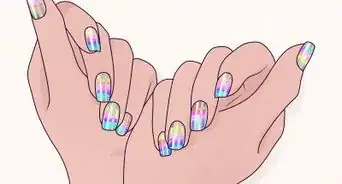
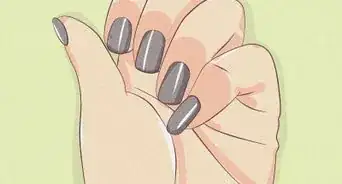
5Show your nails off to your friends. Offer to make homemade transfer designs for them too.


Advertisement
Warnings
- If you try using paper (as in paper images) you will find that the nail polish has a negative effect on the image and you will be left with mush.⧼thumbs_response⧽
Advertisement
Things You'll Need
- Parchment paper (baking paper) (don't use normal paper as it will rip and stick)
- Clear nail polish
- Design ideas
- Nail art pens, regular paint, markers and so on
- Nail polish in color of choice
- Small brush or q-tip
- Nail polish remover
References
About This Article
Advertisement