wikiHow is a “wiki,” similar to Wikipedia, which means that many of our articles are co-written by multiple authors. To create this article, 37 people, some anonymous, worked to edit and improve it over time.
wikiHow marks an article as reader-approved once it receives enough positive feedback. This article has 13 testimonials from our readers, earning it our reader-approved status.
This article has been viewed 376,363 times.
Learn more...
Making your own earrings is a fun, artsy project which can be completed in minutes. They make a wonderful homemade gift for your friends and family members - or you can just keep them for yourself! This article will show you some easy methods for making dangly beaded earrings, hoop earrings and studs, along with some unique ideas using household materials. Just see Step 1 below to get started.
Steps
Making Beaded Earrings
-
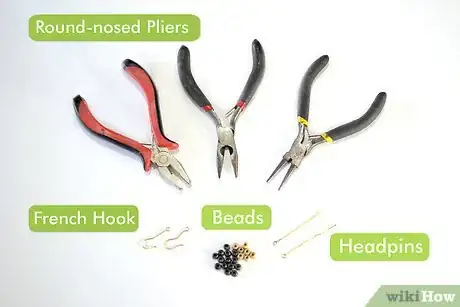
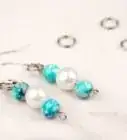
1Gather your materials. To make these beaded earrings you will need: two headpins, a round-nosed pliers, two French hook earwires and a selection of beads - they can be pearl, crystal, plastic or glass - it's a matter of personal preference.
-
2Thread some beads onto the headpin. How many you fit on each headpin will depend on how large the beads are and how long you want your earrings to be. Experiment with different colors and bead sizes to find a style you like.Advertisement
-
3Cut the headpin to size. To shorten the length of the earring, use your pliers to cut the end of the headpin. Just make sure to leave a centimeter between the last bead and the end of the wire.
-
4Curl the top of the headpin. Take your round-nosed pliers and use it to curl the top of the headpin, until it forms a complete loop.
-
5Attach the French hook earwire. Take one of the French hook earwires and use your pliers to open the hook on the end. Slip the open hook through the loop you made on the end of the headpin.
-
6Tighten the hook. Close the open hook using your pliers. Make it nice and tight so the earrings won't fall apart.
-
7Repeat the process to make the second earring. Enjoy your new earrings!
Making Hoop Earrings
-
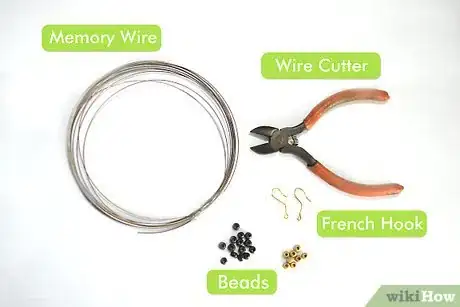
1Gather your materials. To make hoop earrings you will need a tube of memory wire, a memory wire cutter (pliers will leave dents in the wire), round nose pliers, two French hook earwires and a selection of beads (optional).
-
2Cut one full circle from the memory wire. This will form the hoop of your earring. If you want a smaller-sized hoop, use the cutter to snip off a section of wire.
-
3Curl one edge of the hoop. Take your round nosed pliers and use it to curl one edge of the wire hoop underneath itself, until it forms a complete loop.
-
4Thread the beads on. If you want to make beaded hoops, thread the desired number of beads onto the wire - you can experiment with different colors and bead types to find a pattern you like. For plain hoops, just skip to the next step.
-
5Curl the other edge of the hoop. Take the pliers and use it to curl the other edge of the wire - except this time you are curling the wire outwards rather than underneath. Curl it until you form an almost complete loop.
-
6Hook the two loops into one another. Hook the loop that's curled outwards into the loop that's curled underneath. If necessary, use the pliers to tighten each loop. This should keep the earring secured.[1]
-
7Attach the French hook earwire. Take the French hook earwire and use your pliers to open the loop at the bottom. Hook the open loop of the earwire onto one of the closed loops at the top of the earring hoop. Close the loop with your pliers.
-
8Repeat the process to make the second earring. Remember to measure the second hoop against the first to make sure they are the same size.
Making Studs
-
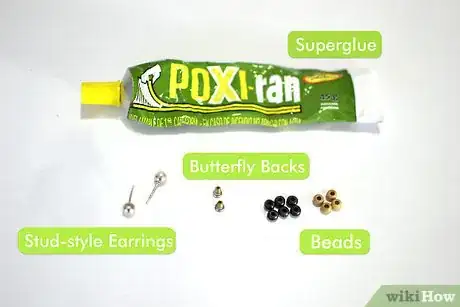
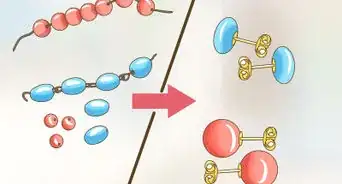
1Gather your materials. To make stud earrings you will need: two stud-style earring posts and two rubber or butterfly backs. You will also need a hot glue gun or some superglue. The other materials will depend on what kind of earrings you want to make - you can use pearls or beads, pieces of colored fabric or glitter glue.
-
2Clean the earring posts. Use a damp cloth or a q-tip dipped in some rubbing alcohol to clean the earring posts. This removes any dust and makes them safe to wear. You could also use a piece of sandpaper to rough-up the face of the earring post, as this helps the glue to stick better.
-
3Decorate the studs. Now you're free to attach anything you like to the face of the earring post.
- Pearl or glass beads are an easy option that produces simple, pretty results. Just place a drop of glue on the earring post and press the bead against it, holding it for a minute while the glues sets.
- To make flower studs, cut out eight circles (each one slightly smaller from the last) from the colored net fabric. Layer the circles one on top of the other to form a flower pattern, then use a threaded needle to sew a small bead onto the center of the flower. Secure the flower with a couple of stitches at the back. Place a dot of glue on the earring post and stick the flower on top.
- The easiest option is just to cover the face of the earring post in some gold, silver or colored glitter glue and wait for it to dry. Then you have a simple sparkly earring!
Making Earrings from Unique Materials
-
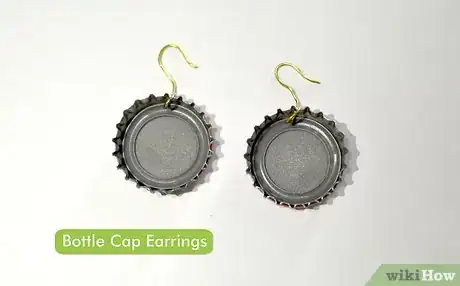
1Make bottle cap earrings. Next time you pop open a bottle of soda make sure to save the caps, as you can use them to make these cute earrings!
-
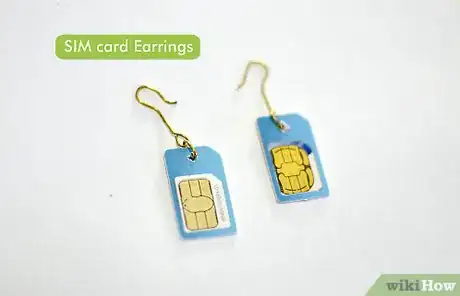
2Make SIM card earrings. If you're a bit of a tech-junkie, these funky SIM card earrings are the perfect accessory!
-
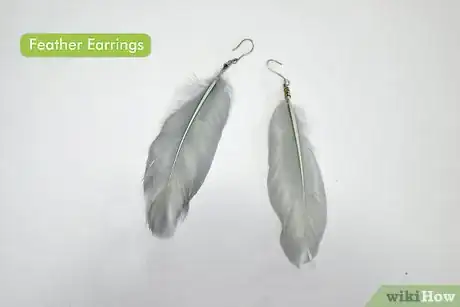
3Make feather earrings. Feather earrings are pretty and unique, adding a free-spirited feel to your look.
-
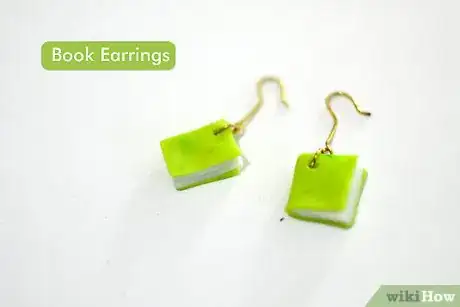
4Make book earrings. Bookworms rejoice! Now you can wear books in addition to reading them!
-
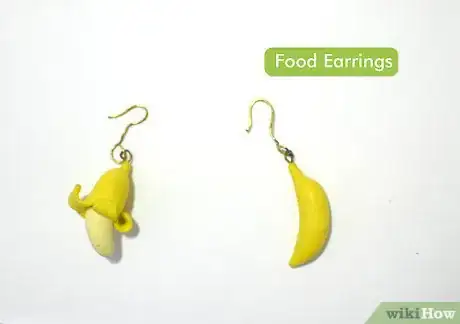
5Make food earrings. If you're a bit of a foodie, these earrings are perfect for you - they double up as a whimsical accessory and a tasty snack!
-
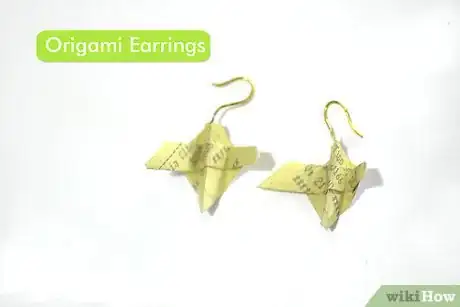
6Make origami earrings. Origami is the delicate Japanese art of folding paper, which is used to make these pretty earrings.
-
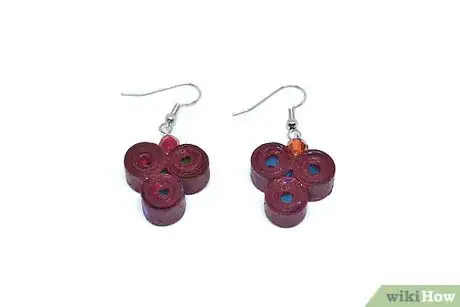
7Make quilling earrings. Quilling is another paper-based project. Coil long strips of paper and form those coils into unique designs for some stylish new jewelry.
- If origami and quilling aren't your style, there are lots of other paper earrings you can make, too!
-
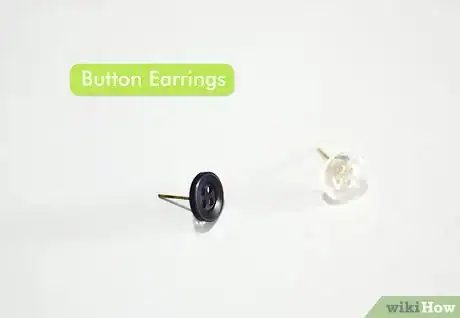
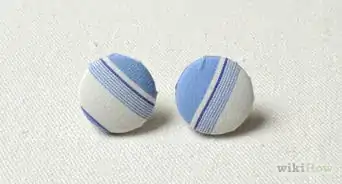
8Make button earrings. Everybody always has a bunch of spare buttons lying around, so why not repurpose them into some twee little studs?
Community Q&A
-
QuestionHow do I make earrings out of paper clips?
 Community AnswerUse the wire to twist them into shapes that resemble French hook ear wires. Then, you can follow the same process. Snip off the excess while attaching the beads, pearls, etc. Make sure you are working with clean paper clips and that you're not allergic to them.
 -
QuestionHow long will it take me to make earrings?
 Community AnswerThe time length depends on the type of earrings you make, your ability with the particular materials and the competence you have in creating them. All of those variables are so vast that it's not possible to state a time. The sooner you get started, the sooner you'll learn how.
 -
QuestionHow can I sell my earrings?
 Community AnswerYou can always sell your handcrafted items on crafting websites, such as Etsy. You can also give them to boutiques to sell for you; keep in mind that the boutique will keep some of the money. Lastly, you can always sell your handiwork at craft fairs and art-and-wine festivals.
Warnings
- Don't hurt yourself. The sharp pliers can cut you, so be extremely careful where you cut.⧼thumbs_response⧽
References
- ↑ http://www.youtube.com/watch?v=OKhHqkXzVd0
- Videos provided by thefrugalcrafter Lindsay Weirich
About This Article
If you want to make beaded earrings, start by threading some beads onto the headpin. You can use pearl, crystal, plastic, or glass beads, and mix colors and sizes, too! Then use pliers to cut the headpin, leaving 1 cm between the last bead and the end of the wire. Next, use the round-nosed pliers to curl the top of the headpin until it forms a loop. Attach the French hook earwire by opening the hook with your pliers and slipping it through the loop on your headpin. Finally, close the hook with your pliers. For tips on how to make other types of earrings, like hoop earrings or studs, read on!
